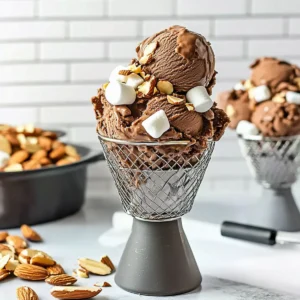
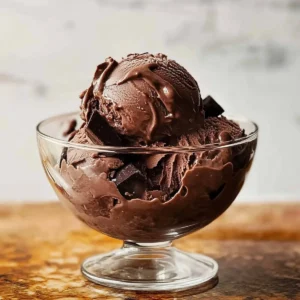
As summer heats up, I find myself dreaming of cool, creamy treats that don’t weigh me down. That’s where this Dairy-Free Rocky Road Ice Cream comes in—my go-to indulgence that’s as fun to make as it is to enjoy. Picture a velvety chocolate base swirling with fluffy vegan marshmallows, crunchy nuts, and rich brownie chunks. Not only is this no-churn dessert perfect for satisfying those sweet cravings, but it’s also a healthier alternative to traditional ice cream, making it a guilt-free pleasure on warm days. Plus, with just a few simple ingredients and the flexibility to customize it to your taste, you’ll have a crowd-pleaser ready to share in no time. Who’s ready to scoop into a bowl of pure bliss?

Why Is This Ice Cream So Irresistible?
Creamy Delight: This Dairy-Free Rocky Road Ice Cream offers a luxurious, velvety texture without the dairy. Customizable Fun: With options for mix-ins like nuts, marshmallows, and brownie chunks, you can tailor every scoop to your liking. No-Churn Magic: Say goodbye to complicated setups! This no-churn recipe means anyone can whip it up effortlessly. Guilt-Free Indulgence: Enjoy all the rich flavors and textures without any of the guilt. Perfect for summer gatherings or poolside snacks, this ice cream is sure to impress. If you’re craving more sweet ideas, don’t miss my Cinnamon Rolls Cream for an equally delightful experience.
Dairy-Free Rocky Road Ice Cream Ingredients
For the Base
• Coconut Cream – Main base providing creaminess; use unsweetened for a healthier option.
• Cocoa Powder – Adds rich chocolate flavor; unsweetened helps control the sweetness.
• Maple Syrup – Natural sweetener for extra sweetness; substitute with agave if desired.
For the Mix-ins
• Vegan Mini Marshmallows – Provides chewy texture and sweetness; opt for gluten-free if necessary.
• Nuts (e.g., walnuts or almonds) – Adds delightful crunch; feel free to substitute with your favorite nuts or omit for a nut-free option.
• Brownie Chunks – For that extra layer of chocolatey goodness; use homemade or store-bought vegan brownies.
This Dairy-Free Rocky Road Ice Cream is not just any summer treat; it’s the perfect blend of flavors and textures that the whole family will love!
Step‑by‑Step Instructions for Dairy-Free Rocky Road Ice Cream
Step 1: Prep Coconut Cream
Start by freezing cans of coconut cream overnight. This step is crucial to achieving a smooth and creamy texture for your Dairy-Free Rocky Road Ice Cream. Pour the coconut cream into ice cube trays and place them in the freezer. By the next day, you’ll have a solid base just waiting to be blended into a luscious treat.
Step 2: Blend Base
Once your coconut cream is fully frozen, add the ice cubes to a high-speed blender along with unsweetened cocoa powder and maple syrup. Blend everything on high for 1-2 minutes until the mixture transforms into a velvety, chocolatey base. Keep an eye on the texture; it should be smooth and creamy, ready for the next exciting additions.
Step 3: Mix Add-ins
Transfer the creamy chocolate base into a large mixing bowl and gently fold in the vegan mini marshmallows, nuts, and brownie chunks. Use a spatula to ensure these delightful mix-ins are evenly distributed throughout your Dairy-Free Rocky Road Ice Cream. The goal is to retain pockets of marshmallow and brownie goodness, adding bite-sized surprises in every scoop.
Step 4: Freeze
Pour the ice cream mixture into a suitable airtight container, ensuring an even layer. Smooth the top with a spatula, and cover it tightly. Place your container in the freezer for at least 8 hours or until it’s firm enough to scoop. This waiting period allows all those flavors to meld beautifully, creating a dreamy frozen treat.
Step 5: Serve
Once the Dairy-Free Rocky Road Ice Cream is fully set, it’s time to serve! Remove it from the freezer and let it sit at room temperature for a few minutes to soften slightly. This makes scooping easier. Use a warm scoop to create perfect portions, and enjoy this delightful treat straight from the bowl or with your favorite toppings!

What to Serve with Dairy-Free Rocky Road Ice Cream
Dive into a delightful array of flavors and textures that elevate your frozen dessert experience to new heights.
- Classic Wafer Cones: Adds a crunchy, nostalgic twist that’s simply irresistible; perfect for holding those creamy scoops.
- Fresh Berries: Juicy blueberries or strawberries provide a refreshing contrast to the rich chocolate; a vibrant burst of flavor in every bite.
- Vegan Chocolate Sauce: Drizzle this over your ice cream for an extra layer of sweetness; it brings an indulgent touch to your treat.
- Sprinkled Nuts: A medley of toasted walnuts or almonds enhances the crunch; they perfectly complement the creamy texture of the ice cream.
- Coconut Whipped Cream: Add a cloud of this light, airy topping for a tropical vibe; it blends beautifully with the chocolate and marshmallows.
- Chilled Almond Milk: A glass of this nutty beverage balances the sweetness while keeping things refreshing; sip it alongside your dessert for a perfect pairing.
- Chocolate-Covered Pretzels: The salty-sweet combination creates a delightful contrast; their crunchiness mirrors that of the ice cream’s mix-ins.
- Caramel Drizzle: A touch of dairy-free caramel cascaded over your ice cream offers a sweet, buttery flavor that complements the chocolate and nuts.
- Fruit Sorbet: For an extra fruity touch, serve alongside a scoop of lemon or raspberry sorbet; it refreshes the palate between rich chocolate bites.
Expert Tips for Dairy-Free Rocky Road Ice Cream
- Freeze Coconut Cream Fully: Ensure the coconut cream is frozen overnight to achieve that rich, creamy texture essential for your Dairy-Free Rocky Road Ice Cream.
- Adjust Sweetness: Tailor the sweetness according to your taste by adding more or less maple syrup. Taste as you go to find your perfect balance!
- Gentle Mixing: When folding in add-ins like marshmallows and brownie chunks, do so gently to keep their textures intact. Over-mixing can break them down, losing that delightful crunch.
- Smooth Freezing: Pour the mixture into a container and smooth the top with a spatula to minimize air pockets, ensuring even freezing of your ice cream.
- Serving Tips: Let the ice cream sit at room temperature for a few minutes before scooping. This softens it, making it easier to serve!
Make Ahead Options
These Dairy-Free Rocky Road Ice Cream treats are perfect for meal prep, allowing you to enjoy a refreshing dessert with minimal fuss during busy weeks! You can freeze the coconut cream in ice cube trays up to 24 hours in advance, ensuring a smooth texture upon blending. Additionally, the chocolate base can be mixed and stored in an airtight container in the freezer for up to 3 days before adding your mix-ins. To maintain quality, be sure to seal the container tightly to prevent any freezer burn. When you’re ready to serve, simply mix in your vegan marshmallows, nuts, and brownie chunks, then freeze for about 8 hours or until firm. This way, you’ll have a delightful, homemade ice cream treat ready to scoop and enjoy anytime!
How to Store and Freeze Dairy-Free Rocky Road Ice Cream
-
Fridge: Store any leftover Dairy-Free Rocky Road Ice Cream in an airtight container for up to 3 days. It may lose some creaminess but will still be delicious!
-
Freezer: For long-term storage, keep the ice cream in the freezer for up to 2 weeks. Make sure it’s in an airtight container to prevent freezer burn and maintain its creamy texture.
-
Thawing: Before serving, let the ice cream sit at room temperature for about 5-10 minutes. This will soften it for easier scooping while retaining a delightful texture.
-
Reheating: If the ice cream becomes too hard, you can microwave a small portion for a few seconds to soften it slightly, but avoid overheating to keep its delightful taste!
Dairy-Free Rocky Road Ice Cream Variations
Feel free to explore these fun and delicious twists on your Dairy-Free Rocky Road Ice Cream, making each scoop uniquely yours!
- Fruit Twist: Swap cocoa powder with fruit puree. Try strawberry or banana for a refreshing summer flavor.
- Nut-Free Delight: Omit nuts entirely or replace them with sunflower seeds to accommodate nut allergies without sacrificing crunch.
- Chocolate Lovers: Add dairy-free chocolate chips for an extra chocolatey experience that will satisfy all your cravings.
- Spicy Kick: Toss in a pinch of cayenne or chili powder for a surprising heat that complements the chocolate beautifully.
- Coconut Cream Alternative: Use cashew cream instead of coconut for a different flavor base with a luscious texture.
- Vegan Chocolate Brownies: If you’re short on time, use store-bought vegan brownies to simplify the mix-in process without compromising taste.
- Crispy Treats: Fold in gluten-free crispy rice cereal for an unexpected crunch that is reminiscent of childhood treats.
- Syrup Swirl: Drizzle in some vegan chocolate syrup before freezing to create beautiful ribbons of sweet decadence throughout your ice cream.
Each of these variations adds a new layer of deliciousness to this already dreamy dessert! If you’re on the hunt for more indulgent ideas, don’t forget to check out my Corn Chicken Rice for a delightful meal, or perhaps the comforting Curry Chicken Rice that the whole family will love!
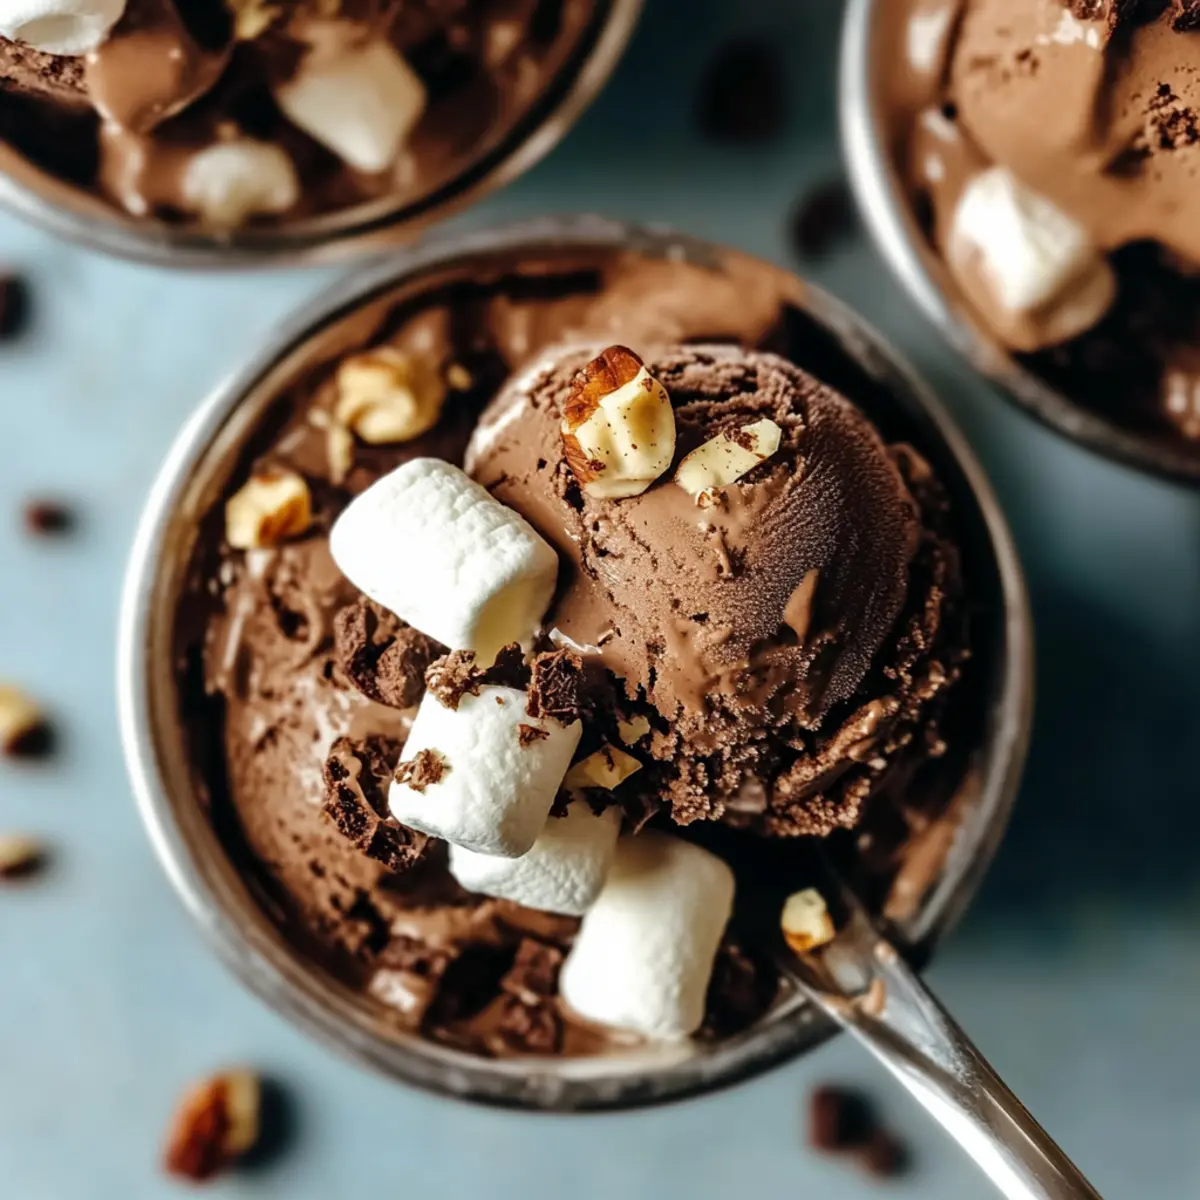
Dairy-Free Rocky Road Ice Cream Recipe FAQs
How do I select the best coconut cream for this recipe?
Absolutely! Look for canned coconut cream that has a high fat content and is labeled as “full-fat.” Check the ingredients to ensure it’s free from additives. The best coconut cream should have a thick, creamy consistency without any dark spots or separation.
How long can I store leftover Dairy-Free Rocky Road Ice Cream?
You can store any leftover ice cream in an airtight container in the freezer for up to 2 weeks. For best texture, ensure it’s sealed tightly to prevent freezer burn, and allow it to sit at room temperature for about 5-10 minutes before scooping for easy serving.
Can I freeze this ice cream? If so, how?
Yes, indeed! To freeze your Dairy-Free Rocky Road Ice Cream, after mixing and pouring it into an airtight container, smooth the surface with a spatula to minimize air pockets. Cover it tightly and place it in the freezer for at least 8 hours or until it’s firm. This gives the flavors time to meld beautifully together, and ensure it’s well-chilled before serving.
Advertisement
What should I do if my coconut cream doesn’t blend well?
Very good question! If your coconut cream ends up too hard or doesn’t blend smoothly, it might need a little help. To remedy this, you can let it sit at room temperature for about 10 minutes to soften slightly before blending. Alternatively, you can blend in a splash of almond milk or another non-dairy milk to reach the desired creamy consistency, blending until smooth and velvety.
Is this recipe suitable for people with nut allergies?
Yes! You can easily tailor this Dairy-Free Rocky Road Ice Cream to be nut-free by omitting the nuts entirely or substituting them with seeds like pumpkin or sunflower seeds. Always double-check labels for any hidden allergens in the other ingredients, especially the vegan marshmallows and brownies, to ensure they’re allergy-friendly.
Can I make this ice cream without an ice cream maker?
Absolutely! This is a no-churn recipe, which means anyone can whip it up easily without an ice cream maker! Just follow the steps as outlined, and you’ll have a delicious, creamy frozen treat ready to enjoy without any fancy equipment. The more the merrier when making this delightful, homemade Dairy-Free Rocky Road Ice Cream!
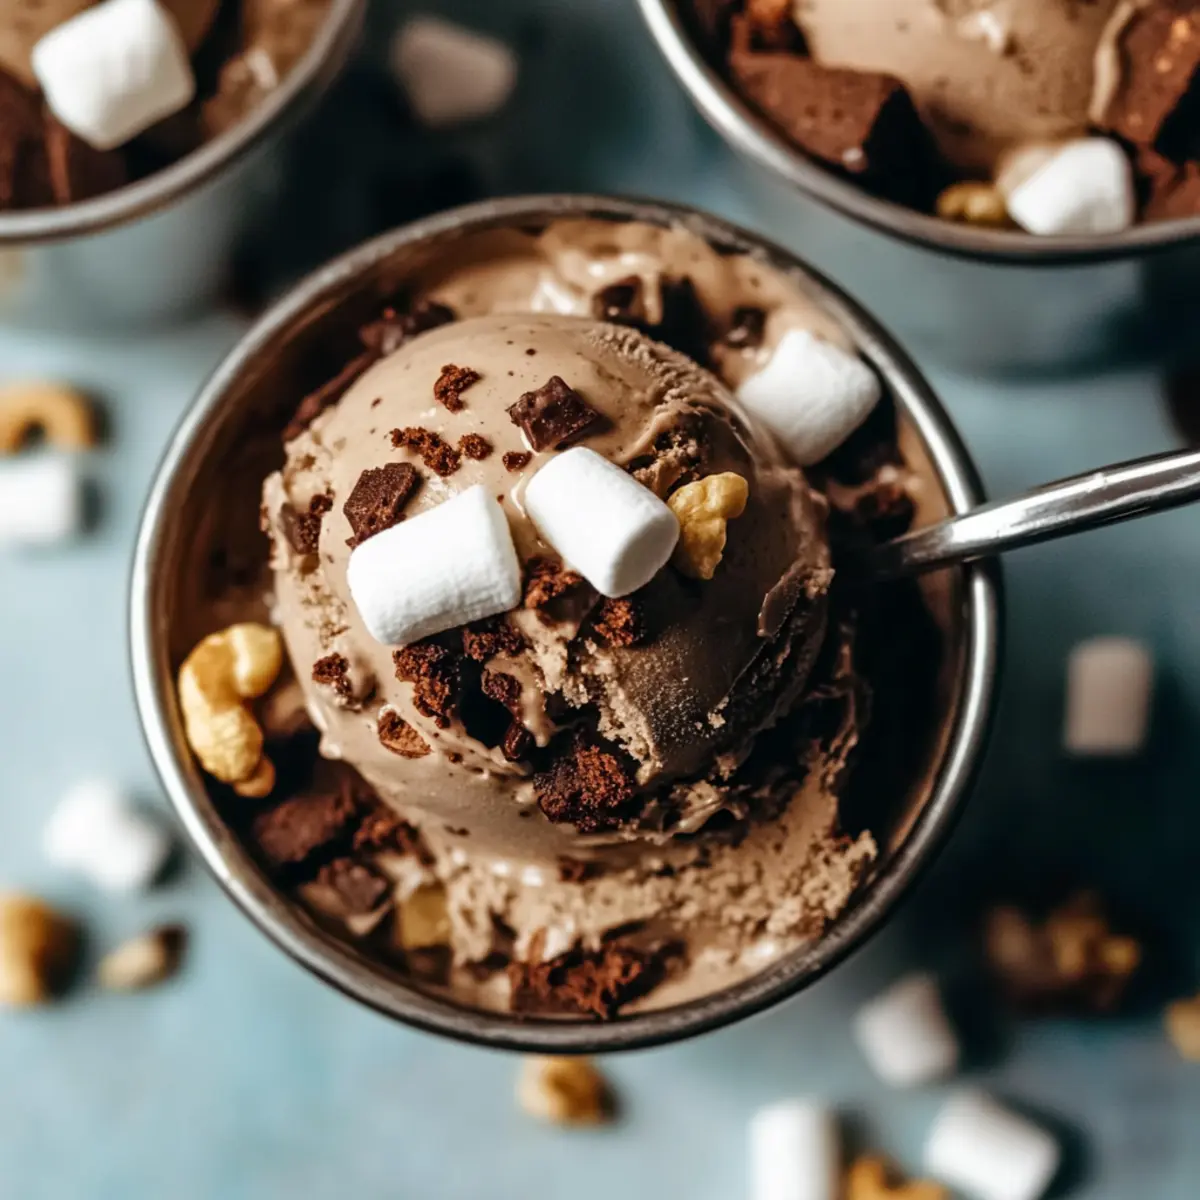
Dairy-Free Rocky Road Ice Cream for Guilt-Free Indulgence
Ingredients
Equipment
Method
- Start by freezing cans of coconut cream overnight. Pour the coconut cream into ice cube trays and place them in the freezer.
- Once frozen, add the ice cubes to a high-speed blender along with cocoa powder and maple syrup. Blend until smooth and creamy.
- Transfer the mixture to a mixing bowl and fold in the vegan mini marshmallows, nuts, and brownie chunks.
- Pour the mixture into an airtight container, smooth the top, and freeze for at least 8 hours.
- When set, let it sit at room temperature for a few minutes before scooping to serve.