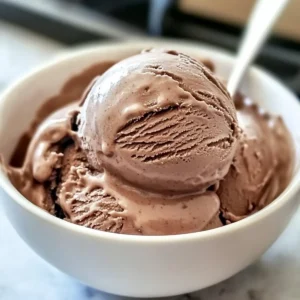
Stirring up late-night cravings often leads to those sweet memories of hot summer evenings, where nothing beats a scoop of ice cream. Today, I’m excited to share a fabulous recipe for No Churn Chocolate Ice Cream that’s perfect for cooling off during those sweltering days. This easy homemade indulgence requires no fancy equipment or extensive prep work—just a handful of ingredients you probably have on hand! With its fluffy, melt-in-your-mouth texture and intense chocolate flavor, it’s bound to become your go-to treat. Plus, it’s gluten-free and fits well into a low FODMAP lifestyle, making it a delicious and inclusive option for everyone. Who’s ready to dive into this creamy delight?
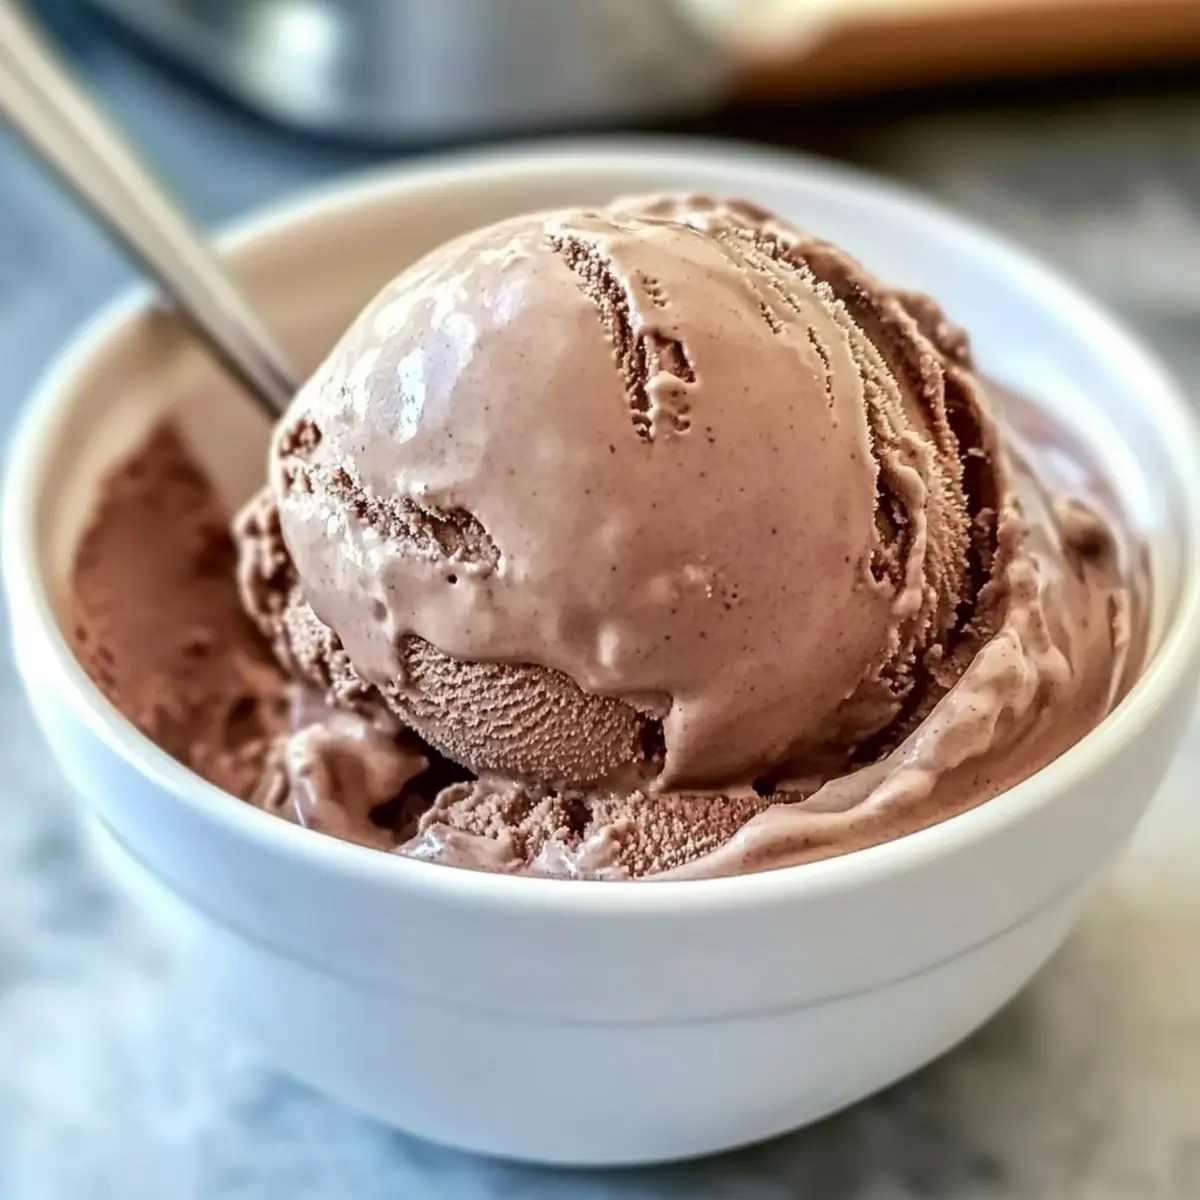
Why Is No Churn Chocolate Ice Cream a Must-Try?
Simplicity: With just a few ingredients and no ice cream maker required, this recipe is incredibly straightforward, making it accessible to everyone, even beginner home cooks.
Irresistible Flavor: The combination of rich chocolate syrup and sweetened condensed milk provides a deep, luscious flavor that’s sure to satisfy your sweet tooth.
Perfect for Summer: Ideal for hot days, this no churn treat offers a cool, creamy escape that everyone will love at barbecues and gatherings.
Customization: Feel free to add mix-ins like crushed Oreos or nut butters for a unique twist on this classic dessert.
Quick Prep Time: With minimal effort and time, you can whip up this delightful ice cream, leaving you more time to enjoy summer moments with loved ones.
Diet-Friendly: This dessert is not only gluten-free but also adheres to low FODMAP guidelines, catering to a variety of dietary needs without compromising on taste. If you’re looking for more delightful treats, check out this Strawberry Cream Cheese recipe or consider a rich Chocolate Protein Pudding as a healthier sweet option!
No Churn Chocolate Ice Cream Ingredients
For the Ice Cream
- Heavy Whipping Cream – this is the key to achieving that rich and creamy texture; opt for full-fat for best results.
- Sweetened Condensed Milk – this provides the base for your ice cream, adding both sweetness and a velvety richness.
- Chocolate Syrup – gives an intense chocolate flavor; you can swap this for melted chocolate for a more artisanal feel.
For Variation Mix-Ins
- Crushed Oreos – these add a delightful crunch and flavor contrast; perfect for the choco-holic in you!
- Chocolate Chips – sprinkle these in for an extra chocolatey experience in every bite.
- Nuts (e.g., walnuts or pecans) – chop finely to introduce a satisfying texture alongside the smooth ice cream.
Embark on this delightful journey of making your No Churn Chocolate Ice Cream—it’s a sweet escape you won’t want to miss!
Step‑by‑Step Instructions for No Churn Chocolate Ice Cream
Step 1: Chill Your Equipment
Start by placing your mixing bowl and beaters in the refrigerator for 20–30 minutes. Chilling these tools is crucial, as it helps the heavy whipping cream whip up to soft, fluffy peaks, resulting in a light texture for your No Churn Chocolate Ice Cream. Keep an eye on their chill; they should feel cold to the touch when you’re ready to whip!
Step 2: Whip the Cream
Once your equipment is chilled, pour the heavy whipping cream into the bowl. Using an electric mixer, whip the cream on medium speed until stiff peaks form, about 3–5 minutes. This process transforms the cream into a fluffy cloud, which is essential for creating your creamy ice cream base. Watch closely, and stop when the peaks hold their shape but are not grainy.
Step 3: Combine Ingredients
Next, gently fold in the sweetened condensed milk and chocolate syrup until well combined. Use a spatula to carefully incorporate these ingredients, ensuring you maintain the airiness of the whipped cream. The sweetened condensed milk adds richness, while the chocolate syrup infuses deep chocolate flavor into your No Churn Chocolate Ice Cream, making the mix beautifully smooth and velvety.
Step 4: Transfer and Freeze
Pour the combined mixture into a freezer-safe container, smoothing the top with your spatula. Cover the container tightly with a lid or plastic wrap to prevent ice crystals from forming. Freeze for a minimum of four hours, or until the ice cream is firm. The waiting period allows the flavors to meld beautifully, creating a rich chocolate experience.
Step 5: Scoop and Serve
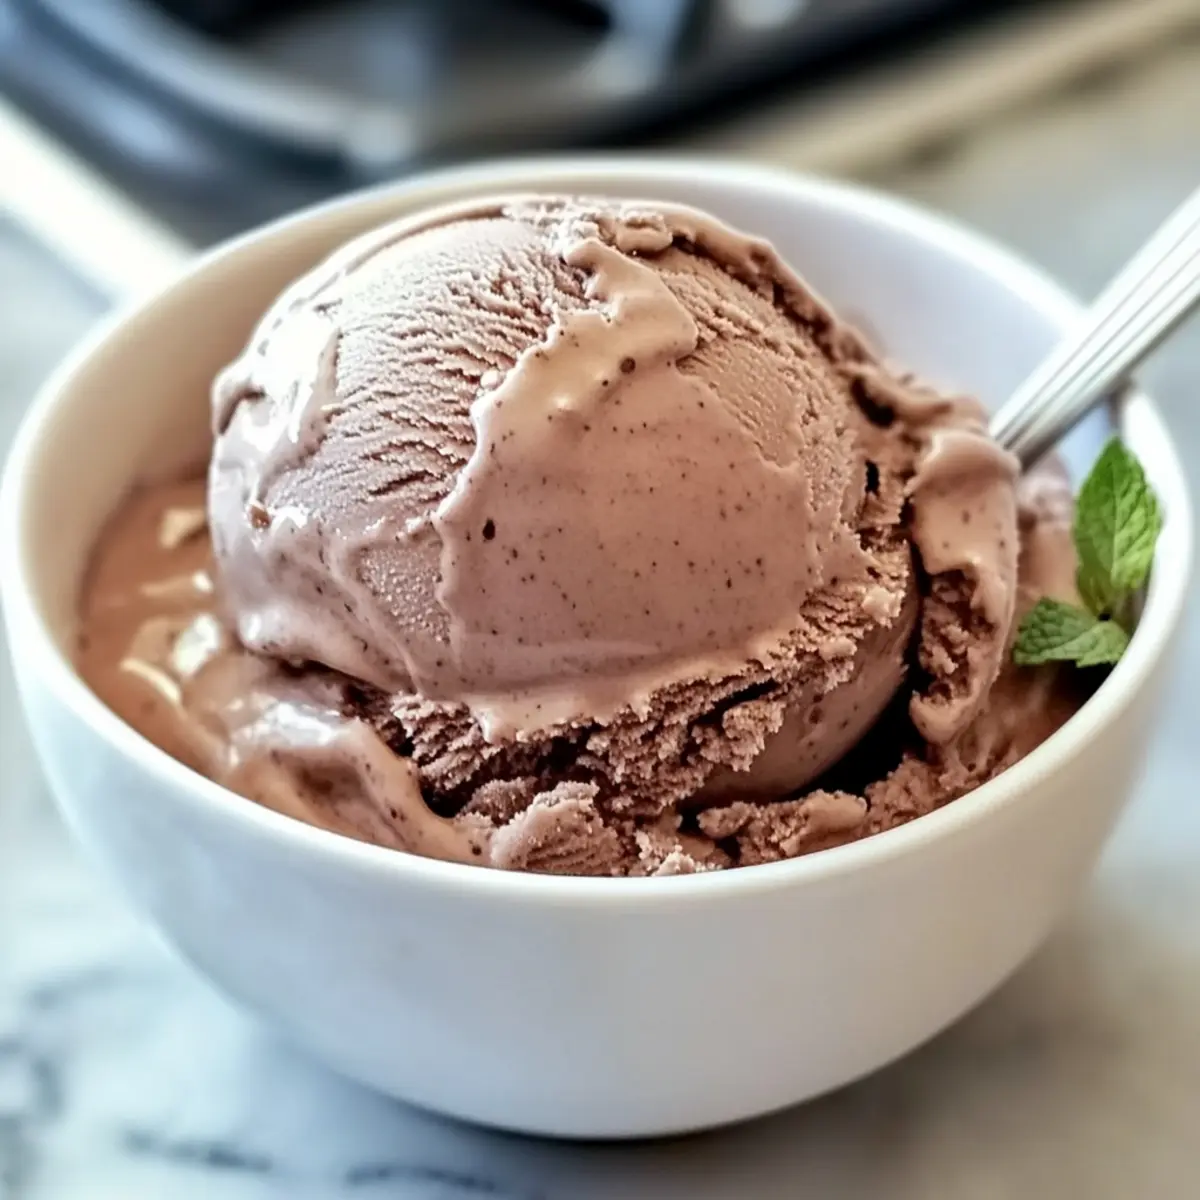
When you’re ready to serve your No Churn Chocolate Ice Cream, remove it from the freezer and let it sit at room temperature for about 5 minutes. This will soften it slightly, making scooping easier. Choose your favorite ice cream scoop and serve into bowls or cones. Enjoy the luscious, creamy texture and indulge in the delicious chocolate goodness!
What to Serve with No Churn Chocolate Ice Cream
A delightful summer dessert calls for perfect pairings that enhance its richness while adding a burst of freshness!
-
Fresh Berries: Juicy strawberries, raspberries, or blueberries provide a refreshing contrast to the creamy chocolate ice cream. The sweetness of the berries complements the rich chocolate flavor, making each bite even more indulgent.
-
Whipped Cream: A dollop of airy whipped cream adds a smooth texture and lightness to the dessert. Plus, it’s a classic companion that elevates your ice cream experience to a whole new level!
-
Chocolate Shavings: For an extra touch of luxury, sprinkle chocolate shavings or curls on top. They not only boost the chocolate factor but also add a delightful crunch to each creamy scoop.
-
Chocolate Sauce: Drizzling warmed chocolate sauce over your scoops creates a deliciously gooey experience. It enhances the chocolatey goodness while giving visually tempting layers of flavor.
-
Homemade Cookies: Serve your ice cream alongside warm chocolate chip or peanut butter cookies for a delightful contrast of textures. The combination of cold and warm treats is absolutely irresistible!
-
Mint Leaves: A sprig of fresh mint on top adds a vibrant pop of color and a refreshing aroma. The slight chill of mint balances out the richness of the ice cream, making each scoop more refreshing.
-
Iced Coffee: For a grown-up treat, pair your indulgent ice cream with a glass of iced coffee. The coffee’s bitterness cuts through the sweetness of the ice cream, creating a perfectly harmonious balance.
-
Almonds or Pecans: Lightly toasted nuts provide a satisfying crunch that complements the creamy ice cream beautifully. Their warmth enhances the overall experience, making every bite feel special.
How to Store and Freeze No Churn Chocolate Ice Cream
Airtight Container: Store your No Churn Chocolate Ice Cream in an airtight container to prevent freezer burn and preserve its creamy texture for up to two weeks.
Best Within One Week: For optimal flavor and texture, enjoy the ice cream within a week of making it, although it will remain safe to eat for a little longer if stored properly.
Softening Before Serving: If your ice cream is too hard after freezing, let it sit at room temperature for about 5 minutes before scooping to achieve that perfect creamy consistency.
Avoid Ice Crystals: To prevent ice crystals from forming, cover the surface of the ice cream with plastic wrap before sealing the container; this helps maintain its luxurious texture.
Make Ahead Options
Preparing your No Churn Chocolate Ice Cream in advance is a fantastic way to save time and enjoy this delightful treat whenever you crave it! You can whip up the ice cream base up to 24 hours ahead of time, storing it in an airtight container in the freezer. For best quality, ensure the mixture is tightly covered to prevent ice crystals from forming. Additionally, you can pre-chill your mixing bowl and beaters up to 3 days in advance—just keep them in the refrigerator until you’re ready to whip the cream. When craving that chocolaty indulgence, simply scoop your prepped ice cream straight from the freezer and let it soften for a few minutes before serving. This way, you’ll have a delicious, homemade dessert ready to enjoy with virtually no extra effort on a busy day!
Expert Tips for No Churn Chocolate Ice Cream
-
Chill Everything: Ensure your mixing bowl and beaters are thoroughly chilled. This helps achieve that light and airy texture essential for No Churn Chocolate Ice Cream.
-
Watch the Peaks: Whip the heavy cream until stiff peaks form, but be careful not to overmix. Overwhipped cream can become grainy and affect the creaminess of your ice cream.
-
Folding Technique: When combining the sweetened condensed milk and chocolate syrup, gently fold them into the whipped cream to maintain the fluffy texture. Avoid vigorous mixing!
-
Freeze Properly: Use an airtight container to freeze your ice cream to prevent ice crystals. Let it freeze for at least four hours for optimal consistency.
-
Serve at the Right Time: Before serving, allow the No Churn Chocolate Ice Cream to sit out for a few minutes to soften slightly. This will make scooping much easier and more enjoyable!
No Churn Chocolate Ice Cream Variations
Feel free to have fun and experiment with these variations to make your No Churn Chocolate Ice Cream even more delightful!
-
Add Mix-Ins: Stir in crushed Oreos, chocolate chips, or nuts for added crunch and flavor depth. These delicious additions make every scoop a little surprise of textures!
-
Nutty Twist: Incorporate some finely chopped nuts, like almonds or hazelnuts, for a lovely crunch. Their rich flavor pairs beautifully with the chocolatey base, creating a delightful contrast.
-
Swirl It Up: Replace chocolate syrup with a ribbon of salted caramel or a dollop of peanut butter for an enticing flavor twist. The salty-sweet combination is a match made in dessert heaven!
-
Berry-Licious Option: Fold in some fresh or frozen raspberries or strawberries for a fruity burst. The tartness of the berries complements the rich chocolate, making each bite refreshing.
-
Minty Fresh: Add a dash of peppermint extract for a refreshing mint chocolate ice cream. It’s like bringing your favorite candy flavor into a frozen treat that’s perfect for summer!
-
Coffee Infusion: Mix in a tablespoon of instant coffee granules for a mocha flair. The coffee enhances the chocolate flavor, giving you a deliciously complex flavor profile.
-
Dairy-Free Delight: Use coconut cream instead of heavy whipping cream and a dairy-free condensed milk alternative to make this a plant-based treat. You won’t miss the dairy with its creamy richness!
-
Indulgent Layering: Create a layered dessert by alternating your ice cream with cake crumbs in a jar. Try it with chocolate cake or your favorite store-bought cookies for an easy yet impressive dessert!
No matter how you choose to customize your No Churn Chocolate Ice Cream, it’s sure to be a hit! For more sweet adventures, you might want to try this Blueberry White Chocolate or the delightful Oatmeal Chocolate Chip bars!
No Churn Chocolate Ice Cream Recipe FAQs
What should I look for when selecting ingredients?
Absolutely! When choosing your heavy whipping cream, look for full-fat options as they provide the best texture and flavor. The sweetened condensed milk should be smooth and creamy; avoid any cans with dents or bulging. For the chocolate syrup, go for high-quality brands to ensure that rich, decadent chocolate flavor shines through.
Advertisement
How long can I store my No Churn Chocolate Ice Cream?
You can keep your No Churn Chocolate Ice Cream in an airtight container for up to two weeks in the freezer. However, for the best quality and flavor, I recommend enjoying it within one week. This way, you’ll experience the freshest taste and a delightful, creamy texture without any freezer burn.
Can I freeze leftover No Churn Chocolate Ice Cream?
Yes! This ice cream freezes beautifully. To freeze, simply transfer any leftover ice cream to an airtight container, ensuring there’s minimal air exposure. If you’d like to enhance its quality, place a sheet of plastic wrap against the surface before sealing the container. Your ice cream will maintain its deliciousness for up to two weeks!
What should I do if my ice cream has become icy or hard?
If you find your ice cream too hard to scoop, don’t despair! Let it sit at room temperature for about 5 minutes before scooping. This gentle warming allows the ice cream to soften just enough for easy serving. Should you notice ice crystals forming, make sure to cover the surface with plastic wrap before sealing, as this helps maintain that luscious and creamy consistency.
Is No Churn Chocolate Ice Cream safe for dietary restrictions?
Absolutely! This recipe is gluten-free and adheres to low FODMAP guidelines, making it suitable for a variety of dietary needs. However, always double-check your ingredients, especially the sweetened condensed milk and chocolate syrup, as some brands may include gluten or high FODMAP additives. If serving to individuals with allergies, ensure all ingredients are safe for their consumption.
No Churn Chocolate Ice Cream – Simple and Irresistibly Creamy
Ingredients
Equipment
Method
- Chill your mixing bowl and beaters in the refrigerator for 20–30 minutes.
- Pour the heavy whipping cream into the bowl and whip on medium speed for 3–5 minutes until stiff peaks form.
- Gently fold in the sweetened condensed milk and chocolate syrup until well combined.
- Pour into a freezer-safe container, smooth the top, and cover tightly. Freeze for a minimum of four hours.
- Let the ice cream sit at room temperature for about 5 minutes before scooping and serving.