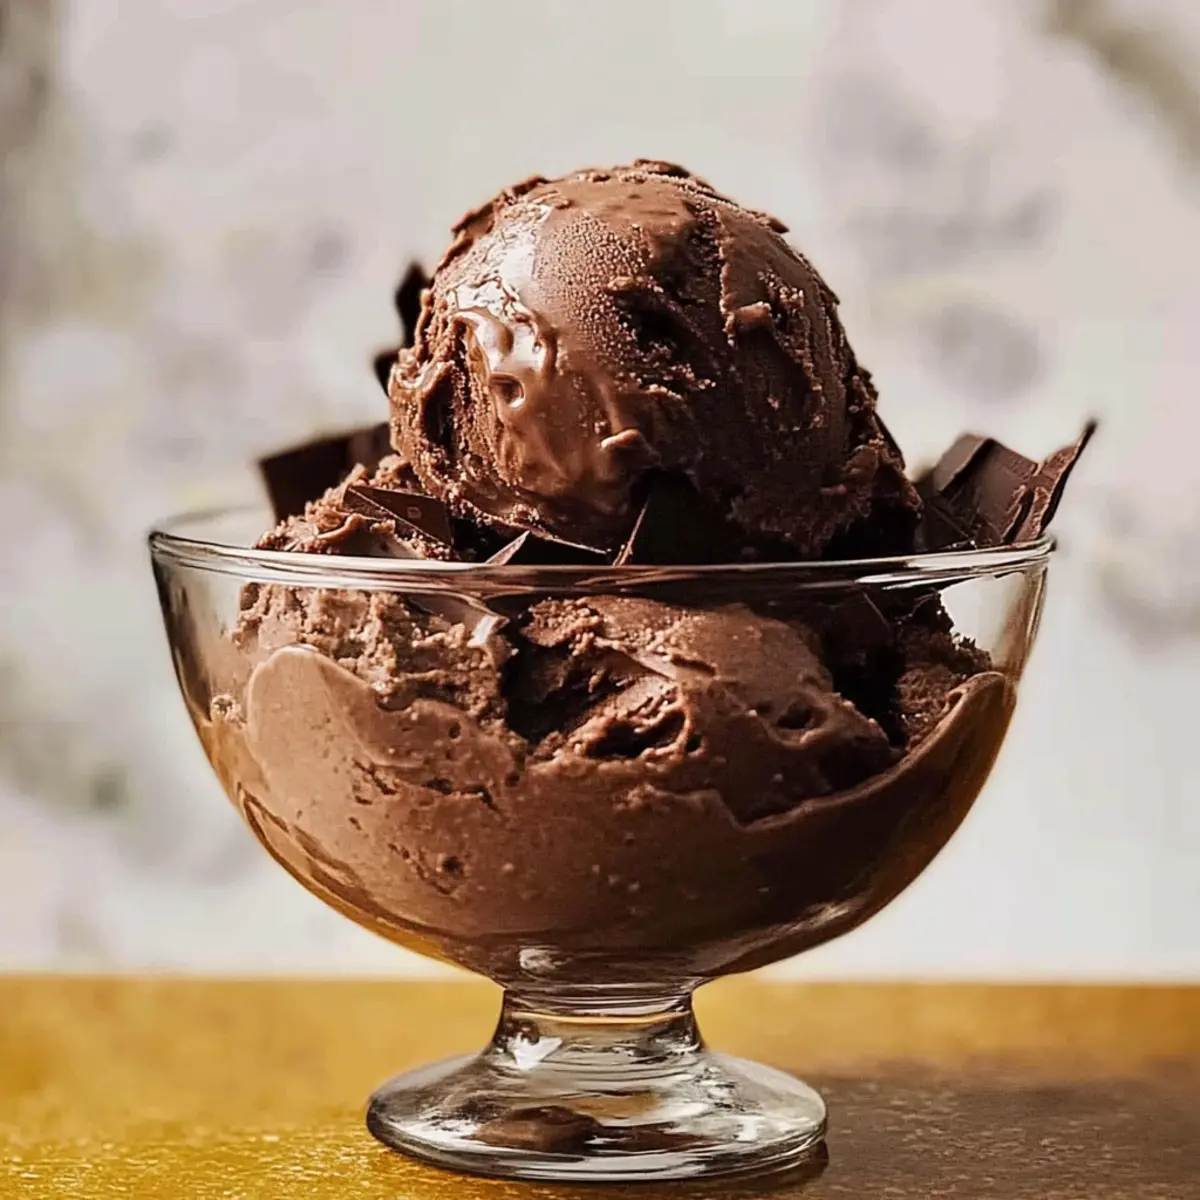
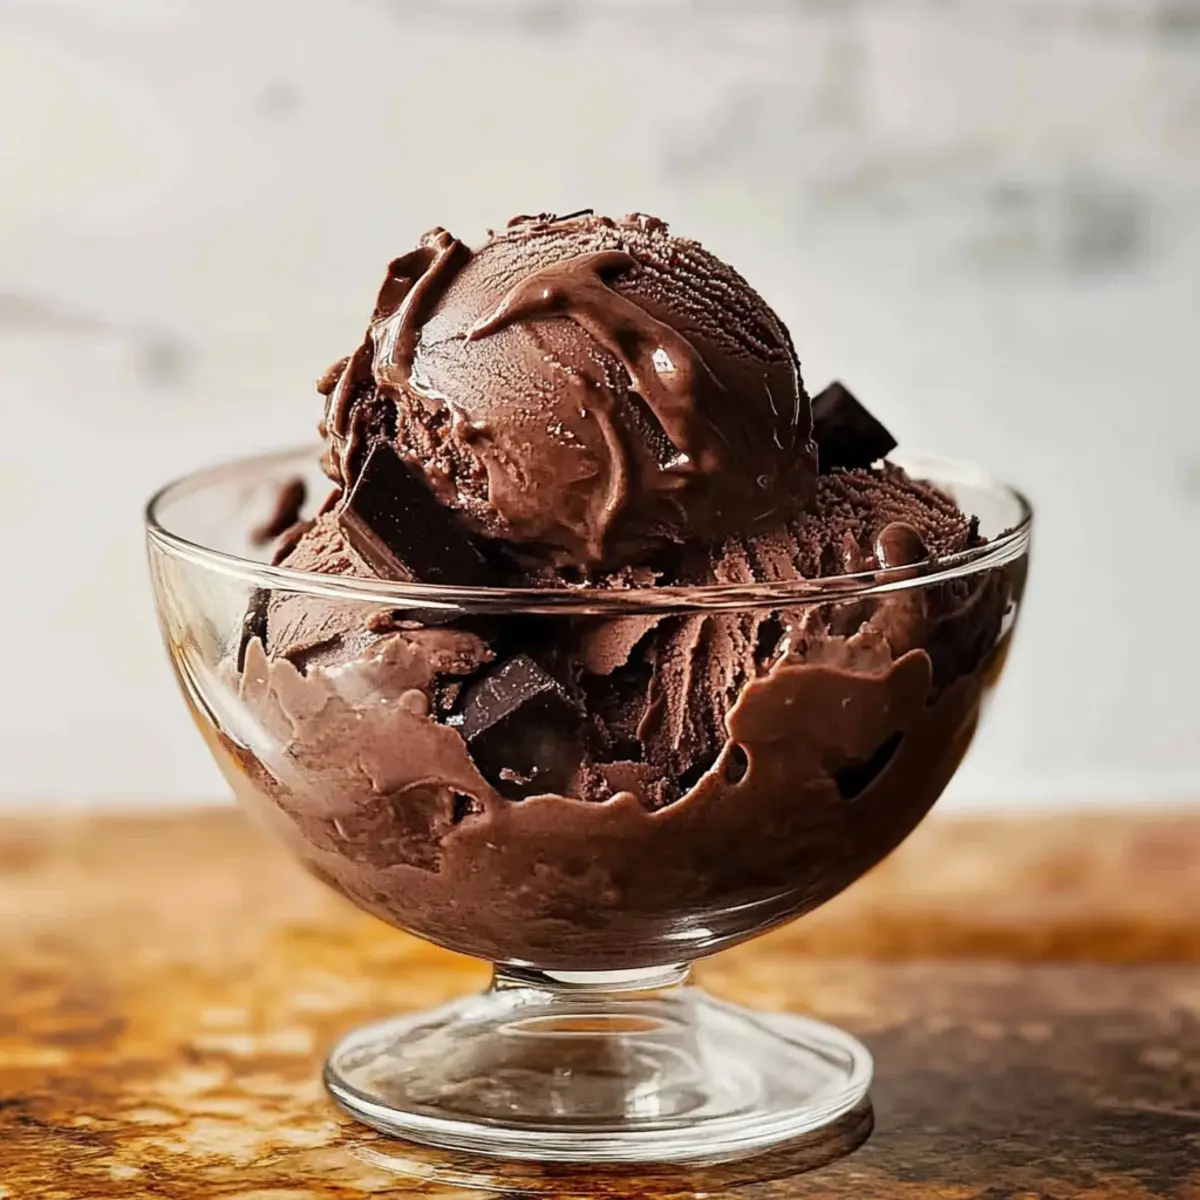
With each scoop of this creamy no-cook chocolate ice cream, I’m transported back to sweltering summer afternoons where chocolate dreams came true. This delightful dessert combines a handful of simple ingredients to create an indulgent treat that’s not only rich in flavor but ready in no time, making it a perfect quick dessert to satisfy those late-night cravings. What’s more, there’s no cooking or eggs involved—just pure, luscious chocolate bliss! Ideal for both casual gatherings and intimate moments, this homemade chocolate ice cream effortlessly elevates any occasion. Are you ready to take your taste buds on a chocolate adventure? Let’s dive into this simple yet decadent recipe!
Why is this chocolate ice cream irresistible?
Creamy Texture: The rich combination of heavy cream and cocoa powder results in a velvety texture that melts in your mouth.
Quick & Easy: With no cooking or eggs required, this recipe is a breeze to whip up, making it perfect for last-minute dessert cravings.
Deep Chocolate Flavor: Every scoop is packed with intense chocolate goodness, reminiscent of your favorite childhood ice cream shop.
Customizable Fun: Feel free to add in chocolate chips, nuts, or even swirls of caramel for a personalized touch that’s sure to impress.
Perfect for Sharing: Serve this indulgent treat at gatherings or cozy nights in, and watch everyone come back for seconds! Pair it with warm brownies for a divine dessert experience. If you’re looking for more delightful ideas, check out my Oatmeal Chocolate Chip bars or Strawberry Cream Cheese Danish for sweet inspiration!
Chocolate Ice Cream Ingredients
For the Ice Cream Base
- Cocoa Powder – Provides the rich chocolate flavor; Dutch-process cocoa delivers a deeper taste.
- Granulated Sugar – Sweetens this chocolate ice cream beautifully; feel free to use a sugar substitute if needed.
- Salt – Just a pinch enhances overall flavor without being noticeable.
- Heavy Cream – Creates a lush, creamy texture; use chilled cream for the best results.
- Vanilla Extract – Adds warmth to the chocolate; almond extract can be an exciting alternative.
For Serving (Optional)
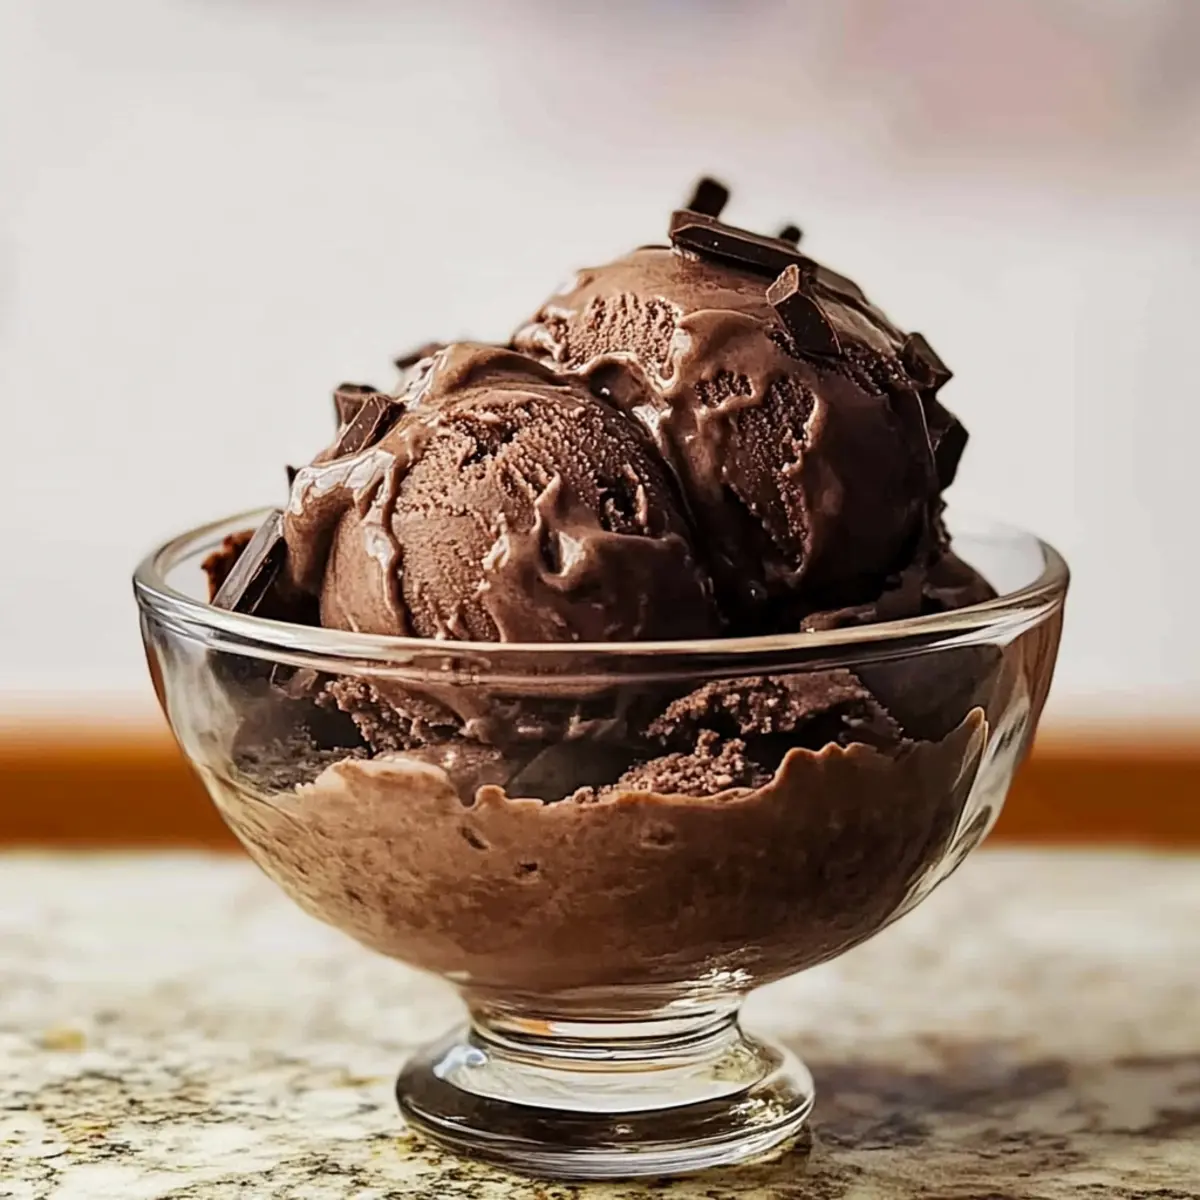
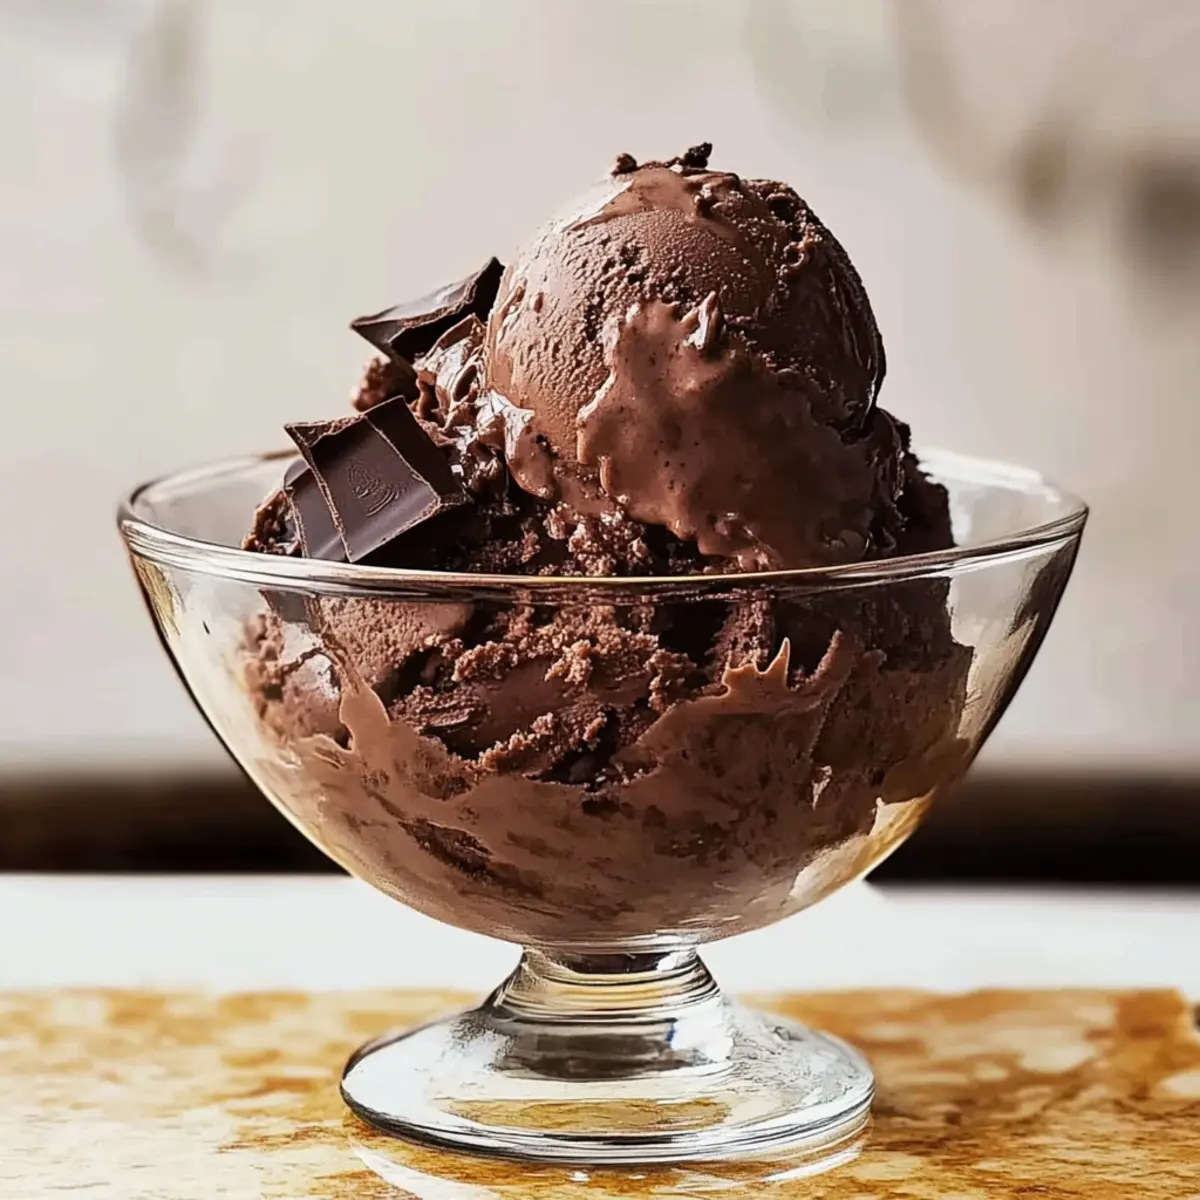
- Dark Chocolate – Optional chunks or shavings on top elevate the chocolate experience for that extra decadence.
Step‑by‑Step Instructions for Creamy No-Cook Chocolate Ice Cream
Step 1: Whisk the Dry Ingredients
In a medium bowl, use a whisk to combine the sifted cocoa powder, granulated sugar, and salt. Mix thoroughly until no clumps remain, which should take about 2 minutes. The dry ingredients should appear uniform and free of any lumps, forming a rich chocolate base for your creamy no-cook chocolate ice cream.
Step 2: Incorporate the Wet Ingredients
Next, add the chilled heavy cream and vanilla extract to the dry mixture. Stir gently with a spatula or wooden spoon until the mixture becomes smooth and thick, roughly 3-5 minutes. You’ll know it’s ready when it takes on a creamy consistency, with all the cocoa and sugar fully dissolved into the rich chocolate blend.
Step 3: Prepare the Ice Cream Maker
Before moving on, ensure that your ice cream maker is set up as per the manufacturer’s instructions. If your machine requires pre-freezing, make sure the bowl is fully chilled for at least 24 hours. Once ready, turn on the machine to start the churning process, getting it prepared to transform your mixture into creamy chocolate ice cream.
Step 4: Churn the Mixture
Pour the chocolate cream mixture into the ice cream maker and churn according to the manufacturer’s guidelines, usually about 15-20 minutes. You’ll notice the texture changing to a soft-serve consistency as it churns. Stop the machine when the ice cream is thick and creamy, ensuring it’s fully aerated and deliciously fluffy.
Step 5: Transfer and Freeze
Carefully transfer the churned chocolate ice cream into an airtight container. Use a spatula to smooth the top and seal it with a lid. Place the container in the freezer for at least 4 hours or until firm. Check that it feels solid and scoopable; this process is essential to achieve that perfect texture for your homemade chocolate ice cream.
Step 6: Serve and Enjoy
Once your creamy chocolate ice cream is frozen to a delightful firmness, scoop it into bowls or cones. If desired, add optional dark chocolate chunks or syrups on top for an extra sweet touch. Serve this indulgent treat at gatherings or as a special dessert just for yourself, savoring each rich spoonful of your homemade creation.
Expert Tips for Chocolate Ice Cream
-
Sifting Cocoa: Always sift your cocoa powder to avoid clumps; this ensures a smooth, creamy chocolate ice cream base.
-
Chill Ingredients: Use chilled heavy cream for a better, creamier texture. This helps incorporate air during churning for that luscious mouthfeel.
-
Timing Matters: Churn the ice cream until it reaches soft-serve consistency, but don’t overdo it—stop when you see it thickening nicely.
-
Storage Tips: Store the chocolate ice cream in the coldest part of the freezer, and use an insulated tub for the best creamy texture over time.
-
Creative Add-ins: Consider swirling in caramel or adding chocolate chips right before the final churn for a delightful twist on your chocolate ice cream.
Chocolate Ice Cream Variations & Substitutions
Get creative and explore delightful twists on this creamy chocolate ice cream that will tantalize your taste buds.
-
Dairy-Free: Substitute heavy cream with coconut cream for a rich, dairy-free delight. The coconut adds a subtle tropical flavor that pairs beautifully with chocolate.
-
Sugar-Free: Use a granulated sweetener like erythritol or stevia to make a sugar-free version without sacrificing sweetness. This way, everyone can enjoy a guilt-free treat!
-
Nutty Infusion: Fold in some chopped nuts like almonds or pecans for added crunch. This variation not only enhances flavor but also provides delightful texture to every scoop!
-
Mint Chocolate: Add a few drops of peppermint extract to the base for a refreshing mint chocolate ice cream. This classic combo is perfect for cooling off on hot days.
-
Spicy Kick: For adventurous souls, stir in a pinch of cayenne pepper or chili powder to create a spicy chocolate ice cream. The heat complements the sweetness beautifully for a surprising treat!
-
Chunky Mix-In: Add chocolate chips or chunks right before the ice cream is fully churned for a double chocolate delight. Every bite will feature pockets of rich chocolate goodness!
-
Caramel Swirls: Drizzle some homemade or store-bought caramel sauce into the churned ice cream for a luscious salted caramel variation. When frozen, it creates decadent ribbons of sweetness!
Take your chocolate adventure to the next level with these variations, just like I do when I pair dishes like Oatmeal Chocolate Chip bars or Blueberry White Chocolate cupcakes with my ice cream. Enjoy customizing this dessert to find your perfect match!
What to Serve with Creamy No-Cook Chocolate Ice Cream
Treat yourself to delightful pairings that elevate this rich chocolate indulgence to new heights.
-
Warm Brownies: The fudgy goodness of warm brownies creates a luscious chocolate experience that’s simply irresistible alongside creamy ice cream.
-
Fresh Strawberries: Juicy, slightly tart strawberries provide a refreshing contrast, balancing the richness of the chocolate and cleansing the palate beautifully.
-
Coffee Cake: A slice of moist coffee cake adds a comforting touch, perfect for a cozy dessert spread that celebrates both sweetness and texture.
-
Chocolate Syrup: Drizzling rich chocolate syrup on top amplifies the decadent experience. It’s the ultimate way to bring an extra touch of indulgence.
-
Whipped Cream: Light and airy whipped cream perfectly complements the dense texture of the ice cream, adding a delightful contrast and an elegant finish.
-
Mint Leaves: A sprig of fresh mint not only adds a vibrant pop of color but also a refreshing note that elevates the overall flavor profile.
-
Milkshake: Blend a scoop of ice cream with some milk and chocolate syrup for a luscious milkshake that makes for an indulgent drinkable dessert.
-
Espresso: A shot of espresso served alongside brings out the chocolate’s depth, creating a beautifully rich coffee pairing that’s pure magic.
Make Ahead Options
This creamy no-cook chocolate ice cream is perfect for preparing ahead, saving time for busy weeknights or spontaneous dessert cravings! You can whip up the chocolate mixture and refrigerate it for up to 24 hours before churning. Just make sure to store it in an airtight container to prevent any lingering flavors from seeping in. When you’re ready to enjoy your chocolate ice cream, simply churn the chilled mixture according to your ice cream maker’s instructions, and freeze it for at least 4 hours until firm. This way, you’ll have luscious, homemade chocolate ice cream ready to impress your family and friends with minimal last-minute effort!
How to Store and Freeze Chocolate Ice Cream
Fridge: Store any leftover chocolate ice cream in an airtight container for up to 3 days. However, it’s best enjoyed fresh for optimal flavor and creaminess.
Freezer: Place the chocolate ice cream in the coldest part of the freezer for long-lasting freshness. It’s best consumed within 1-2 weeks for the perfect creamy texture.
Reheating (if needed): If your ice cream hardens too much, let it sit at room temperature for 5-10 minutes before scooping to soften. Enjoy every last bite of your delightful chocolate ice cream!
Tip for Insulation: For even better texture, consider using an insulated ice cream tub to help maintain the creaminess and prevent ice crystals from forming.
Chocolate Ice Cream Recipe FAQs
How do I choose the right cocoa powder for chocolate ice cream?
Absolutely! For the richest flavor, I recommend using Dutch-process cocoa powder. It has a deeper, more complex taste compared to regular unsweetened cocoa, which can also work, though it may result in a slightly different flavor profile. Just make sure to sift it before mixing to avoid any clumps!
How should I store leftover chocolate ice cream?
You can store any leftover chocolate ice cream in an airtight container in the fridge for up to 3 days, though it’s best enjoyed fresh for that perfect creamy texture. For longer storage, keep it in the coldest part of your freezer, and it will stay fresh for about 1-2 weeks. To maintain quality, I suggest using an insulated ice cream tub to prevent ice crystals from forming.
Advertisement
Can I freeze chocolate ice cream for longer periods?
Yes, indeed! If you want to keep your chocolate ice cream for longer, it can be stored in the freezer for up to 3 months. Just ensure it’s sealed tightly to prevent freezer burn. When you’re ready to enjoy it, let it sit at room temperature for about 5-10 minutes for easier scooping.
What should I do if my chocolate ice cream is too soft?
If your chocolate ice cream is too soft after churning, it might need more time in the freezer. Transfer it to an airtight container and freeze for at least 4 hours or until firm. If it hardens too much, simply let it sit out for 5-10 minutes at room temperature before scooping.
Can I make this ice cream recipe dairy-free or low-calorie?
Absolutely! To make a dairy-free version, substitute heavy cream with full-fat coconut milk or a dairy-free cream alternative. For a low-calorie option, you can use a granulated sweetener instead of sugar. Just be mindful that the texture might slightly differ, but it will still be delicious!
Is this chocolate ice cream safe for my pets?
While a small serving of plain, dark chocolate is usually ok for humans, chocolate can be toxic to pets, especially dogs. It’s best to keep this chocolate ice cream away from your furry friends to ensure their safety. Always check with your vet if you’re unsure!
Indulge in Creamy Chocolate Ice Cream Made Easy
Ingredients
Equipment
Method
- Whisk the sifted cocoa powder, granulated sugar, and salt in a medium bowl until no clumps remain (about 2 minutes).
- Add chilled heavy cream and vanilla extract to the dry mixture, stirring gently until smooth (roughly 3-5 minutes).
- Set up your ice cream maker according to the manufacturer's instructions, ensuring the bowl is chilled if necessary.
- Pour the mixture into the ice cream maker and churn according to the guidelines (about 15-20 minutes).
- Transfer the churned ice cream into an airtight container, smooth the top, seal, and freeze for at least 4 hours.
- Once firm, scoop into bowls or cones, adding optional dark chocolate on top before serving.