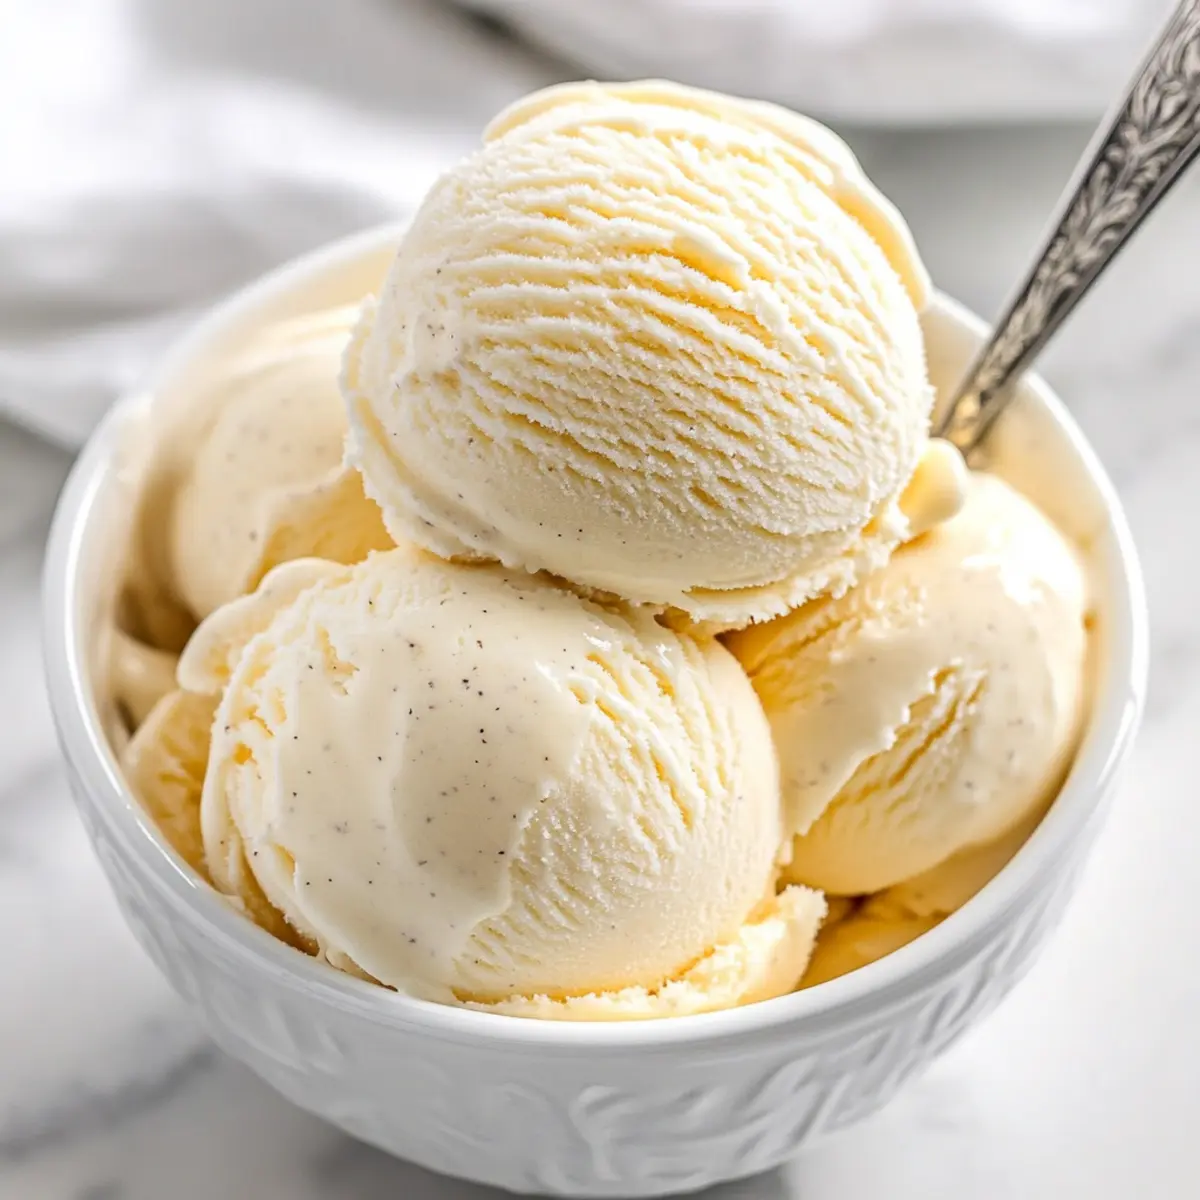
As I stood in my kitchen, the sun streaming through the window, a wave of nostalgia swept over me. Homemade ice cream has a way of bringing back those carefree summer days filled with laughter and sunshine, doesn’t it? This Classic Creamy Vanilla Homemade Ice Cream recipe captures that deliciously rich essence with a perfect note of sweet vanilla, making it an irresistible treat for both warm afternoons and cozy evenings at home. With its quick prep time and the option for a no-churn version, whipping up a creamy indulgence has never been easier. Imagine scooping this velvety goodness into a bowl, ready to be enjoyed by family and friends. Are you ready to transform your kitchen into an ice cream parlor? Let’s dive in!
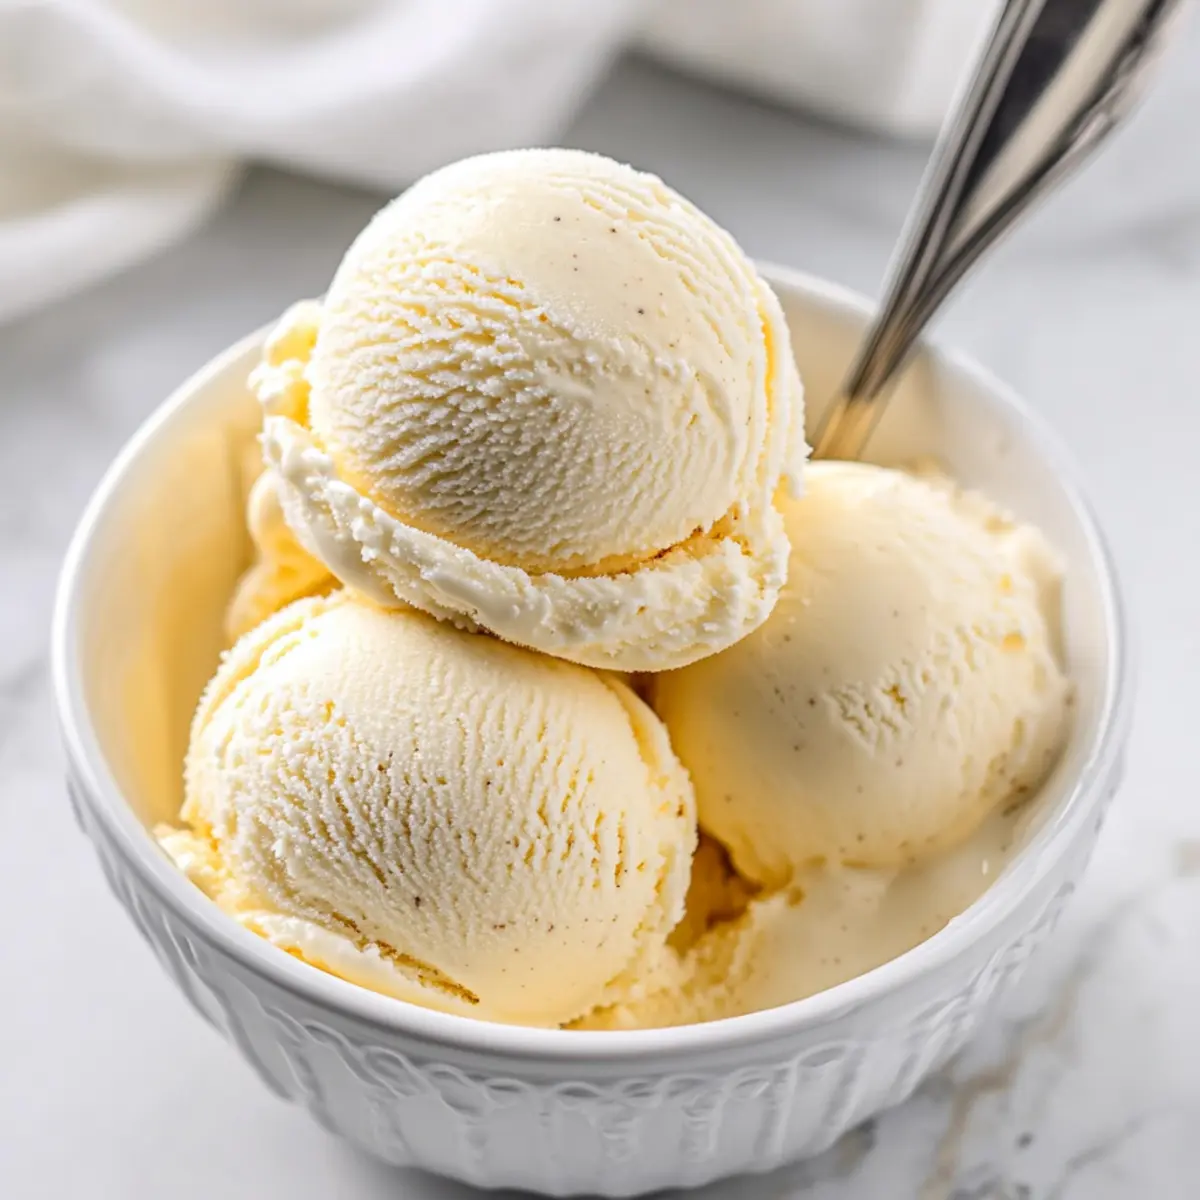
Why is Homemade Ice Cream a Must-Try?
Unparalleled Freshness: There’s nothing quite like the taste of homemade ice cream, created with your own flavor preferences. Quick Prep Time: You can whip this up in no time—perfect for spontaneous dessert cravings. Versatile Flavors: From classic vanilla to chocolate or even mint, the variations let your creativity shine! Crowd-Pleasing Delight: Serve this creamy treat at any gathering, and watch it disappear. No-Churn Option: Don’t have an ice cream maker? No problem! You can still enjoy delicious homemade ice cream with my easy no-churn method. Pair it with warm brownies or a slice of pie for a perfect dessert combo!
Homemade Ice Cream Ingredients
For the Ice Cream Base
• Heavy Cream – Provides richness and a velvety texture; for a dairy-free option, try full-fat coconut milk.
• Sugar – Sweetens the mix and helps maintain a creamy scoopable consistency; alternative sweeteners can work, but adjust liquid ratios carefully.
• Vanilla Extract – Essential for flavor depth; always opt for pure vanilla extract for the best results.
• Milk – Balances the richness of the cream; whole milk is preferred, though low-fat can be used.
• Egg Yolks (optional) – Create a custard-style, creamy texture; skip if you prefer a lighter ice cream.
Optional Mix-Ins
• Chocolate Chips – Add them for delightful bursts of chocolate throughout your homemade ice cream.
• Fresh Berries – Fold in for a fruity twist; perfect for a refreshing summer treat.
• Crushed Cookies – Mix in for added texture; think of beloved flavors like cookies and cream.
Embrace the joy of making homemade ice cream and let your creativity flow!
Step‑by‑Step Instructions for Classic Creamy Vanilla Homemade Ice Cream
Step 1: Whisk the Base Ingredients
In a mixing bowl, combine 2 cups of heavy cream, 1 cup of milk, ¾ cup of sugar, and 1 tablespoon of pure vanilla extract. Using a whisk, blend the ingredients together for about 2-3 minutes until the sugar dissolves completely. You’ll notice the mixture becomes creamy and slightly thickened, laying the perfect foundation for your homemade ice cream.
Step 2: Prepare Custard (Optional)
For a custard-style ice cream, add 4 egg yolks into a saucepan and pour in the cream mixture from Step 1. Over low heat, gently stir the mixture with a wooden spoon, cooking it for about 8-10 minutes until it thickens slightly and coats the back of the spoon. Once you achieve this creamy consistency, remove it from heat and let it cool completely.
Step 3: Chill the Mixture
Once cooled, transfer the mixture into a bowl or pitcher and cover it with plastic wrap. Chill in the refrigerator for at least 2 hours, or until it’s nice and cold. A well-chilled mixture is crucial for achieving that silky texture in your classic creamy vanilla homemade ice cream.
Step 4: Churn the Ice Cream
Pour the chilled mixture into your ice cream maker, following the manufacturer’s instructions. Churn the mixture on medium speed for about 20-25 minutes, or until it reaches a soft-serve consistency. You’ll see the mixture transform into a luscious ice cream, ready for storage or serving!
Step 5: Freeze to Firm Up
Transfer the churned ice cream into an airtight container, smoothing the top with a spatula. For added freshness, layer a piece of parchment wax paper directly onto the surface. Freeze the container for at least 3-4 hours, allowing your classic creamy vanilla homemade ice cream to firm up to a scoopable texture.
Step 6: Serve and Enjoy
Before serving, let the homemade ice cream sit at room temperature for about 5-10 minutes to soften slightly. This will make scooping easier and enhance the wonderful creamy texture. Now, you’re ready to indulge in your homemade ice cream joyfully!
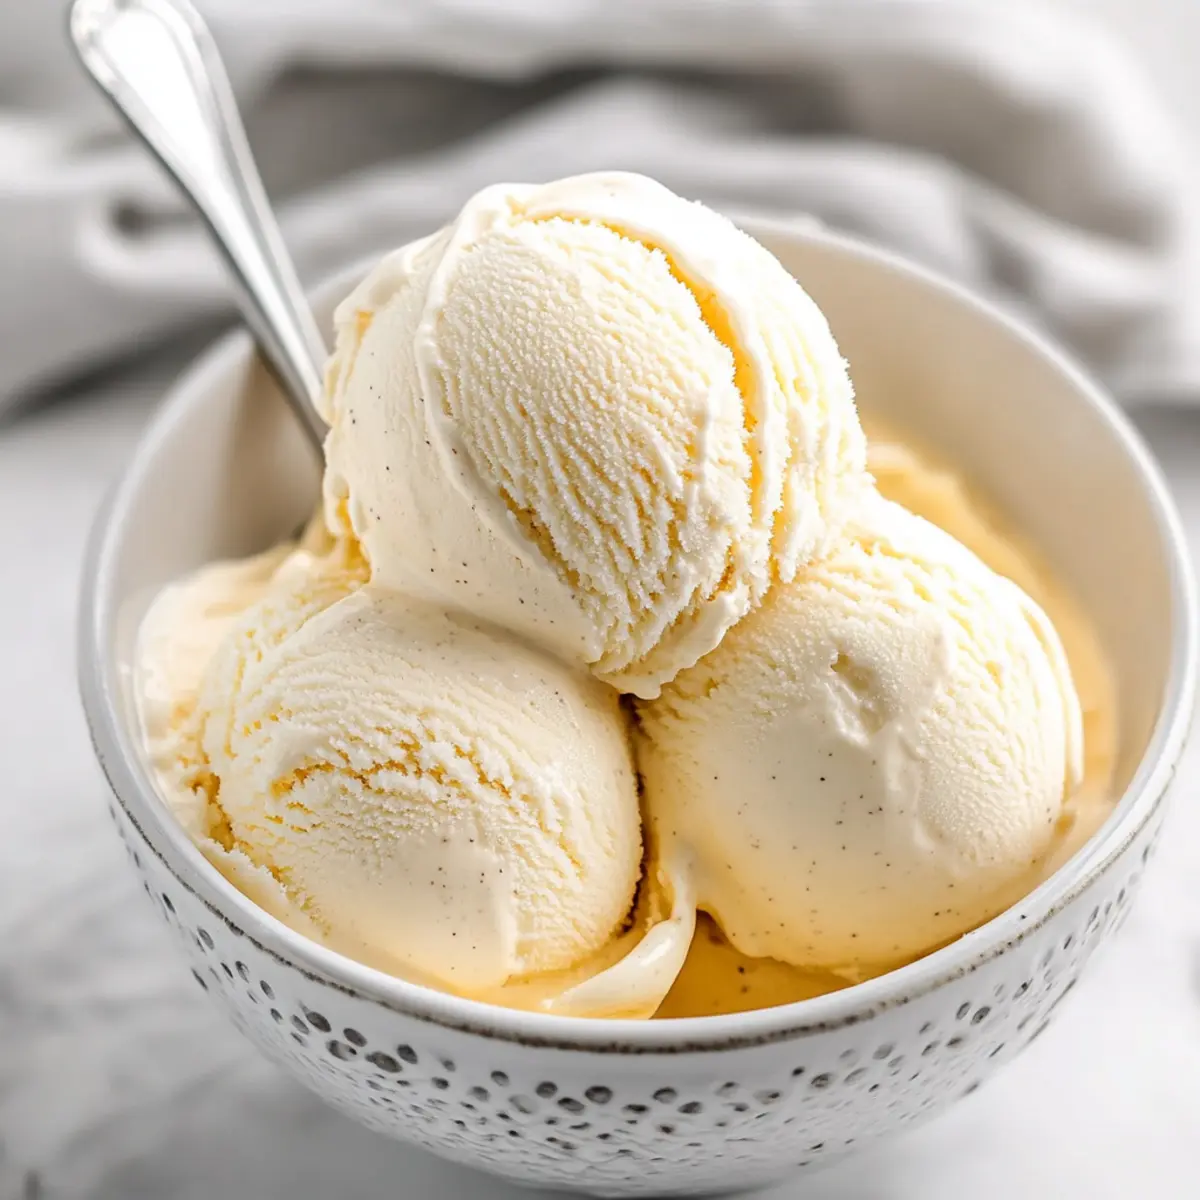
What to Serve with Classic Creamy Vanilla Homemade Ice Cream
Indulge in a delightful array of pairings that enhance the bliss of homemade ice cream, creating mouthwatering moments for your taste buds.
-
Warm Brownies: The rich, fudgy texture of brownies contrasts perfectly with creamy ice cream, making for a decadent combination that’s utterly satisfying.
-
Fresh Berries: Light and refreshing, berries add a burst of flavor and a touch of natural sweetness that perfectly complements the classic vanilla base.
-
Chocolate Sauce: Drizzling warm chocolate sauce over your homemade ice cream creates a delightful melty texture and intense sweetness that’s simply irresistible.
-
Wafer Cones: The crunchy, crispy texture of wafer cones provides a fun and nostalgic vehicle for your creamy indulgence, turning each scoop into a fun experience.
-
Toasted Nuts: Adding toasted almonds or pecans gives a delightful crunch and a nutty flavor that elevates your ice cream experience to a whole new level.
-
Coconut Flakes: Sweetened or unsweetened coconut flakes introduce a tropical twist and chewy texture that brings an exotic flair to your creamy treat.
-
Fruit Compote: A warm compote made from fruits like peaches or strawberries adds a succulent tang that balances the richness of the ice cream.
-
Coffee: A cup of freshly brewed coffee serves as a perfect contrast to the sweet richness of your homemade ice cream, enhancing the overall dessert experience.
-
Caramel Drizzle: The smooth, buttery sweetness of warm caramel enhances each scoop, creating a fabulous flavor combination that feels indulgently crafted.
Homemade Ice Cream: Flavorful Twists
Feel free to explore these delicious ways to customize your homemade ice cream, inviting creativity into your kitchen!
- Minty Fresh: Swap out vanilla extract for mint extract for a refreshing peppermint ice cream that sings summer vibes.
- Chocolate Dream: Replace the vanilla with chocolate syrup for an ultra-rich chocolate ice cream experience everyone will adore.
- Berry Bliss: Fold in fresh berries like strawberries or raspberries right before churning to brighten and elevate the flavors.
- Cookie Crunch: For a fun texture, mix in crushed cookies or cookie dough bits during the last minutes of churning; think cookies and cream!
- Nutty Delight: Add a handful of chopped nuts for a satisfying crunch, enhancing both flavor and texture in your ice cream.
- Spice It Up: Infuse your base with a dash of cinnamon or nutmeg for a warm, cozy flavor twist; perfect for cooler evenings.
- Tropical Escape: Incorporate coconut milk and shredded coconut for a dreamy, tropical version that transports you to an island paradise.
- Drizzle of Caramel: Swirl in caramel sauce right before you freeze for a decadent, salty-sweet homemade ice cream experience.
Mix and match these variations, and consider pairing your delightful treat with warm brownies or a scoop atop a slice of pie for an indulgent dessert moment! If you’re looking for even more recipe inspiration, check out this Coconut Curry Chicken Rice or try making German Frikadellen Homemade to create a full meal experience!
Make Ahead Options
Making Classic Creamy Vanilla Homemade Ice Cream in advance is a fantastic way to save time and ensure you have a delicious treat ready to serve! You can prepare the ice cream base up to 24 hours ahead of time by whisking together 2 cups of heavy cream, 1 cup of milk, ¾ cup of sugar, and 1 tablespoon of vanilla extract. After blending, cover the mixture and refrigerate it overnight for optimal chilling. Also, if you opt for the custard-style, chill it after cooking for at least 2 hours before churning. When you’re ready to enjoy your homemade ice cream, simply churn as directed and freeze to firm it up for 3-4 hours. This way, your creamy dessert remains just as delightful, providing you with a sweet treat for those well-deserved evenings or gatherings!
Expert Tips for Homemade Ice Cream
-
Chill Well: Make sure your mixture is thoroughly chilled before churning to achieve that creamy texture in your homemade ice cream.
-
Mix-Ins Timing: Add chocolate chips, fruits, or crushed cookies towards the end of churning to ensure even distribution without weighing down the mix.
-
Storage Technique: Store your ice cream in an airtight container and layer wax paper over the surface to prevent ice crystals formation.
-
Adjust Sweetness: Taste your mixture before freezing and adjust the sweetness according to your preference; remember that flavors can mellow out when frozen.
-
Egg Yolk Caution: If using egg yolks for a custard base, ensure you cook just until thickened—overheating can scramble the eggs.
How to Store and Freeze Homemade Ice Cream
Airtight Container: Store your homemade ice cream in an airtight container to keep it fresh and prevent ice crystals from forming. Enjoy it best within 1-2 weeks for optimal flavor.
Freezer: Freeze the ice cream for at least 3-4 hours until firm, ensuring a scoopable consistency. Always cover the surface with parchment wax paper to maintain texture.
Reheating: When ready to serve, let the ice cream sit at room temperature for 5-10 minutes before scooping. This allows the creamy homemade ice cream to soften for the perfect serving experience.
Room Temperature: Avoid leaving homemade ice cream out for more than 30 minutes to prevent it from melting too much and losing its delightful texture.
Classic Creamy Vanilla Homemade Ice Cream Recipe FAQs
How do I select ripe ingredients for my homemade ice cream?
Absolutely! For the best homemade ice cream, especially if you’re adding fresh fruits, ensure they are as ripe as possible. Look for berries that are vibrant in color and free of dark spots. If using vanilla extract, opt for pure extract rather than imitation for a richer flavor.
What is the best method to store homemade ice cream?
The best way to store your homemade ice cream is in an airtight container. It’s crucial to press a piece of parchment wax paper directly onto the surface of the ice cream before sealing, as this helps prevent ice crystals from forming and keeps it fresh. Homemade ice cream is best enjoyed within 1-2 weeks for optimal taste and texture.
Advertisement
Can I freeze my homemade ice cream, and how long will it keep?
Yes, you can freeze your homemade ice cream easily! Once churned, transfer it to an airtight container and freeze for at least 3-4 hours until firm. If stored properly in the freezer, your ice cream can last for up to 3 months. Just remember to check the texture; if it’s too hard, allow it to sit at room temperature for 5-10 minutes before scooping.
What if my homemade ice cream turns out too icy?
Very! If you find your homemade ice cream is icy rather than creamy, it could be due to inadequate churning or insufficient chilling of the base ingredients before freezing. To troubleshoot, ensure that your mixture is well-chilled for at least 2 hours before churning. Churn until it reaches a soft-serve consistency, then quickly freeze it in an airtight container, covering it with parchment wax paper.
Can I adjust the recipe for dietary restrictions?
Absolutely! For those with dietary restrictions, you can make this homemade ice cream dairy-free by substituting heavy cream and milk with full-fat coconut milk. Additionally, adjust the sugar amount to cater to specific dietary needs using alternative sweeteners like agave or stevia, but be cautious with the liquid ratios! Always check for allergies to any mix-ins you may wish to include.
Is homemade ice cream safe for my pets?
Not really! While your creamy homemade ice cream is a delightful treat for you, it’s important to remember that many ingredients, particularly chocolate and certain artificial sweeteners like xylitol, are toxic to pets. Always consult your vet if you’re considering sharing any human food with your furry friends, and stick to pet-safe treats for them.
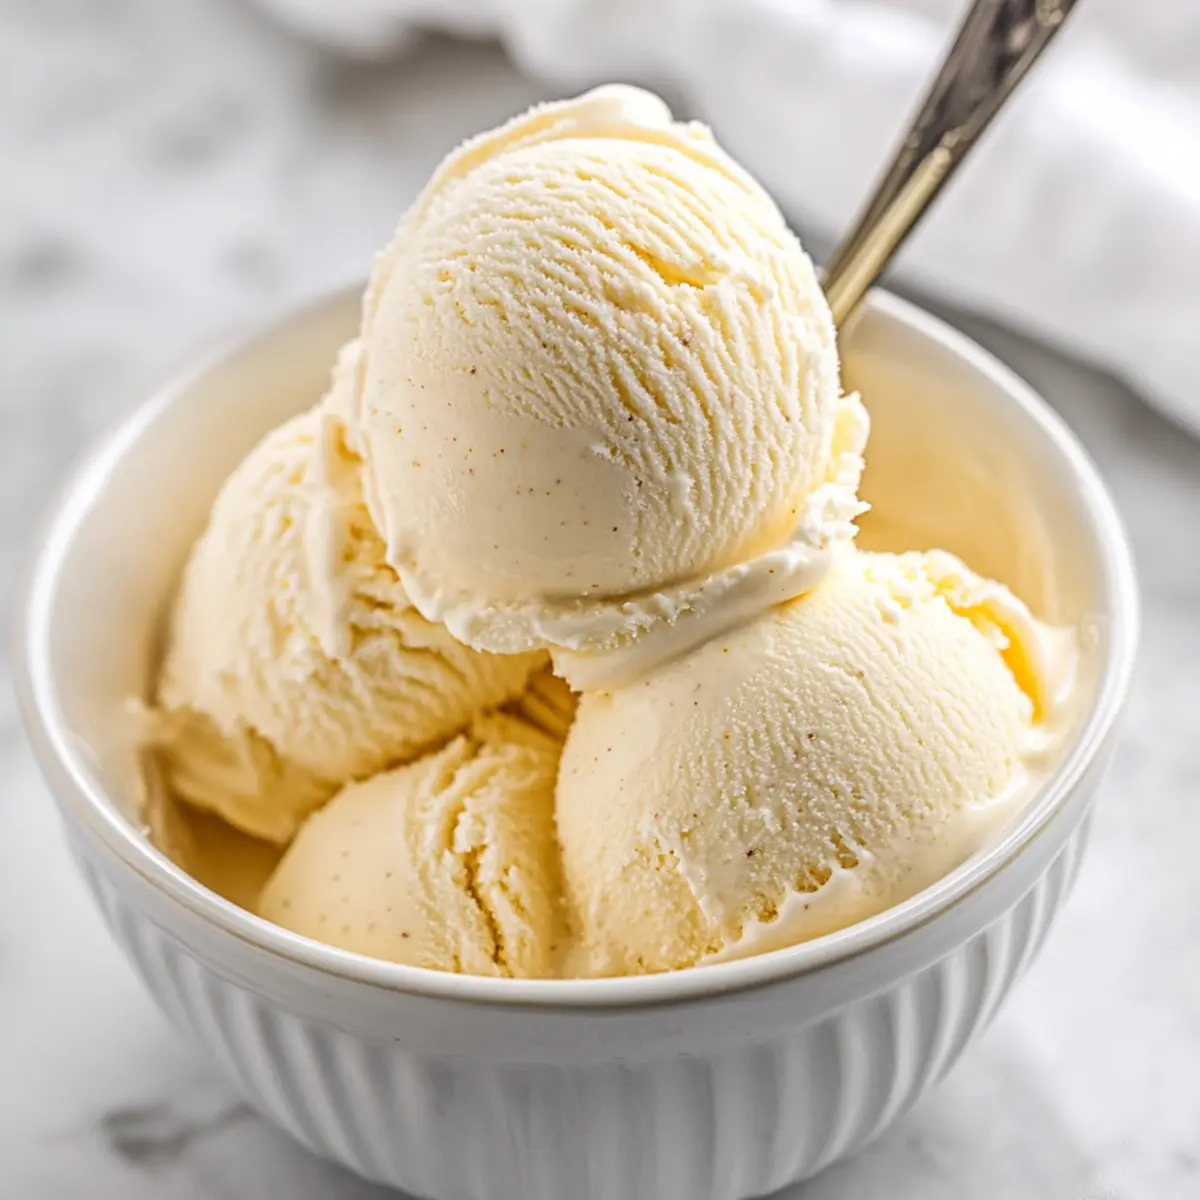
Creamy Homemade Ice Cream: A Blissful Summer Treat
Ingredients
Equipment
Method
- In a mixing bowl, combine heavy cream, milk, sugar, and vanilla extract. Whisk together for 2-3 minutes until sugar dissolves.
- For a custard-style ice cream, add egg yolks to a saucepan and pour in the cream mixture. Stir over low heat for 8-10 minutes until thickened.
- Transfer the mixture into a bowl and cover with plastic wrap. Chill in refrigerator for at least 2 hours.
- Pour the chilled mixture into your ice cream maker and churn for 20-25 minutes until soft-serve consistency.
- Transfer the churned ice cream into an airtight container, layer with parchment wax paper, and freeze for at least 3-4 hours.
- Before serving, let icre cream sit at room temperature for 5-10 minutes to make scooping easier.