As I gazed into the depths of my ice cream maker, I felt a rush of excitement—today was the day I would create something truly magical: Cookie Butter Ice Cream. This creamy cinnamon delight marries the cozy warmth of spices with the crunchy richness of Biscoff cookies, transforming a simple dessert into a sensational experience. Not only is it a simple way to beat the heat on those sweltering summer days, but it also serves as the perfect party pleaser, sure to impress family and friends alike. Whether you’re looking to indulge in a sweet treat or just wanting to elevate your homemade ice cream game, this recipe will hit the spot. Who’s ready to scoop up some happiness?

Why is Cookie Butter Ice Cream a Must-Try?
Irresistible Flavor: This ice cream offers a rich, cinnamon-infused taste that tantalizes your taste buds with every spoonful.
Easy to Make: With just a few steps, creating this homemade delight is a breeze. Perfect for chefs and home cooks alike who crave dessert without the hassle!
Crowd-Pleasing Treat: Whether at summer barbecues or cozy family nights, this delectable dessert is sure to impress your guests and leave them wanting more.
Unique Twist: The crunchy Biscoff cookie bits and luxurious swirls of cookie butter elevate this ice cream beyond the typical, making it a true standout.
Endless Variations: Feel free to mix it up by adding caramel or experimenting with different cookie flavors. Elevate your ice cream game with this recipe!
This Cookie Butter Ice Cream is your ticket to turning ordinary days into extraordinary moments. Don’t forget to check out Cheesy Garlic Butter Crescent Rolls or Polenta Garlic Butter for more delicious creations that will keep your taste buds dancing!
Cookie Butter Ice Cream Ingredients
For the Ice Cream Base
• Whole Milk – Provides a creamy base. Substitution Note: Use low-fat milk for a lighter version.
• Heavy Cream – Enhances the richness and creates a smooth texture. No substitution recommended for best results.
• Sugar – Adds sweetness. Consider using brown sugar for a deeper flavor.
• Egg Yolks – Contributes to creaminess and rich texture. Egg substitutes may alter texture.
• Cinnamon – Infuses warm spice flavor. Optional: Use nutmeg for variation.
For the Add-Ins
• Biscoff Cookies – Provides crunch and a distinctive cookie flavor. Substitution Note: Any similar spiced cookies can be used.
• Cookie Butter – Adds a sweet, smooth ribbon of flavor. Homemade cookie butter can be used.
Step‑by‑Step Instructions for Cookie Butter Ice Cream
Step 1: Prepare Base
In a medium saucepan, combine whole milk, heavy cream, and sugar over medium heat. Stir constantly until the sugar dissolves completely, about 5 minutes. You should see steam rising but ensure not to bring it to a boil. Remove from heat and set aside to cool slightly while you prepare the egg yolks.
Step 2: Incorporate Egg Yolks
In a separate mixing bowl, whisk together the egg yolks until they are well blended and slightly frothy. Gradually add the warm cream mixture to the yolks, whisking continuously to temper them and prevent scrambling. Pour the mixture back into the saucepan and cook over low heat, stirring constantly until it thickens enough to coat the back of a spoon, approximately 8–10 minutes.
Step 3: Add Flavors
Once the mixture has thickened, remove it from the heat and stir in the cinnamon until evenly distributed. Allow the base to cool to room temperature—this should take about 20 minutes. This cooling process will enhance the flavors in your cookie butter ice cream, setting the stage for that delicious, creamy texture.
Step 4: Chill Mixture
Transfer the cooled mixture to a clean bowl and cover it with plastic wrap, pressing the wrap directly onto the surface to prevent a skin from forming. Place the bowl in the refrigerator and chill for at least 2-3 hours, or overnight if possible. The colder the base, the creamier your finished cookie butter ice cream will be.
Step 5: Churn Ice Cream
Once thoroughly chilled, pour the mixture into your ice cream maker. Churn according to the manufacturer’s instructions until it reaches a soft serve consistency, which usually takes about 20-25 minutes. Be sure to monitor closely to achieve that perfect creamy texture for your cookie butter ice cream.
Step 6: Mix Add-Ins
During the last few minutes of churning, add the crushed Biscoff cookies and swirls of cookie butter, allowing them to mix throughout the ice cream. This step is critical for elevating your cookie butter ice cream with delightful chunks of cookie and rich flavor bursts, making each bite a treat.
Step 7: Freeze Ice Cream
Finally, transfer the churned ice cream into an airtight container and spread it evenly. Smooth the top and cover it tightly with a lid. Place the container in the freezer for at least 4 hours, or until the ice cream is firm and ready to be scooped, ensuring you have the perfect balance of creaminess and structure for serving.
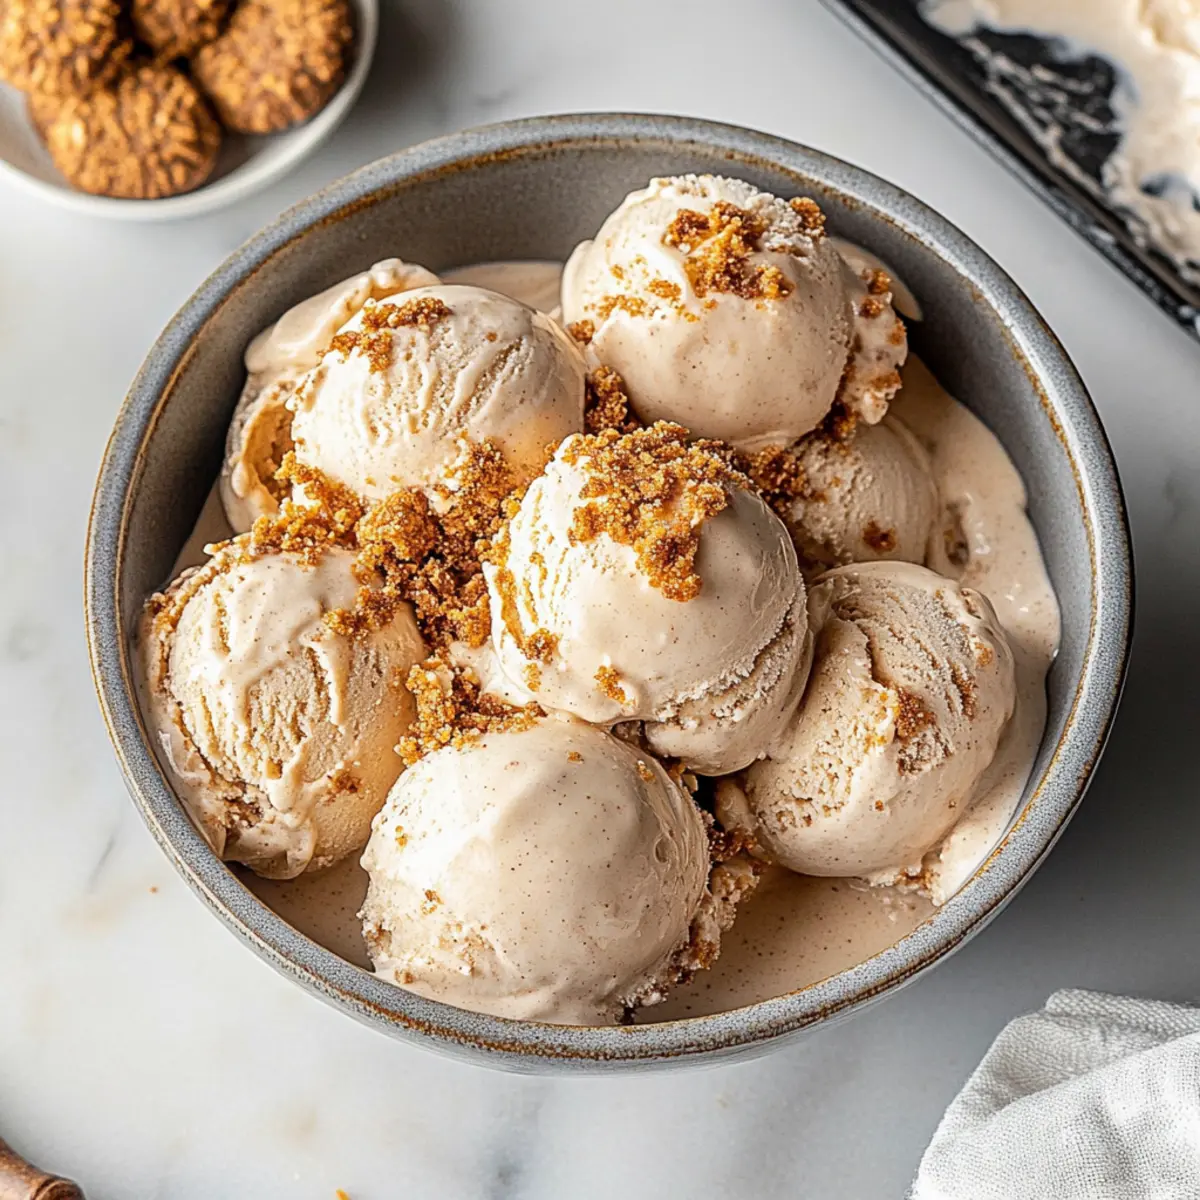
What to Serve with Cookie Butter Ice Cream?
Indulging in a scoop of Cookie Butter Ice Cream isn’t just about the flavor; it’s about creating a delightful experience that engages all your senses.
-
Warm Brownies: Pair this creamy ice cream with warm, fudgy brownies for a rich contrast that melts in your mouth.
-
Fresh Fruits: Sliced bananas or strawberries provide a refreshing balance, cutting through the sweetness while adding a burst of natural flavor.
-
Caramel Sauce: Drizzling a homemade caramel sauce adds a luscious, buttery layer, intensifying the dessert without overpowering it.
-
Chocolate Chip Cookies: For the ultimate indulgence, serve your ice cream alongside freshly baked chocolate chip cookies. The combination of textures is simply divine.
-
Spiced Chai Tea: A warm cup of chai tea offers spices that harmonize beautifully with the cinnamon notes in the ice cream, elevating the dessert experience.
-
Toasted Pecans: Adding a sprinkle of toasted pecans brings a delightful crunch and nuttiness, enhancing the depth of flavor and texture.
-
Chocolate Fudge Sauce: This decadent addition enhances richness, creating a gooey, chocolatey layer that pairs perfectly with each creamy scoop.
-
Ice Cream Cones: For a fun twist, serve the cookie butter ice cream in waffle cones, making it easy to enjoy while adding a satisfying crispness.
-
Vanilla Cake Slice: A slice of light, fluffy vanilla cake provides a lovely contrast to the dense creaminess, complementing the spiced flavors while keeping things light.
Expert Tips for Cookie Butter Ice Cream
Thorough Cooking: Ensure the egg mixture is properly cooked; this prevents any raw egg flavor in your cookie butter ice cream.
Cool Consistently: Chill the base overnight for a smoother, creamier texture. Don’t skip this step for best results!
Proper Churning: Keep an eye on the churning time; over-churning can lead to a grainy texture, so stop when it reaches soft serve consistency.
Add Generously: Be generous when adding crushed Biscoff cookies and cookie butter; it enhances the flavor and creates delightful surprises in every scoop.
Airtight Storage: Store your ice cream in an airtight container to prevent freezer burn. Let it soften for 5-10 minutes at room temperature before scooping for easier serving.
Make Ahead Options
These scrumptious Cookie Butter Ice Cream delights are perfect for busy weeknights or special gatherings, enabling you to prepare in advance for effortless serving! You can prepare the ice cream base up to 24 hours in advance by following steps 1 through 4, then refrigerate until chilled. For optimal flavor and texture, cover the mixture with plastic wrap pressed directly onto the surface to prevent skin formation. When you’re ready to enjoy, simply churn the mixture (step 5) and mix in your add-ins (step 6). Finally, freeze for at least 4 hours before serving. This way, your homemade cookie butter ice cream will be just as delicious and ready to impress when it’s time to scoop!
Variations & Substitutions: Cookie Butter Ice Cream
Feel free to let your creativity shine by customizing this ice cream recipe for your personal taste and dietary needs!
-
Dairy-Free: Use coconut milk and full-fat coconut cream to create a luscious, dairy-free alternative.
-
Lower Sugar: Opt for a sugar substitute like erythritol or stevia to cut down on sweetness without losing flavor.
-
Nutty Twist: Add a swirl of almond or peanut butter for an unexpected nutty flavor that complements the cookie butter beautifully.
-
Chocolate Version: Stir in cocoa powder or melted chocolate into the base for a dreamy chocolate cookie butter ice cream.
-
Spice Variations: Experiment with flavors by swapping cinnamon for pumpkin spice or cardamom for a unique aromatic touch.
-
Texture Boost: Mix in finely chopped nuts like pecans or walnuts for an added crunch that enhances the overall texture.
-
Caramel Swirl: Drizzle in homemade or store-bought caramel sauce during the last minutes of churning for an extra layer of sweetness.
-
Fruit Addition: Fold in fresh or frozen berries for a surprising fruity punch that perfectly balances the creaminess.
If you’re captivated by layers of flavor and texture, you might also enjoy serving this with a side of Cheesy Garlic Butter Crescent Rolls or a scoop of Garlic Butter Chicken for a delightful contrast in your meal!
Storage Tips for Cookie Butter Ice Cream
Freezer: Store your cookie butter ice cream in an airtight container in the freezer for up to 2 weeks, ensuring it stays creamy and delicious.
Room Temperature: Before serving, let the ice cream sit at room temperature for 5-10 minutes to soften for easier scooping, enhancing your enjoyment.
Covering: Always cover the top of the ice cream with plastic wrap before sealing the container to prevent ice crystals from forming.
Reheating: If you have leftover cookie butter ice cream, simply refreeze any melted portions to maintain its smooth texture.
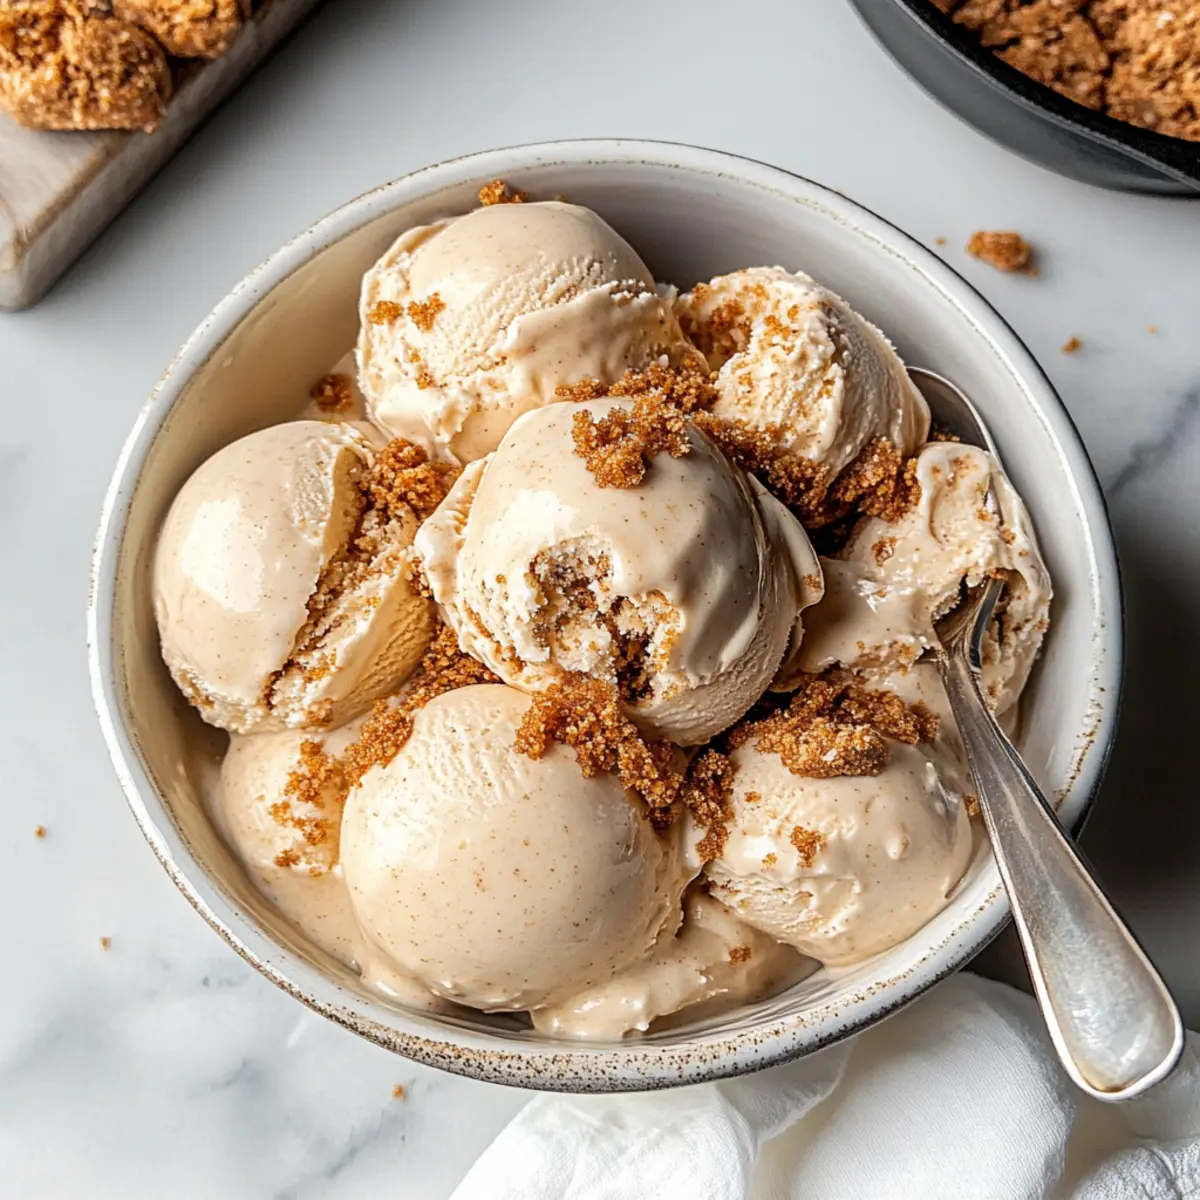
Advertisement
Cookie Butter Ice Cream Recipe FAQs
What type of Biscoff cookies should I use?
You can use any Biscoff cookies for this recipe, but if you can’t find them, feel free to substitute with similar spiced cookies like gingersnaps or snickerdoodles. Each variation will add its unique flavor to your cookie butter ice cream!
How long can I store cookie butter ice cream?
Your homemade cookie butter ice cream can be stored in an airtight container in the freezer for up to 2 weeks. To maintain its best texture, cover the surface with plastic wrap before sealing the container to prevent ice crystals from forming.
Can I freeze the cookie butter ice cream for longer?
Absolutely! While it’s best enjoyed fresh, you can freeze it for up to 3 months if stored properly in an airtight container. Just be sure to soften it at room temperature for 5-10 minutes before scooping when you’re ready to serve.
What should I do if my ice cream is too hard after freezing?
If your cookie butter ice cream is too hard, let it sit out at room temperature for about 5-10 minutes before scooping. This allows it to soften slightly, providing that perfect creamy texture. Alternatively, you can leave it in the fridge for about 30 minutes to an hour before serving.
Are there any dietary considerations I should keep in mind?
If you have allergies, keep in mind that this recipe contains dairy and eggs, which may not be suitable for those with lactose intolerance or egg allergies. For a dairy-free version, you could experiment with using almond milk and a dairy-free cream alternative, although it may alter the texture and flavor slightly.
How can I make my cookie butter ice cream even creamier?
To achieve an extra creamy texture, I recommend chilling the base overnight before churning, and making sure that your ice cream maker is pre-frozen according to the manufacturer’s instructions. Proper churning time is crucial, so keep a close eye to avoid over-churning!

Creamy Cookie Butter Ice Cream with Crunchy Biscoff Swirls
Ingredients
Equipment
Method
- In a medium saucepan, combine whole milk, heavy cream, and sugar over medium heat. Stir constantly until the sugar dissolves completely, about 5 minutes.
- Remove from heat and set aside to cool slightly while you prepare the egg yolks.
- In a separate mixing bowl, whisk together the egg yolks until they are well blended and slightly frothy.
- Gradually add the warm cream mixture to the yolks, whisking continuously to temper them and prevent scrambling.
- Pour the mixture back into the saucepan and cook over low heat, stirring constantly until it thickens enough to coat the back of a spoon, approximately 8–10 minutes.
- Once the mixture has thickened, remove it from the heat and stir in the cinnamon until evenly distributed.
- Allow the base to cool to room temperature—this should take about 20 minutes.
- Transfer the cooled mixture to a clean bowl and cover it with plastic wrap, pressing the wrap directly onto the surface.
- Chill in the refrigerator for at least 2-3 hours, or overnight for best results.
- Pour the chilled mixture into your ice cream maker and churn according to the manufacturer's instructions until it reaches a soft serve consistency, about 20-25 minutes.
- During the last few minutes of churning, add the crushed Biscoff cookies and swirls of cookie butter.
- Transfer the churned ice cream into an airtight container and spread it evenly.
- Cover it tightly with a lid and freeze for at least 4 hours, or until firm.