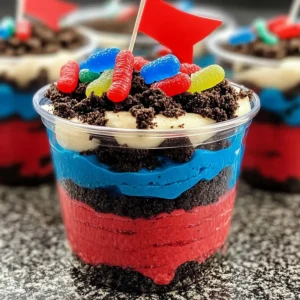
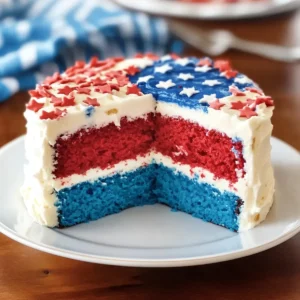
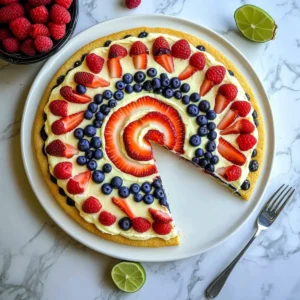
As I rummaged through my pantry, the last remnants of whipped cream caught my eye, and inspiration struck! Suddenly, I envisioned a fun and festive dessert that would brighten any occasion: Red, White and Blue Dirt Cups. These no-bake delights come together in a flash, making them perfect for busy weeknights or celebratory gatherings with friends and family. The combination of creamy pudding, crunchy Oreos, and vibrant colors creates a dessert that’s not only visually stunning but also endlessly customizable. Whether you’re celebrating the Fourth of July or hosting a birthday bash, these cups are guaranteed showstoppers that will have everyone asking for seconds. What special twist will you put on these delicious cups?
Why You’ll Love Red, White and Blue Dirt Cups
Easy to Make: These delightful cups are no-bake and can be whipped up quickly, perfect for those who want a festive treat without the hassle.
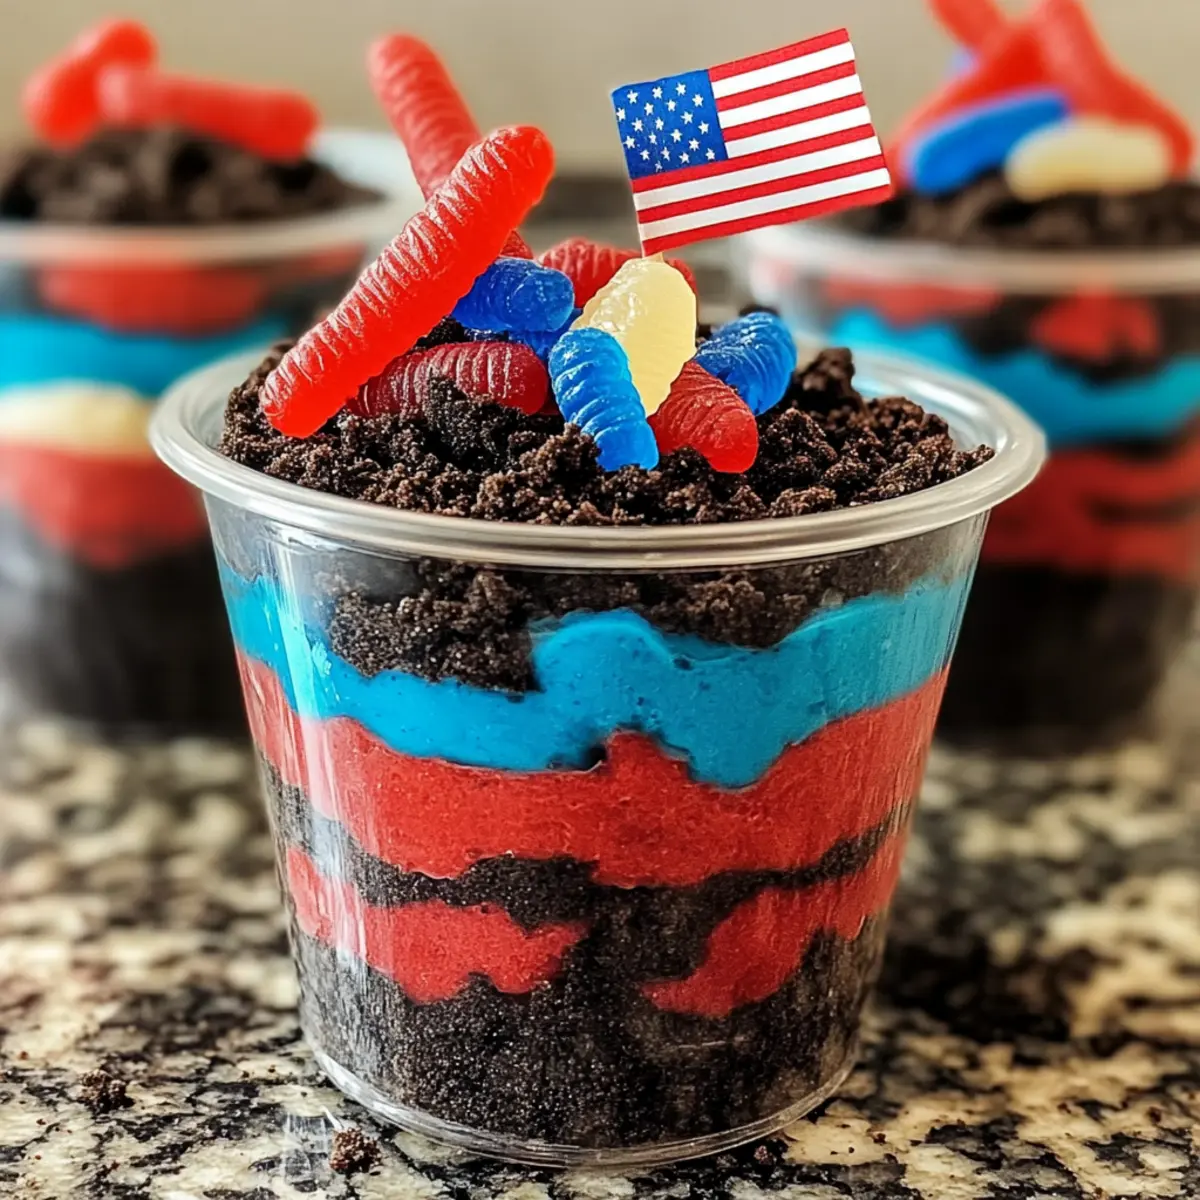
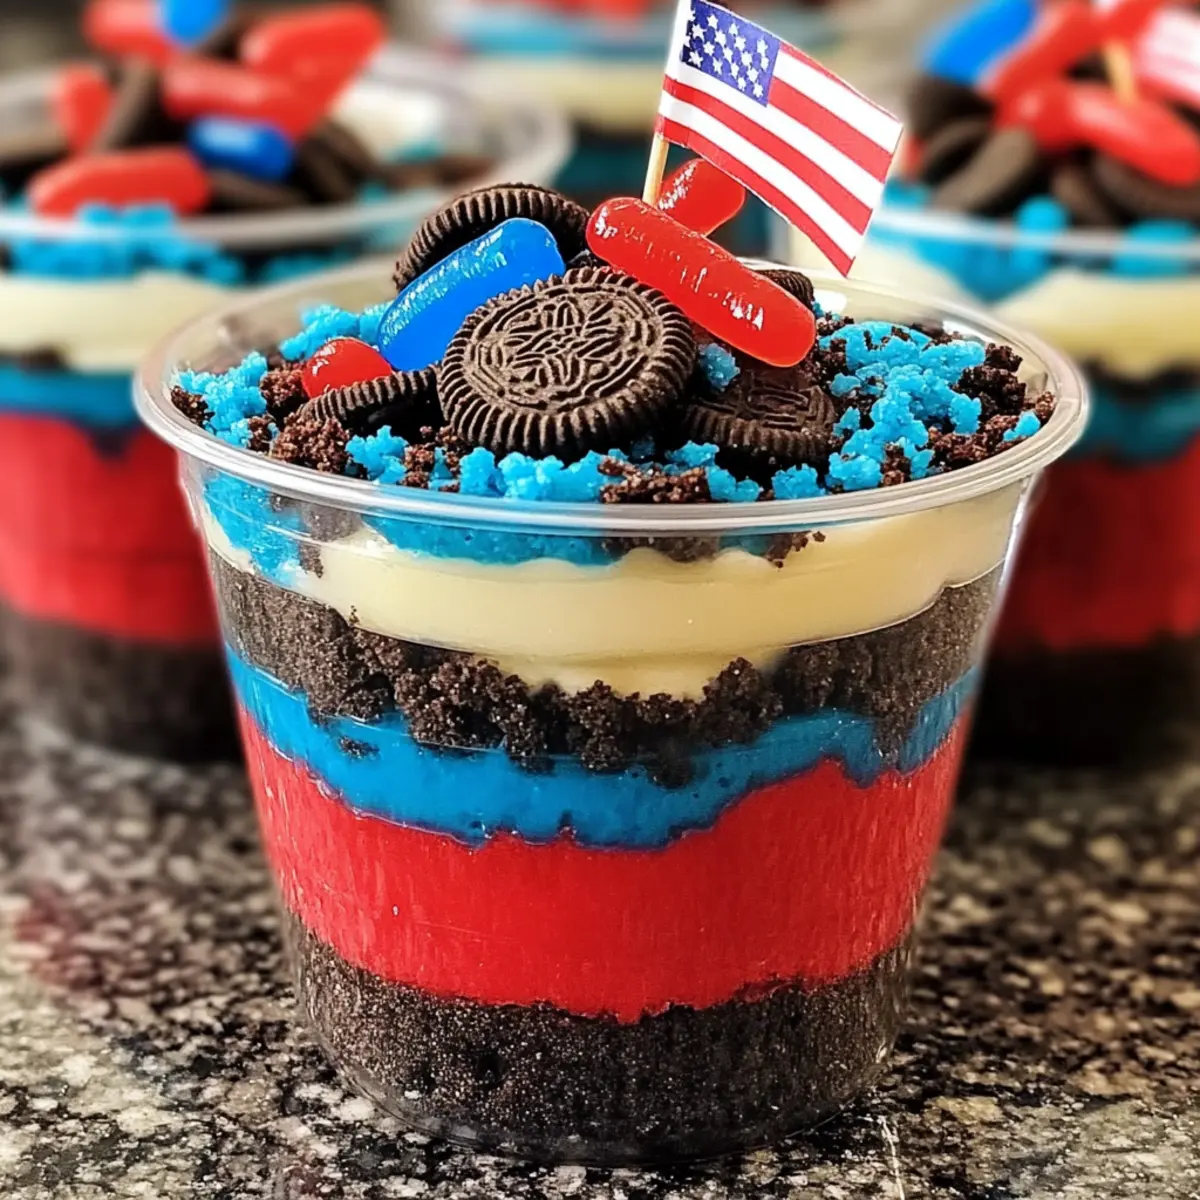
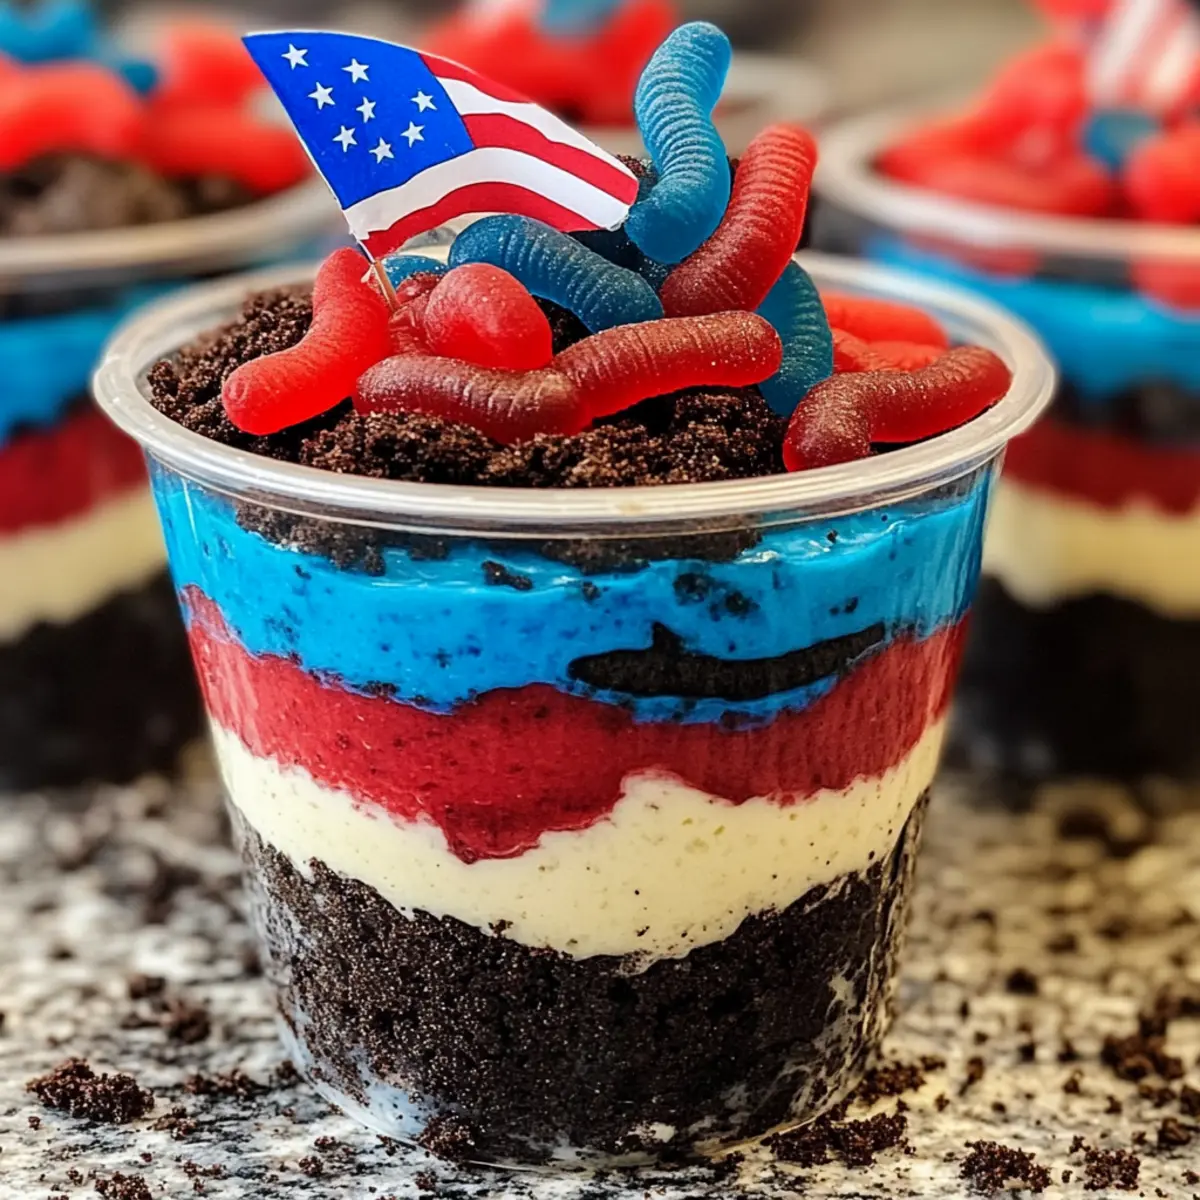
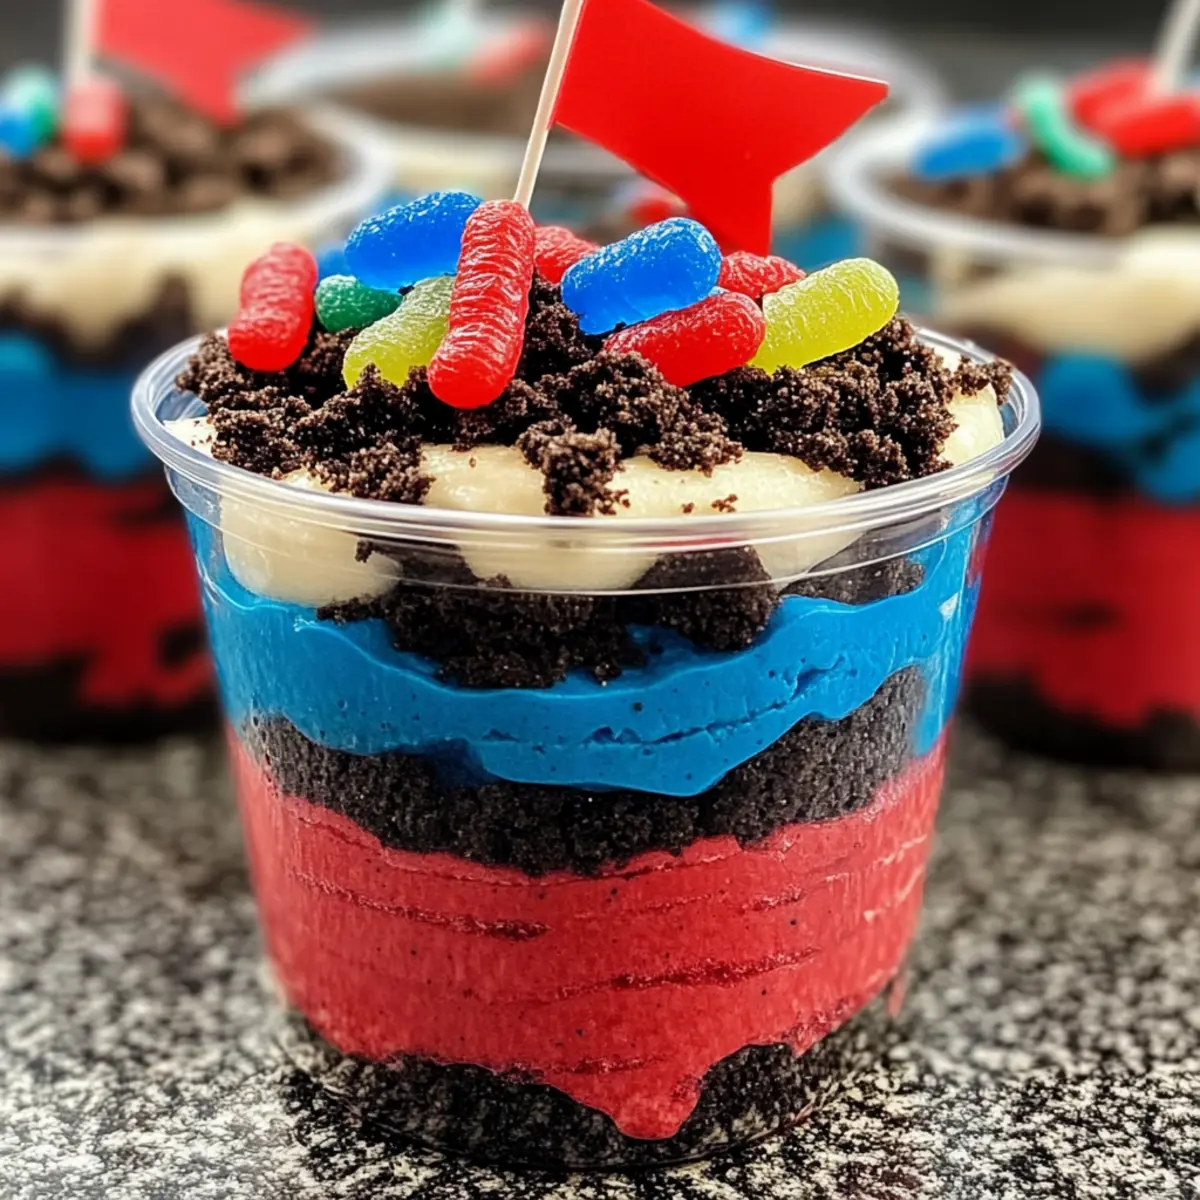
Visually Stunning: The vibrant red and blue layers paired with the creamy white pudding make these cups a showstopper for any occasion.
Endlessly Customizable: Experiment with different pudding flavors or add fresh fruits like berries to create your unique version.
Crowd-Pleaser Appeal: Kids and adults alike will be excited to dive into this playful dessert—perfect for gatherings or holiday celebrations.
Make-Ahead Option: Prepare them a day in advance for enhanced flavors, allowing you to enjoy the festivities without stress.
Why not complement your dessert experience by serving these cups alongside some delicious Blueberry White Chocolate cupcakes? Your guests will be in for a treat!
Red, White and Blue Dirt Cups Ingredients
For the Pudding
• Cheesecake pudding – Provides a creamy base and sweet flavor, but you can swap it out for vanilla or chocolate pudding for a fun twist.
• Milk – Necessary for mixing with the pudding, with whole milk recommended for richness; low-fat alternatives work too.
• Blue and red gel food dye – Adds vibrant colors to the layers, although liquid food coloring can be used as an alternative if needed.
For the Layers
• Crushed Oreos – Provides a crunchy texture and chocolate flavor, but feel free to use crushed graham crackers for a new taste.
• Gummy worms – A fun decorative element on top; try fresh fruit or themed candies to mix it up.
• Whipped cream (optional) – Adds fluffiness; you can replace part of the milk with yogurt for a healthier option.
These Red, White and Blue Dirt Cups ingredients come together to create a delightful treat perfect for any celebration!
Step‑by‑Step Instructions for Red, White and Blue Dirt Cups
Step 1: Prepare the Pudding
In a large mixing bowl, whisk together 2 boxes of cheesecake pudding with 4 cups of milk using a hand mixer for about 2 minutes until the mixture thickens to a smooth, creamy consistency. Ensure there are no lumps, and the pudding holds its shape slightly when you lift the whisk—this is the perfect base for your Red, White and Blue Dirt Cups.
Step 2: Color the Pudding
Divide the prepared pudding into two separate bowls. In one bowl, add a few drops of blue gel food dye and stir until the color is vibrant and even. In the other bowl, mix in red gel food dye similarly until you achieve a rich, bright hue. This will create the festive and colorful layers for your Red, White and Blue Dirt Cups.
Step 3: Layer the Cups
Begin assembling your cups by placing 1 tablespoon of crushed Oreos at the bottom of each clear plastic cup. Carefully spoon in 2 tablespoons of the blue pudding on top of the Oreos, spreading it evenly. Follow this layer with another tablespoon of crushed Oreos for added texture, ensuring you’re creating distinct layers for a beautiful presentation.
Step 4: Continue Layering
Next, add 3 tablespoons of the white pudding over the Oreos, followed by an additional 1 ½ tablespoons to enhance the creaminess of your Red, White and Blue Dirt Cups. The white layer creates a lovely contrast to the blue pudding below, adding depth and richness to the dessert.
Step 5: Add the Final Layer
Top off your dessert with 4 tablespoons of red pudding to create a striking visual effect. Make sure the red pudding is the final layer for the ultimate festive look. Press it gently down to help the layers adhere while still maintaining the distinct colors for your Red, White and Blue Dirt Cups.
Step 6: Garnish and Serve
Finish your cups by sprinkling the remaining crushed Oreos on top for a crunchy finish, then add gummy worms as a fun decorative element, or use fresh fruit for a healthier option. Serve immediately, or refrigerate your assembled Red, White and Blue Dirt Cups for up to 3 hours before serving to let the flavors meld beautifully.
Expert Tips for Red, White and Blue Dirt Cups
-
Mix with Care: Over-mixing the pudding can lead to a grainy texture. Whisk gently until thickened to ensure a smooth, creamy base for your Red, White and Blue Dirt Cups.
-
Vibrant Colors: To achieve the most vivid hues, use gel food dye instead of liquid. Adjust the amount according to your desired color intensity.
-
Layering Technique: For the best presentation, use clear cups and build distinct layers. Don’t rush; take your time to create beautiful striped effects with the pudding and Oreos.
-
Chill for Flavor: Refrigerate the cups for at least an hour before serving. This allows the layers to set and the flavors to meld perfectly, enhancing the overall taste.
-
Customization is Key: Feel free to experiment with different pudding flavors and add fruit layers; this customization will keep your Red, White and Blue Dirt Cups fresh and exciting!
Storage Tips for Red, White and Blue Dirt Cups
- Fridge: Store assembled cups in the refrigerator for up to 3 days. Cover them tightly with plastic wrap to prevent any off-flavors and maintain freshness.
- Freezer: It’s not recommended to freeze these cups, as the texture may change after thawing. Enjoy them fresh for the best experience!
- Reheating: No reheating necessary; simply take them out of the fridge and serve chilled for a delightful, refreshing treat.
- Make-Ahead: For enhanced flavors, prepare the cups a day in advance. Just make sure to enjoy them while they’re fresh for the best texture and taste.
Red, White and Blue Dirt Cups Variations
Unlock your creativity in the kitchen by trying out these exciting variations!
- Berry Boost: Add fresh strawberries or blueberries between layers for a fruity explosion. You’ll love how the tartness complements the creamy pudding!
- Chocolate Delight: Use chocolate pudding instead of cheesecake for a richer flavor. This twist will satisfy any chocolate lover’s cravings.
- Gluten-Free Treat: Swap Oreos for gluten-free cookies to make this dessert accessible for everyone while keeping all the fun!
- Tropical Twist: Incorporate coconut pudding or add toasted coconut flakes for a tropical flair. Imagine the delightful chewiness mingling with those vibrant layers!
- Nutty Crunch: Toss in some crushed nuts like almonds or pecans between the layers for added texture and a nutty flavor that elevates the overall experience.
- Yogurt Layer: Replace part of the whipped cream with Greek yogurt for a tangy, protein-packed twist. It’s a delicious way to sneak in some health benefits!
- Flavor Swirl: Mix in hints of lemon zest or a splash of vanilla extract to your pudding for an aromatic surprise that will take your cups to a whole new level!
These variations are just the beginning. For even more delicious treats, consider pairing your Red, White and Blue Dirt Cups with some delightful Egg Cheesecake Cups or a scrumptious batch of Chewy Browkies Chocolate!
Make Ahead Options
These Red, White and Blue Dirt Cups are perfect for meal prep enthusiasts! You can prepare the pudding up to 24 hours in advance, allowing the flavors to meld beautifully. Just mix the cheesecake pudding with milk (using 2 boxes and 4 cups, respectively) and color it as described, then store it in the refrigerator covered tightly to prevent it from absorbing odors or drying out. Assemble the cups with layers of crushed Oreos and the colored pudding up to 3 hours before serving to maintain the ideal texture; simply refrigerate them until ready to enjoy. Trust me, with these make-ahead options, you’ll have a festive and delicious dessert ready with minimal effort when it’s time to celebrate!
What to Serve with Red, White and Blue Dirt Cups
Brighten your mealtimes with perfect combinations that enhance these festive desserts!
-
Fresh Fruit Salad: A colorful mix of seasonal fruits adds a refreshing balance and a healthy touch, complementing the sweetness of the cups.
-
Classic Lemonade: The zesty flavor of lemonade cuts through the richness of the pudding, providing a refreshing contrast perfect for warm days.
-
Mini Fruit Skewers: Skewers with strawberries, blueberries, and watermelon offer a playful and nutritious side that echoes the vibrant colors of your dessert.
-
Cheese Platter: A selection of creamy cheeses mixed with crackers adds a savory element that balances the sweetness of the dirt cups, making for an exciting flavor contrast.
-
Dark Chocolate Mousse: For a richer dessert experience, serve mini cups of smooth dark chocolate mousse—its deep flavors beautifully complement the sweet and vibrant layers of the cups.
-
Enjoy with Sparkling Water: Offer refreshing sparkling water infused with lemon and mint for a light beverage that cleanses the palate between bites of the rich pudding dessert.
Red, White and Blue Dirt Cups Recipe FAQs
What’s the best way to choose ripe ingredients?
Absolutely! When selecting your ingredients, ensure your milk is fresh and unexpired for the creamiest pudding. For vibrant colors, opt for high-quality gel food dyes that are bright and bold. If you decide to use fresh fruit, look for berries that are plump and firm for the best texture.
How should I store the cups, and for how long?
These delightful Red, White and Blue Dirt Cups can be stored in the refrigerator for up to 3 days. To keep them fresh, cover the cups tightly with plastic wrap to prevent any off-flavors from affecting your dessert. Just remember, the longer they sit, the more the texture may change slightly, but they’ll still taste great!
Advertisement
Can I freeze the Red, White and Blue Dirt Cups?
I recommend against freezing these cups, as the texture will change after thawing, leading to a less enjoyable experience. Instead, enjoy them fresh from the fridge! If you’re looking to prepare ahead of time, making them a day in advance for chilling is a perfect option to enhance flavor without compromising texture.
What should I do if my pudding is grainy?
If you find your pudding has turned out grainy, don’t worry! This can happen from over-mixing. The next time, whisk gently until the pudding thickens. If your current mixture is already grainy, you can try straining it through a fine-mesh sieve to remove lumps. Mixing in a bit of whipped cream afterwards can also help smooth the texture.
Are these cups safe for those with allergies?
Great question! The Red, White and Blue Dirt Cups are vegetarian but may not be suitable for individuals with gluten allergies if made with Oreos, as they contain gluten. To make them gluten-free, simply substitute Oreos with gluten-free cookies. Always check ingredient labels to ensure they meet the dietary needs of guests or family members you might be serving.
How can I customize the flavor of the pudding?
Very much so! The beauty of these cups lies in their customization potential. For a fun twist, use vanilla or chocolate pudding in place of the cheesecake version. You can even mix in fruit puree to your pudding base for a fruity flavor, or layer in fresh strawberries or blueberries between the pudding layers for added texture and taste!
Red, White and Blue Dirt Cups: A No-Bake Celebration Treat
Ingredients
Equipment
Method
- In a large mixing bowl, whisk together 2 boxes of cheesecake pudding with 4 cups of milk using a hand mixer for about 2 minutes until the mixture thickens to a smooth, creamy consistency.
- Divide the prepared pudding into two bowls. In one bowl, mix in blue gel food dye until vibrant. In the other, mix in red gel food dye.
- Layer 1 tablespoon of crushed Oreos at the bottom of each cup, then add 2 tablespoons of blue pudding.
- Add another tablespoon of crushed Oreos, followed by 3 tablespoons of white pudding.
- Add 1 ½ tablespoons of white pudding, then 4 tablespoons of red pudding as the final layer.
- Top with remaining crushed Oreos and gummy worms. Serve immediately or chill for up to 3 hours.