As I opened the fridge to find a bounty of colorful fruits, an idea sparked—Mini Fruit Tarts! These delightful bites are not only a feast for the eyes but also a quick and easy way to elevate any gathering, especially for Mother’s Day. With a creamy filling that harmonizes beautifully with fresh, juicy fruits, these tarts are a thoughtful gift that show how much you care without spending hours in the kitchen. Plus, they’re incredibly versatile—whether you’re aiming for gluten-free options or looking to switch up the fillings, these Mini Fruit Tarts fit the bill. Curious to see how simple they are to make? Let’s dive into this delightful recipe together!
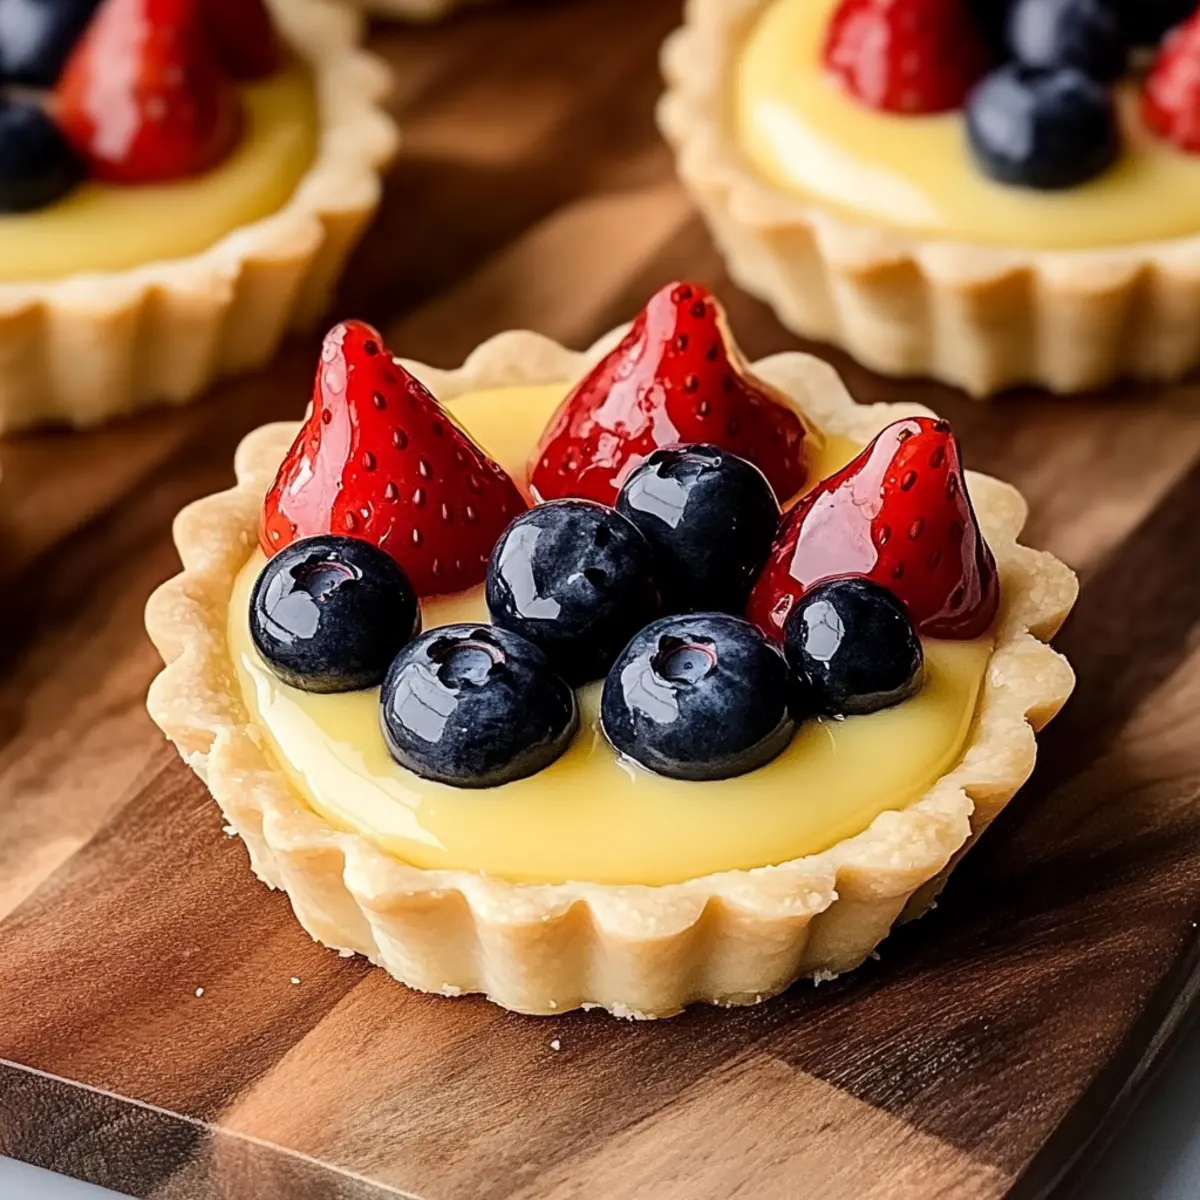
Why Make Mother’s Day Mini Fruit Tarts?
Gorgeous Presentation: These Mini Fruit Tarts are a stunning centerpiece that will wow your guests and make Mom feel extra special.
Quick & Easy: With just a few simple steps, you can whip up a delightful dessert without spending all day in the kitchen.
Versatile Options: Whether you’re opting for a gluten-free crust or experimenting with different fillings like pastry cream, the possibilities are endless!
Refreshing & Light: Bursting with fresh fruit, these tarts offer a light and zesty finish to any meal, perfect for spring gatherings.
Crowd-Pleaser: Everyone loves a sweet treat, and these bite-sized desserts are no exception. They make for a delightful end to your Mother’s Day feast!
Get inspired with other amazing desserts like Andes Mint Mini or Mini Creme Brulee that will impress your family and friends!
Mother’s Day Mini Fruit Tart Ingredients
• Perfect for creating delicious Mother’s Day Mini Fruit Tarts!
For the Tart Shells
- All-Purpose Flour – Structure for tart shells; substitute with gluten-free flour for a gluten-free option.
- Powdered Sugar – Adds sweetness and smooth texture to your crust.
- Unsalted Butter – Provides richness and must be softened for easier mixing.
- Salt – Enhances flavor and balances the sweetness.
For the Filling
- Cream Cheese – The creamy base; consider substituting with Greek yogurt for a lighter twist.
- Vanilla Extract – Enhances the filling’s flavor beautifully.
- Whipped Cream – Adds lightness and fluffiness; you can use store-bought or homemade.
For the Topping
- Mixed Fresh Fruit – A colorful topping for the tarts; mix strawberries, blueberries, kiwi, and seasonal fruits like peaches or mangoes for a delightful twist.
Step‑by‑Step Instructions for Mother’s Day Mini Fruit Tarts
Step 1: Preheat the Oven
Begin by preheating your oven to 350°F (175°C). This step is essential to ensure the tart shells bake evenly and achieve a delicate golden color. While the oven warms up, gather your ingredients and prepare your mini muffin tin by greasing it lightly or using non-stick spray to prevent sticking later.
Step 2: Make the Tart Shell Mixture
In a mixing bowl, combine all-purpose flour, powdered sugar, and salt. Using a pastry cutter or your hands, mix in the softened unsalted butter until the mixture resembles coarse crumbs. Ensure the butter is well incorporated, giving your shells that rich flavor. This crumbly mixture will form the base for your Mother’s Day Mini Fruit Tarts.
Step 3: Form the Tart Shells
Take small amounts of the tart mixture and press it into the greased mini muffin tin, forming little cups. Make sure the shells are packed tightly to prevent them from crumbling. Bake these in your preheated oven for 12-15 minutes or until they are lightly golden around the edges. Once done, remove them and allow to cool completely in the tin.
Step 4: Prepare the Cream Cheese Filling
While the tart shells are cooling, prepare your creamy filling. In a separate bowl, beat the cream cheese using a hand mixer until it’s smooth and creamy. Gradually add powdered sugar and vanilla extract, mixing well after each addition until you achieve a silky texture. This flavorful base will create a delightful contrast with the fresh fruits.
Step 5: Fold in Whipped Cream
After the cream cheese mixture is smooth, gently fold in the whipped cream with a spatula. This step adds an airy lightness to your filling, making it fluffy and delightful. Be careful not to over-mix, as you want to maintain that airy texture to enhance the experience of your Mother’s Day Mini Fruit Tarts.
Step 6: Assemble the Tarts
Once the tart shells are fully cooled, carefully remove them from the muffin tin and place them on a serving platter. Spoon the cream cheese filling generously into each tart shell, filling them to the brim. This creamy layer will serve as a perfect canvas for your vibrant fruit toppings.
Step 7: Top with Fresh Fruit
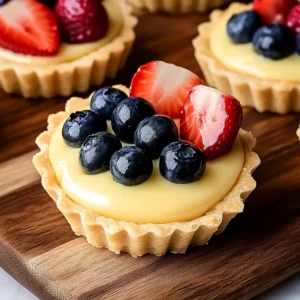
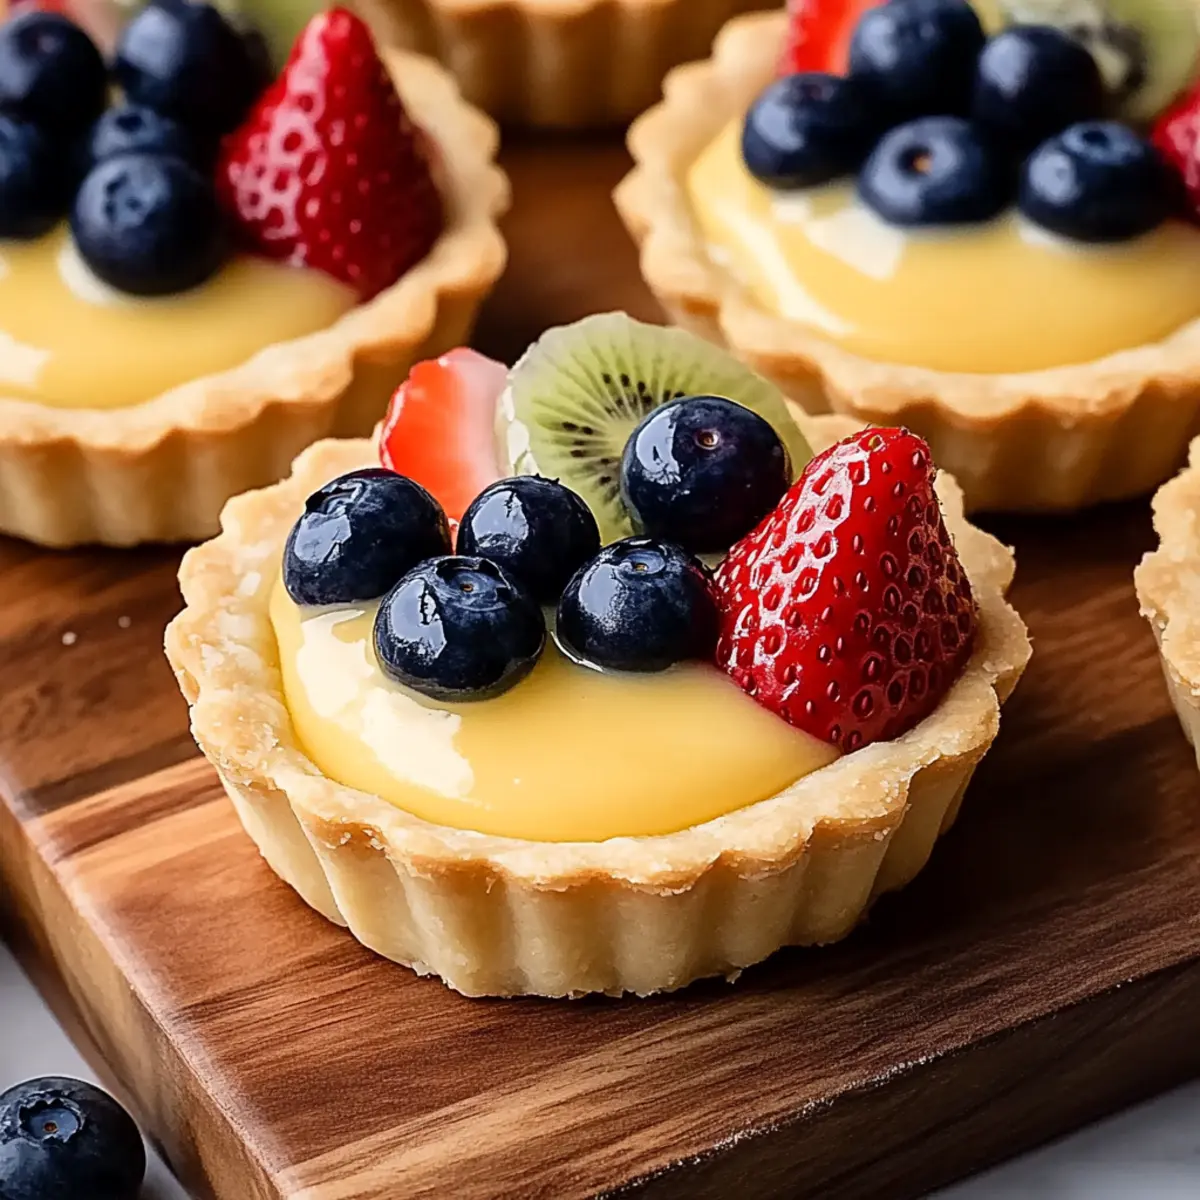
Now, it’s time to decorate! Top each filled tart with a colorful assortment of mixed fresh fruit. Use strawberries, blueberries, kiwi, or any seasonal fruits you prefer. Create a beautiful, inviting presentation that truly captures the essence of these Mother’s Day Mini Fruit Tarts and is sure to impress.
Step 8: Chill and Serve
Finally, refrigerate the assembled tarts for at least 30 minutes before serving. Chilling will enhance the flavors and help the filling set. Once ready, serve these delightful mini tarts chilled, offering a refreshing and beautifully presented dessert for your Mother’s Day celebration.
Make Ahead Options
These Mother’s Day Mini Fruit Tarts are perfect for making ahead, saving you precious time on the special day! You can prepare the tart shells up to 24 hours in advance; simply store them in an airtight container at room temperature to keep them crisp. Additionally, you can whip up the cream cheese filling 1-2 days ahead and refrigerate it in a sealed container. The day you’re ready to serve, just fill the cool tart shells with the prepared filling and top with fresh fruit. Chilling the completed tarts for at least 30 minutes before serving will ensure they are just as delightful and fresh as when made on the spot. This way, you’ll have beautiful, delicious tarts ready to impress Mom while freeing up more time for enjoying the day!
How to Store and Freeze Mother’s Day Mini Fruit Tarts
-
Room Temperature: Enjoy your Mini Fruit Tarts fresh on the day of preparation. If left unrefrigerated, they are best consumed within 2 hours to maintain crispiness.
-
Fridge: Store left-over tarts in an airtight container in the refrigerator for up to 3 days. This will keep the filling fresh and avoid sogginess in the tart shells.
-
Freezer: To freeze unfilled tart shells, place them in a freezer-safe container separated by parchment paper for up to 1 month. Fill them with cream cheese and fresh fruit when ready to serve.
-
Reheating: If you’ve frozen the shells, allow them to thaw in the fridge overnight before filling. Avoid reheating filled tarts, as it can cause the cream to separate and lose texture.
Variations & Substitutions for Mother’s Day Mini Fruit Tarts
Feel free to let your creativity shine through with these scrumptious variations—each bite will be a unique treat!
-
Gluten-Free: Swap all-purpose flour with a gluten-free flour blend to accommodate gluten sensitivities. With the right blend, your tarts will remain just as delightful and crispy!
-
Fruity Twist: Experiment with seasonal fruits! Consider using peaches or mangoes to create a tropical version that brings a refreshing twist to the classic tart.
-
Alternative Filling: Opt for light and fluffy Greek yogurt instead of cream cheese. This adds a tangy flavor that’s perfect for those who prefer a less sweet dessert.
-
Chocolate Delight: For a rich addition, fill the tarts with chocolate mousse. The smooth chocolate beautifully complements the fresh fruit topping for a decadent treat.
-
Custard Cream: Replace the cream cheese filling with pastry cream for a classic touch. Its silky texture paired with fruit will have everyone asking for seconds!
-
Coconut Infusion: Mix in some coconut cream to your filling for a tropical flavor. It adds a lovely richness that dances perfectly with the fresh fruit.
-
Nuts & Spice: Sprinkle finely chopped nuts or a dash of cinnamon over the fruit topping for an added crunch and aromatic flavor that enhances your tarts immensely.
-
Berry Burst: Focus on using only mixed berries for a tart topping, creating a colorful, vibrant look that’s bursting with flavor. They’re bound to impress everyone at the table!
For other delightful dessert ideas, be sure to check out Strawberry Cheesecake Fruity and switch up your dessert game!
Expert Tips for Mother’s Day Mini Fruit Tarts
-
Perfectly Pack Shells: Ensure your tart shells are packed tightly in the muffin tin; this will help them hold their shape during baking.
-
Watch the Baking Time: Monitor closely to prevent over-browning; the ideal shell should be lightly golden, about 12-15 minutes.
-
Cool Completely: Allow the tart shells to cool completely before filling; this prevents the filling from melting and helps maintain a nice texture.
-
Optimal Chilling: Chilling the tarts for at least 30 minutes before serving enhances the flavor melding and provides a refreshing bite, perfect for Mother’s Day Mini Fruit Tarts.
-
Fresh Fruit Selection: Choose a vibrant mix of seasonal fruits for the topping to enhance both texture and visual appeal; presentation matters!
What to Serve with Mother’s Day Mini Fruit Tarts?
As you prepare to celebrate the special woman in your life, consider side dishes and drinks that will elevate your Mother’s Day meal and complement these vibrant mini desserts.
-
Fresh Berry Salad: A medley of mixed berries with a hint of mint enhances the fruity goodness of the tarts and adds a refreshing crunch.
-
Whipped Cream or Chantilly Cream: Offer a dollop of freshly made whipped cream alongside the tarts for added richness and a fluffy texture that pairs perfectly.
-
Crispy Apple Chips: The crisp, sweet bites of homemade apple chips provide a delightful contrast to the creamy tarts and will satiate your cravings for crunch.
-
Light White Wine or Sparkling Cider: A chilled glass of Sauvignon Blanc or sparkling cider offers a refreshing complement without overpowering the sweet flavors of the tarts.
-
Herbed Cheese Platter: A selection of creamy cheeses mixed with fresh herbs balances the sweetness, making it a sophisticated touch to the table.
-
Lemon Sorbet: Serve a scoop of lemon sorbet for a tangy, palate-cleansing experience. Its coolness works wonderfully alongside the sweetness of the tarts.
-
Chocolate Dipped Strawberries: For a touch of decadence, pairing fresh strawberries dipped in chocolate adds a romantic flair that complements the Mother’s Day celebration.
-
Fruit-Infused Water: A refreshing jug of water infused with slices of cucumber, lemon, or berries not only hydrates but also adds a sophisticated touch to your meal.
Mother’s Day Mini Fruit Tarts Recipe FAQs
How do I select fresh fruit for the tarts?
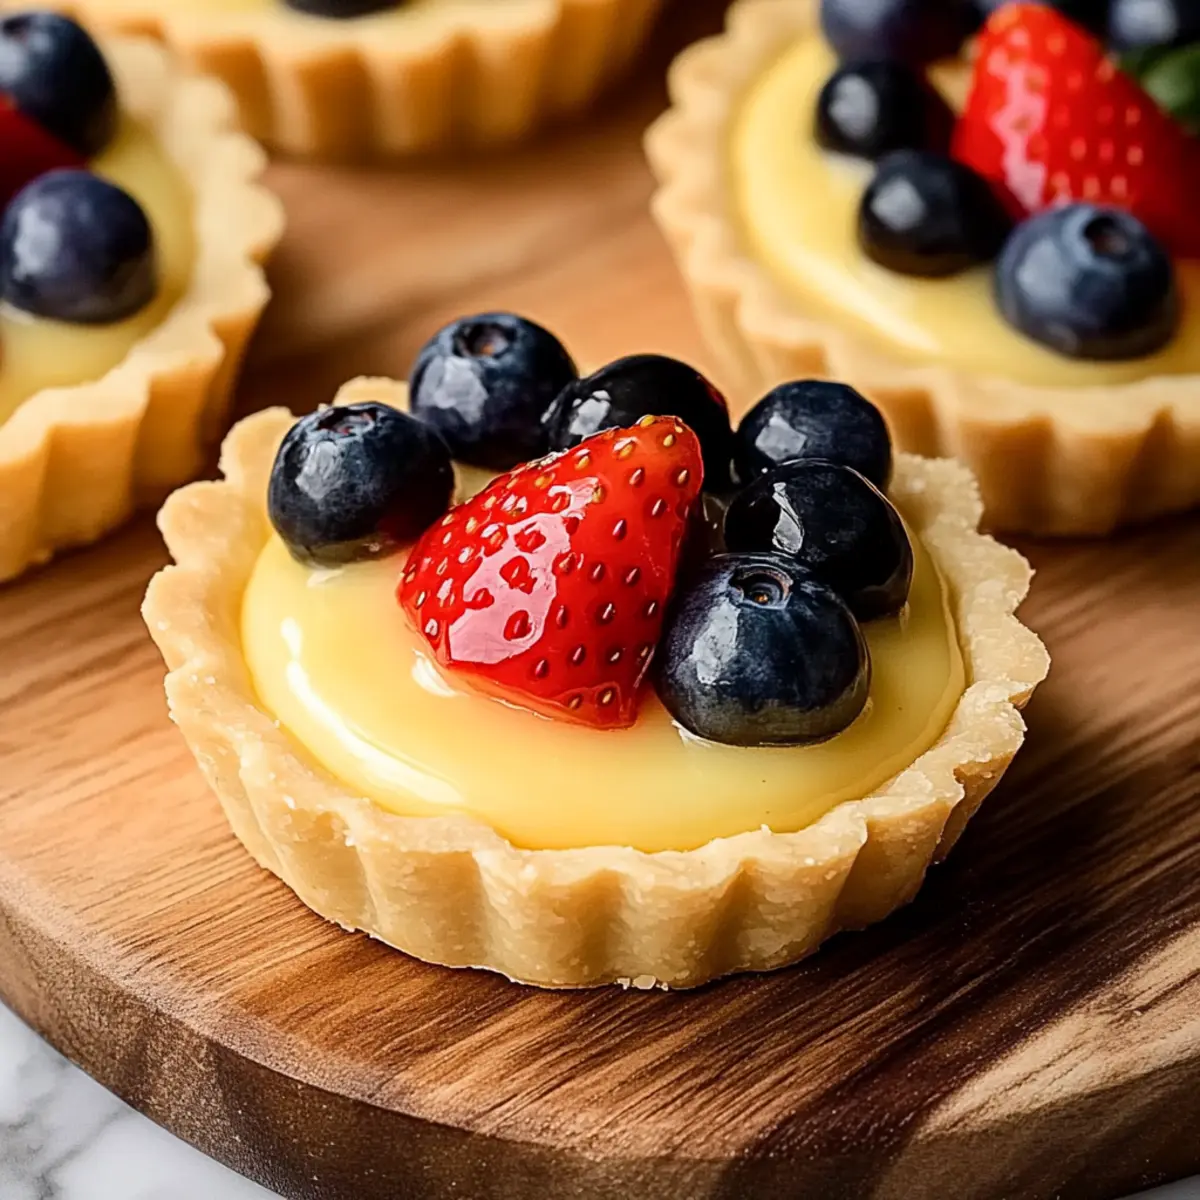
Absolutely, choosing fresh fruit is essential for delicious Mini Fruit Tarts! Look for fruits that are vibrant in color and firm to the touch. Avoid any with dark spots or bruises. Berries should be plump and bright, while kiwis should be slightly soft without being mushy. Seasonal fruit works great too—take advantage of strawberries in spring!
Advertisement
How should I store leftover Mini Fruit Tarts?
Great question! If you have leftovers, store them in an airtight container in the refrigerator for up to 3 days. This will keep the filling fresh while preventing the tart shells from becoming soggy. I often make a batch and keep them chilled; they’re perfect for a quick treat!
Can I freeze the tart shells?
Yes! To freeze unfilled tart shells, allow them to cool completely, then arrange them in a single layer in a freezer-safe container separated by parchment paper. They can be stored for up to 1 month. When you’re ready, just thaw them in the fridge overnight, fill them with the cream cheese mixture, and top with fresh fruit.
What if my tart shells crumble after baking?
If your tart shells crumble, it might be due to not packing the mixture tightly enough in the muffin tin. To prevent this, ensure that the dough is compacted well before baking. If they still break, you can always repurpose them—layer the crumbled shells with cream cheese filling and fruit in a glass for a parfait-style dessert!
Are there any dietary considerations for pets or allergies?
Absolutely! If you’re hosting and concerned about allergies, be sure to inquire about guests’ dietary restrictions. The Mini Fruit Tarts contain common allergens such as dairy and gluten. For a safer option, use gluten-free flour for the shells and consider making a vegan cream cheese substitute. Always keep pets away from the tarts, especially since some fruits, like grapes, can be harmful to them.
Can I use alternative fillings for the tarts?
Certainly! While the original recipe features cream cheese, you can easily substitute it with pastry cream or chocolate mousse for a different flavor experience. If you opt for Greek yogurt, it will create a lighter filling, which is also delicious. Feel free to mix and match fillings according to your taste; the more the merrier!
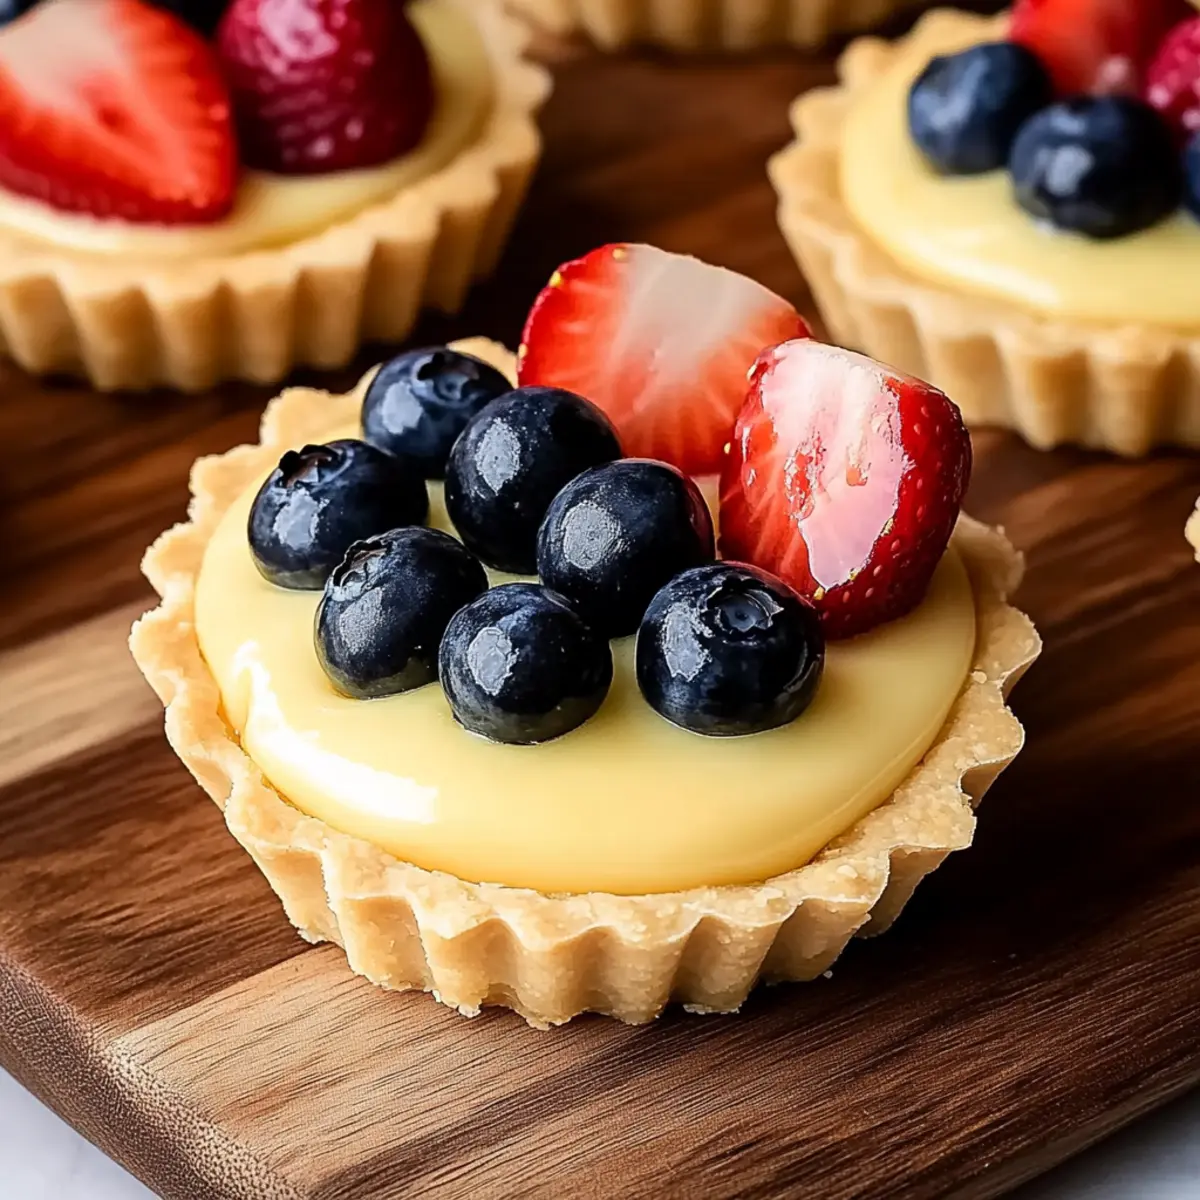
Celebrate Mom with Delicious Mother's Day Mini Fruit Tarts
Ingredients
Equipment
Method
- Preheat the oven to 350°F (175°C) and prepare mini muffin tin by greasing it.
- Combine flour, powdered sugar, and salt. Mix in softened butter until crumbly.
- Press the tart mixture into the greased mini muffin tin and bake for 12-15 minutes until golden.
- Beat cream cheese until smooth. Gradually add powdered sugar and vanilla extract, mixing until silky.
- Fold in whipped cream gently to maintain airy texture.
- Remove cooled tart shells, spoon cream filling into each shell.
- Top with a colorful assortment of mixed fresh fruit.
- Refrigerate for at least 30 minutes before serving.