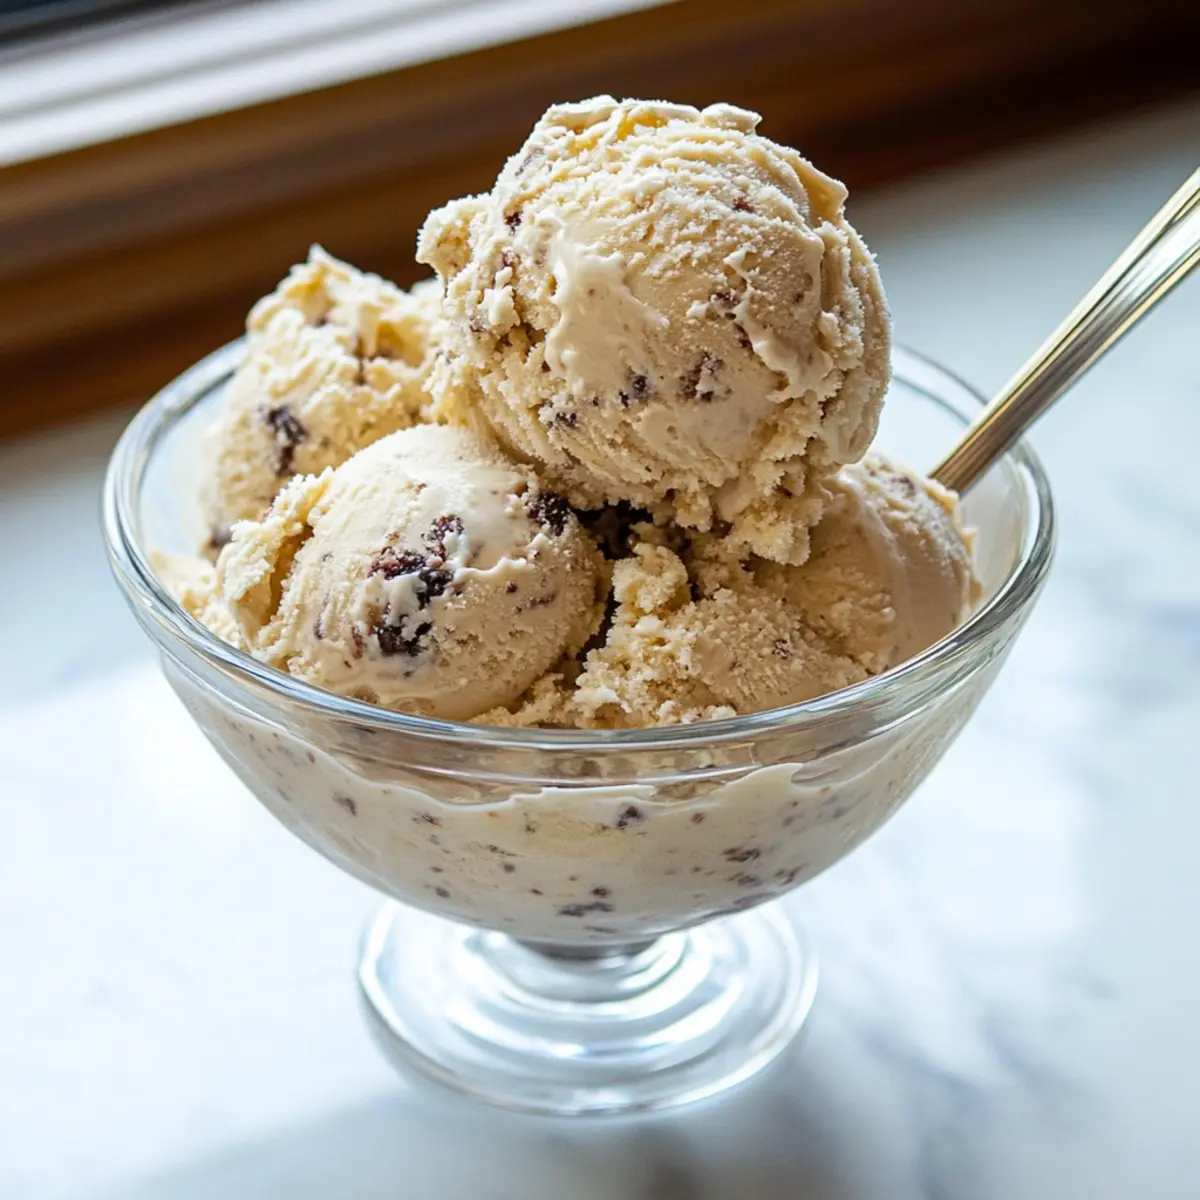
As I took my first scoop of homemade vanilla ice cream, I was transported back to summer afternoons spent in my grandmother’s kitchen, where laughter and delicious treats filled the air. This Classic Creamy Vanilla Ice Cream with the KitchenAid Ice Cream Attachment is incredibly simple to create, combining the rich, velvety texture of a custard with the ease of modern equipment. Not only is it a delightful crowd-pleaser, but it also invites endless opportunities for creativity—add chocolate chips, fresh fruit, or your favorite crunchy mix-ins for a personalized twist. With a preparation time that’s surprisingly quick compared to store-bought options, it’s the perfect way to indulge in something luxurious right from home. Are you ready to stir up some memories and treat your loved ones to this classic dessert? Let’s dive into the details!
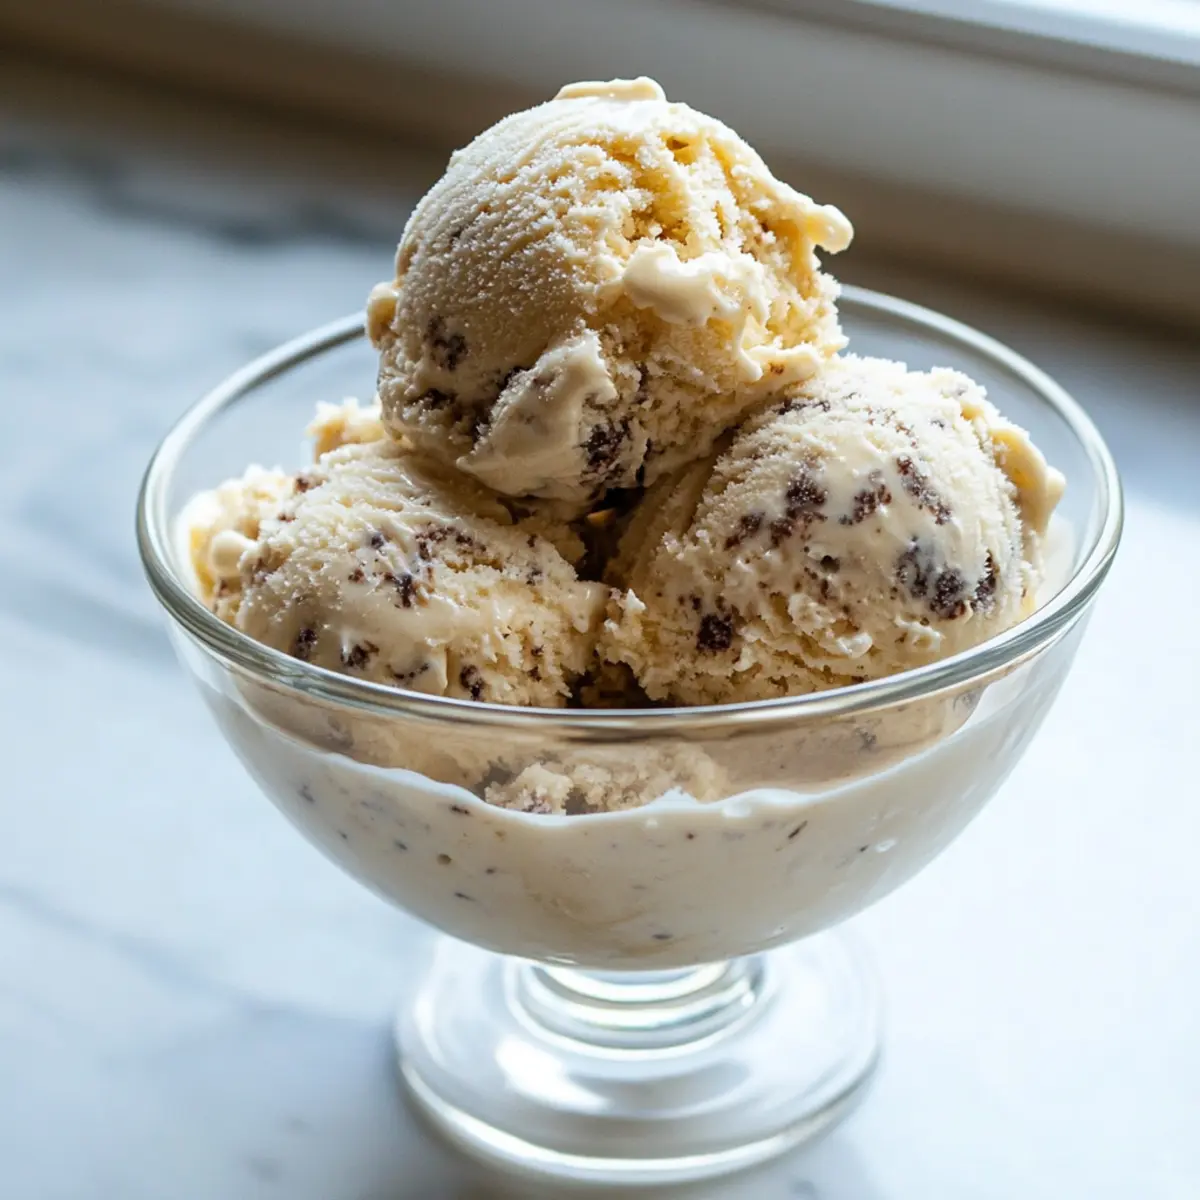
Why is Homemade Ice Cream Special?
Deliciousness in Every Bite: This ice cream delivers a creamy, dreamy texture that store-bought varieties simply can’t match.
Customizable Flavor: You can easily mix in your favorite treats, like crushed cookies or fruits, for a unique spin.
Simple Process: The KitchenAid ice cream attachment makes the preparation easy, so you can focus on enjoying the process—no complicated techniques required!
Perfect for Any Occasion: Whip up a batch for birthday parties, casual family dinners, or a summer BBQ, and watch it disappear!
Guilt-Free Indulgence: With fresh ingredients, you’ll love knowing exactly what’s in your scoop.
Get started and pair your ice cream with a slice of Strawberry Cream Cheese Danish for a delightful dessert combo!
Cream with the KitchenAid Ice Cream Attachment
• Looking for a delightful way to make homemade ice cream? Here’s what you’ll need!
For the Custard
- Egg Yolks – Provide structure and richness; essential for a creamy texture—no substitutes recommended.
- Granulated Sugar – Adds sweetness and enhances flavor; brown sugar can be used for a deeper taste.
- Whole Milk – Creates a lighter texture and balances creaminess; can substitute with low-fat milk for a lower calorie version.
- Heavy Cream – Provides richness and a creamy mouthfeel; half-and-half can be used but will alter creaminess.
- Vanilla Bean Paste/Extract – Adds classic vanilla flavor; pure vanilla extract is a suitable substitute.
For Optional Mix-ins
- Chocolate Chips – For a delightful burst of flavor; add up to 16 ounces for a satisfying treat.
- Fresh Fruits – Personalize your ice cream with fresh berries or bananas; they pair wonderfully with creamy vanilla.
- Cookie Pieces – Crushed cookies enhance texture and taste; choose your favorite variety for added crunch.
This homemade vanilla ice cream recipe with the KitchenAid ice cream attachment will soon become a family favorite, offering rich flavor and endless mix-in possibilities!
Step‑by‑Step Instructions for Creamy Vanilla Ice Cream with KitchenAid Ice Cream Attachment
Step 1: Prepare Ice Cream Attachment
Start by freezing your KitchenAid ice cream attachment for 14-16 hours. Make sure it’s placed upright in your freezer to ensure the bowl freezes evenly. This step is crucial for achieving that perfect creamy texture in your homemade ice cream, so plan ahead to avoid impatience!
Step 2: Whisk Egg Yolks
In a medium mixing bowl, vigorously whisk together 6 egg yolks with 1/4 cup of granulated sugar until the mixture becomes pale and thick—this should take about 3-5 minutes. This step is essential as it helps create a rich, custard-like base for your creamy vanilla ice cream. Set it aside while you prepare the cream mixture.
Step 3: Heat Cream Mixture
In a medium saucepan over medium heat, combine 1 cup of whole milk, 2 cups of heavy cream, and 3/4 cup of granulated sugar along with 1 tablespoon of vanilla bean paste or extract. Heat the mixture until it becomes foamy and reaches a temperature of about 165°F. Stir gently to dissolve the sugar completely and keep a close eye, as you don’t want it to boil.
Step 4: Temper Egg Yolks
Slowly ladle about a cup of the hot cream mixture into the bowl with the whisked egg yolks while whisking constantly to temper them. This technique gradually raises the egg yolks’ temperature, preventing them from curdling. Repeat the process a second time before slowly pouring the yolk mixture back into the saucepan.
Step 5: Make Custard
Return the saucepan to the heat and stir the custard mixture over medium-low heat. Keep stirring gently until it thickens enough to coat the back of a wooden spoon, reaching about 170°F. Be patient, as this can take about 5-10 minutes. Avoid boiling—this ensures a smooth, creamy vanilla ice cream base that your family will love.
Step 6: Chill Custard
Once thickened, strain the custard through a fine-mesh sieve into a large bowl to remove any cooked egg bits. Cover the bowl with cling wrap, pressing it directly against the custard’s surface to prevent a skin from forming. Refrigerate for at least 12-16 hours; this step maximizes the flavor development for your creamy vanilla ice cream.
Step 7: Churn Ice Cream
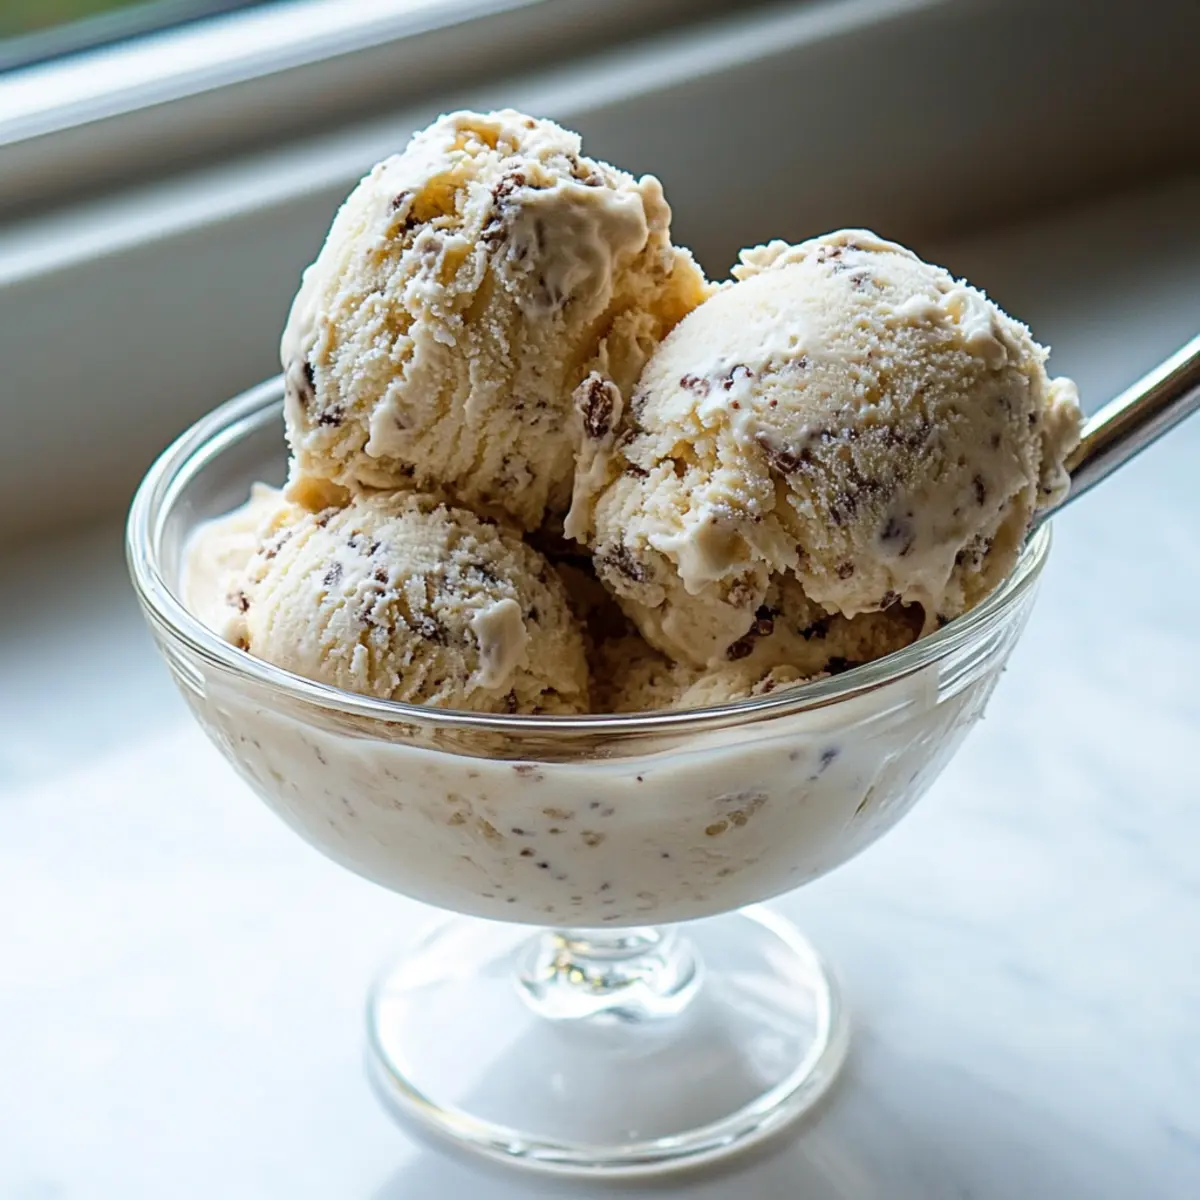
After chilling, pour the custard into your frozen KitchenAid ice cream attachment. Turn the mixer on low and churn the mixture for 20-30 minutes, or until it reaches a thick, soft-serve consistency. Keep an eye on it, as the texture should look fluffy and creamy, perfect for scooping into your favorite bowls.
Step 8: Add Mix-ins
Once the ice cream has thickened, it’s time to personalize your treat! Gently fold in any desired mix-ins such as chocolate chips, fresh fruits, or cookie pieces. This is a fun opportunity to get creative! Transfer the mixture to a loaf pan, spreading it evenly as you get ready for the final freeze.
Step 9: Freeze Firm
Cover the loaf pan with a lid or plastic wrap, and place it in the freezer for an additional 2-3 hours. This will allow the creamy vanilla ice cream to firm up before serving. Check the ice cream’s texture before enjoying; the longer it freezes, the firmer it will become, perfect for serving with your favorite accompaniments!
Make Ahead Options
These Classic Creamy Vanilla Ice Cream with the KitchenAid Ice Cream Attachment are perfect for busy home cooks looking to save time! You can prepare the custard base up to 24 hours in advance by following all the steps up to chilling the custard (Step 1-6). Once cooled, cover the bowl tightly with cling wrap pressed against the surface to prevent any skin from forming. When you’re ready to delight your family, simply pour the chilled custard into the frozen attachment and churn it (Step 7), then mix in your favorite add-ins (Step 8) before transferring it to a loaf pan to freeze for 2-3 hours (Step 9). This way, you can enjoy homemade ice cream without the last-minute rush, ensuring a treat that’s just as delicious as if made fresh!
What to Serve with Classic Creamy Vanilla Ice Cream with KitchenAid Ice Cream Attachment
There’s nothing quite like enjoying a scoop of homemade ice cream paired perfectly with delightful accompaniments that elevate flavors and textures.
-
Warm Chocolate Brownies: A fudgy brownie offers a rich chocolate contrast; the warm, gooey center complements the cold vanilla ice cream beautifully.
-
Fresh Berries: Strawberries, raspberries, or blueberries add a burst of fruitiness; their natural sweetness and slight tartness enhance the ice cream’s creamy richness.
-
Caramel Sauce: Drizzling warm caramel over the ice cream introduces a sweet, buttery flavor; its silky texture creates a delightful combination with the cold treat.
-
Homemade Waffle Cones: Crunchy, fresh waffle cones provide a delightful texture; they’re perfect for holding the ice cream while adding a hint of vanilla sweetness.
-
Apple Pie Slices: The warm spiced flavors of apple pie create a comforting and nostalgic experience; together, they embody the essence of a classic American dessert.
-
Dark Chocolate Chips: Adding rich dark chocolate chips gives a satisfying crunch; their bittersweet notes balance the sweetness of the vanilla ice cream.
-
Chocolate Mint Cookies: These cookies provide a refreshing contrast and a perfect bite; the combination of mint and chocolate with ice cream is simply irresistible!
-
Coffee or Espresso: A hot cup enhances the ice cream experience; try them together for a delightful after-dinner treat that beautifully intertwines the flavors.
-
Chocolate Fudge Sauce: For chocolate lovers, this thick sauce drizzled over the ice cream creates a heavenly dessert; it adds richness and decadence.
Let these suggestions inspire your next ice cream celebration, transforming a simple scoop into a multi-layered dessert experience!
Expert Tips for Creamy Vanilla Ice Cream
-
Chill Thoroughly: Ensure the custard is properly chilled for at least 12-16 hours for optimal flavor development in your creamy vanilla ice cream.
-
Watch the Heat: Heating the cream mixture too quickly can curdle the eggs. Keep the heat to medium-low and stir gently to maintain a smooth texture.
-
Perfect Mix-ins: Add mix-ins like chocolate chips or fruits towards the end of the churning process to prevent them from sinking to the bottom of your ice cream.
-
Egg Yolk Technique: Whisk the egg yolks until they hold a ribbon when lifted; this ensures a silky-smooth custard, crucial for the final creaminess of your ice cream.
-
Testing Consistency: The ice cream is ready when it reaches a thick, soft-serve consistency during churning. Don’t be afraid to taste as you go!
Cream with KitchenAid Ice Cream Attachment
Feel free to unleash your culinary creativity and transform this classic recipe into something uniquely yours!
- Dairy-Free: Substitute coconut cream and almond milk for a creamy, delicious vegan version that’s just as satisfying.
- Chocolate Lovers: Swirl in melted chocolate or chocolate chips for a decadent twist that will satisfy any sweet tooth.
- Fruit Infusion: Incorporate fresh strawberries or mango puree for a refreshing, fruity flavor that bursts with summer vibes.
- Nutty Delight: Add crushed almonds or hazelnuts for a delightful crunch and nutty flavor to elevate your ice cream experience.
- Spice it Up: Mix in a teaspoon of cinnamon or a dash of nutmeg to warm up those chilly nights with a cozy taste.
- Coffee Kick: Stir in brewed espresso or instant coffee granules for a delightful coffee ice cream that keeps you energized.
- Cookie Crumble: Incorporate crumbled cookies (think Oreos or graham crackers) for exciting textures and flavors that the whole family will love.
- Caramel Swirl: Ripple in a generous drizzle of salted caramel sauce for the perfect balance of sweet and salty with each scoop.
And if you’re intrigued, don’t forget to try pairing your ice cream with a slice of Crock Pot Pasta for the ultimate indulgent meal!
How to Store and Freeze Vanilla Ice Cream
Fridge: Keep homemade vanilla ice cream covered tightly in an airtight container for up to 3 days to maintain freshness and prevent freezer burn.
Freezer: For longer storage, place the ice cream in a loaf pan, cover well with plastic wrap or a lid, and freeze for up to 2 weeks for the best quality.
Serving: Allow the vanilla ice cream to sit at room temperature for about 5-10 minutes before serving; this will soften it slightly for easier scooping.
Reheating: Avoid reheating as it will alter the texture; simply let it soften at room temperature to enjoy its creamy goodness once more.
Advertisement
Classic Creamy Vanilla Ice Cream with KitchenAid Ice Cream Attachment Recipe FAQs
What type of milk should I use for the best flavor?
For the richest flavor and creaminess, I recommend using whole milk in this recipe. If you’re looking for a lighter option or aiming to reduce calories, feel free to substitute with low-fat milk, but keep in mind that this may alter the overall creaminess of your ice cream.
How long can I store homemade vanilla ice cream in the freezer?
You can keep your homemade vanilla ice cream tightly covered in an airtight container for up to two weeks in the freezer. This storage method helps maintain freshness and prevents freezer burn. After this period, the texture and flavor may begin to decline.
Can I freeze this vanilla ice cream for longer than two weeks?
While it’s best enjoyed within two weeks, if you need to freeze it longer, it can last for up to three months—but the quality may suffer. To freeze, place the ice cream in a loaf pan, cover tightly with plastic wrap or a lid, and label with the date for quick reference.
What should I do if my ice cream isn’t freezing properly?
If your ice cream doesn’t seem to be freezing well after churning, it could be due to a warm custard. Ensure the custard is adequately chilled for 12-16 hours in the refrigerator before churning. If it’s still not thickening in the ice cream maker, try lowering the mixer speed or check that the attachment is frozen solid.
Is this vanilla ice cream gluten-free?
Absolutely! This classic recipe is made with simple ingredients that are naturally gluten-free. Just be cautious about any mix-ins you choose. If adding cookies or ingredients with potential gluten, always check labels to ensure they fit your dietary needs.
What if I want to add mix-ins to my vanilla ice cream?
The more the merrier when it comes to mix-ins! I suggest gently folding in up to 16 ounces of your favorite treats—like chocolate chips, fresh fruits, or cookie pieces—toward the end of the churning process. This way, they’ll incorporate nicely without sinking to the bottom!
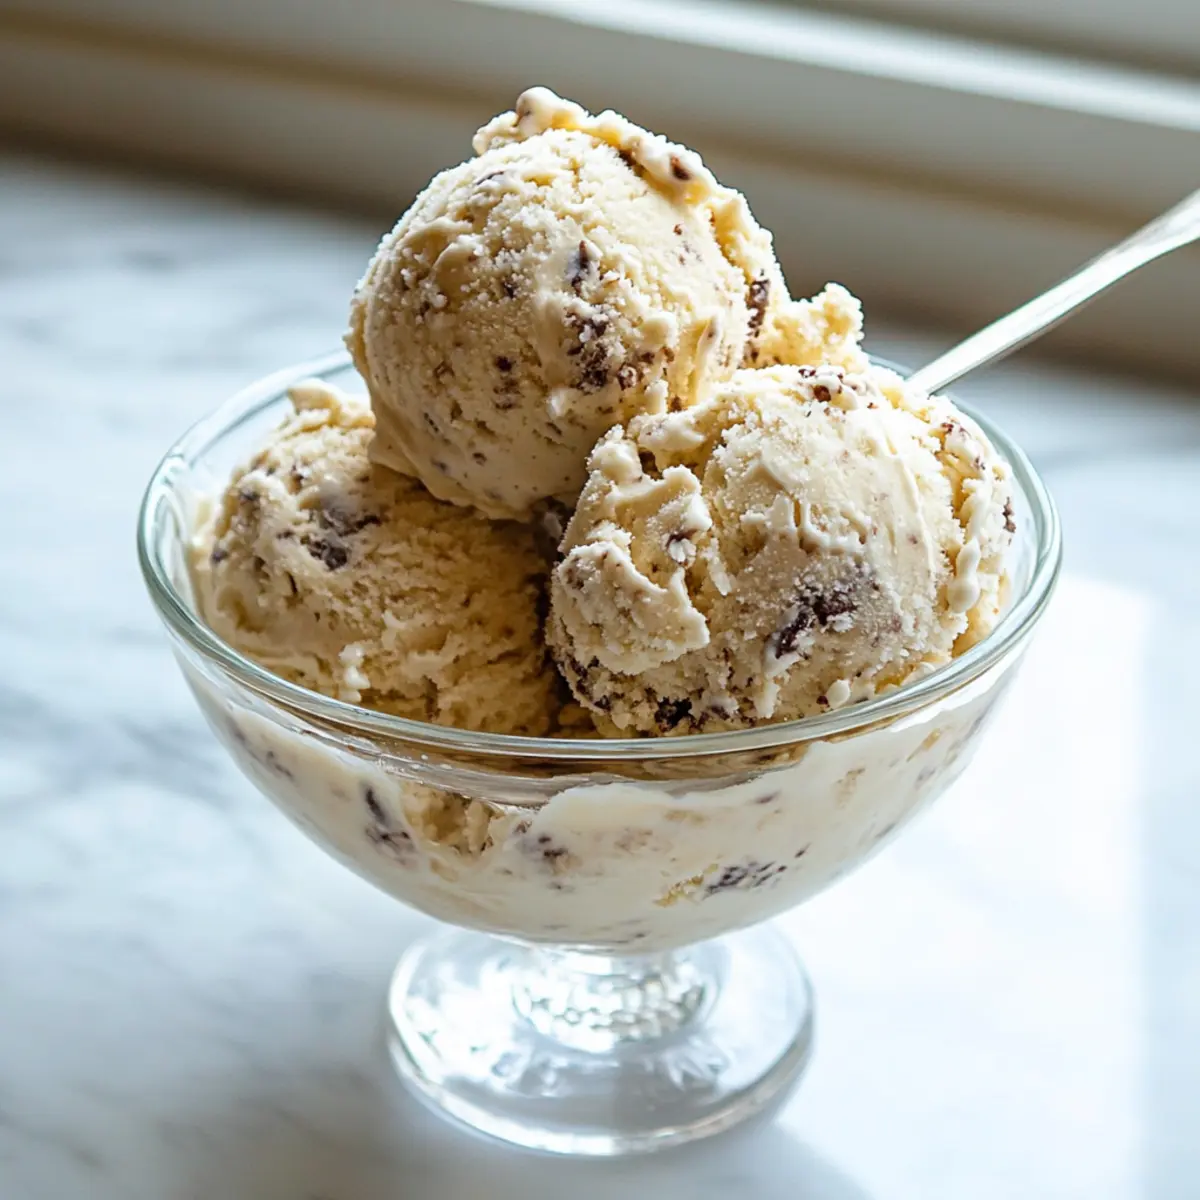
Creamy Vanilla Ice Cream with the KitchenAid Ice Cream Attachment
Ingredients
Equipment
Method
- Freeze your KitchenAid ice cream attachment for 14-16 hours.
- Whisk together 6 egg yolks with 1/4 cup of granulated sugar until pale and thick.
- In a saucepan, combine 1 cup of whole milk, 2 cups of heavy cream, and 3/4 cup of granulated sugar. Heat until foamy, about 165°F.
- Gradually pour the hot cream mixture into the egg yolks while whisking continuously to temper.
- Return to saucepan and stir over medium-low heat until thickened, about 5-10 minutes.
- Strain the custard into a bowl, cover, and refrigerate for 12-16 hours.
- Churn the custard in the frozen KitchenAid attachment for 20-30 minutes.
- Fold in any desired mix-ins after churning.
- Transfer to a loaf pan, cover, and freeze for an additional 2-3 hours.