As I took my first bite of these creamy, dreamy Cookies & Cream Pudding Pops, I was instantly transported back to long, sun-soaked summers of my childhood. There’s something magical about reliving those sweet moments, especially when they manifest in an easy, no-bake frozen treat that requires minimal effort! Perfect for those scorching days when all you crave is a delightful dessert without the fuss of an ice cream maker, these pops can quickly turn any gathering into a celebration. Plus, they bring a rich, nostalgic flavor that cookies and cream lovers simply can’t resist. Are you ready to whip up this simple yet scrumptious treat that the whole family will adore?
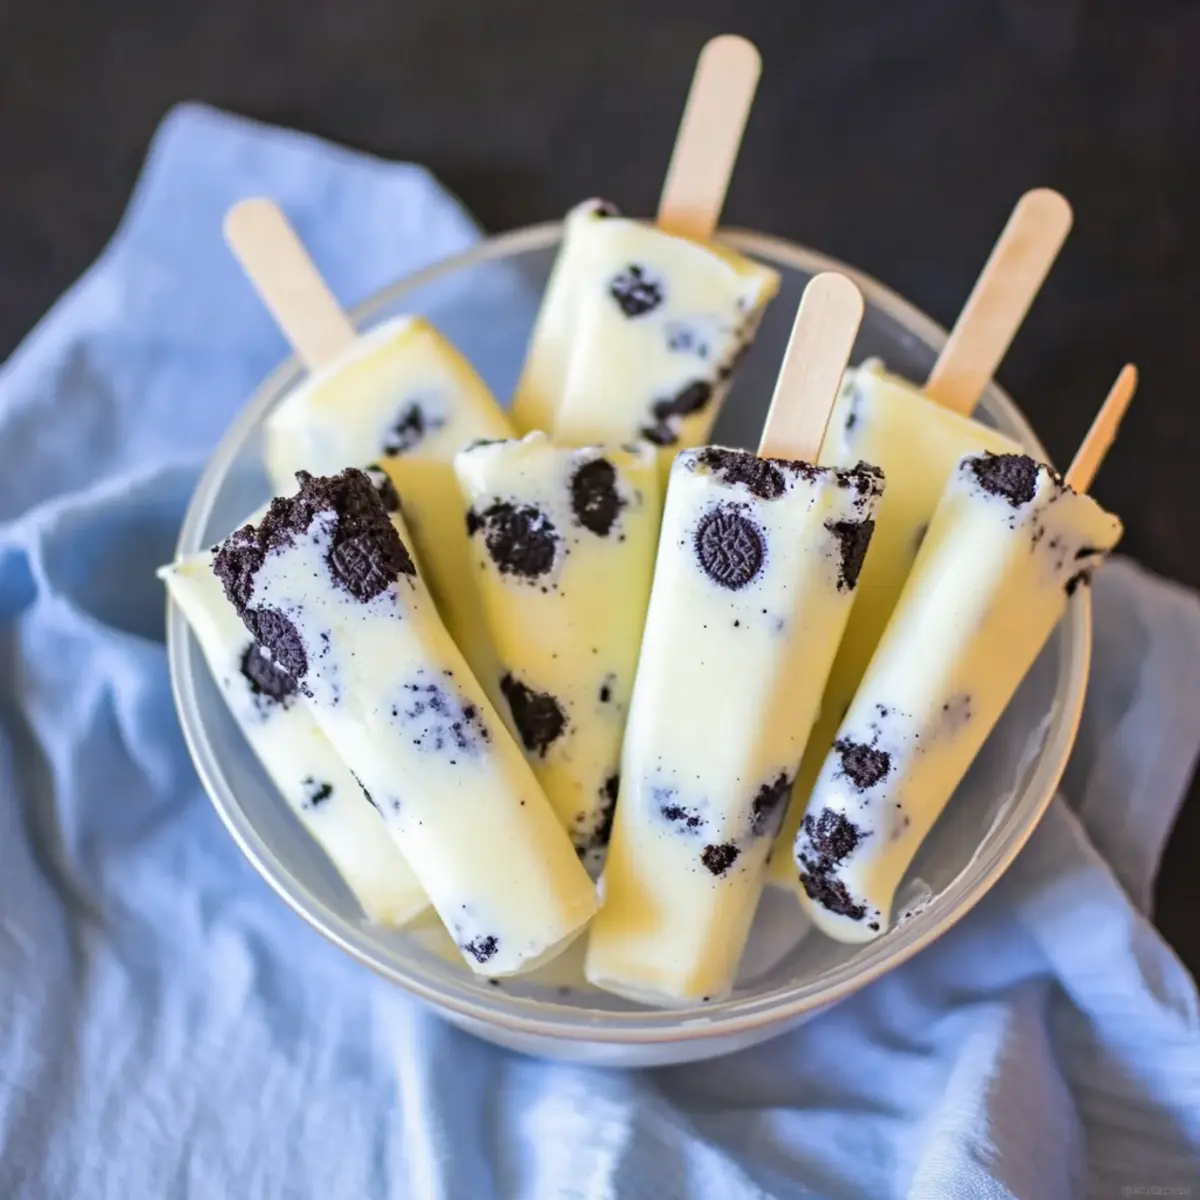
Why are Cookies & Cream Pudding Pops irresistible?
Creamy Delight: Each bite of these pudding pops transports you to a world of creamy indulgence, blending fluffy whipped topping with the beloved taste of Oreo cookies.
No-Bake Convenience: You can whip up these treats in minutes, making them a go-to option for those busy summer days!
Crowd-Pleasing Flavor: The combination of cookies and cream offers nostalgia that appeals to both kids and adults alike.
Endless Variations: Feel free to experiment by swapping Oreos for peanut butter cookies or adding chocolate chips for a rich twist, just like in our Cheesecake Donut Cookies.
Perfect for All Occasions: From backyard BBQs to birthday celebrations, these pudding pops make any event sweeter. Why not serve them alongside our Chocolate Protein Pudding for a fun, festive dessert spread?
Cookies & Cream Pudding Pops Ingredients
• Create a delightful treat with this easy recipe!
For the Pudding Base
- Vanilla Pudding Mix – This mix gives your pops that creamy, rich flavor; swap for chocolate pudding for a different taste.
- Cold Milk – Whole or 2% milk hydrates the pudding mix, achieving the perfect creamy consistency; avoid skim for best results.
- Whipped Topping – Lightens the texture for airiness; substitute with heavy cream if you want a richer base.
For the Cookie Flavor
- Oreo Cookies – These delightful cookies provide the nostalgic cookies and cream flavor and add a satisfying crunch; choose gluten-free options to accommodate dietary needs.
For Assembly
- Popsicle Sticks – They are crucial for serving, so ensure they’re sturdy enough to hold your frozen goodies.
Let’s get ready to bring summer joy right to your freezer with these delicious Cookies & Cream Pudding Pops!
Step‑by‑Step Instructions for Cookies & Cream Pudding Pops
Step 1: Whisk the Pudding Mix
In a large mixing bowl, combine the vanilla pudding mix and 2 cups of cold milk. Using a whisk, stir vigorously for about 2 minutes until the mixture is smooth and begins to thicken. Look for a creamy consistency without lumps—this will be the delicious base of your Cookies & Cream Pudding Pops.
Step 2: Fold in the Whipped Topping
Gently fold in 2 cups of whipped topping into the pudding mixture with a spatula. Use a folding motion to preserve the lightness of the whipped topping, ensuring everything is well blended and creamy. This step adds a delightful airiness to the mixture, enhancing your homemade pops’ texture.
Step 3: Prepare the Cookie Base
Take about 10 Oreo cookies and break them into chunks. Distribute cookie pieces evenly at the bottom of each popsicle mold, ensuring they cover the bottom well. This creates a lovely layer of crunchy goodness that infuses the flavor of cookies and cream into every bite of your pudding pops.
Step 4: Fill the Molds
Carefully pour the pudding mixture over the cookie pieces in each mold, filling them almost to the top, leaving a tiny space to allow for expansion as they freeze. Use a spoon to help guide the mixture into the corners of each mold. This ensures a fully packed treat with a perfect combination of creamy and crunchy textures.
Step 5: Insert Sticks and Freeze
Once the molds are filled, insert a popsicle stick into the center of each one, pushing it down until it’s stable. Place the molds in the freezer and allow them to freeze for at least 8-10 hours, or preferably overnight, until completely solid. You’ll know they’re ready when they feel firm to the touch.
Step 6: Remove and Serve
To serve your delicious Cookies & Cream Pudding Pops, run warm water over the outside of the molds for a few seconds to loosen them. Gently pull on the popsicle sticks to remove each creamy treat. Enjoy right away or store the remaining pops in an airtight container in the freezer for up to two weeks.
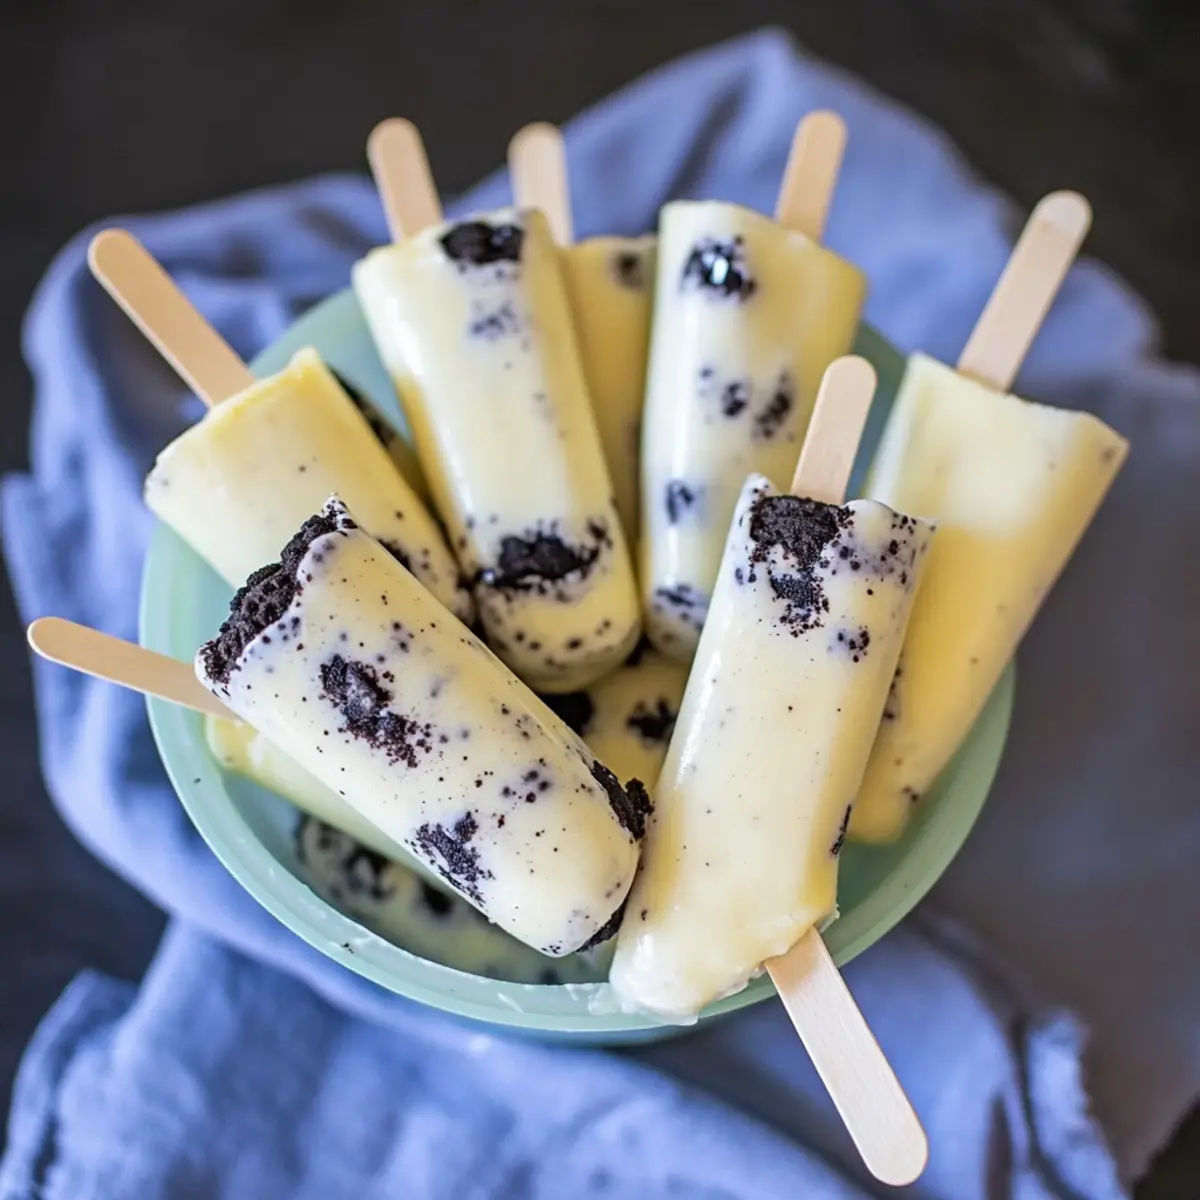
How to Store and Freeze Cookies & Cream Pudding Pops
Fridge: These pops are best stored in the freezer; avoid the fridge since they will melt quickly and lose their delightful shape.
Freezer: Store any leftover Cookies & Cream Pudding Pops in an airtight container for up to two weeks to maintain their creamy texture and flavor.
Reheating: While these pops are enjoyed frozen, if they soften too much, place them back in the freezer for a short while to regain their firmness before serving.
Serving: When ready to enjoy, simply run warm water over the outside of the molds to loosen, making removal easy and hassle-free!
Make Ahead Options
These Cookies & Cream Pudding Pops are perfect for meal prep enthusiasts looking to save time on hot summer days! You can prepare the pudding mixture up to 24 hours in advance—simply whisk together the vanilla pudding mix, cold milk, and whipped topping, and store it in an airtight container in the refrigerator. The cookie pieces can also be broken and stored separately (in a resealable bag) to maintain their crunch. When you’re ready to assemble, just fill your popsicle molds with the prepared mixture and cookie chunks, insert the popsicle sticks, and freeze for at least 8-10 hours or overnight. This way, you’ll have delicious, homemade treats ready to enjoy whenever the craving strikes!
Cookies & Cream Pudding Pops Variations
Feel free to get creative with these pudding pops, adding your own flair to this delightful summer treat!
-
Peanut Butter Twist: Substitute Oreos with peanut butter cookies for a nutty delight that’s sure to please. The combination of creamy and crunchy will elevate your pops to the next level.
-
Chocolate Chip Boost: Add a handful of chocolate chips to the mixture before pouring it into the molds. It gives a luscious chocolatey hit that complements the creaminess beautifully.
-
Vegan-Friendly: Use almond milk and a plant-based whipped topping for a delicious vegan version. These cookies and cream pops are still just as dreamy and satisfying!
-
Minty Fresh: Mix in a few drops of peppermint extract for a refreshing minty variation that brings a new layer of flavor. This twist is reminiscent of mint chocolate desserts that are simply irresistible.
-
Cookie Dough Delight: Toss in small chunks of edible cookie dough before freezing for an exciting texture contrast that cookie lovers will adore! Just ensure it’s made with heat-treated flour for safety.
-
Coconut Infusion: Incorporate coconut milk for a tropical vibe and substitute coconut whipped topping for a delightful twist on the original flavor. This brings a creamy richness and a hint of island paradise!
-
Caramel Drizzle: Before freezing, swirl in some caramel sauce into the pudding mixture for a decadent touch. The sweetness of the caramel harmonizes beautifully with the rich cookies and cream taste.
Why not serve these pops alongside our mouthwatering Cheesecake Stuffed Cookies for a fun dessert spread? The options are endless when it comes to these yummy treats!
Expert Tips for Cookies & Cream Pudding Pops
-
Whisk Smoothly: Ensure the pudding mix is thoroughly combined without lumps for the creamiest pudding pops. This consistency is key to delightful texture!
-
Room Temperature Trick: Allow the pops to sit for a few minutes at room temperature before removing them from molds. This technique helps release the pops effortlessly.
-
Cookie Variations: Don’t hesitate to experiment with different cookies—try peanut butter or gluten-free options for fun twists on your cookies and cream pudding pops!
-
Use Heavy Cream: If you’re opting for a richer dessert, substitute the whipped topping with freshly whipped heavy cream for an indulgent experience.
-
Seal It Right: Store any leftovers in an airtight container to maintain flavor and prevent freezer burn, ensuring your pops reward you with every bite!
What to Serve with Cookies & Cream Pudding Pops
When it comes to crafting the perfect summer meal, these delightful pudding pops can shine even brighter alongside a few carefully chosen companions.
-
Fresh Fruit Salad: A colorful mix of seasonal fruits adds a refreshing contrast and brings a burst of vibrant flavors to your dessert table. Pairing sweet and tart fruits enhances the overall experience of your pudding pops.
-
Grilled Peaches: Drizzled with honey and served warm, grilled peaches offer a warm, caramelized contrast that complements the cool, creamy pops perfectly. The smoky sweetness adds depth to your summer spread.
-
Chocolate Dipped Pretzels: The salty crunch of chocolate-covered pretzels makes for an irresistible snack, balancing the sweetness of your cookies and cream treats. They are fun to eat and offer delightful textural variety.
-
Minty Lemonade: This cool, crisp drink refreshes your palate and enhances the nostalgic flavors of cookies and cream. The lemon brings brightness that dances beautifully with the sweetness of the pops.
-
Vanilla Ice Cream: A scoop of good quality vanilla ice cream is a classic pairing, providing an extra-creamy element that complements the pudding pops deliciously. Try it with a drizzle of chocolate sauce for added indulgence.
-
Mini Cheesecake Bites: These rich, tangy bites provide an elegant touch to your dessert spread and work wonderfully as an alternative flavor profile. Together, they create a delightful dessert platter that guests will adore.
Combine these complementary treats with your Cookies & Cream Pudding Pops for a memorable summer gathering that is both easy and delicious!
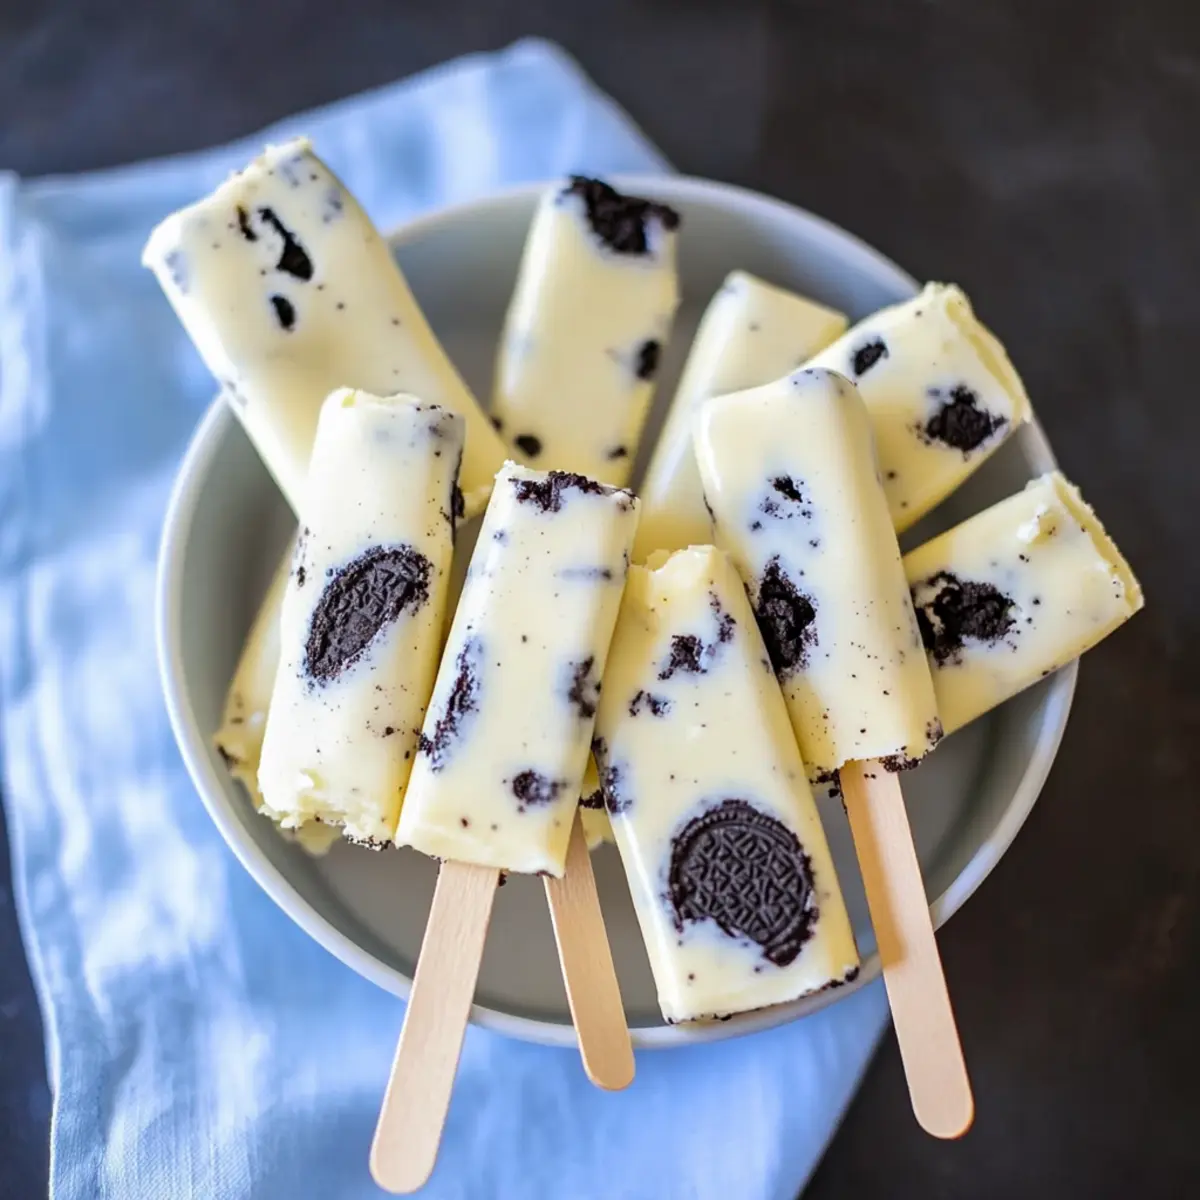
Cookies & Cream Pudding Pops Recipe FAQs
How do I choose the right pudding mix for these pops?
Absolutely! For the best flavor, I recommend using vanilla pudding mix, which creates a creamy and delicious base. You can experiment with chocolate pudding for a twist on the classic cookies and cream flavor; just keep in mind the color and taste will change accordingly.
Advertisement
How long can I store Cookies & Cream Pudding Pops in the freezer?
You can keep your delicious Cookies & Cream Pudding Pops in an airtight container in the freezer for up to two weeks. Just make sure they are sealed well to prevent freezer burn. For the best taste experience, enjoy them within the first week!
Can I freeze these pudding pops for longer?
While I recommend enjoying your pops within two weeks, if you want to extend their lifespan, you can freeze them for up to 3 months! Just ensure they are wrapped tightly or stored in a freezer-friendly container. When ready to eat, allow them to thaw in the refrigerator for 20-30 minutes for optimal texture.
What should I do if the pudding mixture seems lumpy?
Not to worry! If your pudding mix gets lumpy, you can try straining it through a fine mesh sieve to achieve a smooth texture. Alternatively, whisk it vigorously for a few more minutes—be sure to keep whisking until it thickens properly and is free of lumps before folding in the whipped topping.
Are there any dietary considerations or substitutions I should know about?
Very much! If you’re looking to make these pops gluten-free, simply swap the regular Oreos with gluten-free chocolate cookies. For vegan options, use plant-based milk and whipped topping—almond or coconut milk works beautifully for a creamy finish! Always check ingredient labels to ensure they meet your dietary needs.
How do I remove the pops from the molds easily?
To remove your Cookies & Cream Pudding Pops effortlessly, run warm water over the outside of the molds for a few seconds. This gentle heat will help loosen the pops, making it easier to pull them out without breaking—enjoy your creamy treats without hassle!
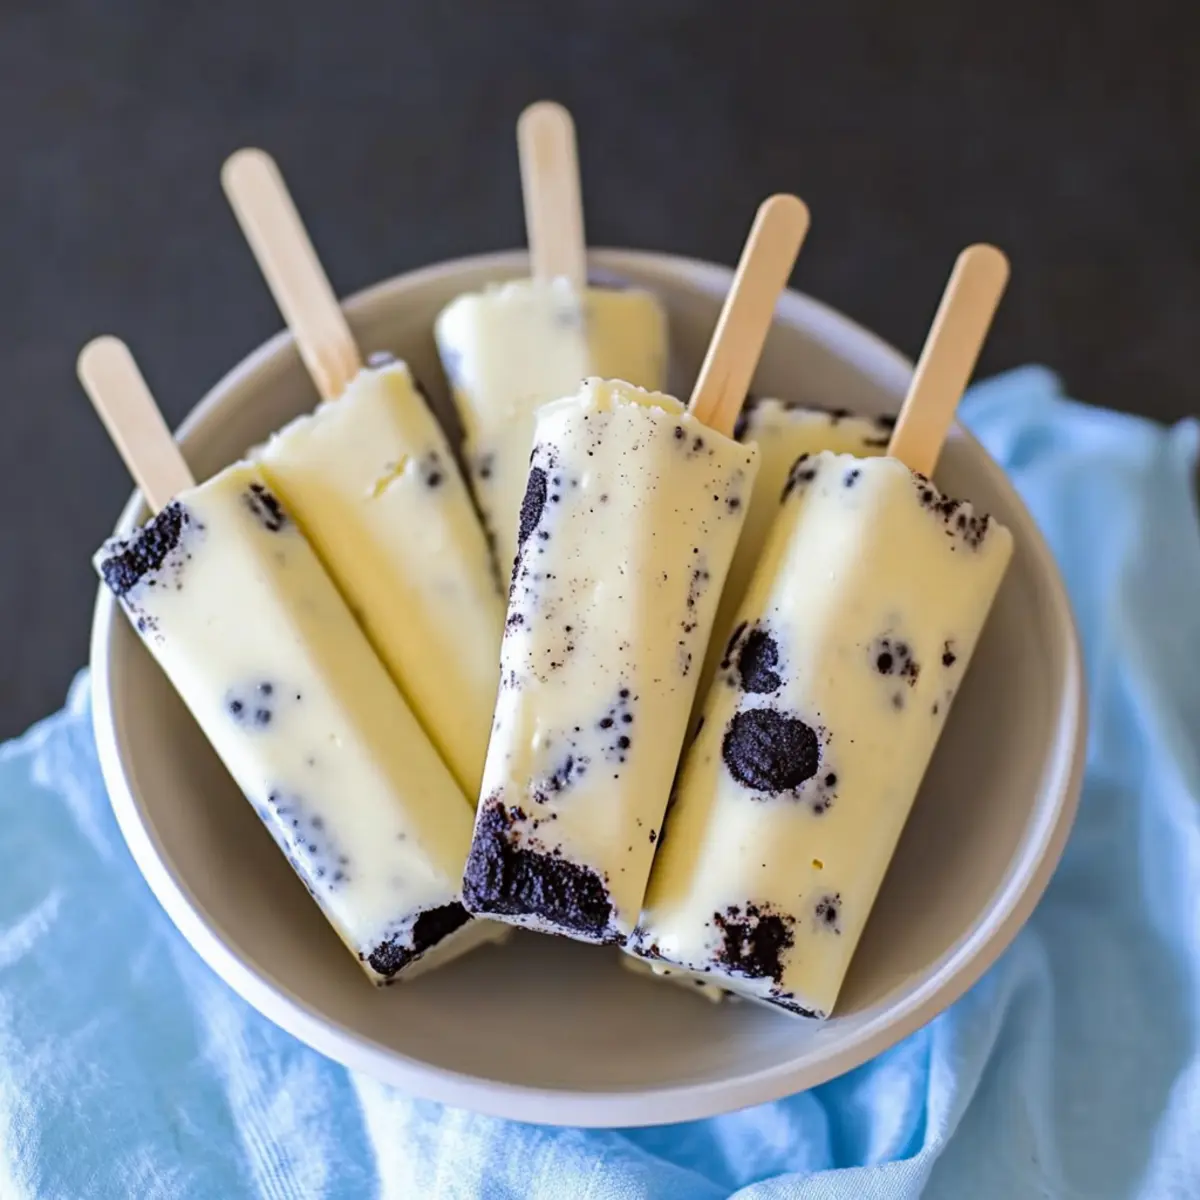
Creamy Cookies & Cream Pudding Pops for Effortless Summer Joy
Ingredients
Equipment
Method
- Whisk the pudding mix and cold milk in a large mixing bowl until smooth and thickened.
- Gently fold in the whipped topping until well combined and creamy.
- Break Oreo cookies into chunks and distribute evenly at the bottom of each popsicle mold.
- Pour the pudding mixture over the cookie pieces until molds are nearly full, leaving space for expansion.
- Insert popsicle sticks and freeze for at least 8-10 hours until solid.
- Run warm water over the molds to loosen the pops and gently remove them.