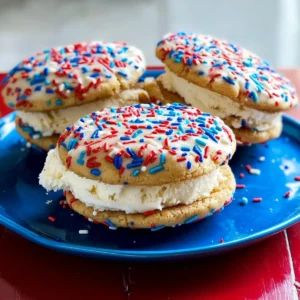
The tantalizing smell of baking cookies has a way of transporting us back to care-free childhood days—warm kitchens filled with laughter, and the promise of sweet treats. Today, I’m excited to guide you through making classic homemade chocolate chip cookies, a nostalgic recipe that perfectly balances soft, chewy interiors with delightfully crisp edges. One of the best parts? These cookies come together in just under thirty minutes, making them a quick solution for your sweet cravings. Plus, they’re a sure crowd-pleaser, ideal for cookie swaps or cozy family gatherings. Ready to fill your home with an irresistible aroma? Let’s dive into this heartwarming baking adventure together!
Why are these cookies so irresistible?
Classic Comfort: Nothing quite beats the taste of homemade chocolate chip cookies, a treat that brings nostalgia to every bite.
Quick and Easy: With minimal prep time, you can whip up a batch in under thirty minutes, perfect for when sweet cravings strike unexpectedly.
Crowd-Pleaser: Whether for a cookie swap or a cozy family gathering, these cookies are sure to impress, inviting smiles with every delicious bite!
Endless Variations: Feel free to customize with nuts, different chocolates, or even oatmeal for a twist—each version offering its own delightful taste.
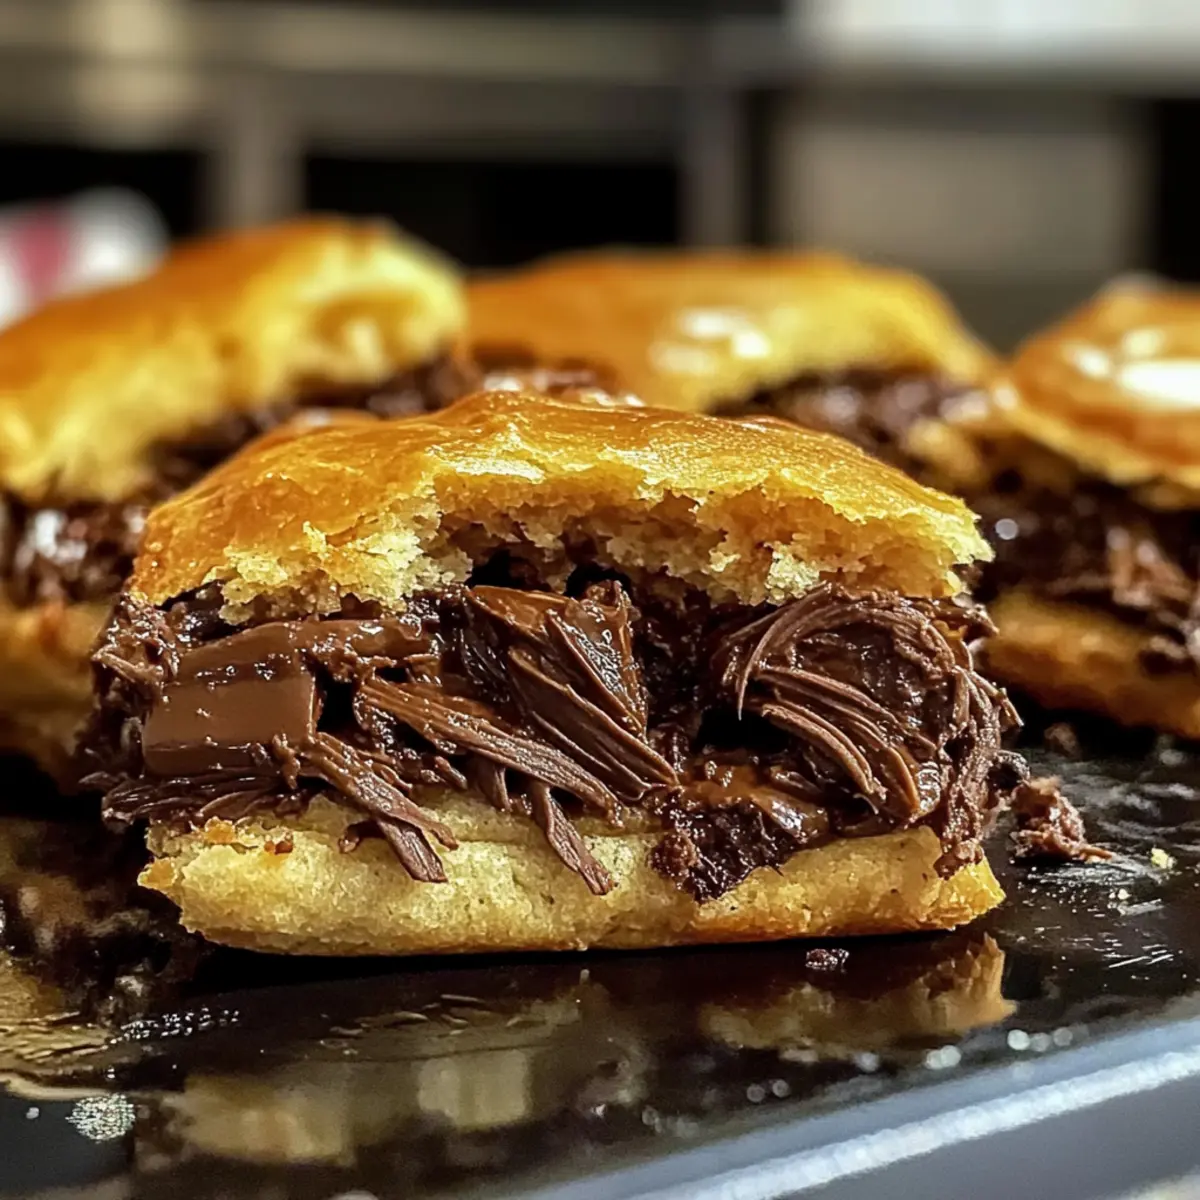
If you’re in the mood for more comfort food, check out my Crockpot BBQ Beef Sandwiches for another crowd favorite!
Chocolate Chip Cookie Ingredients
• Dive into the delightful world of classic homemade chocolate chip cookies with these simple ingredients!
For the Batter
- All-purpose flour – Provides structure; substitute with gluten-free flour for a gluten-free option.
- Granulated sugar – Adds sweetness and aids in crusting; can swap for brown sugar for a caramel flavor.
- Brown sugar – Contributes moisture and softness; can replace with half granulated sugar for enhanced taste.
- Baking soda – Acts as a leavening agent; ensure it’s fresh for the best rise.
- Salt – Balances sweetness; adjust to taste, or omit if using salted butter.
- Unsalted butter – Adds richness; replace with coconut oil for a dairy-free version.
- Vanilla extract – Deepens flavor; pure vanilla is preferable for the best results.
- Eggs – Binds the ingredients; substitute with flax eggs for a vegan option.
For the Chocolate
- Chocolate chips – The star ingredient for sweetness; mix dark and milk chocolate for a rich profile.
Step‑by‑Step Instructions for Classic Homemade Chocolate Chip Cookies
Step 1: Preheat the Oven
Begin this baking journey by preheating your oven to 350°F (175°C). This ensures that the cookies bake evenly and achieve that perfect golden crust. As the oven warms up, gather your baking sheets—lining them with parchment paper will prevent sticking and make cleanup a breeze.
Step 2: Cream the Butters and Sugars
In a large mixing bowl, use a hand mixer or stand mixer to cream together the softened unsalted butter with granulated and brown sugar. Beat the mixture on medium speed until it becomes light and fluffy, about 2-3 minutes. The sugars will dissolve and incorporate air into the butter, creating a delightful texture for your classic homemade chocolate chip cookies.
Step 3: Add the Eggs and Vanilla
Next, crack in your eggs one at a time, continuing to beat after each addition to fully incorporate them into the mixture. Then, pour in the pure vanilla extract, mixing it well until everything is nicely blended. The addition of these ingredients will bring moisture and flavor to the dough, enhancing the overall taste of your cookies.
Step 4: Combine Dry Ingredients
In a separate bowl, whisk together the all-purpose flour, baking soda, and salt until evenly combined. This step is crucial as it ensures that the leavening agent is distributed throughout the flour, allowing your cookies to rise beautifully. Gradually add this dry mixture to the wet ingredients, taking care to mix until just combined to avoid overworking the dough.
Step 5: Fold in Chocolate Chips
With a spatula, gently fold in the chocolate chips until they are evenly distributed throughout the cookie dough. The rich, melty chocolate will be the star of your classic homemade chocolate chip cookies, creating that perfect gooey texture we all love. Be careful not to overmix; you want the dough to stay tender for those chewy cookie centers.
Step 6: Scoop the Dough
Using a cookie scoop or two tablespoons, portion the dough onto your prepared baking sheets, leaving about 2 inches of space between each scoop. This allows the cookies to spread without merging together while baking. You’ll want to see those generous dollops of dough ready to create deliciously thick cookies.
Step 7: Bake the Cookies
Place the baking sheets in your preheated oven and bake for 10-12 minutes. Keep an eye on them during the last few minutes—you’re looking for golden edges and slightly underbaked centers. This visual cue will ensure that your cookies remain soft and chewy, a hallmark of classic homemade chocolate chip cookies.
Step 8: Cool and Enjoy
Once baked, remove the sheets from the oven and let the cookies cool on the baking sheet for 5 minutes to set. This step prevents them from breaking apart when transferred. After that, gently move the cookies to a wire rack to cool completely. Get ready to savor the delightful aroma and the delightful taste of these irresistible cookies!
Variations & Substitutions for Chocolate Chip Cookies
Feel free to explore these delightful twists that let your taste buds shine while baking!
-
Nutty Delight: Add a handful of walnuts or pecans for a crunchy texture. The nuttiness pairs beautifully with chocolate, creating a lovely contrast that elevates your cookies.
-
White Chocolate Swap: Substitute semi-sweet chocolate chips with creamy white chocolate for a sweeter flavor profile. The luxurious sweetness of white chocolate takes these cookies to a new level of indulgence.
-
Oatmeal Addition: Incorporate 1 cup of rolled oats for a heartier cookie. This not only adds fiber but also gives your cookies a lovely chewy texture that’s perfect for oatmeal lovers.
-
Spicy Kick: Add a dash of cinnamon or even a pinch of cayenne pepper for a warm, spicy note. This little twist can surprise your guests and awaken new flavors in every bite.
-
Dairy-Free Version: Replace unsalted butter with coconut oil for a deliciously dairy-free option. Your cookies will still be soft, and the hint of coconut adds a unique flavor twist.
-
Gluten-Free Alternative: Use a gluten-free flour blend in place of all-purpose flour to accommodate gluten sensitivities. Just ensure your other ingredients, like baking soda, are also gluten-free!
-
Chocolate Mix: Use a combination of dark, milk, and even caramel chocolate chips for a rich and exciting flavor mix. This could turn your cookies into a show-stopping treat!
-
Caramel Center: Add a small morsel of caramel in the center of each cookie before baking. As they bake, the caramel will melt, creating an irresistible gooey center.
Looking for more comforting meal ideas? Check out my Healthy Crockpot Chicken for a cozy family favorite, or you might enjoy the flavors in my Crockpot Thai Peanut chicken recipe!
Expert Tips for Classic Homemade Chocolate Chip Cookies
Chill for Thickness: Chilling the cookie dough for at least 30 minutes results in thicker cookies with a chewier texture.
Avoid Overmixing: Once you incorporate the flour, mix only until just combined. Overmixing can lead to tough cookies—nobody wants that!
Scoop Uniformly: Use a cookie scoop for evenly-sized cookies, ensuring they bake consistently and look beautiful.
Watch the Bake Time: Keep an eye on the cookies in the last few minutes of baking. Remove them when edges are golden and centers are still soft for the perfect classic homemade chocolate chip cookies.
Customize Your Recipe: Don’t hesitate to add your favorite nuts or white chocolate for new flavors, making the classic recipe even more exciting!
How to Store and Freeze Chocolate Chip Cookies
Room Temperature: Keep baked cookies at room temperature in an airtight container for up to 5 days to maintain their softness and freshness.
Fridge: Store cookies in the fridge for longer shelf life—up to 1 week—though this may affect their texture, making them slightly firmer.
Freezer: Freeze cookie dough balls for up to 3 months. Place them in a freezer bag, separated by parchment paper, for easy access and quick baking.
Reheating: To enjoy warm cookies, reheat in the microwave for 10-15 seconds or in a 350°F (175°C) oven for about 5 minutes, bringing back that fresh-baked flavor!
What to Serve with Classic Homemade Chocolate Chip Cookies
Indulging in these delightful treats is just the beginning—let’s explore delicious pairings that elevate your dessert experience!
- Tall Glass of Milk: A classic choice, the cool creaminess of milk perfectly complements the warmth and richness of the cookies.
- Vanilla Ice Cream: Top your warm cookies with a scoop of vanilla ice cream; the melting contrast creates a symphony of flavors.
- Coffee or Espresso: The bold notes of coffee enhance the chocolate, turning your simple treat into a cozy café experience.
- Fresh Berries: The tartness of strawberries or raspberries provides a refreshing balance to the sweetness of the cookies.
- Chocolate Drizzle: Drizzle melted chocolate over the cookies for an extra decadent touch; it’s a chocolate lover’s dream come true.
- Caramel Sauce: Serve with a side of warm caramel for dipping, adding a rich and buttery flavor that is simply irresistible.
- Nuts for Crunch: Pair with lightly salted walnuts or pecans for a delightful textural contrast against the soft cookie.
- Herbal Tea: A warm cup of herbal tea, like chamomile or mint, offers a soothing balance to the sweet, rich cookies.
These pairings create a comforting atmosphere, where homemade chocolate chip cookies shine as the star of every gathering. Enjoy!
Make Ahead Options
These classic homemade chocolate chip cookies are perfect for meal prep, making your busy weeknights a little sweeter! You can prepare the cookie dough up to 24 hours in advance by scooping it into balls and placing them on a baking sheet lined with parchment paper. Just cover the dough well with plastic wrap and refrigerate. When you’re ready to bake, simply take the dough out and let it sit at room temperature for about 10 minutes before popping them in the oven. For even more convenience, you can freeze the dough balls for up to 3 months—just bake them straight from the freezer, adding a minute or two to the baking time. This way, you’ll always have freshly baked cookies at hand, just as delicious as if made that day!
Advertisement
Chocolate Chip Cookies Recipe FAQs
How do I know if my ingredients are fresh?
For the best results, always ensure your baking soda is fresh—usually good for about 6 months after opening. Check that your flour has no dark spots or unusual odors, and avoid using stale chocolate chips, which can affect the flavor of your cookies.
How should I store my chocolate chip cookies?
Keep your baked cookies in an airtight container at room temperature to maintain their delightful softness and freshness for up to 5 days. If you want to extend their shelf life, pop them in the fridge where they can stay good for up to a week, though they may become a tad firmer.
Can I freeze chocolate chip cookie dough?
Absolutely! You can freeze cookie dough balls for up to 3 months. To do this, scoop the dough onto a baking sheet lined with parchment paper and flash freeze them for about 1 hour. Once frozen solid, transfer the dough balls into a freezer bag. When you’re ready to bake, you can bake them straight from the freezer—just add a minute or two to the baking time for perfectly fresh cookies!
What should I do if my cookies spread too much while baking?
If your cookies spread too much, it might be due to warm dough. Always chill the dough for at least 30 minutes before baking. Make sure you’re using properly measured flour—too little can lead to excess spreading. Lastly, ensure your baking sheet is cool before scooping the dough onto it.
Are there any dietary considerations for chocolate chip cookies?
If you’re baking for someone with allergies, you can easily adapt this recipe. For a gluten-free version, substitute all-purpose flour with a gluten-free blend. To make them dairy-free, use coconut oil instead of butter and dark chocolate chips that are dairy-free. Always double-check any packaged ingredients for potential allergens!
How can I make my cookies thicker?
To achieve thicker classic homemade chocolate chip cookies, be sure to chill your dough for at least 30 minutes before scooping. Alternatively, you might consider using bread flour instead of all-purpose flour, as its higher protein content can contribute to a chewier cookie. Another great tip is to add an extra egg yolk, which can enhance moisture and create a thicker texture!
Crockpot BBQ Beef Sandwiches: Easy, Tender, and Flavor-Packed
Ingredients
Equipment
Method
- Place the chuck roast in the crockpot.
- Add sliced onion and minced garlic on top of the meat.
- Pour the BBQ sauce over the meat, ensuring it's well coated.
- Sprinkle smoked paprika, salt, and black pepper.
- Cover and cook on low for 8 hours or high for 4 hours until tender.
- Shred the beef with two forks inside the crockpot, mixing it with the sauce.
- Serve on buns, topped with extra BBQ sauce if desired.