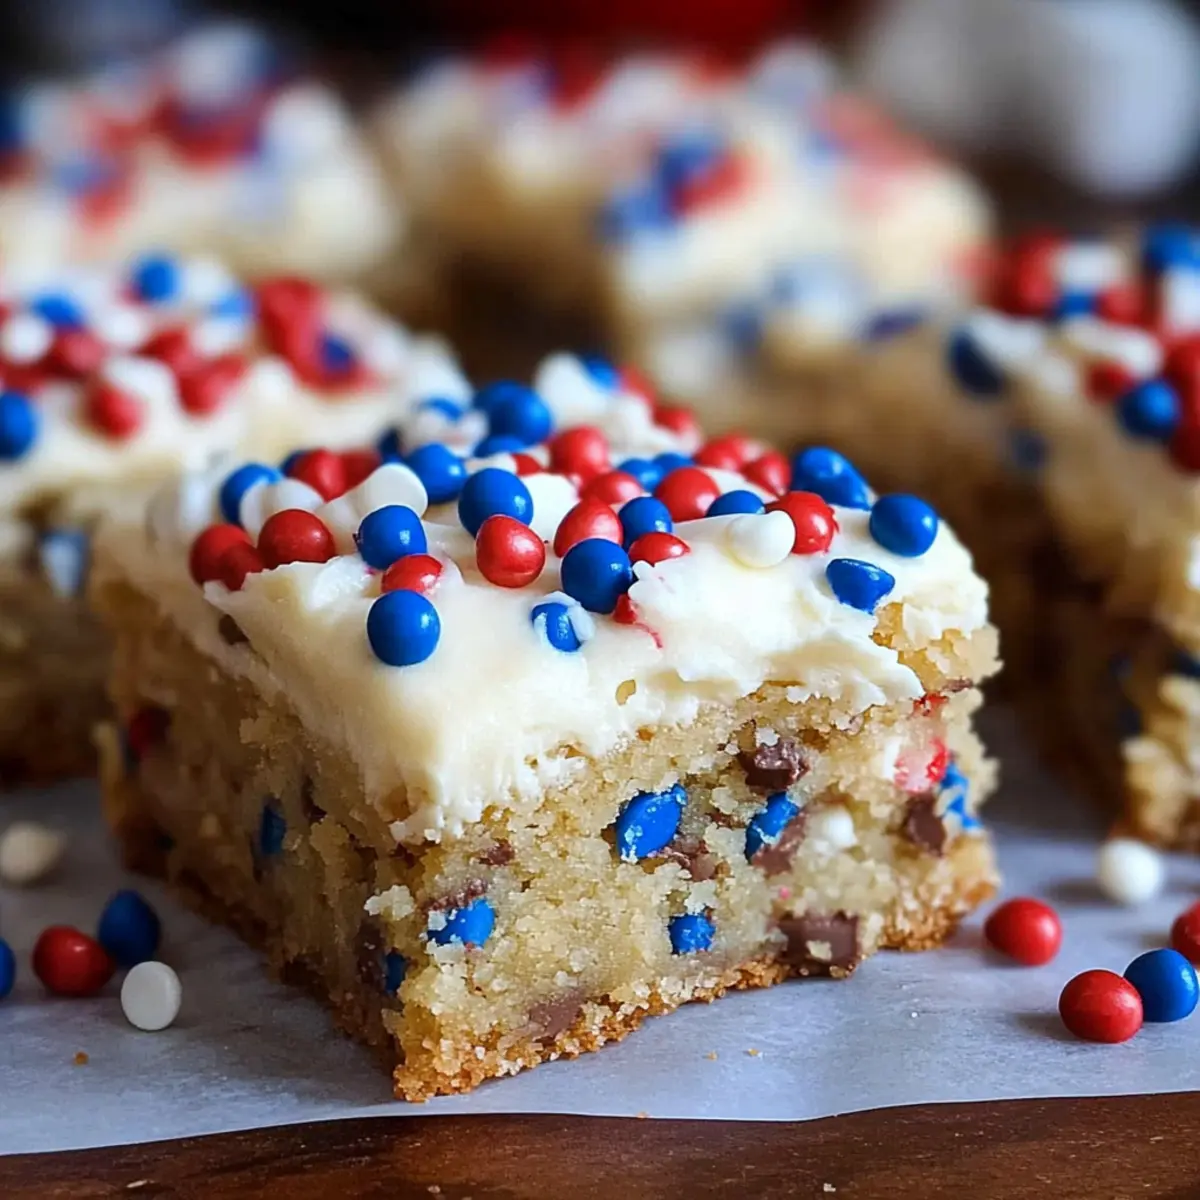
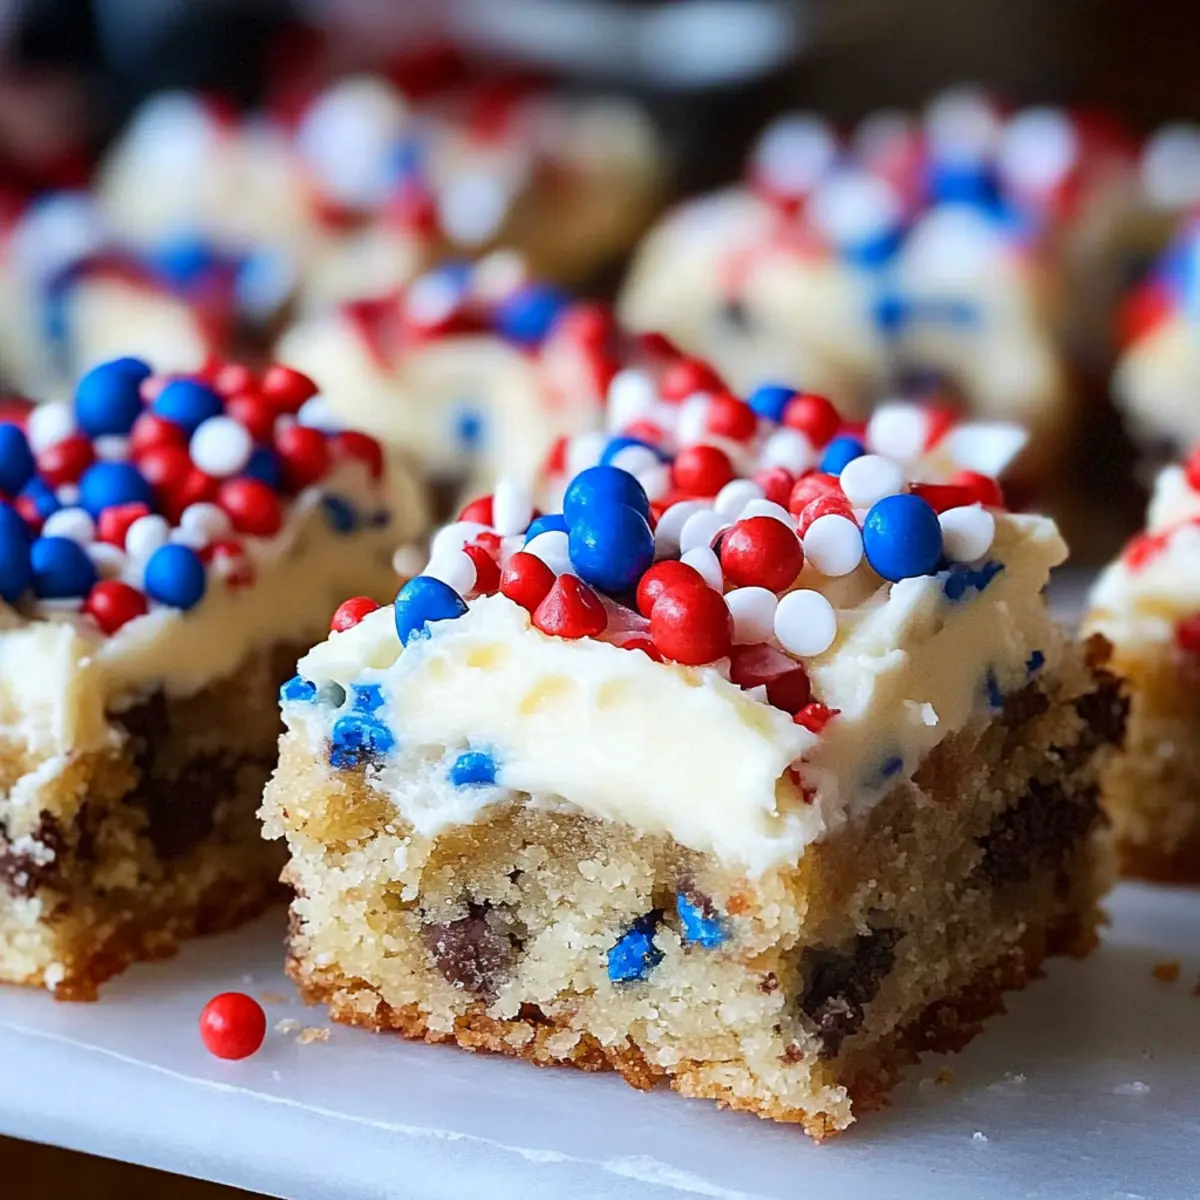
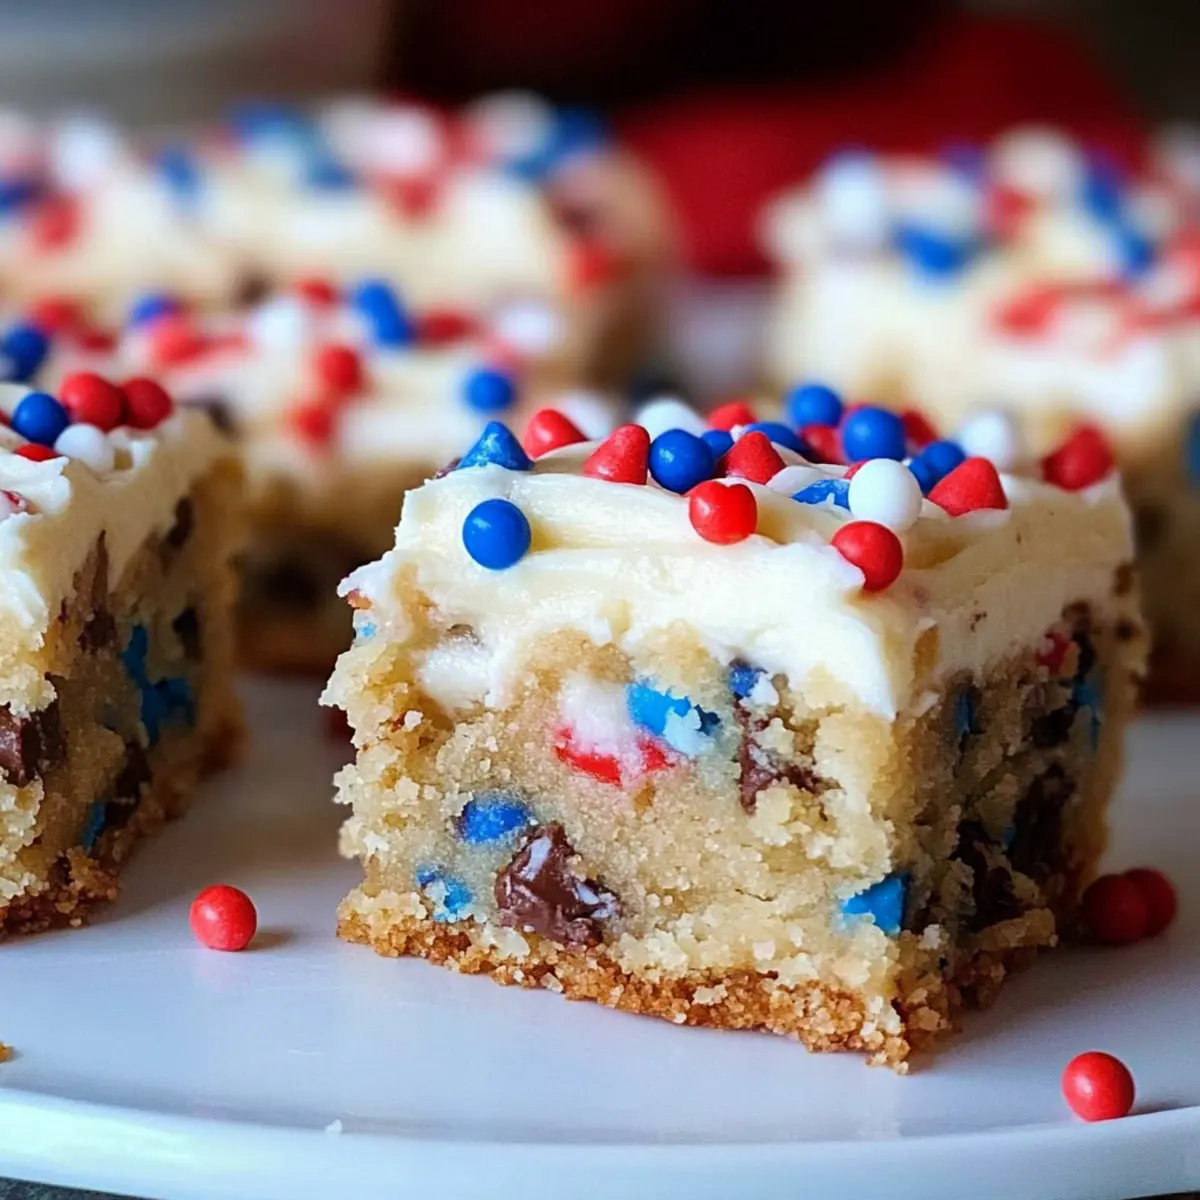
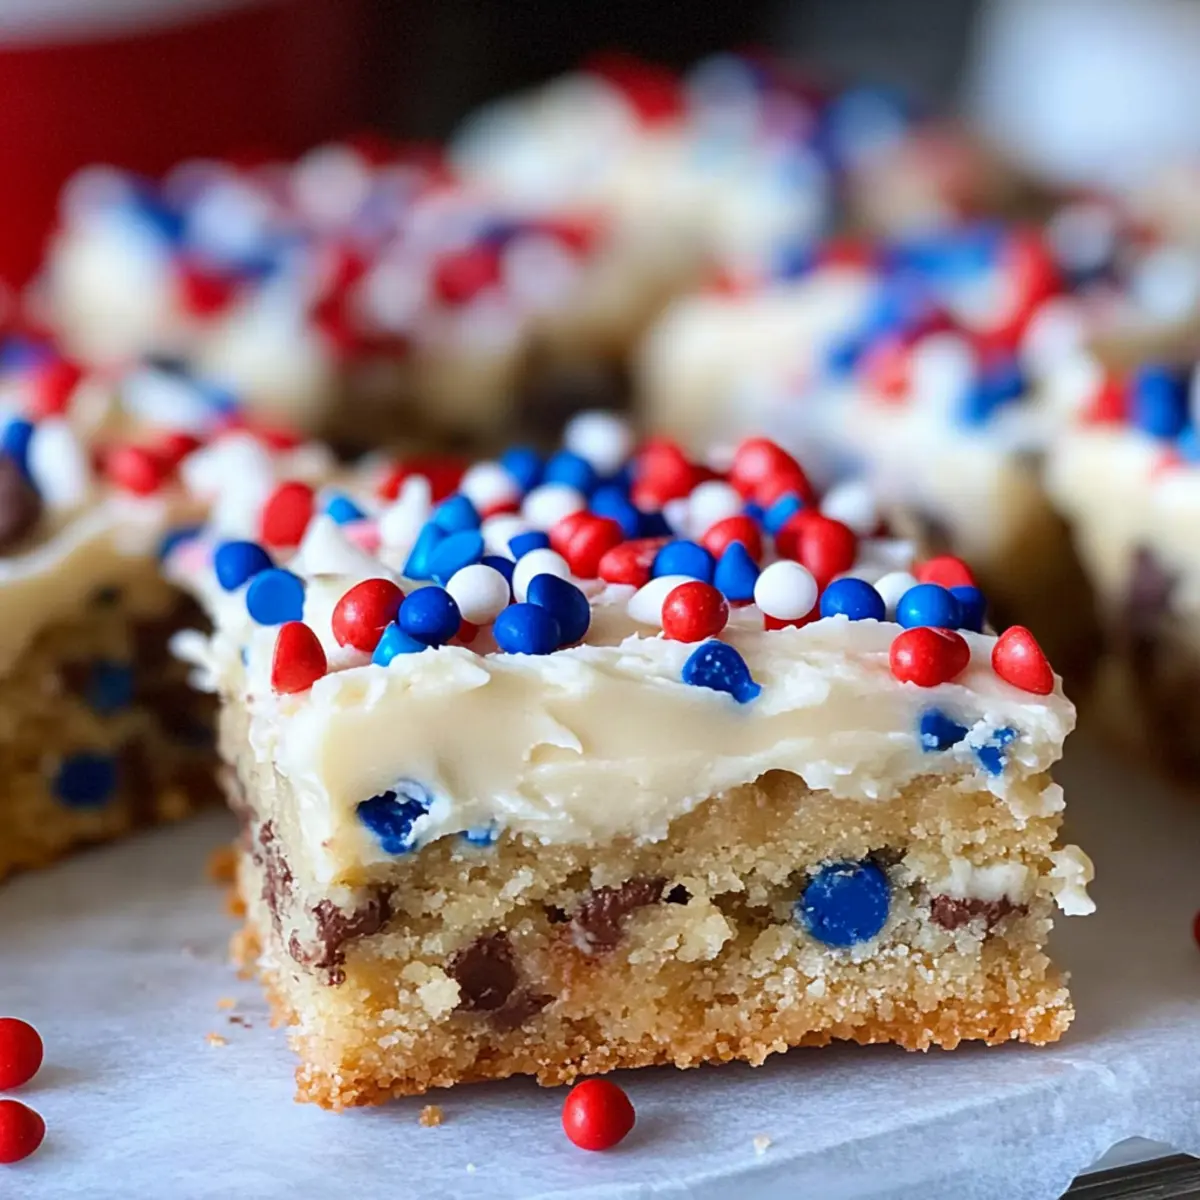
As I unwrapped the vibrant layers of red, white, and blue sprinkles, a wave of nostalgia washed over me—each sprinkle a memory, each bite a celebration. These Red White and Blue Chocolate Chip Cookie Bars embody everything I love about baking: they’re simple to whip up and perfect for gathering friends and family. Chewy, buttery, and loaded with semi-sweet chocolate chips and creamy vanilla milk chips, they are not just a delightful dessert but a canvas for creativity. Whether you’re marking the 4th of July or just want to bring a slice of Americana to the table, these bars make baking feel effortless and fun. Customize them to your heart’s content and share sweet moments with those around you. Ready to dive into the process of creating something that’s as visually stunning as it is delicious? Let’s get started!
Why are these cookie bars a must-try?
Simplicity at its Finest: The Red White and Blue Chocolate Chip Cookie Bars require minimal effort, making them an ideal choice for both novice bakers and seasoned chefs.
Versatile and Customizable: You can easily swap in your favorite chocolate chips or even try different add-ins like crushed graham crackers to make each batch uniquely yours.
Perfect for Celebrations: Look no further for a show-stopping dessert that’s perfect for summer barbecues, picnics, or festive gatherings.
Crowd-Pleasing Appeal: With their festive colors and decadent flavors, these cookie bars are sure to impress family and friends alike.
Quick and Time-Saving: You’ll have these delicious treats ready to serve in about an hour, so you won’t miss a moment of fun!
Inspired by Tradition: Capture the essence of Americana in every bite, reminiscent of those cherished holiday gatherings and summer memories.
Why not pair these bars with other delightful treats like Fudgy Chocolate Chip Cookie Brownies or Blueberry White Chocolate Cupcakes for an unforgettable dessert table?
Red White and Blue Cookie Bar Ingredients
• Let’s gather what you’ll need to create these scrumptious cookie bars!
For the Cookie Bars
- Unsalted Butter – Delivers richness and moisture; feel free to use salted butter for enhanced flavor.
- Granulated Sugar – Adds sweetness and helps with browning; no need for substitutes.
- Brown Sugar – Brings moisture and a delicious caramel flavor; can be swapped with granulated sugar if necessary.
- Eggs – Serve as a binder and provide structure; flax eggs work as a vegan alternative.
- Vanilla Extract – Infuses a warm, sweet aroma; using pure vanilla offers the best flavor.
- Baking Soda – Essential for rising; avoid using baking powder as a direct substitute.
- All-Purpose Flour – Builds the base structure; consider a gluten-free flour blend for a suitable substitute.
- Salt – Enhances overall flavor; omit if using salted butter.
- Mini Chocolate Chips – Add delightful bursts of chocolate flavor; dark or semi-sweet varieties make great alternatives.
- Vanilla Milk Chips or White Chocolate Chips – Contributes sweetness and creaminess; feel free to substitute with regular chocolate chips.
For the Frosting
- Powdered Sugar – A must for the buttercream frosting; no direct substitute is available.
- Heavy Cream – Helps create a creamy frosting texture; milk can be swapped in but may affect consistency.
- Salt (for frosting) – Balances the sweetness; skip it if you prefer a sweeter frosting.
With these ingredients in hand, you’re all set to whip up some delightful Red White and Blue Chocolate Chip Cookie Bars that are sure to impress!
Step‑by‑Step Instructions for Red White and Blue Chocolate Chip Cookie Bars
Step 1: Preheat the Oven
Begin by preheating your oven to 350°F (175°C). While the oven heats, line a 9×13 inch baking pan with foil, allowing some overhang for easy removal later. Lightly spray the foil with cooking spray to ensure the cookie bars won’t stick. This preparation sets the stage for your delightful Red White and Blue Chocolate Chip Cookie Bars.
Step 2: Prepare Dry Ingredients
In a medium mixing bowl, whisk together the all-purpose flour, baking soda, and salt until evenly combined. This will create the perfect foundation for your cookie bars. Set the mixture aside, allowing the flavors to blend, while you move on to the next step. You’ll be mixing these dry ingredients into your wet mixture soon!
Step 3: Cream Butter and Sugars
In a large mixing bowl, combine the softened unsalted butter, granulated sugar, and brown sugar. Using an electric mixer, beat the mixture on medium speed until it becomes creamy and smooth, about 2 minutes. This step is crucial for creating the tender texture of your Red White and Blue Chocolate Chip Cookie Bars, so be sure to fully incorporate all the sugars.
Step 4: Incorporate Eggs and Vanilla
Add the eggs and vanilla extract to the butter-sugar mixture. Continue mixing on medium speed until the ingredients are well blended, which should take about 1 minute. The mixture should become light and fluffy, enhancing the flavors of your bars. This step infuses richness and moisture that makes these cookie bars irresistible.
Step 5: Combine Dry and Wet Ingredients
Gradually add the dry flour mixture to the wet ingredients, mixing on low speed until just combined. Be careful not to overmix, as this can lead to tougher cookie bars. Once the flour is incorporated, gently fold in the mini chocolate chips and vanilla milk chips with a spatula, ensuring an even distribution throughout the dough.
Step 6: Spread the Cookie Dough
Pour the cookie dough into the prepared baking pan, using a spatula to spread it evenly across the bottom. Aim for a smooth, level layer to ensure even baking. Once it’s spread out, place the pan into your preheated oven and bake for 30–35 minutes. The cookie bars are done when they are golden brown and a toothpick inserted in the center comes out clean.
Step 7: Cool the Cookie Bars
Remove the baking pan from the oven and allow the cookie bars to cool completely in the pan on a wire rack. This step is important as it enables the bars to set, ensuring they hold their shape when sliced. Patience is key here—let them cool for about 30 minutes for optimal texture.
Step 8: Make the Frosting
While the bars cool, prepare the buttercream frosting. In a mixing bowl, beat together the softened butter, powdered sugar, heavy cream, vanilla extract, and salt on medium speed. Continue mixing until the frosting is creamy and smooth, about 2–3 minutes. A perfectly whipped frosting will be the finishing touch for your Red White and Blue Chocolate Chip Cookie Bars.
Step 9: Frost the Cookie Bars
Once the cookie bars are completely cool, spread the creamy frosting over the top using a spatula. Ensure an even layer that covers the surface entirely. While the frosting is still soft, add your decorative sprinkles or candies, creating a festive visual that’ll make your bars pop for any patriotic gathering.
Step 10: Slice and Serve
Carefully lift the cookie bars out of the pan using the foil overhang, and place them on a cutting board. Use a sharp knife to cut them into squares for serving. These Red White and Blue Chocolate Chip Cookie Bars are now ready to delight family and friends at your next celebration!
Expert Tips for Red White and Blue Chocolate Chip Cookie Bars
-
Frosting Timing: Always frost cookies immediately after they’ve cooled to ensure that toppings stick properly and enhance the festive appeal.
-
Mixing Dough: For that chewy texture we love, avoid overmixing the dough after adding the flour. This keeps your bars soft and delicious!
-
Cooking Spray Magic: Using cooking spray on your fingertips can help you easily press the dough evenly into the pan without the dough sticking to your hands.
-
Frosting Consistency: For a richer frosting, add more powdered sugar to thicken; for a creamier texture, mix in extra heavy cream until you achieve your desired consistency.
-
Bake Until Perfect: Keep an eye on the baking time, as ovens vary. Aim for that golden-brown hue to know your Red White and Blue Chocolate Chip Cookie Bars are perfectly baked!
How to Store and Freeze Red White and Blue Chocolate Chip Cookie Bars
Room Temperature: Store the cookie bars in an airtight container at room temperature for up to 3 days to maintain their chewy texture and freshness.
Fridge: If you’d like to extend their life, refrigerate the bars in an airtight container for up to 1 week. Just remember, they may lose a bit of their original softness.
Freezer: For long-term storage, wrap the cookie bars tightly in plastic wrap and place them in a freezer-safe container. These can be stored for up to 3 months without losing flavor.
Reheating: To enjoy your cookie bars warm, thaw them in the fridge overnight, then pop them in the microwave for about 10-15 seconds before serving to rejuvenate that chewy, delicious texture.
What to Serve with Red White and Blue Chocolate Chip Cookie Bars
Indulging in these festive cookie bars is just the beginning of a delightful culinary adventure that can elevate any celebration.
-
Vanilla Ice Cream: The creaminess of vanilla ice cream perfectly balances the chewy texture of the bars, creating a classic dessert duo that’s irresistible on a hot day. A scoop adds a refreshing element, melting slightly atop the warm cookie bars for a dreamy treat.
-
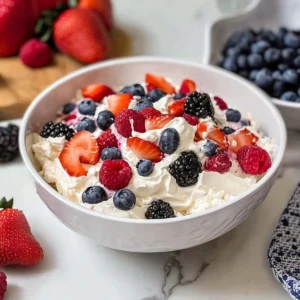
Fresh Berries Salad: A medley of strawberries, blueberries, and raspberries offers a burst of freshness, cutting through the sweetness. This vibrant salad not only adds a pop of color but also enhances the patriotic theme beautifully.
-
Lemonade or Iced Tea: Refreshing beverages like homemade lemonade or sweet iced tea are ideal complements, helping to cleanse the palate between bites. Their zesty or sweet undertones provide a perfect counterpoint to the rich flavor of the cookie bars.
-
Cheesecake Dip: For an adventurous twist, serve a silky cheesecake dip alongside fruit or graham crackers. The creaminess of the dip beautifully complements the cookie bars while offering a variety of textures and flavors to indulge in.
-
Chocolate Drizzle: Elevate your cookie bars by drizzling them with melted chocolate for an extra layer of sweetness. The rich chocolate creates a decadent touch, making each bite even more indulgent.
-
Patriotic Trifle: Layer sponge cake, whipped cream, and berries in a glass for a festive trifle that mirrors the cookie bars’ aesthetic. It’s an impressive and fun dessert that’s easy to assemble and will surely impress your guests.
-
Coffee or Espresso: For the adults, a cup of freshly brewed coffee or espresso makes for a fantastic pairing. Its bold flavor and warmth enhance the sweetness of the cookie bars and round out the dessert experience nicely.
Make Ahead Options
These Red White and Blue Chocolate Chip Cookie Bars are perfect for meal prep, allowing you to enjoy delicious home-baked goodness with less stress! You can prepare the cookie dough up to 24 hours in advance by mixing all the ingredients and refrigerating it in an airtight container. For even better flavor, you can chill the dough overnight before baking. Additionally, you can frost the bars up to 3 days ahead of time and store them in the fridge, where the creamy buttercream will stay just as delicious. When you’re ready to serve, simply slice them into squares and showcase their festive colors for any gathering—effortless and stunning!
Red White and Blue Chocolate Chip Cookie Bars Variations
Feel free to get creative with these cookie bars and make them truly your own!
-
Nutty Addition: Stir in 1 cup of chopped nuts like walnuts or pecans for extra crunch and flavor. They add a delightful contrast to the chewy texture!
-
Dairy-Free Delight: Swap out all dairy products for coconut oil, almond milk, and dairy-free chocolate chips for a completely vegan version. These bars will still be packed with flavor!
-
Flavor Boost: Add 1 teaspoon of almond extract to the dough or frosting for a lovely hint of nuttiness that complements the chocolate. It’s a subtle twist that will surprise your taste buds!
-
Graham Cracker Crust: Create a graham cracker base for a unique twist by mixing crushed graham crackers with melted butter and pressing it into the bottom of the pan before adding the cookie dough. This adds amazing texture and flavor!
-
Spicy Kick: For those who love a little heat, add a pinch of cayenne pepper or cinnamon to the cookie dough. This unexpected addition will elevate the flavors and wow your guests!
-
Festive Toppings: Switch up the festive sprinkles with themed candies, like red, white, and blue M&Ms or star-shaped sprinkles. It’s a fun way to customize for different celebrations!
-
S’mores Style: Incorporate mini marshmallows and a layer of toasted mini chocolate bars into the cookie dough for a s’mores-inspired version. Who could resist that gooey goodness?
-
Zesty Burst: For a refreshing citrus twist, add the zest of one lemon or orange to the dough. The bright flavor will balance the sweetness and make every bite a little more exciting!
Enjoy experimenting with these variations and don’t forget to check out other delightful recipes like Blueberry Cheesecake Cookie or Chewy Browkies Chocolate for inspiration!
Advertisement
Red White and Blue Chocolate Chip Cookie Bars Recipe FAQs
How do I choose ripe ingredients for the cookie bars?
Absolutely! The butter should be softened (not melted), giving it a creamy texture when mixed; look for butter that gives slightly when pressed. For eggs, use fresh ones — they’re best for binding. If you can, select dark chocolate chips that shine with freshness to elevate the bars’ flavor.
How should I store my cookie bars?
Very easy! Store the Red White and Blue Chocolate Chip Cookie Bars in an airtight container at room temperature for up to 3 days to keep them chewy. If you wish to enjoy them for a week, refrigerate them in the same type of container. Just a heads up — refrigeration may slightly firm up their soft texture.
Can I freeze these cookie bars?
Absolutely, you can! Start by wrapping the cooled bars tightly in plastic wrap and then place them in a freezer-safe container. For optimal freshness, they can be frozen for up to 3 months. When you’re ready to enjoy them again, thaw in the fridge overnight and then microwave for about 10-15 seconds for that fresh-out-of-the-oven warmth.
What if my cookie bars turn out too dry or overbaked?
Not to worry! If the bars are dry, it may be due to overmixing or baking too long. Keep an eye on them after the 30-minute mark; every oven varies. For soft, chewy bars, remember to mix until just combined, and always rely on the golden brown edges as your guide.
Are there any dietary considerations for allergies?
Certainly! These cookie bars contain gluten and dairy, so if you’re catering to someone with allergies, you can replace the all-purpose flour with a gluten-free blend and use dairy-free butter to ensure everyone can enjoy a slice. Always double-check with your guests regarding their dietary needs to make your baking inclusive and enjoyable for all!
Red White and Blue Chocolate Chip Cookie Bars for Summer Fun
Ingredients
Equipment
Method
- Preheat your oven to 350°F (175°C) and prepare a 9x13 inch baking pan with foil and cooking spray.
- In a medium mixing bowl, whisk together the all-purpose flour, baking soda, and salt until well combined.
- In a large mixing bowl, cream together softened unsalted butter, granulated sugar, and brown sugar until creamy.
- Add the eggs and vanilla extract to the butter-sugar mixture, mixing until well blended and fluffy.
- Gradually mix in the dry ingredients until just combined, then fold in the mini chocolate chips and vanilla milk chips.
- Spread the cookie dough evenly in the prepared baking pan and bake for 30–35 minutes until golden brown.
- Allow cookie bars to cool completely in the pan on a wire rack for about 30 minutes.
- Prepare the buttercream frosting by mixing softened butter, powdered sugar, heavy cream, vanilla extract, and salt until creamy.
- Spread the frosting over the cooled cookie bars and add decorative sprinkles if desired.
- Lift the cooled cookie bars from the pan and cut into squares for serving.