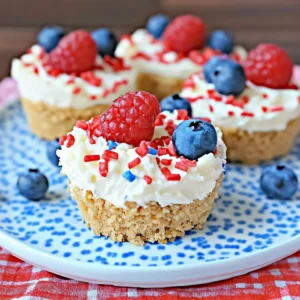
The vibrant colors of summer remind me of family gatherings, where laughter and fun fill the air. This is why I’m thrilled to share my Mini No-Bake Red White and Blue Cheesecakes, a dessert that not only captures the festive spirit but also offers a quick and delightful treat perfect for Memorial Day or the 4th of July. These charming mini cheesecakes are a breeze to whip up, thanks to their no-bake feature, making them a go-to for entertaining without the hassle. With a creamy filling set atop a crunchy graham cracker crust, they’re as delicious as they are beautiful. Whether you’re serving them at a backyard barbecue or enjoying a quiet evening at home, there’s something about these treats that invites smiles and sweet memories. Curious about how to make these patriotic desserts? Let’s dive in!
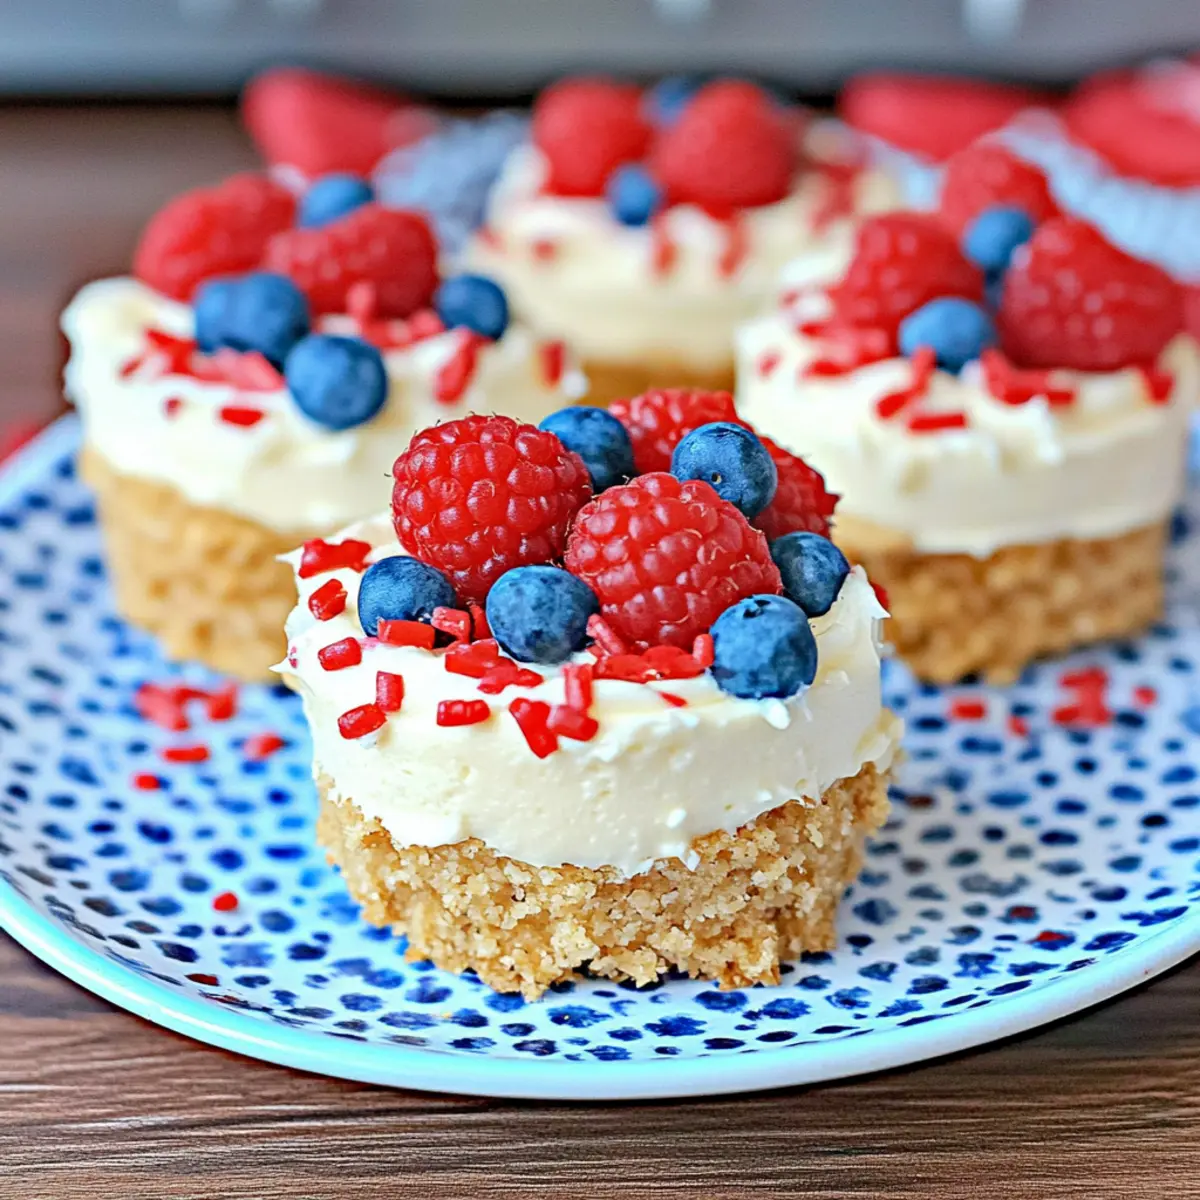
Why Choose Mini No-Bake Cheesecake?
Easy Preparation: You only need a few simple steps to create these delightful treats that save you time in the kitchen.
Patriotic Presentation: Their vibrant red, white, and blue layers make them a show-stopper at any summer celebration.
Kid-Friendly Fun: Let your little ones join in on the decoration with sprinkles, turning dessert-making into a family activity.
No-Bake Convenience: Perfectly chilled and ready to serve, these mini cheesecakes take away the hassle of baking while keeping flavor at the forefront.
Versatile Creativity: Not just for holidays, you can customize sprinkles or fruit toppings to suit various occasions, making them a year-round favorite.
With all these reasons, you’ll surely impress your guests while enjoying these delightful mini cheesecakes! For more delicious ideas, check out our Churro Cheesecake Donut recipe for a sweet treat!
Red White And Blue Cheesecake Ingredients
For the Crust
- Graham Cracker Crumbs – The perfect base for your crust; use crushed cookies if you desire a flavor twist.
- Brown Sugar – Adds sweetness and a touch of caramel flavor to the crust.
- Melted Butter – Binds everything together beautifully; for a dairy-free option, swap in coconut oil.
For the Filling
- Cream Cheese – This is the heart of your cheesecake; ensure it’s softened for easy mixing.
- White Sugar – Sweetens the filling perfectly; consider sugar alternatives if you prefer less sweetness.
- Heavy Whipping Cream – Helps create a light and airy texture; coconut cream serves as a great dairy-free substitute.
- Vanilla Extract – Elevates the flavor profile of your filling beautifully.
For Topping
- Red White and Blue Sprinkles – Add a festive touch to your mini cheesecakes, enhancing their patriotic theme.
These ingredients come together to create a deliciously creamy Red White and Blue Cheesecake that’s perfect for your summer celebrations!
Step‑by‑Step Instructions for Mini No-Bake Red White and Blue Cheesecakes
Step 1: Prepare the Crust
Line a cupcake pan with paper wrappers for easy removal. In a mixing bowl, combine graham cracker crumbs and brown sugar until evenly mixed. Gradually pour in melted butter and mix until the texture resembles damp sand. Press approximately 1 tablespoon of this mixture firmly into the bottom of each cupcake liner. Place the pan in the freezer for about 15 minutes to set while you prepare the cheesecake filling.
Step 2: Mix the Filling
In a large mixing bowl, beat together softened cream cheese, white sugar, heavy whipping cream, and vanilla extract using an electric mixer. Start on low speed to avoid splattering, then increase to medium-high until the mixture is smooth and creamy, about 2 to 3 minutes. Make sure to scrape down the sides of the bowl halfway through for an even texture. This rich filling is what makes your Mini No-Bake Red White and Blue Cheesecakes irresistible.
Step 3: Assemble Cheesecakes
Once the crusts are firm, remove the cupcake pan from the freezer. Carefully scoop about 2 tablespoons of the cheesecake filling onto each crust, spreading it evenly. Make sure each mini cheesecake has a nice layer of filling that reaches the edges of the crust. For an extra festive touch, sprinkle the red, white, and blue sprinkles atop each filled crust, way before they go into the freezer.
Step 4: Chill
After assembly, place the cupcake pan back in the freezer. Chill the mini cheesecakes for at least 1 hour to allow them to firm up properly before serving. Ideally, they should be hearty but still creamy to the bite, ensuring the perfect texture that complements the graham cracker crust.
Step 5: Serve
When you’re ready to serve your delightful Mini No-Bake Red White and Blue Cheesecakes, carefully remove them from their paper wrappers. Allow them to thaw for about 1 hour at room temperature for optimal creaminess. The festive colors and delicious flavors will provide a stunning and tasty dessert for your summer gatherings!
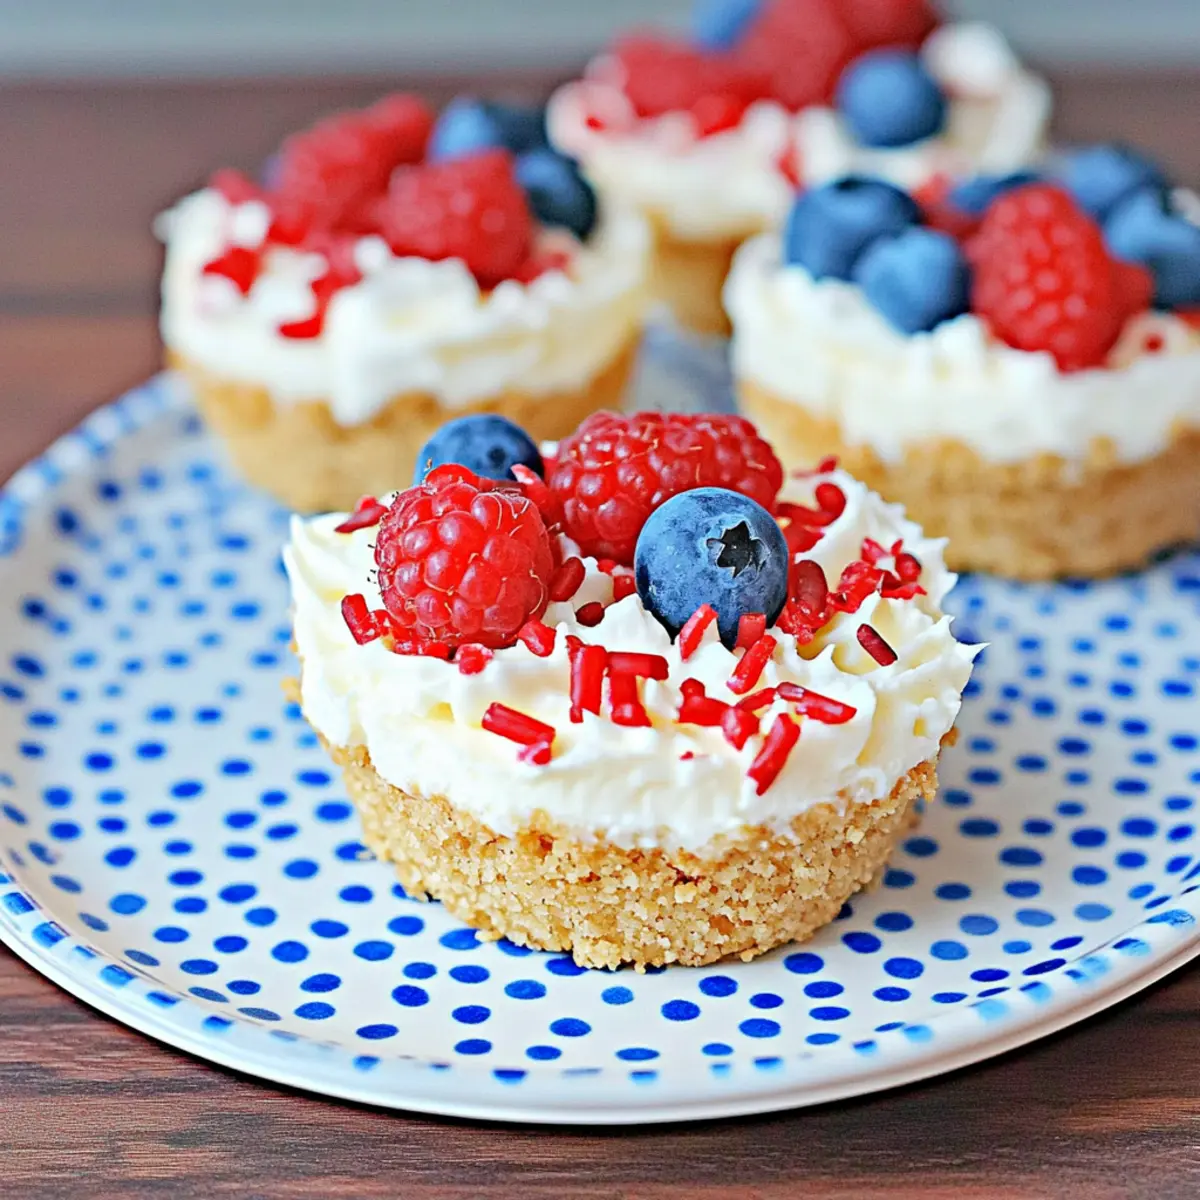
Expert Tips for Red White And Blue Cheesecake
-
Room Temperature: Ensure your cream cheese is at room temperature to avoid lumps and achieve a smooth filling.
-
Chill Time: Don’t rush the chilling process. Allow the cheesecakes to set for at least one hour for the best texture.
-
Fun with Sprinkles: Let kids help with decoration to make the experience more enjoyable and memorable for the whole family.
-
Watch the Freezing: Avoid over-freezing; if left too long, the mini cheesecakes can become hard and lose their creamy texture.
-
Flavor Variations: Feel free to swap in flavored extracts or fresh fruit toppings to create unique twists on the classic Red White and Blue Cheesecake!
Make Ahead Options
These Mini No-Bake Red White and Blue Cheesecakes are fantastic for meal prep! You can prepare the crust up to 24 hours in advance by mixing the graham cracker crumbs, brown sugar, and melted butter, pressing it into the cupcake liners, and storing the pan in the fridge. The cheesecake filling can be made up to 3 days ahead; just keep it covered in the refrigerator. When you’re ready to serve, simply scoop the filling onto the crusts and decorate with sprinkles right before chilling them. This way, you ensure that they remain fresh, creamy, and just as delicious, giving you more time to enjoy your summer festivities!
Variations & Substitutions for Red White And Blue Cheesecake
Customize your cheesecakes to match your taste and occasion with these fun variations!
-
Dairy-Free: Substitute cream cheese with a plant-based cream cheese and use coconut cream instead of heavy cream for a delightful non-dairy option.
-
Sugar-Free: Use a sugar substitute like erythritol or stevia to sweeten your filling without adding calories, making it a guilt-free indulgence.
-
Fruity Delight: Replace sprinkles with fresh berries on top—think strawberries, blueberries, or raspberries—adding both flavor and an extra layer of nutrition.
-
Chocolate Twist: Mix in cocoa powder into the cream cheese filling for a chocolatey version that beautifully complements the cheesecake’s sweetness.
-
Citrus Zest: Add a teaspoon of lemon or orange zest to the filling for a zesty wake-up call that brightens the cheesecake’s flavor profile.
-
Graham Alternative: Use crushed Oreos or vanilla wafer cookies for the crust to introduce a different flavor dimension beneath that creamy cheesecake topping.
-
Seasonal Sprinkles: Tailor the celebration by changing sprinkles according to festive seasons—green and gold for St. Patrick’s Day or pastels for Easter!
-
Nutty Crunch: For added texture, mix finely chopped nuts like almonds or pecans into the crust or sprinkle them on top for a delightful crunch that enhances each bite.
Embrace your creativity while making these delicious mini cheesecakes, and don’t forget to check out our Strawberry Cheesecake Stuffed treats for more inspiration!
What to Serve with Mini No-Bake Red White and Blue Cheesecakes?
To elevate your summer celebrations, consider these delightful pairings that will complement and enhance your festive mini cheesecakes beautifully.
-
Fresh Berries: Their tartness balances the sweetness of the cheesecake, adding a burst of color and flavor.
-
Whipped Cream: A dollop of lightly sweetened whipped cream adds a fluffy texture, making each bite even more indulgent.
-
Mint Leaves: A sprig of fresh mint adds a refreshing touch, invigorating your palate between bites of creamy decadence.
-
Lemonade: This refreshing drink cuts through the richness, providing a zesty contrast that enhances the overall experience.
-
Grilled Peaches: Warm, caramelized peaches offer a luscious sweetness that pairs perfectly with the coolness of your cheesecakes.
-
Ice Cream: A scoop of vanilla or berry ice cream transforms your dessert moment into an unforgettable feast of textures and flavors.
-
Patriotic Fruit Salad: A colorful mix of blueberries, strawberries, and bananas brings extra freshness and ties beautifully into the festive theme.
Complete your gathering with these perfect companions, ensuring your mini no-bake red white and blue cheesecakes shine at the center of attention!
Storage Tips for Red White And Blue Cheesecake
Fridge: Store your mini cheesecakes in a sealed container in the refrigerator for up to 3 days to maintain freshness and flavor.
Freezer: For longer storage, wrap each cheesecake individually and freeze for up to 2 months. This way, you can enjoy the Red White and Blue Cheesecake anytime!
Thawing: When ready to serve, simply remove from the freezer and let them thaw at room temperature for about 1 hour for the best texture.
Serving Reminder: Always serve these delightful treats chilled to enhance their creamy and refreshing nature!
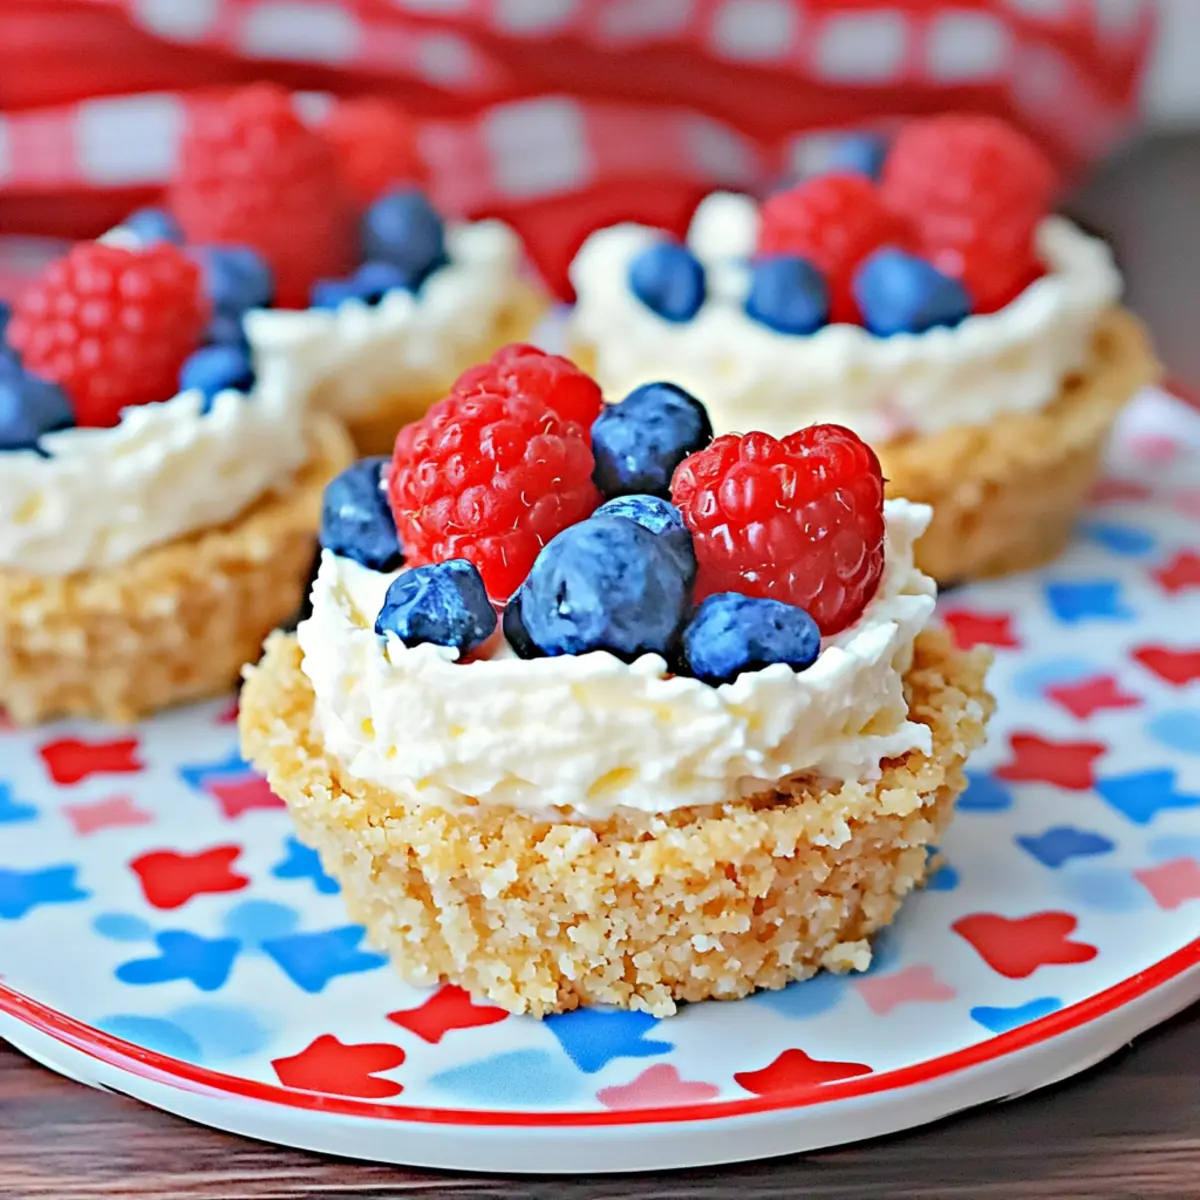
Red White and Blue Cheesecake Recipe FAQs
How do I know if my cream cheese is at the right temperature?
It’s ideal for your cream cheese to be at room temperature for a smooth cheesecake filling. You can leave it out for about 30 minutes before you start mixing. If it’s too firm and cold, the mixture can become lumpy, so remember to check that it’s softened!
What’s the best way to store these mini cheesecakes?
Absolutely! Store your mini cheesecakes in a sealed container in the refrigerator for up to 3 days. This keeps them fresh and delicious. For longer storage, you can wrap each individual cheesecake tightly and freeze for up to 2 months. Just make sure to allow them to thaw at room temperature for about 1 hour before serving for the best texture.
Advertisement
Can I freeze these mini cheesecakes? How should I do it?
Yes, you can freeze them! To freeze, wrap each mini cheesecake individually in plastic wrap or aluminum foil, and place them in an airtight container. They will last up to 2 months in the freezer. For serving, remove from the freezer and allow them to sit at room temperature for about 1 hour, which will help restore their creamy texture.
What if my mini cheesecakes are too firm after freezing?
No worries! If they turn out too firm, you’ve simply over-frozen them. Next time, try to chill them for the recommended time and remove them promptly. If you find them too hard to bite into, letting them thaw for a longer time at room temperature can help soften them up for that perfect creamy texture you’re aiming for!
Are there any allergy concerns with this cheesecake?
Definitely something to keep in mind! This recipe contains dairy and sugar, which might not be suitable for those with lactose intolerance or dietary restrictions. For a dairy-free option, you can use vegan cream cheese and coconut cream instead of heavy whipping cream. Always check ingredient labels for allergens, especially if serving to guests!
Can I use different toppings instead of sprinkles?
Very much so! You can customize your mini cheesecakes easily. Instead of sprinkles, feel free to use seasonal fruits, or even chocolate shavings, to change things up. Fresh blueberries and strawberries work beautifully on top and can enhance both flavor and aesthetics for any occasion!
If you have more questions or want to dive deeper into these delightful cheesecakes, I’m here to help!
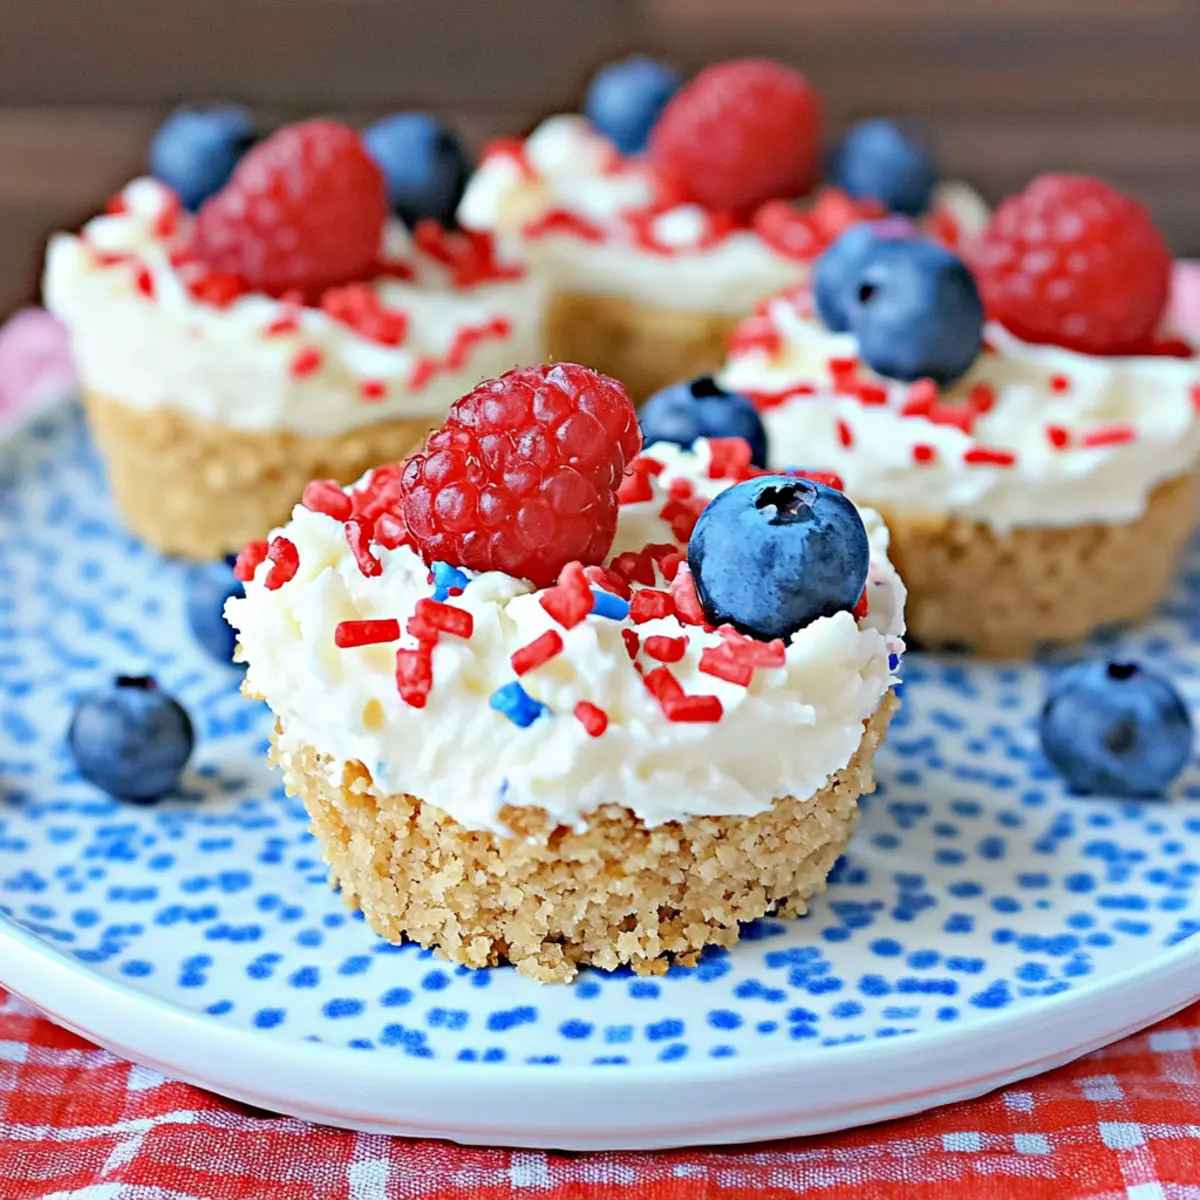
Irresistibly Creamy Red White And Blue Cheesecake Delight
Ingredients
Equipment
Method
- Prepare the Crust: Line a cupcake pan with paper wrappers. Mix graham cracker crumbs and brown sugar, then add melted butter. Press mixture into cupcake liners and freeze for 15 minutes.
- Mix the Filling: Beat cream cheese, white sugar, heavy whipping cream, and vanilla extract until smooth. Scrape sides halfway through.
- Assemble Cheesecakes: Add filling to set crusts and top with sprinkles. Return to freezer.
- Chill: Freeze cheesecakes for at least 1 hour.
- Serve: Remove from wrappers and let thaw for 1 hour at room temperature before serving.