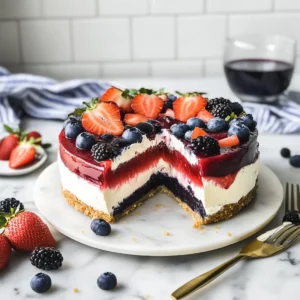
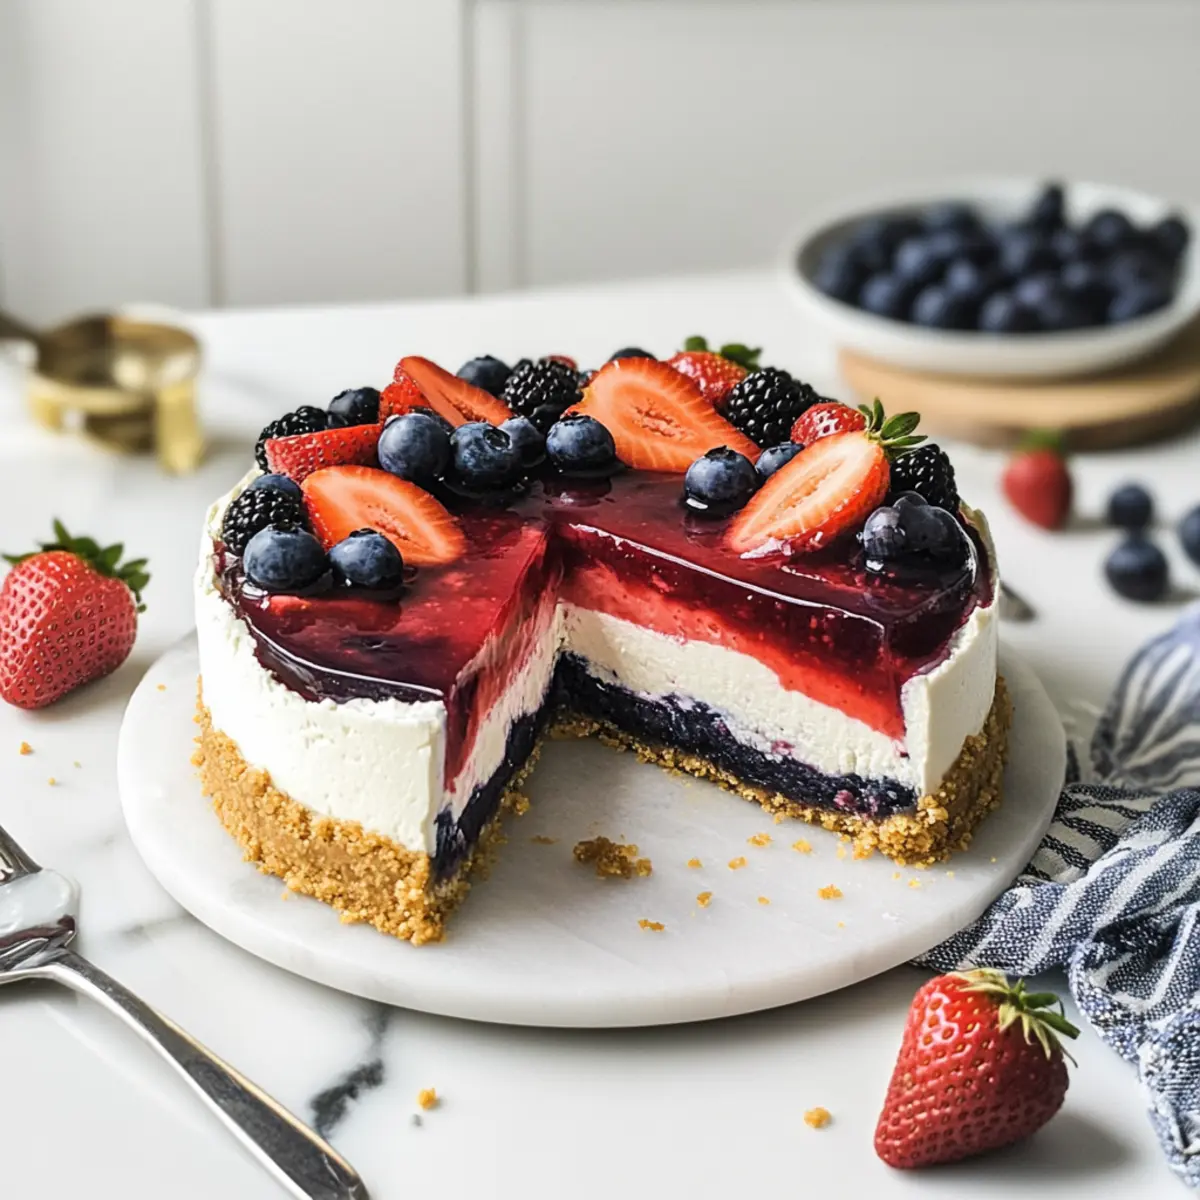
As the sun blazes and barbecues fill the air with the aroma of grilled delights, nothing captures the essence of summer like a vibrant dessert. Introducing my No-Bake Red, White, and Blue Cheesecake, a deliciously easy way to celebrate those warm days without heating up the kitchen! With creamy layers made from tangy Greek yogurt and luscious cream cheese, this dessert is a cooling treat that doesn’t skimp on flavor or presentation. Plus, the no-bake process means you can whip it up in no time, making it perfect for those last-minute gatherings. Whether you’re planning a Fourth of July bash or simply looking to impress at your next picnic, this cheesecake showcases festive colors and fruity goodness that everyone will adore. Are you ready to indulge in a slice of summer? Let’s dive into the delicious details!
Why is This Cheesecake So Special?
Creative freedom: This No-Bake Red, White, and Blue Cheesecake allows you to play with your favorite fruits, making it customizable for any season or occasion.
No hassle: With its no-bake nature, you’ll skip the oven and still create a stunning dessert that impresses guests effortlessly.
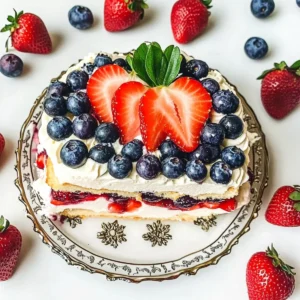
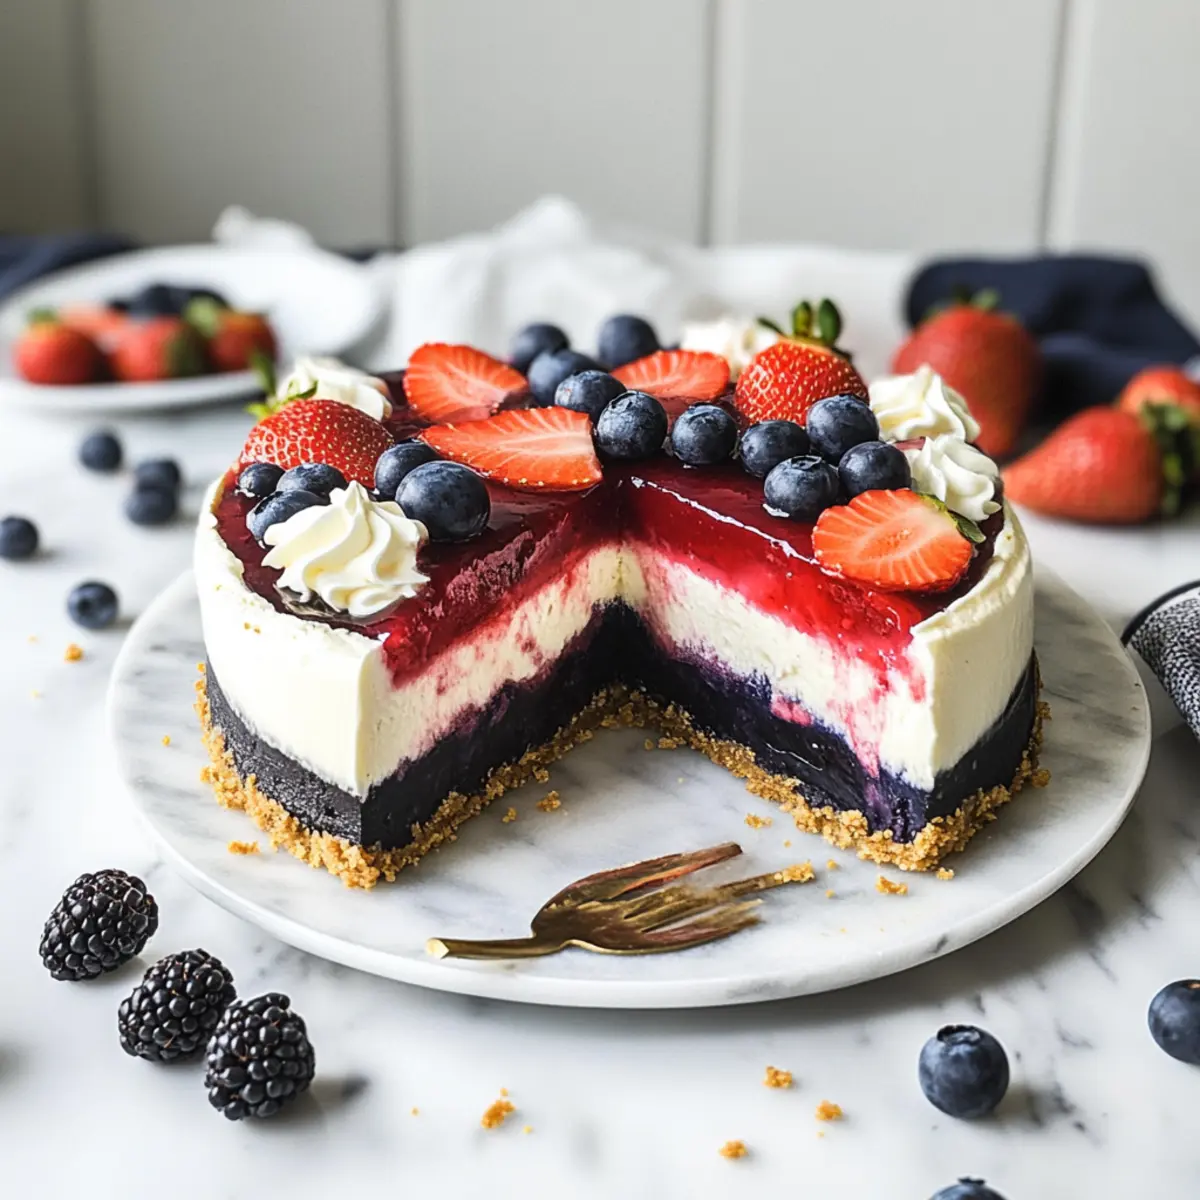
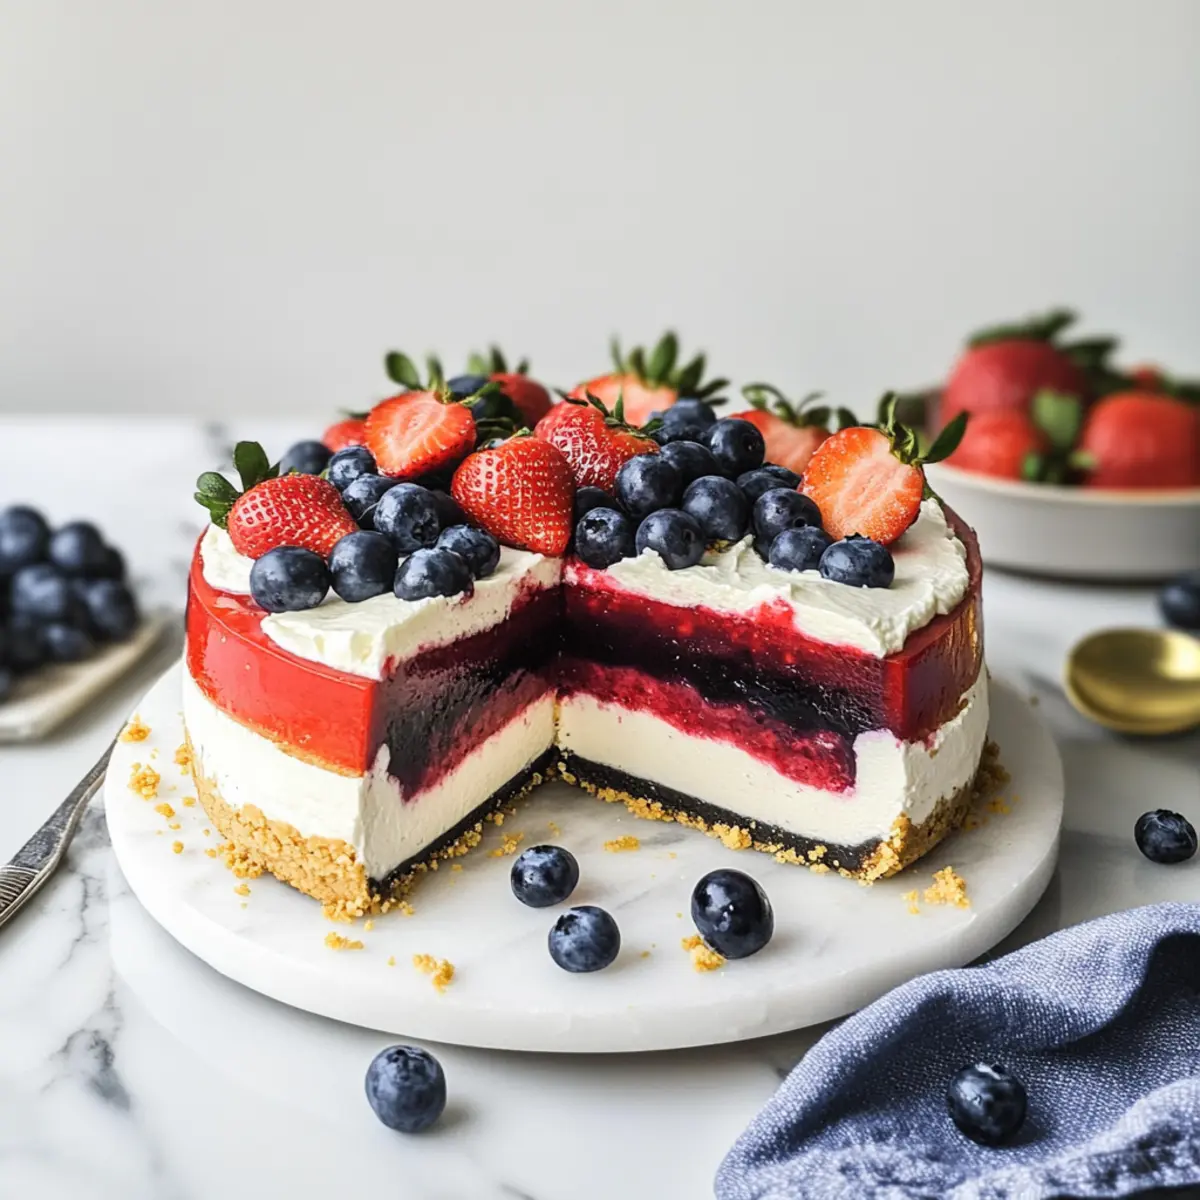
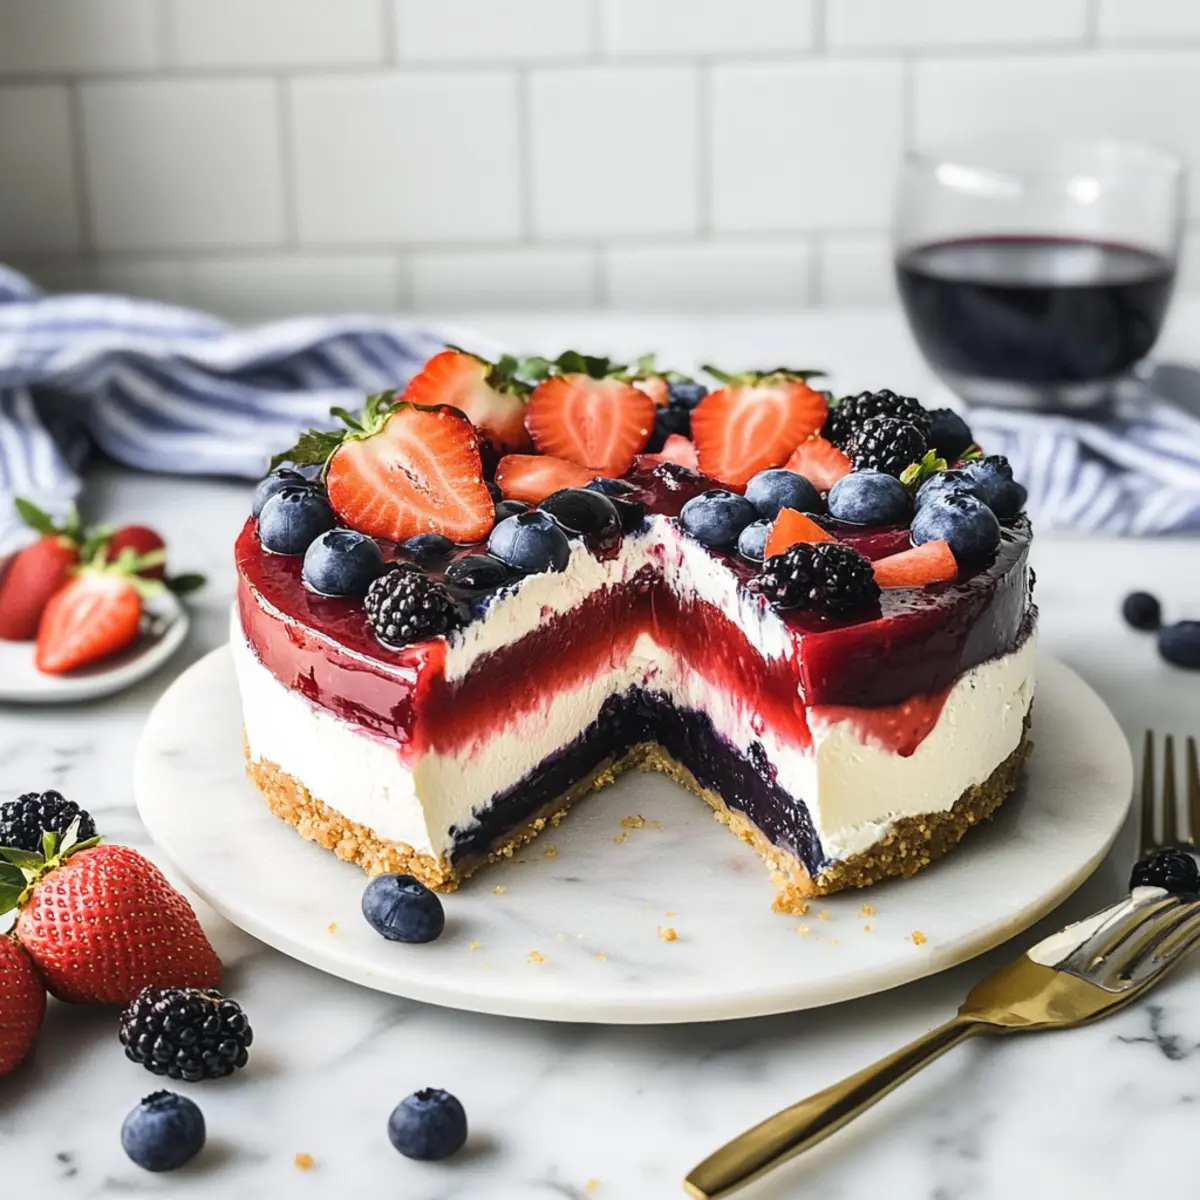
Stunning presentation: The vibrant layers of berries not only taste fantastic but also make for a show-stopping centerpiece at your summer gatherings.
Light and refreshing: The combination of cream cheese and Greek yogurt results in a rich yet refreshing treat, perfect for those hot days when you want something sweet but not too heavy.
Elevate your dessert game by also exploring options like our delicious Blueberry Cheesecake Swirl or the tangy Pistachio Raspberry Cheesecake, which deliver their own delightful twist on creamy goodness!
No-Bake Red, White, and Blue Cheesecake Ingredients
• Here’s everything you need to create your show-stopping dessert!
For the Crust
- Graham Crumbs – The base for the crust for a crunchy texture; substitute with gluten-free graham crackers for a gluten-free option.
- Butter – Adds richness and holds graham crumbs together; use coconut oil as a dairy-free alternative.
For the Red Layer Compote
- Strawberries – Main fruit for the red layer, providing natural sweetness and flavor; can substitute with raspberries for a more tart taste.
- Raspberries – Complement to strawberries in the compote for the red layer; omit if using only strawberries.
- Water – Used in making the compotes for consistency; keep as is.
- Cornstarch – Thickening agent for the compotes; substitute with arrowroot powder if needed.
For the Blue Layer Compote
- Blueberries – Base for the blue layer compote, adding sweetness and color; swap with blackberries for a different flavor profile.
- Blackberries – Additional fruit for the blue layer giving depth to the flavor; can be omitted if using solely blueberries.
For the Cheesecake Filling
- Cream Cheese – Provides a creamy texture to the filling; use vegan cream cheese for a dairy-free option.
- Greek Yogurt – Adds tang and creaminess to the cheesecake filling; substitute with dairy-free yogurt for vegan options.
- Vanilla Extract – Enhances the flavor of the cheesecake filling; keep as is; substitute with almond extract for variation.
- Powdered Sugar – Sweetens the cheesecake filling; use coconut sugar for a healthier option.
- Heavy Cream – Whipped to create lightness in the filling; substitute with coconut cream for a dairy-free version.
Optional Food Coloring
- Red Gel Food Coloring – Optional for coloring the red layer; omit for a more natural look or use beet powder.
- Blue Gel Food Coloring – Optional for the blue layer; omit for a natural appearance.
Step‑by‑Step Instructions for No-Bake Red, White, and Blue Cheesecake
Step 1: Make the Crust
Begin by preheating your oven to 350°F (175°C) and greasing a 9-inch springform pan. In a mixing bowl, combine graham crumbs and melted butter until the mixture resembles wet sand. Press the mixture evenly into the base of the pan, creating a firm crust. Set aside to cool as you prepare the layers of the no-bake red, white, and blue cheesecake.
Step 2: Prepare Strawberry Raspberry Compote
In a blender, puree fresh strawberries and raspberries until smooth. Strain the mixture through a fine mesh sieve to remove seeds. Pour this fruit puree into a saucepan, and add water and cornstarch. Heat over medium heat, stirring constantly until the mixture thickens and becomes jam-like, about 5–7 minutes. Remove from heat and let the compote cool completely.
Step 3: Prepare Blueberry Blackberry Compote
Repeat the process for the blueberry blackberry compote. Puree blueberries and blackberries in a blender, followed by straining to remove seeds. Combine this puree in a saucepan with water and cornstarch, heating it on medium heat for about 5–7 minutes. Stir until thickened like the previous compote, then transfer to a bowl and let cool completely.
Step 4: Make Cheesecake Filling
In a large mixing bowl, beat together cream cheese and Greek yogurt with an electric mixer until smooth and creamy. Gradually add in vanilla extract and powdered sugar, mixing on low speed until combined. The filling should be glossy and soft, perfect for layering in our no-bake red, white, and blue cheesecake.
Step 5: Whip Heavy Cream
Using a clean bowl and beaters, whip heavy cream until stiff peaks form. This usually takes about 3–4 minutes on medium-high speed. Once whipped, gently fold the whipped cream into the cream cheese mixture in two batches. This step adds lightness and creates a delightful texture in your cheesecake filling.
Step 6: Layer Cheesecake
Divide the cheesecake filling into three separate bowls. Mix a portion of the strawberry raspberry compote into one bowl for the red layer, and do the same with the blueberry blackberry compote for the blue layer, leaving one batch plain. This will add vibrant colors to your no-bake red, white, and blue cheesecake.
Step 7: Freeze Layers
Spoon each filling into the crust in alternating layers: start with the red layer first, spreading it evenly. Freeze for about 30 minutes until firm. Next, add the plain layer followed by the blue layer, ensuring each layer is fully frozen before adding the next. This prevents colors from bleeding into each other.
Step 8: Serve
Once all layers are frozen and firm, remove from the freezer and let the cheesecake thaw slightly in the refrigerator for about 15 minutes before slicing. Serve chilled with a dollop of whipped cream and a sprinkle of fresh berries on top. Enjoy your stunning no-bake red, white, and blue cheesecake!
Expert Tips for No-Bake Red, White, and Blue Cheesecake
-
Compote Consistency: Make sure to cook the compotes until they reach a jam-like thickness. This ensures a smooth texture that complements your cheesecake layers perfectly.
-
Layering Success: To avoid color bleeding, allow each layer to fully set in the freezer before adding the next. This ensures that your vibrant layers remain distinct.
-
Thaw Gradually: Thaw the cheesecake slowly in the refrigerator rather than at room temperature. This prevents it from becoming too soft and maintains its beautiful shape.
-
Crust Binding: Ensure your graham crumbs are well-combined with melted butter before pressing into the pan. A well-formed crust is key to a sturdy cheesecake base.
-
Sweeten to Taste: Adjust the powdered sugar in the filling based on your preference. Remember, the natural sweetness of the berry compotes can balance sweetness, so taste as you go!
How to Store and Freeze No-Bake Red, White, and Blue Cheesecake
Fridge: Store the cheesecake in an airtight container for up to 2 days. If it’s uncovered, place plastic wrap over the top to keep it fresh and avoid absorbing odors.
Freezer: For longer storage, freeze the cheesecake for up to 3 months. Make sure it’s wrapped tightly with plastic wrap and then aluminum foil to prevent freezer burn.
Thawing: To enjoy your frozen no-bake cheesecake, transfer it to the fridge to thaw overnight. This gradual process helps maintain its texture and flavors.
Reheating: This dessert is best served cold or at slightly chilled temperatures. Avoid reheating, as it’s designed to be a refreshing summer treat!
What to Serve with No-Bake Red, White, and Blue Cheesecake
Delight your summer gatherings with a selection of pairings that will elevate your festive dessert experience.
-
Fresh Berries: A medley of strawberries, blueberries, and raspberries adds a burst of freshness and complement the cheesecake’s fruity layers.
-
Whipped Cream: Light and airy, it enhances the creamy texture of the cheesecake while providing a sweet counterpoint to the tangy yogurt.
-
Lemon Sorbet: This refreshing frozen treat cleanses the palate and offers a delightful contrast to the cheesecake’s richness; perfect for warm days.
-
Mint Leaves: A simple garnish can brighten the dish. Mint adds a refreshing note that balances the sweetness beautifully.
-
Sparkling Water: Whether plain or flavored, it’s a light, bubbly option that complements the dessert without overpowering it.
-
Iced Tea: A glass of sweetened or unsweetened iced tea provides a refreshing beverage that pairs wonderfully with the cheesecake.
-
Chocolate Drizzle: For chocolate lovers, drizzle a bit of melted chocolate over the top for a decadent touch to each slice.
-
Fruit Salad: A vibrant mix of seasonal fruits can brighten your table and enhance the fresh notes of the cheesecake.
-
Vanilla Ice Cream: Creamy and classic, vanilla ice cream can create a delightful textural contrast and enhance the cheesecake experience.
-
Lemonade: A chilled glass of lemonade brings a zesty, thirst-quenching element that is perfect for summer celebrations.
Make Ahead Options
These No-Bake Red, White, and Blue Cheesecakes are perfect for busy home cooks seeking to save time! You can prepare the graham cracker crust and the berry compotes up to 3 days in advance. Simply mix the graham crumbs with melted butter, press it into the pan, and refrigerate. For the compotes, cook the strawberries, raspberries, blueberries, and blackberries as instructed, then let them cool and store in airtight containers in the fridge. When you’re ready to serve, whip up the cheesecake filling, layer it with the chilled compotes, and freeze as directed. This way, you maintain the cheesecake’s creamy texture while enjoying the sweet satisfaction of a delightful homemade dessert!
No-Bake Red, White, and Blue Cheesecake Variations
Customize this deliciously fruity treat to suit your taste buds and the season!
- Seasonal Berries: Swap strawberries and blueberries based on what’s in season for a fresh twist. Think juicy peaches or blackcurrants.
- Gluten-Free Crust: Use gluten-free graham crackers or almond flour mixed with coconut oil for an equally delicious crust. You won’t miss the original!
- Dairy-Free Delight: Substitute cream cheese and heavy cream with coconut yogurt and whipped coconut cream for a vegan version that’s just as creamy.
- Flavorful Swaps: Experiment with flavored Greek yogurt, such as honey or lemon, to infuse a unique zing into your cheesecake. This adds a delightful twist!
- Natural Color Boost: For natural color, use beet juice or spirulina instead of gel food coloring to maintain vibrancy while keeping it wholesome.
- Quicker Compotes: Switch to store-bought fruit preserves to save time without sacrificing flavor. Look for low-sugar varieties for a healthier option.
- Cheesecake Jars: Layer the cheesecake in mason jars for a fun, portable dessert—perfect for picnics! Enjoy your cheesecake with a playful presentation.
- Extra Crunch: Add chopped nuts or granola to each cheesecake layer for added texture. This can take your creamy dessert to a whole new level!
Feeling inspired? For more creamy delights, explore the scrumptiously vibrant Strawberry Cheesecake Stuffed cookies or the mouth-watering Salted Caramel Cheesecake for your next occasion.
No-Bake Red, White, and Blue Cheesecake Recipe FAQs
How do I choose ripe strawberries and blueberries?
Absolutely! When selecting strawberries, look for berries that are bright red with a firm texture and green stems. Avoid any with dark spots or mold. For blueberries, choose plump ones with a deep blue color. The sweeter the berries, the better your compote and cheesecake taste!
Advertisement
How should I store leftovers of the cheesecake?
Very simple! Store your No-Bake Red, White, and Blue Cheesecake in an airtight container in the refrigerator for up to 2 days. To keep it fresh, ensure it is wrapped well if not in a container, as this prevents it from absorbing any other odors in the fridge.
Can I freeze the cheesecake?
Absolutely! You can freeze your cheesecake for up to 3 months. Just wrap it tightly in plastic wrap, followed by aluminum foil to prevent freezer burn. When you’re ready to enjoy it, transfer it to the fridge to thaw overnight for the best texture.
What should I do if the compote is too runny?
If your compote hasn’t thickened as expected, return it to the heat and simmer while occasionally stirring for an additional 2-3 minutes until it reaches your desired thickness. A good test is to see if it coats the back of a spoon; if it does, you’re ready to go!
Is this cheesecake suitable for people with dietary restrictions?
Absolutely! There are so many options. You can swap the cream cheese for vegan cream cheese, and use coconut yogurt as a dairy-free yogurt. The graham crackers can be replaced with gluten-free versions, making it a treat suitable even for gluten-sensitive friends!
How can I make different berry compotes?
Mix and match your favorite berries for the compotes! Instead of strawberries and raspberries, you could use blackberries for a dark red layer or mango for a twist in color and flavor. Simply follow the compote preparation steps, adjusting sugars as needed to achieve balance in taste. Enjoy experimenting!
Chill Out with This No-Bake Red, White, and Blue Cheesecake
Ingredients
Equipment
Method
- Make the Crust: Combine graham crumbs and melted butter until resembling wet sand. Press into the base of a greased 9-inch springform pan. Set aside to cool.
- Prepare Strawberry Raspberry Compote: Blend strawberries and raspberries, strain, then mix with water and cornstarch in a saucepan and heat until thickened.
- Prepare Blueberry Blackberry Compote: Blend blueberries and blackberries, strain, then cook with water and cornstarch until thickened.
- Make Cheesecake Filling: Beat cream cheese and Greek yogurt until smooth, then mix in vanilla and powdered sugar until glossy.
- Whip Heavy Cream: Whip heavy cream until stiff peaks form, then fold into the cream cheese mixture in batches.
- Layer Cheesecake: Divide filling into three bowls, mix compotes into separate bowls for red and blue layers. Leave one bowl plain.
- Freeze Layers: Spoon fillings into the crust starting with red, freeze for 30 minutes, add plain layer, then blue layer, freezing between additions.
- Serve: Let the cheesecake thaw slightly in the refrigerator for 15 minutes before slicing. Serve chilled with whipped cream and fresh berries.