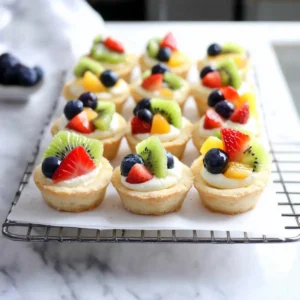
It was a sun-soaked afternoon, and I spotted vibrant fruits at the market, each one promising a burst of freshness. Suddenly, I knew I had to recreate my mother’s beloved Easy Mini Fruit Tarts just in time for Mother’s Day. These delightful mini treats combine a sweet sugar cookie crust with a creamy filling, creating the perfect bite-sized dessert that will impress guests without the fuss. Not only are they a crowd-pleaser for spring and summer gatherings, but they also require minimal prep time, making them a breeze for both novice and seasoned bakers alike. So, who’s ready to whip up a batch and treat their loved ones to a sweet surprise?
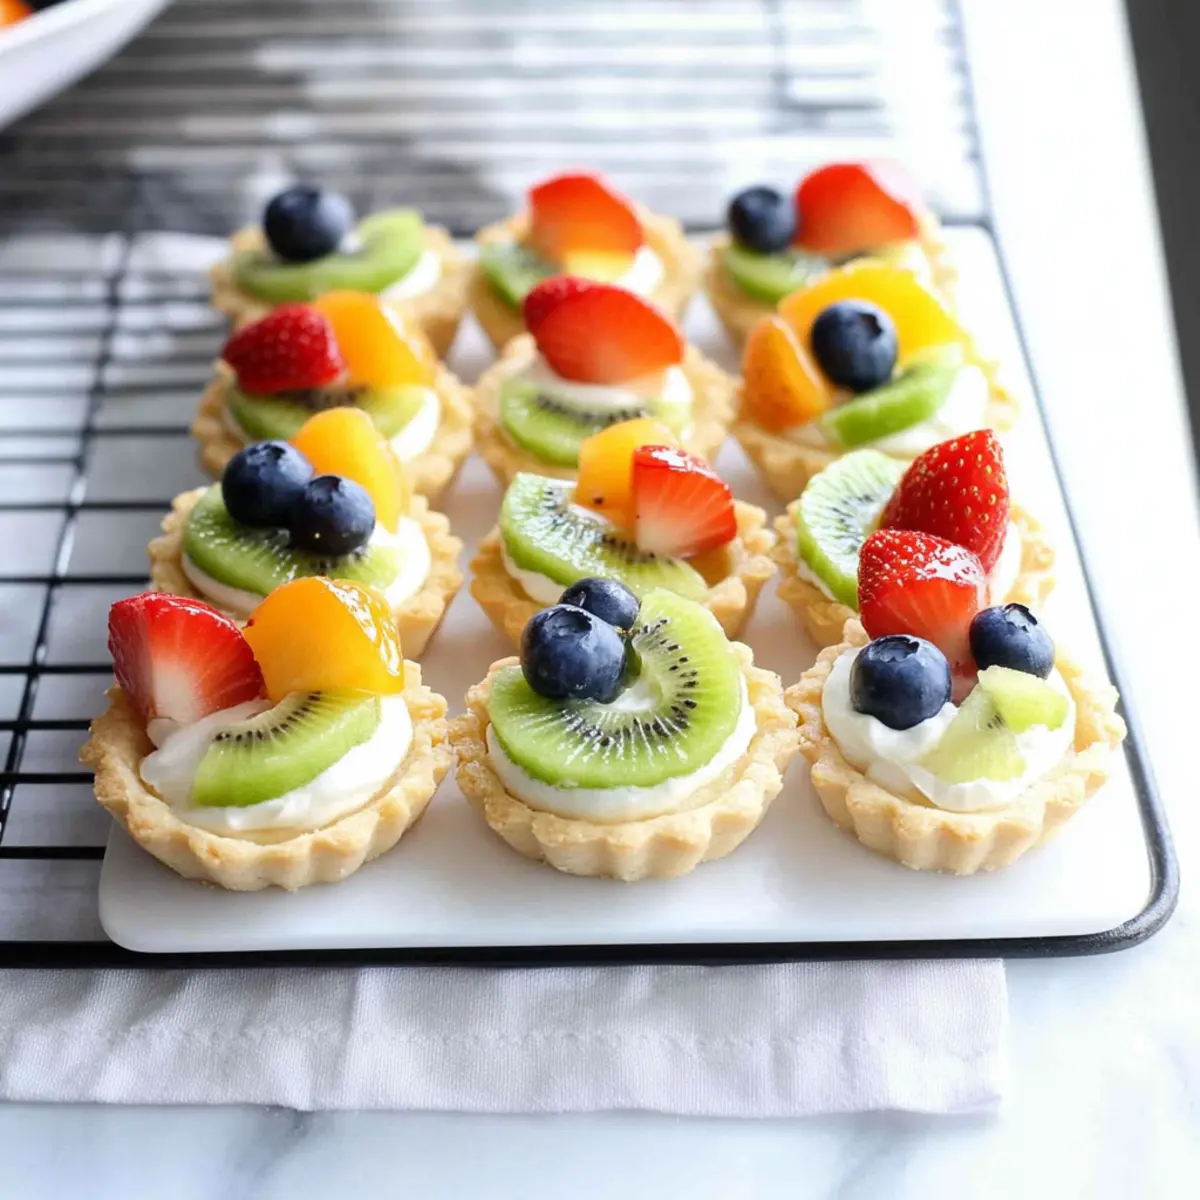
Why Make Mini Fruit Tarts?
Joyful celebration: These Mother’s Day Mini Fruit Tarts are bursting with vibrant colors and flavors, making them the perfect centerpiece for any festive occasion.
Easily customizable: With numerous topping options, feel free to express your creativity! Whether you choose strawberries, kiwi, or tropical pineapple, the combinations are endless.
Simple yet elegant: The delightful combination of a sweet sugar cookie crust and creamy filling will leave your guests raving, while you enjoy the effortless preparation.
Perfect for sharing: These bite-sized gems are ideal for any gathering, from elegant brunches to casual picnics, ensuring everyone gets a taste of sweetness.
Quick to prepare: Made with common ingredients and minimal steps, this recipe is a fantastic go-to, especially if you want to impress without spending hours in the kitchen.
Don’t forget to check out some of our other delightful treats, like Andes Mint Mini or Mini Creme Brulee for more dessert inspirations!
Mother’s Day Mini Fruit Tarts Ingredients
For the Crust
• All-Purpose Flour – Provides structure to the crust; substitute with gluten-free flour for a gluten-free version.
• Baking Soda – A leavening agent that helps the crust rise perfectly.
• Baking Powder – Works alongside baking soda to create a crispy yet soft texture.
• Butter (softened) – Adds a rich flavor to the crust; can substitute with vegan butter for a dairy-free option.
• White Sugar – Sweetens both crust and filling; coconut sugar can be used for a lighter taste.
• Egg Yolk – Adds moisture and richness; a flaxseed egg can substitute for a vegan option.
• Vanilla Extract – Enhances the flavor; almond extract is a delightful alternative.
For the Filling
• Cream Cheese (softened) – The star ingredient for a creamy filling; Neufchâtel cheese offers a lighter option.
• Powdered Sugar – Sweetens and thickens the cream cheese filling; no substitutes for desired texture.
• Lemon Juice and Zest – Brightens the cream filling’s flavor; lime juice and zest are great substitutes.
For the Topping
• Fresh Fruit (for topping) – Adds a splash of color and freshness; seasonal fruits or berries work beautifully.
Create these delightful Mother’s Day Mini Fruit Tarts and treat your loved ones to something special!
Step‑by‑Step Instructions for Mother’s Day Mini Fruit Tarts
Step 1: Preheat the Oven
Begin by preheating your oven to 350°F (175°C) and greasing a mini-muffin tin with butter or non-stick spray. This preparation ensures your Mother’s Day Mini Fruit Tarts bake evenly and easily release after cooling. While the oven warms up, take a moment to gather your ingredients and equipment for a smooth cooking process.
Step 2: Cream the Butter and Sugar
In a large mixing bowl, cream together the softened butter and white sugar using an electric mixer for about 3-4 minutes, until the mixture becomes light and fluffy with a pale color. This step is crucial for achieving the right texture in the crust. Make sure to scrape down the sides of the bowl to incorporate all ingredients evenly.
Step 3: Add Egg Yolk and Vanilla
Once your butter and sugar mixture is fluffy, add the egg yolk and vanilla extract, mixing for another 1-2 minutes until well combined. The egg yolk contributes richness and moisture to your dough, while the vanilla enhances its flavor. Keep an eye on the mixture; it should look smooth and creamy.
Step 4: Combine Dry Ingredients
In a separate bowl, whisk together the all-purpose flour, baking soda, and baking powder. Gradually add this dry mixture to the butter mixture, blending with a spatula or wooden spoon until just combined; the dough may appear crumbly but should hold together when pressed. Avoid overmixing to keep your crust tender.
Step 5: Form the Dough Balls
Using your hands, roll the dough into 1.5-inch balls and place each ball into the prepared mini-muffin tin. Gently press the dough down and up the sides of each cup to create a small shell for the Mother’s Day Mini Fruit Tarts. Your shells should have a slight indentation in the center to hold the filling later.
Step 6: Bake the Crusts
Place the muffin tin in the preheated oven and bake for 8-10 minutes, or until the edges turn golden brown. Keep an eye on them, as they can go from perfectly golden to burnt quickly. Once done, remove the tin from the oven and allow the crusts to cool completely in the tin before trying to remove them.
Step 7: Prepare the Cream Cheese Filling
In a mixing bowl, beat together softened cream cheese and powdered sugar until smooth and creamy, about 2-3 minutes. Add the lemon juice and zest, mixing until fully blended. This filling is the star of your Mother’s Day Mini Fruit Tarts, adding a tangy sweetness that balances beautifully with the crust.
Step 8: Fill the Tarts
Once the cookie cups have cooled, carefully pop them out of the muffin tin. Using a piping bag or a spoon, fill each tart shell generously with the cream cheese mixture. Be sure to fill them right to the top for that delightful, enticing appearance.
Step 9: Top with Fresh Fruit
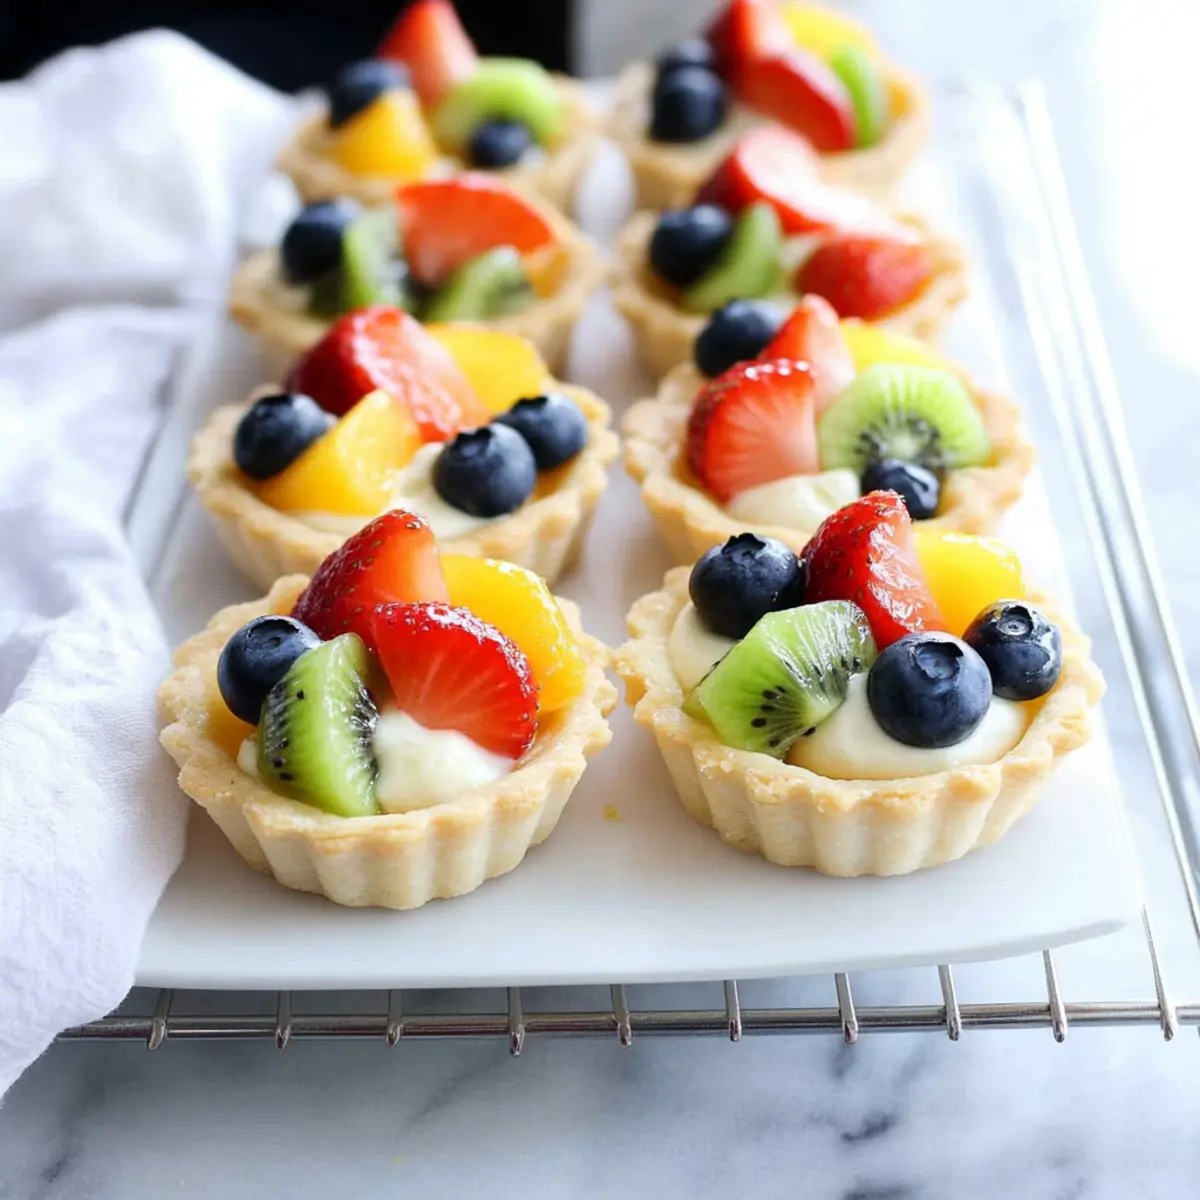
While the filling is still soft, decorate each tart with an assortment of fresh fruits, such as strawberries, blueberries, or kiwis. The vibrant colors not only enhance the visual appeal but also add refreshing flavors to each Mother’s Day Mini Fruit Tart.
Step 10: Chill Before Serving
Refrigerate the filled tarts for at least 30 minutes to set the filling properly. This step is crucial for achieving the perfect texture and is a great opportunity to get ahead of the game if you’re preparing for a gathering. Once chilled, they’re ready to be served and enjoyed!
Mother’s Day Mini Fruit Tarts Variations
Feel free to explore your creativity with these delightful Mother’s Day Mini Fruit Tarts, making them perfect for everyone!
- Dairy-Free: Use vegan butter and cream cheese alternatives to suit a dairy-free diet. Your tarts will still taste delightful!
- Gluten-Free: Swap all-purpose flour for a 1:1 gluten-free flour blend to make these treats accessible for those with gluten sensitivities.
- Citrus Twist: Substitute lemon juice and zest with orange or lime for a refreshing flavor spin. The zesty notes will brighten your filling even more!
- Flavorful Creams: Incorporate flavored creams like chocolate or coffee into your filling for an indulgent twist. These variations will excite chocolate lovers or those who enjoy a kick of caffeine.
- Tropical Treats: Top with mango, passionfruit, or coconut for a burst of tropical sunshine. These fruit choices will evoke vacation vibes and delight every guest.
- Nuts for Crunch: Add a layer of crushed walnuts or almonds between the crust and filling for a delightful crunch. It brings a new texture that pairs beautifully with the creamy filling.
- Berry Medley: Use a mix of seasonal berries such as raspberries and blackberries for a colorful topping. This will create a vibrant look that’ll leave everyone eager to dig in!
Get inspired to whip up your own flavors and don’t forget to check out our delicious Strawberry Cheesecake Fruity mini cookies for another creative spin on dessert!
How to Store and Freeze Mother’s Day Mini Fruit Tarts
Fridge: Store filled Mother’s Day Mini Fruit Tarts in an airtight container in the refrigerator for up to 3 days. This keeps the fruit fresh and the filling creamy.
Freezer: Freeze unfilled tart shells for up to 2 months in an airtight container. Allow to cool completely before transferring to prevent sogginess.
Reheating: If you prefer warm tarts, reheat the shells in a 350°F oven for about 5 minutes before filling them. Add toppings afterward to maintain freshness and texture.
Make-Ahead Tips: Prepare tart shells in advance and freeze them. Fill with cream cheese mixture and top with fresh fruit just before serving for optimal taste and appearance.
What to Serve with Easy Mini Fruit Tarts?
These delightful bite-sized treats are perfect for creating a beautiful spread that will make any gathering feel extra special.
- Light Salad: A crisp garden salad with a citrus vinaigrette complements the sweetness of the tarts, adding a refreshing contrast.
- Sparkling Lemonade: The zesty kick of sparkling lemonade enhances the fruity flavors and adds an effervescent touch to your dessert table.
- Chocolate Fondue: The richness of melted chocolate provides a delightful dip for fresh fruit, adding a decadent element to your dessert experience.
- Creamy Vanilla Ice Cream: A small scoop of vanilla ice cream pairs beautifully with the tarts, providing a creamy richness that balances the tart sweetness.
- Cheese Platter: A selection of mild cheeses like brie or goat cheese offers a savory contrast that beautifully complements the sweetness of the tarts.
- Herbal Iced Tea: The soothing flavors of herbal iced tea create a calming accompaniment, enhancing the overall dining experience.
- Shortbread Cookies: The buttery crumb of shortbread echoes the cookie crust, bringing harmonious flavors into your dessert mix.
- Wine Spritzer: A light wine spritzer with fresh fruit slices can elevate the gathering, making it a delightful choice for casual celebrations.
- Fresh Fruit Salad: Keep the fruity theme going with a vibrant fruit salad that showcases seasonal produce alongside your tarts, making for an enticing dessert spread.
Make Ahead Options
These Mother’s Day Mini Fruit Tarts are a fantastic choice for meal prep, allowing you to save time while impressing your loved ones! You can make the cookie crusts up to 3 days in advance. Simply bake them, let them cool completely, and store them in an airtight container at room temperature to maintain their crispness. For the filling, prepare the cream cheese mixture and refrigerate it for up to 24 hours before serving. When you’re ready to assemble, fill the crusts with the cream cheese filling, top with fresh fruit, and chill for about 30 minutes to set. This approach ensures your tarts remain just as delicious, creating a stress-free dessert experience!
Expert Tips for Mother’s Day Mini Fruit Tarts
-
Room Temperature Ingredients: Ensure your butter and cream cheese are at room temperature for easy mixing. This helps achieve a smooth filling and tender crust.
-
Dough Consistency: Avoid overmixing your cookie dough; stop as soon as the flour is incorporated to maintain a tender texture in your Mother’s Day Mini Fruit Tarts.
-
Cooling Time: Let your crusts cool completely in the tin before removing them. This prevents breakage and ensures the tarts hold their shape during filling.
-
Fruit Freshness: Choose seasonal and ripe fruits for the topping. Not only do they taste better, but they also add vibrant color to your tarts.
-
Make-Ahead Option: Prepare the crusts a day in advance and store them in an airtight container. Fill and top with fruit just before serving to keep everything fresh.

Advertisement
Mother’s Day Mini Fruit Tarts Recipe FAQs
How do I select the best fruit for topping my mini fruit tarts?
Absolutely! When picking fruit, look for vibrant colors and firmness. Avoid fruits with dark spots or mushy textures. Seasonal options like strawberries, blueberries, or kiwis are perfect for a fresh burst of flavor and a touch of sweetness.
How should I store my filled mini fruit tarts to keep them fresh?
Very! To maintain their freshness, store filled Mother’s Day Mini Fruit Tarts in an airtight container in the refrigerator for up to 3 days. This method keeps the fruit from wilting and the filling creamy. If you need to prepare them in advance, make the shells ahead of time and fill them just before serving.
Can I freeze the tart shells, and if so, how?
Of course! To freeze unfilled tart shells, allow them to cool completely. Place them in an airtight container, separating the layers with parchment paper to prevent sticking, and freeze for up to 2 months. When you’re ready to use them, simply thaw in the refrigerator overnight and fill them as desired.
What if my tart shells break when I try to remove them from the muffin tin?
It’s common! If your shells break, don’t worry—just make a few adjustments next time. Ensure they have cooled completely in the tin to set properly before removal. Using a butter knife to gently loosen around the edges can also help. If all else fails, consider presenting the broken tarts in a dessert bowl for a charming “deconstructed” look!
Are there any dietary considerations I should keep in mind?
Absolutely! If you’re making these for someone with dietary restrictions, consider substituting with gluten-free flour and vegan butter for those with gluten or dairy sensitivities. Additionally, be mindful of any fruit allergies, and opt for fruits that are safe for all your guests.
How long can I make these mini tarts ahead of time?
You can prepare the tart shells a day in advance and store them in an airtight container. Just fill and top with fresh fruit right before serving to ensure they stay fresh and visually appealing. The cream cheese filling can also be made ahead and stored in the fridge, just remember to give it a good stir before use!
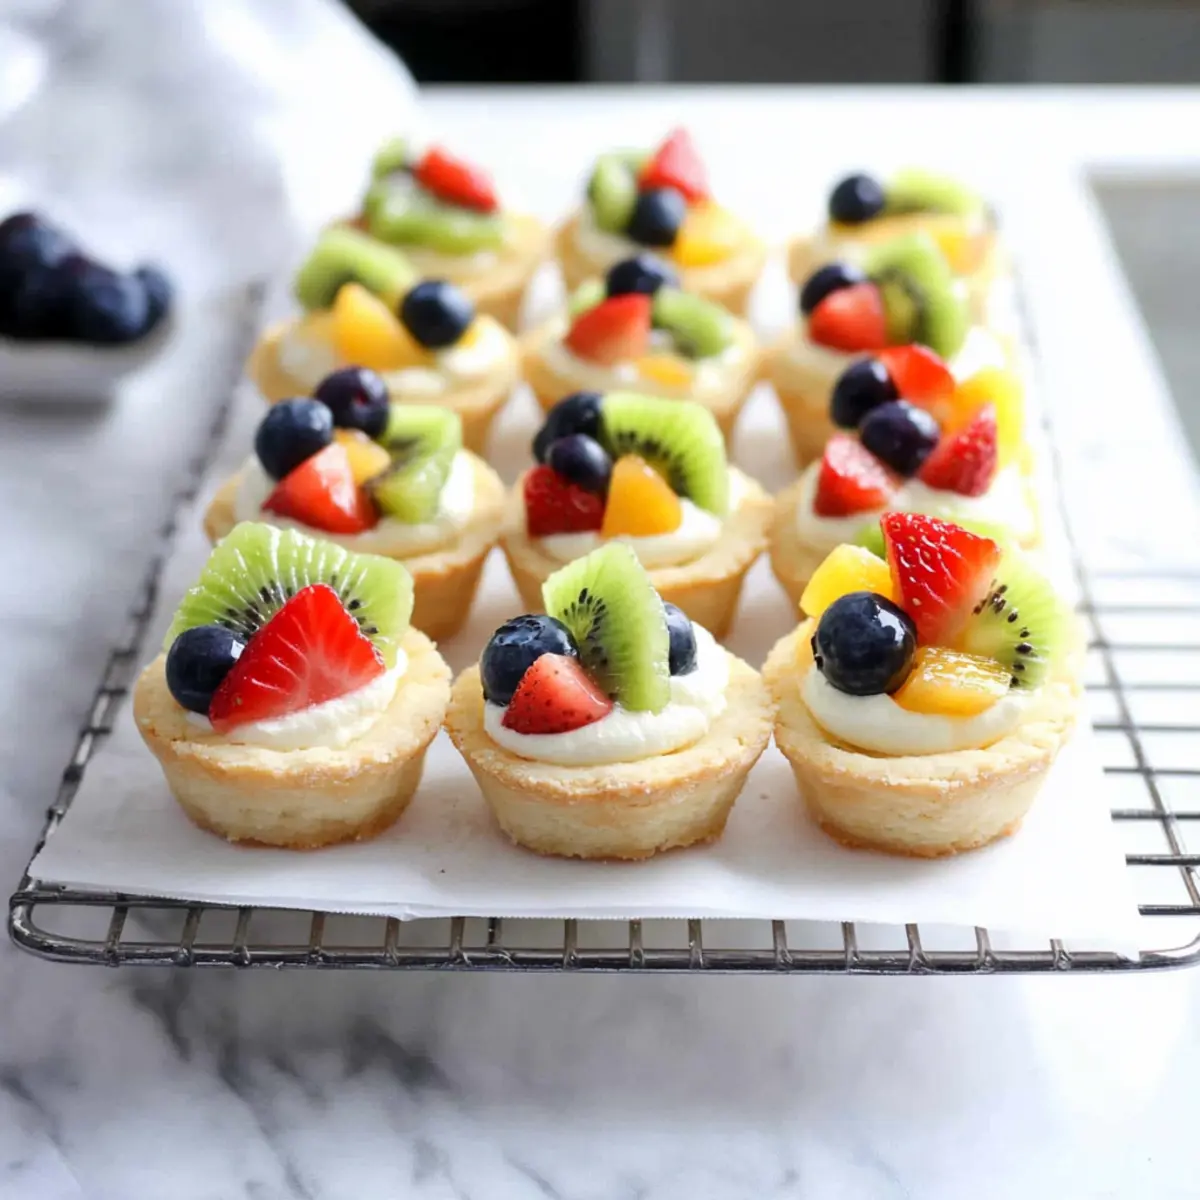
Mother's Day Mini Fruit Tarts That'll Delight Her Taste Buds
Ingredients
Equipment
Method
- Preheat your oven to 350°F (175°C) and grease a mini-muffin tin.
- Cream the softened butter and white sugar until light and fluffy.
- Add the egg yolk and vanilla extract, mixing until well combined.
- Whisk together all-purpose flour, baking soda, and baking powder. Gradually add to the butter mixture.
- Roll the dough into 1.5-inch balls and place in the mini-muffin tin, pressing down to create shells.
- Bake for 8-10 minutes until the edges are golden. Allow to cool completely.
- Beat together cream cheese and powdered sugar until smooth. Add lemon juice and zest.
- Fill each cooled tart shell with the cream cheese mixture.
- Top each tart with fresh fruits.
- Refrigerate the tarts for at least 30 minutes before serving.