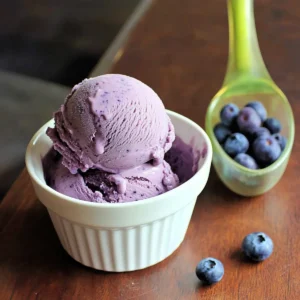
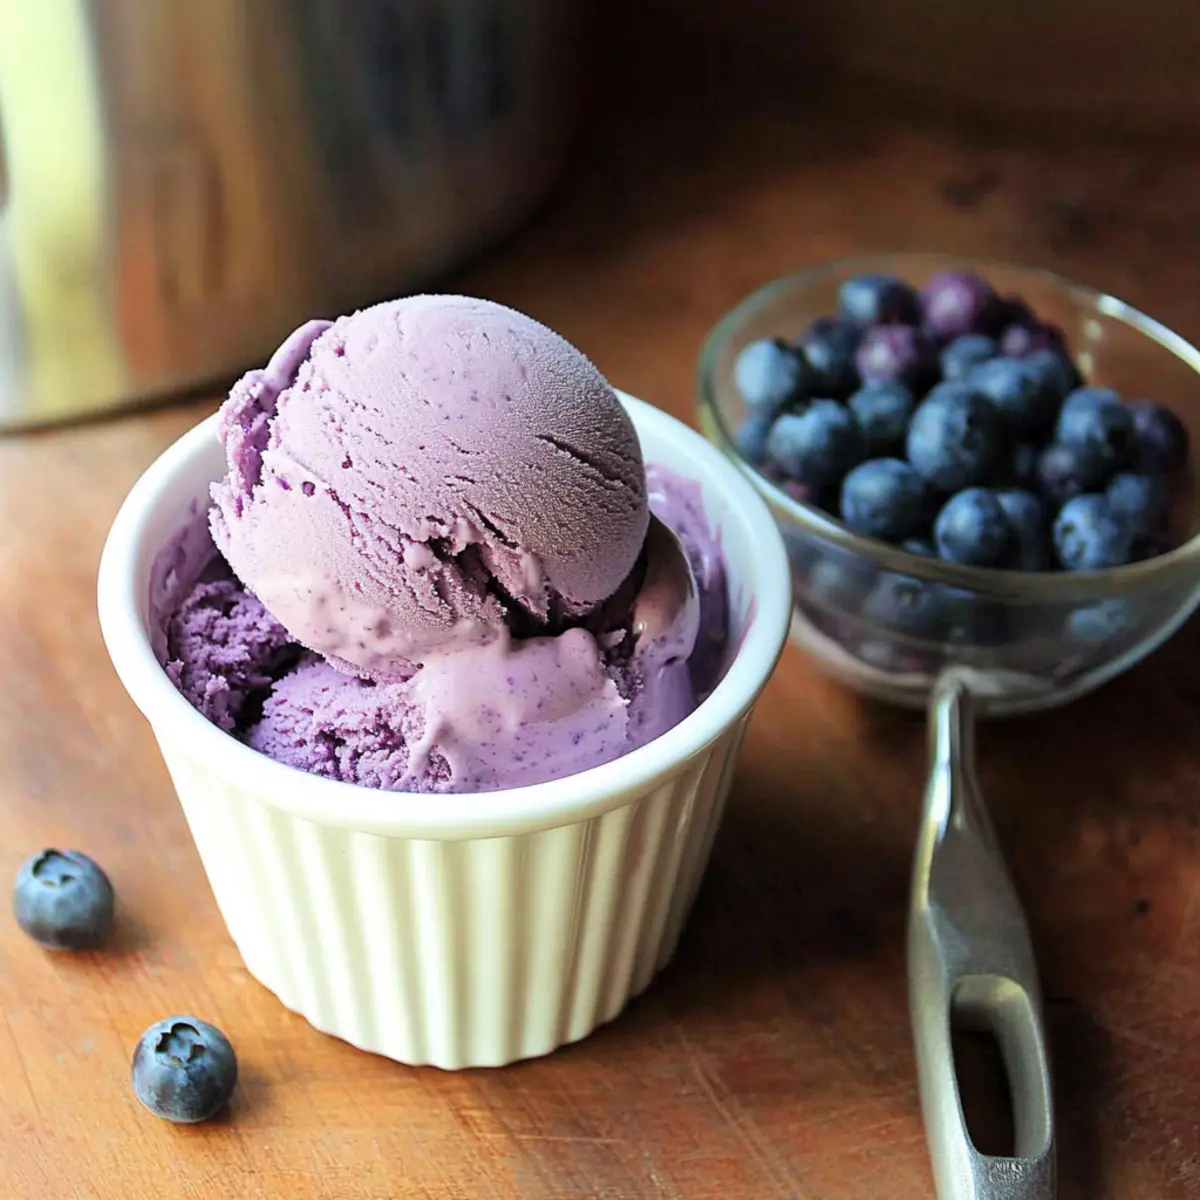
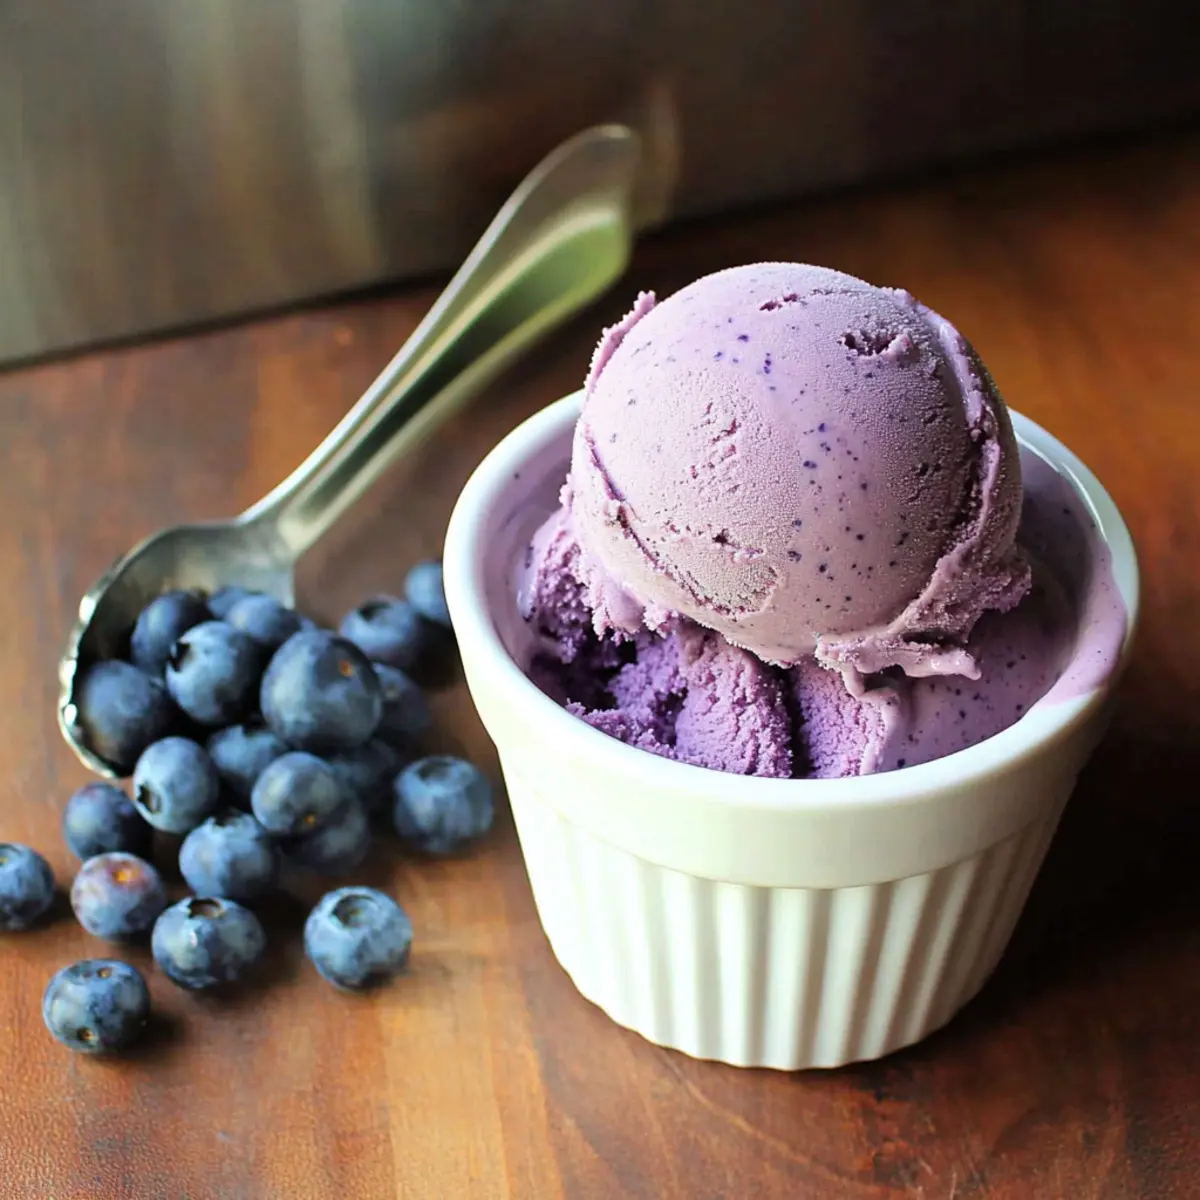
As I watched the vibrant purple-blue swirl around my ice cream maker, a wave of nostalgia hit me—it reminded me of sunny days spent picking blueberries straight from the patch. This Homemade Blueberry Ice Cream is a delightful summer treat that transforms those juicy berries into a creamy, satisfying dessert you can whip up without eggs. Best of all, this simple recipe allows you to use either fresh or frozen blueberries, making it a seasonal staple you can enjoy anytime. Just imagine the joy of serving a bowlful to family and friends, knowing you crafted it from scratch. With zero fuss and maximum taste, why not discover how easy it is to indulge in homemade goodness?

Why is Homemade Blueberry Ice Cream a Must-Try?
Simplicity at Its Core: This no-egg recipe is quick and uncomplicated, perfect for beginner chefs and busy home cooks alike.
Fresh Flavor: Using fresh or frozen blueberries means you can enjoy that authentic berry goodness anytime, no matter the season.
Crowd-Pleasing Delight: Whether it’s a summer gathering or a cozy family night, this creamy blueberry ice cream is sure to impress all your guests.
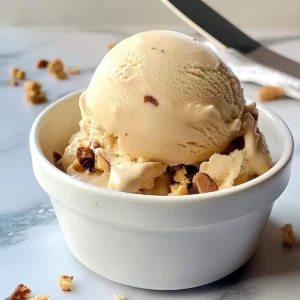
Versatile Options: Feel free to experiment with different berries, such as strawberries or raspberries, for a delightful twist on flavor.
Freezer-Friendly: Make it ahead of time! Store in airtight containers and have a delicious treat ready whenever the craving strikes. ✨ If you love berry-infused desserts, check out my Blueberry Cheesecake Swirl for another delectable option!
Homemade Blueberry Ice Cream Ingredients
For the Ice Cream Base
• Blueberries – Essential for natural sweetness and flavor; use fresh for a vibrant taste or frozen for convenience.
• Lemon Juice – Adds brightness and enhances the blueberry flavor, making every spoonful pop.
• Granulated Sugar – Sweetens the mix; adjust to your desired sweetness level for perfect indulgence.
• Heavy Whipping Cream – Delivers a rich, creamy texture that melts in your mouth; a must for indulgent ice cream!
• Whole Milk – Balances the creaminess; swapping for half-and-half provides a lighter alternative.
This delightful Homemade Blueberry Ice Cream not only brings summer vibes to your kitchen but is also simple enough for every home chef to master!
Step‑by‑Step Instructions for Homemade Blueberry Ice Cream
Step 1: Cook the Blueberry Mixture
In a medium saucepan over medium heat, combine 2 cups of blueberries, 2 tablespoons of lemon juice, and 1 cup of granulated sugar. Stir frequently until the sugar fully dissolves and begins to bubble, about 5 minutes. This mixture should look glossy and slightly thickened; just wait until you see those beautiful blueberries bursting with flavor!
Step 2: Simmer to Thicken
Once boiling, reduce the heat to low and let the blueberry mixture simmer for about 10 minutes. Stir occasionally, allowing it to thicken and enhance its berry flavor. You’ll know it’s ready when the mixture coats the back of a spoon and has a lovely deep hue. Remove it from heat to cool a bit, stirring occasionally.
Step 3: Chill the Blueberry Base
Transfer the heated mixture into a bowl and let it cool to room temperature. Then, cover the bowl and refrigerate for at least 1 hour or until completely chilled. This cooling step is essential for achieving a smooth texture in your Homemade Blueberry Ice Cream, so be patient and let those flavors meld beautifully!
Step 4: Blend Until Smooth
Once chilled, use a blender or an immersion blender to process the blueberry mixture until it is smooth and silky, about 1-2 minutes. If you prefer some texture, you can pulse it a few times instead. The vibrant color and aroma will be utterly irresistible, proving that fresh blueberries lead to an irresistible Homemade Blueberry Ice Cream.
Step 5: Add Dairy Ingredients
In the blender, stir in 1½ cups of whole milk and 2 cups of heavy whipping cream until well combined, about 30 seconds. The creamy addition will create a rich texture that’s sure to delight every palate. You may also taste the mixture and adjust sweetness if desired before moving on to the next step.
Step 6: Churn in Ice Cream Maker
Pour the blueberry cream mixture into your ice cream maker and churn according to the manufacturer’s instructions. This typically takes about 20-25 minutes, or until it reaches a soft-serve consistency. As it churns, enjoy the lovely aroma filling your kitchen—it’s like summer in a bowl!
Step 7: Freeze to Set
Once churned, transfer the soft ice cream into airtight containers. Smooth the top with a spatula and cover tightly. Freeze for at least 3 hours to solidify completely, allowing the flavors to deepen. When ready to serve, let it sit at room temperature for a few minutes to make scooping easier, and revel in your Homemade Blueberry Ice Cream!
Storage Tips for Homemade Blueberry Ice Cream
Fridge: Keep any leftover mixture in an airtight container for up to 2 days, although it’s best enjoyed fresh.
Freezer: Store your Homemade Blueberry Ice Cream in airtight containers for up to 2-3 weeks. Ensure the lid is snug to avoid freezer burn.
Reheating: If the ice cream becomes too hard, let it sit at room temperature for 5-10 minutes before scooping. This ensures a smooth, creamy texture with every scoop!
What to Serve with Creamy No-Egg Homemade Blueberry Ice Cream?
Indulging in a bowl of velvety homemade blueberry ice cream invites you to create a delightful summer feast.
- Classic Waffle Cones: The perfect crunchy texture balances the creaminess, making each scoop an irresistible experience.
- Fresh Berry Medley: A colorful mix of strawberries, raspberries, and blueberries adds a bright, tart contrast that enhances the sweetness of the ice cream.
- Minty Lemonade: A refreshing drink with a hint of mint provides a zesty complement, perfectly quenching thirst in the summer heat.
- Chocolate Sauce: A drizzle of rich chocolate adds a decadent twist, turning this simple treat into a luxurious dessert.
- Shortbread Cookies: Buttery, crumbly cookies provide a delightful crunch, creating a satisfying bite alongside each creamy spoonful.
- Homemade Granola: The crunchy texture and nutty flavor provide a wholesome contrast to the sweet ice cream, making it a guilt-free indulgence.
- Almond Milkshake: Blend your blueberry ice cream with almond milk for a creamy shake that’s nutty and fruity—a perfect summer treat!
- Coconut Whipped Cream: For a tropical flair, topping your ice cream with fluffy coconut whipped cream adds a light and airy touch to each delightful scoop.
- Lemon Sorbet: Swap flavors for a refreshing lemon sorbet—the tartness refreshingly contrasts the sweetness of the homemade blueberry ice cream.
- Coffee: A warm, rich cup of coffee serves as the ultimate contrast, pairing beautifully with the cool creaminess of your dessert.
Expert Tips for Homemade Blueberry Ice Cream
Chill Thoroughly: Allow the blueberry mixture to chill completely before churning. This ensures a creamier texture and prevents iciness in your Homemade Blueberry Ice Cream.
Fresh vs. Frozen: If using frozen blueberries, don’t thaw them beforehand. Just increase cooking time slightly to ensure even sweetness and flavor.
Sweetness Adjustment: Taste the mixture before churning and adjust sugar levels according to your preference. Remember, flavors can intensify after freezing!
Storage Solutions: Use airtight containers to store the ice cream to prevent freezer burn. Enjoy your homemade treat within 2-3 weeks for the best quality.
Ensure Soft Serve: Before serving, let the ice cream sit at room temperature for a few minutes. This helps it soften for easier scooping, enhancing your dessert experience!
Make Ahead Options
This Homemade Blueberry Ice Cream is an ideal choice for meal prep, allowing busy cooks to savor delightful summer flavors anytime! You can prepare the blueberry mixture and chill it up to 24 hours in advance, keeping it refrigerated in an airtight container to maintain its freshness. Simply follow the cooking and chilling instructions, then refrigerate the mixture until ready to blend with the dairy ingredients. When you’re ready to indulge, blend the mixture, churn it in your ice cream maker, and freeze for at least 3 hours for the perfect scoop. This way, you can enjoy homemade ice cream with minimal effort, just when you need it most—deliciousness awaits!
Homemade Blueberry Ice Cream Variations
Feel free to play with flavors and textures while creating your perfect ice cream experience!
-
Berry Bliss: Swap blueberries for strawberries or raspberries for a delightful twist. Each berry brings its own unique sweetness!
-
Vanilla Dreams: Add a teaspoon of vanilla extract to the ice cream base for an aromatic enhancement. This will elevate the creamy flavor profile beautifully.
-
Nutty Crunch: Stir in chopped nuts, like almonds or pecans, during the last minute of churning for a delicious crunch that contrasts with the smooth ice cream.
-
Sweet and Tart: Mix in some chopped crystallized ginger or candied lemon peel to the blueberry mixture before churning. This adds an unexpected zing that brightens each scoop!
-
Creamy Decadence: Replace the whole milk with additional heavy cream for an ultra-creamy texture. It turns this already indulgent treat into something truly luxurious.
-
Coconut Twist: Use coconut milk instead of whole milk for a dairy-free version. Not only will it make the ice cream vegan-friendly, but it also lends a tropical vibe!
-
Chocolate Swirl: Drizzle in some melted chocolate during the last few minutes of churning. This creates an irresistible marble effect that adds a rich depth of flavor.
And if you’re keen on trying out other fruit desserts, the refreshing taste of my Blueberry White Chocolate cupcakes might also tickle your palate!
Homemade Blueberry Ice Cream Recipe FAQs
How should I select blueberries for this recipe?
Absolutely! For the best flavors, choose plump, firm blueberries that are deep purple-blue in color. Look out for berries with a slight haze, indicating freshness. Avoid any with soft spots or mold, as these can affect the taste of your Homemade Blueberry Ice Cream.
Advertisement
How do I store my homemade blueberry ice cream?
You can store your ice cream in airtight containers in the freezer for up to 2-3 weeks. It’s crucial to press a layer of plastic wrap directly onto the surface of the ice cream before sealing to help prevent freezer burn. For the best texture, allow it to sit at room temperature for a few minutes before scooping.
Can I freeze the mixture before churning?
To achieve the ideal creaminess, I recommend against pre-freezing the mixture. Instead, chill it thoroughly in the refrigerator for at least 1 hour before churning. This not only aids in achieving that luscious texture but also enhances the flavors.
What should I do if my ice cream is too hard after freezing?
Very! If your ice cream turns out rock solid, simply let it sit at room temperature for 5-10 minutes before serving. This small waiting game makes a world of difference, allowing it to soften up and be perfectly scoopable.
Is this blueberry ice cream recipe safe for people with allergies?
This Homemade Blueberry Ice Cream contains common allergens like dairy and sugar. If you’re cooking for individuals with allergies, consider using lactose-free milk and cream. Also, check for any sensitivities regarding the ingredients. Always inform guests about the ingredients you’ve used, just to be safe!
How can I substitute ingredients for a healthier version?
If you’re looking to tweak the recipe, you can replace heavy cream with coconut milk for a dairy-free version or use a sugar substitute like honey or agave syrup to cut down on refined sugars. These swaps can still yield delicious results while catering to different dietary needs!

Creamy Homemade Blueberry Ice Cream for Summer Bliss
Ingredients
Equipment
Method
- In a medium saucepan over medium heat, combine 2 cups of blueberries, 2 tablespoons of lemon juice, and 1 cup of granulated sugar. Stir frequently until the sugar dissolves and begins to bubble, about 5 minutes.
- Reduce heat to low and let the blueberry mixture simmer for about 10 minutes, stirring occasionally.
- Transfer the heated mixture into a bowl and let it cool to room temperature, then refrigerate for at least 1 hour.
- Use a blender to process the blueberry mixture until smooth and silky, about 1-2 minutes.
- Stir in 1½ cups of whole milk and 2 cups of heavy whipping cream until well combined.
- Pour the blueberry cream mixture into your ice cream maker and churn according to the manufacturer's instructions, about 20-25 minutes.
- Transfer the soft ice cream into airtight containers and freeze for at least 3 hours to solidify completely.