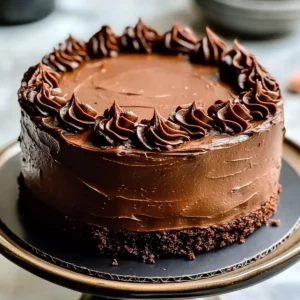
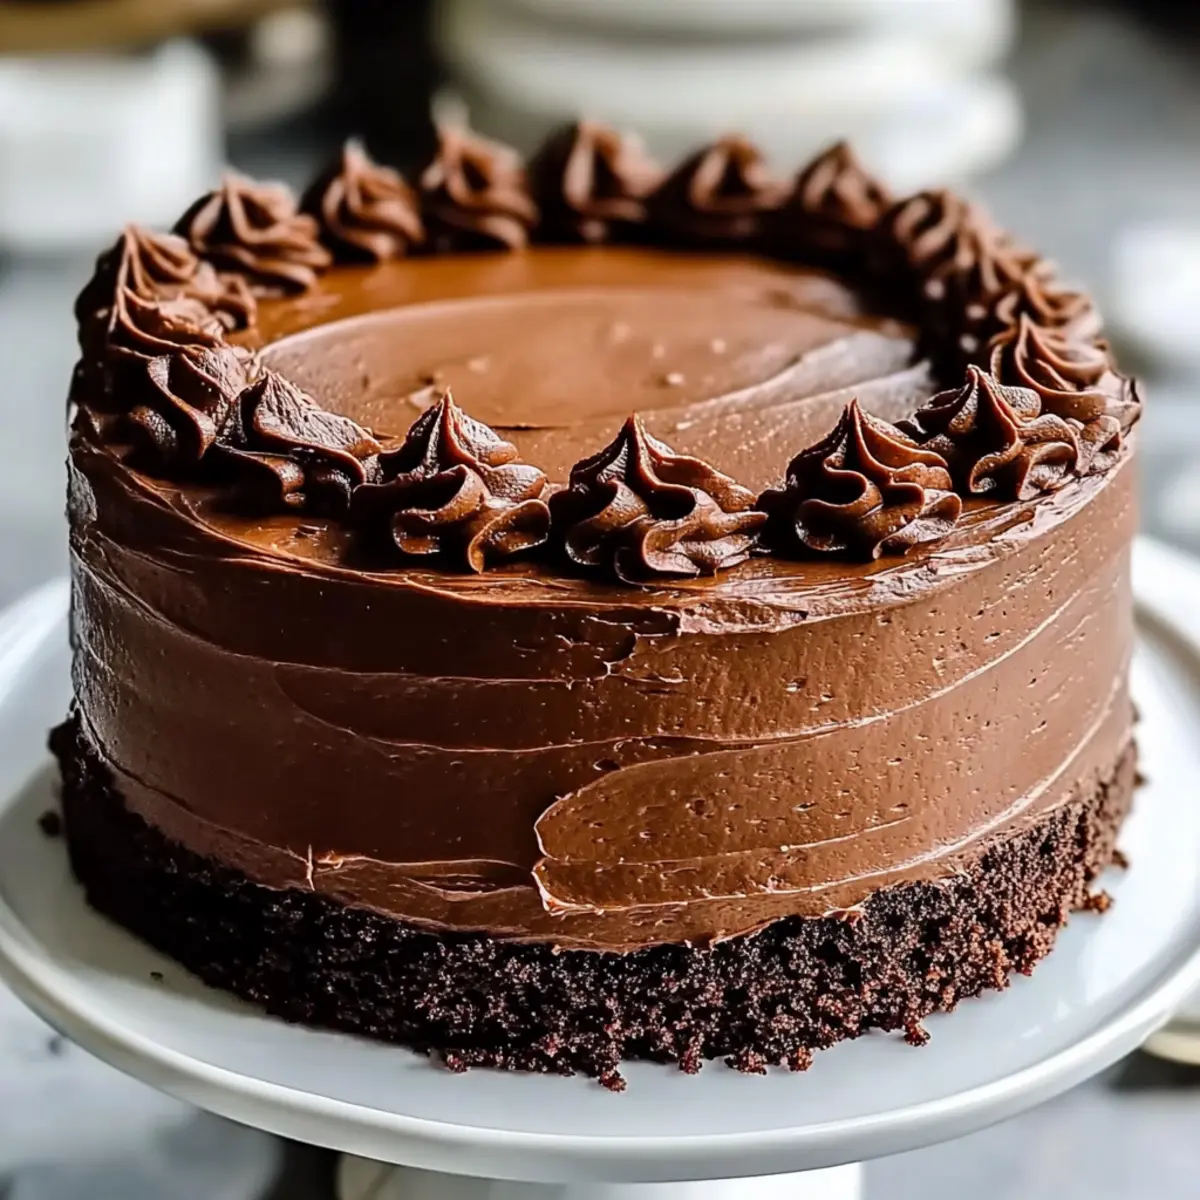
The warm, sweet aroma of chocolate filling the kitchen can transport me back to my childhood—a time when every family celebration revolved around a scrumptious cake. This Classic Hershey’s Chocolate Cake captures that nostalgic essence perfectly. With its rich yet light texture, this crowd-pleaser is the go-to dessert for both intimate gatherings and festive occasions. What I love most about this recipe is how quick and easy it is to whip up, allowing me to bring delicious homemade comfort directly to the table. Plus, the moist layers topped with decadent chocolate frosting create a treat that everyone will adore. Curious to learn how to make this timeless dessert that brings smiles and satisfaction? Let’s dive into the recipe!
Why is This Hershey Chocolate Cake Special?
Irresistible Comfort: This cake embodies the essence of home baking, evoking memories of joyful celebrations.
Easy Preparation: With simple ingredients and straightforward instructions, you’ll feel like a pro in no time!
Delectable Moisture: Thanks to the buttermilk and hot coffee, every bite is melt-in-your-mouth delightful.
Versatile Celebration Cake: Perfect for birthdays, anniversaries, or just a sweet craving—this chocolate cake fits any occasion.
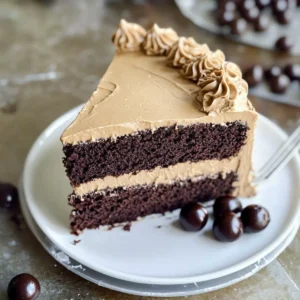
Decadent Chocolate Frosting: The rich, smooth frosting adds an extra layer of indulgence that’s simply irresistible, making it an ideal pair with a fresh whipped cream topping or even alongside a slice of German Chocolate Cheesecake.
It’s a dessert that effortlessly brings people together, making every gathering memorable.
Hershey Chocolate Cake Ingredients
For the Cake
- Granulated Sugar – Balances sweetness and moisture; for a richer flavor, consider substitute with brown sugar.
- All-Purpose Flour – Provides essential structure; feel free to use gluten-free flour for a suitable alternative.
- Unsweetened Cocoa Powder – Infuses your cake with deep chocolate flavor; Dutch-processed cocoa can intensify that richness.
- Baking Powder & Baking Soda – Essential leavening agents; always check for freshness to ensure a perfect rise.
- Salt – Amplifies flavor; using Himalayan or kosher salt can enhance the taste even more.
- Large Eggs – Contributes richness and moisture; flax eggs can be used as a vegan alternative.
- Buttermilk – Ensures tenderness and moistness; for a quick substitute, mix regular milk with a bit of vinegar.
- Vegetable Canola Oil – Keeps your cake delightfully moist; melted coconut oil is a wonderful alternative.
- Vanilla Extract – Adds a lovely aroma and depth; opt for pure vanilla to maximize flavor.
- Boiling Water or Hot Coffee – Intensifies the chocolate flavor beautifully; hot water also works well in a pinch.
For the Frosting
- Melted Butter – Serves as the rich base of your frosting, giving it luscious texture.
- Unsweetened Cocoa Powder – Enhances the chocolate intensity in your frosting; a must for that classic taste.
- Powdered Sugar – This is your primary sweetener; include more or less for sweetness preference.
- Milk – Adjusts frosting consistency for easy spreading; use more for a thinner spread.
- Vanilla Extract – Elevates the frosting’s flavor; pure vanilla is preferable for the best taste experience.
This Hershey Chocolate Cake is sure to win over hearts and taste buds alike—plan to bake it soon!
Step‑by‑Step Instructions for Hershey Chocolate Cake
Step 1: Preheat Your Oven
Start by preheating your oven to 350°F (175°C). While it heats, prepare two 8-inch round baking pans by lining them with parchment paper and lightly greasing them with cooking spray. This prevents the cake from sticking and ensures easy removal once they’re baked.
Step 2: Mix the Dry Ingredients
In a large mixing bowl, combine 2 cups of granulated sugar, 1 and 3/4 cups of all-purpose flour, 3/4 cup of unsweetened cocoa powder, 1 and 1/2 teaspoons of baking powder, 1 and 1/2 teaspoons of baking soda, and 1 teaspoon of salt. Stir the mixture together with a whisk until all the dry ingredients are evenly blended, creating a uniform color and ensuring there are no lumps.
Step 3: Add the Wet Ingredients
Now, add 2 large eggs, 1 cup of buttermilk, 1/2 cup of vegetable oil, and 2 teaspoons of vanilla extract to your dry ingredients. Mix gently until everything is combined. Then, gradually stir in 1 cup of boiling water or hot coffee. The batter will be thin; this is what you want, helping create a moist and rich Hershey chocolate cake.
Step 4: Bake the Cakes
Once your batter is ready, evenly pour it into the prepared baking pans. Place them in the preheated oven and bake for 30 to 35 minutes. To check for doneness, insert a toothpick into the center of the cakes; it should come out clean or with just a few moist crumbs—this indicates perfectly baked cakes.
Step 5: Prepare the Frosting
While the cakes cool, let’s whip up the chocolate frosting. In a bowl, combine 1/2 cup of melted butter with 2/3 cup of unsweetened cocoa powder. Gradually mix in 3 cups of powdered sugar and 1/3 cup of milk until you have a smooth, fluffy consistency. Don’t forget to incorporate 1 teaspoon of vanilla extract for added flavor!
Step 6: Assemble the Cake
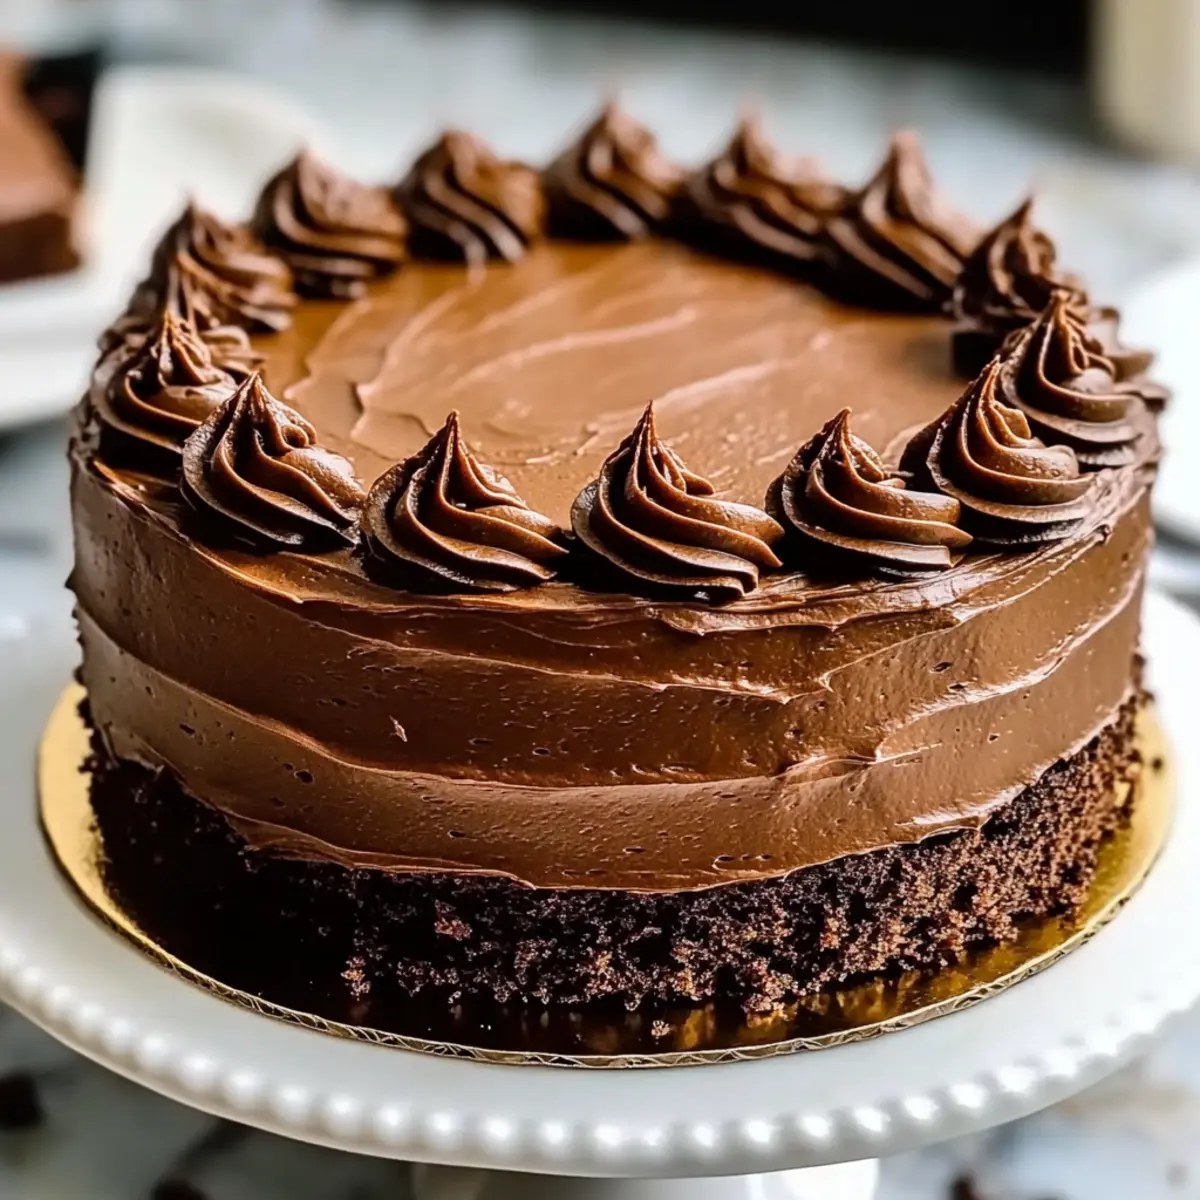
Once the cakes are completely cool, remove them from the pans. Place one layer on your serving plate and generously spread a layer of frosting on top. Then, carefully set the second cake layer on top of the first, pressing it down gently. Frost the sides and top of the cake until it’s beautifully coated in the rich chocolate frosting.
Step 7: Serve and Enjoy
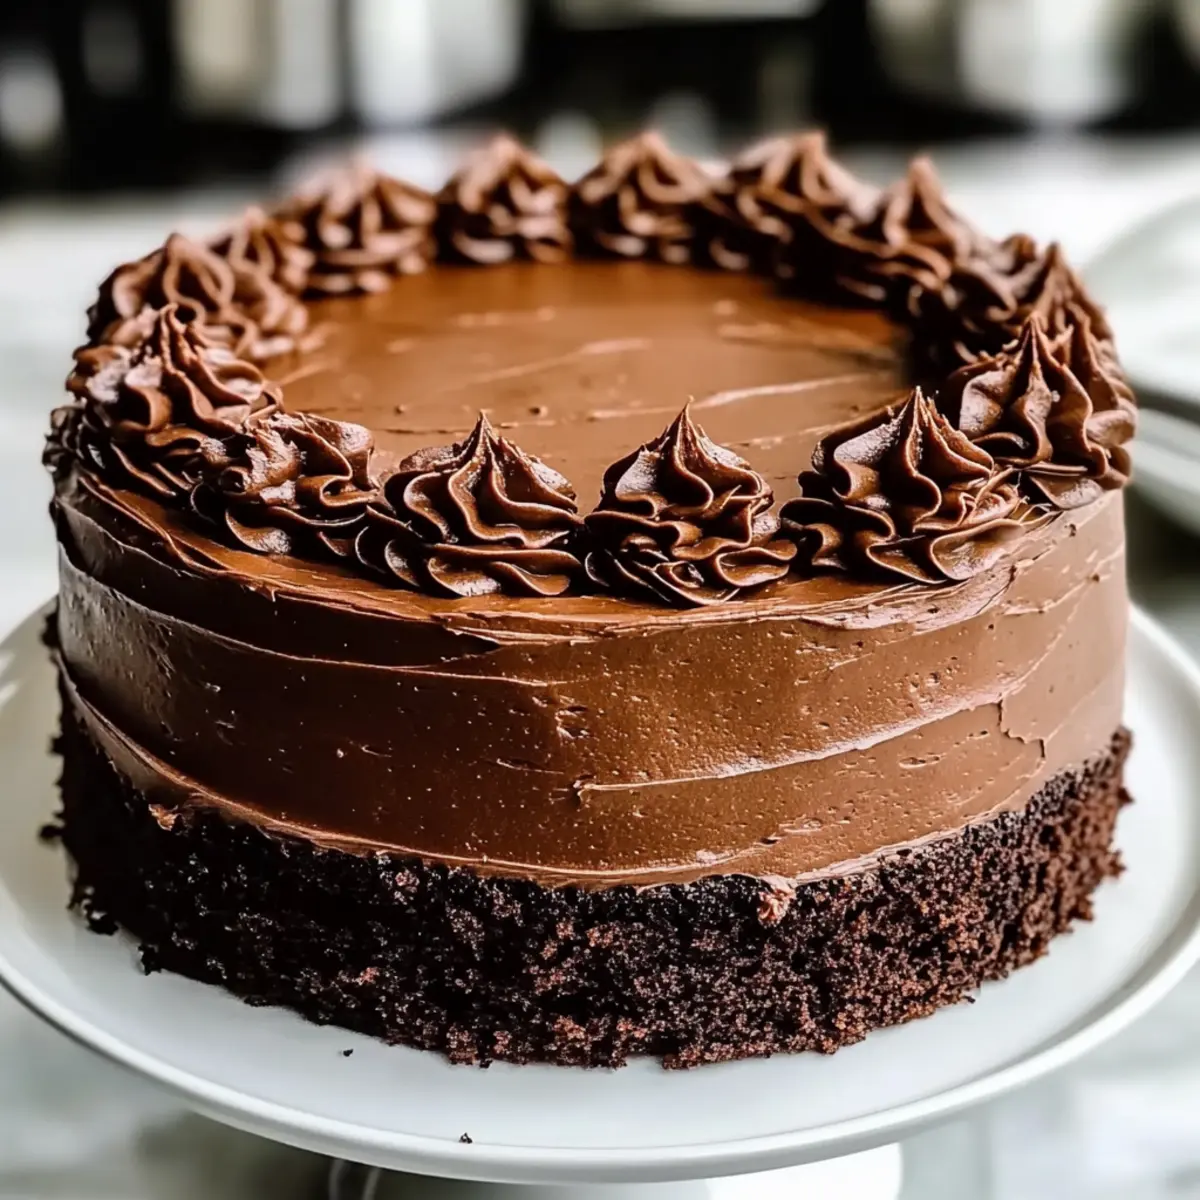
Your Hershey chocolate cake is ready to be sliced! Cut it into generous pieces and serve it to your family and friends. The moist layers and decadent frosting are sure to bring smiles to everyone’s faces as they indulge in this classic dessert that’s perfect for any occasion.
Storage Tips for Hershey Chocolate Cake
Room Temperature: Store leftover cake at room temperature in an airtight container for up to 3 days to maintain its delightful moisture.
Fridge: If you plan to keep the cake longer, refrigerate it in an airtight container for up to a week. Make sure it’s covered to prevent it from absorbing other odors in the fridge.
Freezer: To freeze, wrap the cake layers tightly in plastic wrap, then place them in a freezer bag. It can last for up to 3 months in the freezer without losing flavor.
Reheating: When ready to enjoy, thaw the Hershey chocolate cake overnight in the fridge, then bring it to room temperature before serving. For a warm slice, heat individual pieces in the microwave for about 10-15 seconds.
Expert Tips for the Best Hershey Chocolate Cake
-
Room Temperature Ingredients: Ensure all ingredients are at room temperature for better emulsification and a more evenly mixed batter. This leads to a lighter cake.
-
Avoid Overmixing: Mix the batter just until combined. Overmixing can lead to a dense Hershey chocolate cake instead of the fluffy texture you desire.
-
Fresh Leavening Agents: Always check the freshness of your baking powder and baking soda. Expired agents can result in a flat cake and impaired rise.
-
Toothpick Test: Use a toothpick to check for cake doneness. Each oven varies, so if it comes out with a few moist crumbs, your cake is perfect!
-
Cooling Time: Allow the cakes to cool completely before frosting. This prevents the frosting from melting and ensures a clean and beautiful finish.
-
Storing Leftovers: If you have leftover cake, store it in an airtight container at room temperature for up to three days to maintain moisture. Enjoy!
What to Serve with Hershey Chocolate Cake?
Delightfully pairing your dessert can elevate any occasion into a memorable feast full of flavor and warmth.
- Vanilla Ice Cream: The cool creaminess balances the rich chocolate, making each bite a heavenly experience.
- Fresh Whipped Cream: Light and fluffy, this adds a delightful contrast to the dense cake while enhancing its indulgence.
- Berries: A mix of strawberries or raspberries introduces a fresh tartness, perfectly complementing the chocolate’s sweetness.
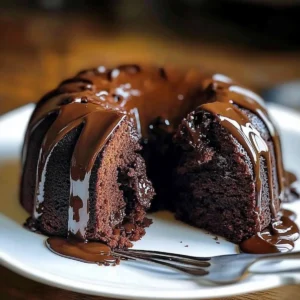
- Chocolate Ganache: For the ultimate chocolate lover, a drizzle of ganache deepens the flavor and adds a glossy finish.
- Coffee or Espresso: A warm cuppa brings out the cake’s rich tones, creating a symphony of flavors.
- Almond Milkshake: Creamy and slightly nutty, this shake serves as a deliciously refreshing pairing for a sweet indulgence.
- Peanut Butter Frosting: Spread a layer of this nutty frosting for an unforgettable flavor twist that truly takes it up a notch.
- Chocolate-Covered Strawberries: These add a touch of elegance and extra chocolate for a charming dessert display.
Hershey Chocolate Cake Variations
Feel free to explore these delightful twists that’ll elevate your Hershey chocolate cake experience!
-
Dairy-Free: Use almond milk and coconut yogurt instead of buttermilk for a creamy, dairy-free alternative.
This way, everyone can enjoy the cake without compromising on flavor or texture! -
Gluten-Free: Replace all-purpose flour with a 1:1 gluten-free baking blend.
Your cake will still be fluffy and delicious, catering to guests with gluten sensitivities. -
Espresso Kick: Add 1 teaspoon of espresso powder to the dry ingredients for a rich chocolate boost.
It enhances the chocolate flavor beautifully, making each bite even more decadent. -
Nutty Addition: Fold in 1 cup of chopped walnuts or pecans into the batter for extra crunch.
The nuts will add a delightful texture while complementing the chocolate perfectly. -
Spicy Heat: Sprinkle 1/2 teaspoon of cayenne pepper or chili powder into the batter for a fiery twist.
This unexpected kick will surprise and delight those who dare to try it! -
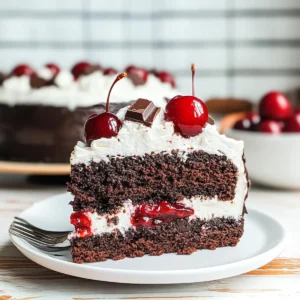
Fresh Fruit: Top with fresh raspberries, strawberries, or cherries for a pop of color and flavor.
They add a tangy contrast to the sweet chocolate, making each bite a refreshing experience. -
Coconut Bliss: Mix in 1 cup of shredded coconut for a tropical flavor explosion.
It transforms the cake into a delicious treat reminiscent of a summer getaway! -
Double Chocolate: Substitute half the cocoa powder in the frosting for melted chocolate.
This creates an ultra-rich frosting that’s out of this world and worth every bite!
Craving more chocolatey inspiration? Check out these delectable treats like Oatmeal Chocolate Chip Bars or our indulgent Chewy Fudgy Chocolate Chip Cookie Brownies. The possibilities are endless!
Make Ahead Options
These Hershey Chocolate Cake preparations are perfect for busy home cooks who want to save time without compromising flavor! You can prepare the cake layers up to 24 hours in advance by allowing them to cool completely, then wrap them tightly in plastic wrap and refrigerate. For best quality, frost the cake on the day you plan to serve it to keep the frosting fresh and creamy. If you’re short on time, consider making the frosting ahead as well; just store it in an airtight container at room temperature for up to 3 days. When ready to enjoy, simply assemble and frost your cake, and you’ll have an irresistibly delicious dessert with minimal last-minute effort!
Hershey Chocolate Cake Recipe FAQs
How do I choose the right cocoa powder for this cake?
To achieve the best flavor for your Hershey chocolate cake, opt for high-quality unsweetened cocoa powder. Dutch-processed cocoa can add a deeper, darker flavor, enhancing the chocolate experience. In addition, check the expiration date for freshness, as stale cocoa may not provide the rich taste you’re looking for.
What is the best way to store leftover Hershey chocolate cake?
Store any leftover cake in an airtight container at room temperature for up to 3 days. If you’d like to keep it longer, wrap the cake tightly in plastic wrap or foil and refrigerate it for up to a week. This keeps it moist and fresh while preventing it from absorbing any odors.
Advertisement
Can I freeze the Hershey chocolate cake?
Absolutely! To freeze the cake, wrap each layer tightly in plastic wrap and place them in a freezer-safe bag. Your cake can last up to 3 months in the freezer. When you’re ready to enjoy it, thaw it in the refrigerator overnight and bring it back to room temperature before serving. It’s a fantastic way to enjoy a slice of chocolate indulgence anytime!
What should I do if my cake doesn’t rise properly?
If your cake doesn’t rise as expected, first ensure your baking powder and baking soda are fresh. If they are, check if you may have overmixed the batter, which can lead to dense layers. Also, ensure your oven temperature is accurate—use an oven thermometer if you’re unsure. Lastly, remember to pour your batter into the prepared pans evenly for even baking.
Are there any dietary considerations for this recipe?
Certainly! If you’re catering to specific dietary needs, you can substitute eggs with flax eggs for a vegan version. You can also replace buttermilk with plant-based milk mixed with vinegar or lemon juice. For those allergic to gluten, using a gluten-free all-purpose flour works wonderfully without compromising taste.
How can I enhance the flavor of my Hershey chocolate cake?
For an extra flavor boost, try adding a teaspoon of espresso powder to the batter—it elevates the chocolate taste beautifully. You can also introduce a hint of cinnamon or chili powder for a unique flavor profile. These small additions can create an unexpected twist that makes your Hershey chocolate cake even more delightful!

Decadent Hershey Chocolate Cake That Melts in Your Mouth
Ingredients
Equipment
Method
- Preheat your oven to 350°F (175°C). Line two 8-inch round baking pans with parchment paper and grease them.
- In a large mixing bowl, whisk together granulated sugar, all-purpose flour, unsweetened cocoa powder, baking powder, baking soda, and salt until well combined.
- Add eggs, buttermilk, vegetable oil, and vanilla extract to the dry ingredients. Mix gently until combined, then gradually stir in boiling water or hot coffee.
- Pour the batter evenly into the prepared baking pans and bake for 30 to 35 minutes. Check doneness with a toothpick.
- While cakes cool, prepare the frosting by combining melted butter and unsweetened cocoa powder. Mix in powdered sugar and milk until smooth, then add vanilla extract.
- Once cooled, place one cake layer on a serving plate and spread frosting on top. Add the second layer and frost the top and sides.
- Serve and enjoy the cake!