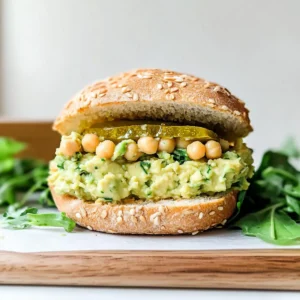
As I stood at the market, the vibrant colors and fragrant spices whisked me away to a bustling Middle Eastern bazaar. My latest culinary adventure led me to create a delightfully satisfying Grilled Chickpea Veggie Pita that captures those lively flavors in every bite. This high-protein, vegan masterpiece isn’t just a feast for the taste buds; it’s also a budget-friendly alternative to meat-packed meals, proving that delicious doesn’t have to break the bank. The best part? It’s highly customizable, allowing you to toss in any seasonal veggies you have lying around. Whether you’re prepping a quick lunch or a wholesome dinner, this za’atar-spiced wonder is sure to impress. What unique twists will you add to your pita creation?
Why will you love this pita?
Simplicity: This Grilled Chickpea Veggie Pita is a breeze to make, perfect for both cooking novices and seasoned chefs alike. Just mash, sauté, and grill for a delicious meal in no time!
Flavor Explosion: The za’atar spices combined with fresh veggies create a vibrant and aromatic experience that dances on your palate, transporting you to the heart of Middle Eastern cuisine.
High Protein: With approximately 22 grams of protein per serving, this dish offers a nourishing, plant-based option that’s satisfying without skimping on nutrition.
Customization: Feel free to swap out ingredients or add your favorite seasonal vegetables. Whether you prefer spinach or roasted eggplant, you can tailor this recipe to fit your taste perfectly. Consider trying a delightful side salad alongside your pita, like these Cheesy Baked Veggie rolls, to round out your meal!
Crowd-pleaser: Impress your family and friends with this flavorful pita, making it an excellent choice for gatherings or casual weeknight dinners. Enjoy the compliments!
Grilled Chickpea Veggie Pita Ingredients
For the Chickpea Filling
- Chickpeas – A great source of plant-based protein and fiber; you can replace them with crumbled tofu or canned lentils for variety.
- Yellow Onion – Adds sweetness and depth to the filling; shallots can be used for a sweeter flavor.
- Garlic – Infuses the dish with delightful flavor; feel free to adjust the amount based on your taste.
- Bell Pepper – Optional for a fresh crunch; you can use zucchini or other bell pepper colors instead.
- Mushrooms – Rich in umami flavor and texture; a fantastic addition to enhance the dish.
- Tomato Paste – Provides richness; substitute with sundried tomato paste for a different twist.
- Za’atar – The key seasoning for that authentic Middle Eastern flair; leave it in for maximum flavor!
- Cumin and Coriander – Bring warmth to the dish; adjust based on your flavor preference.
- Fennel Seeds – Offer an earthy note; these can be omitted if you prefer a simpler taste.
- Parsley and Cilantro – Fresh herbs to brighten the filling; swap these with other herbs you enjoy if needed.
For the Pitas
- Whole Grain Pitas – Adding extra fiber and protein; swap for gluten-free wraps if that’s your preference.
- Vegan Greek-style Yogurt – A creamy way to elevate your dish; tahini or thick plant-based yogurt can replace it for a different sauce experience.
Step‑by‑Step Instructions for Grilled Chickpea Veggie Pita
Step 1: Mash Chickpeas
In a large mixing bowl, rinse and drain one can of chickpeas. Using a fork, roughly mash them until you have a chunky texture—don’t overdo it! This should take about 2 minutes. You want some whole chickpeas left for a hearty filling in your Grilled Chickpea Veggie Pita.
Step 2: Sauté Vegetables
Heat a tablespoon of olive oil in a sauté pan over medium heat. Once the oil is shimmering, add diced yellow onion, bell pepper, and mushrooms. Sauté for about 2-3 minutes until they soften and release moisture. The onions should become translucent, filling your kitchen with tantalizing aromas as they prepare the base for your flavor-packed filling.
Step 3: Add Garlic and Seasonings
Stir in minced garlic and sauté for an additional minute until fragrant. This is the crucial moment your kitchen truly comes alive! Next, mix in the mashed chickpeas, a tablespoon of tomato paste, soy sauce, and the za’atar spice blend. Cook everything together for another 2-3 minutes, stirring frequently to combine flavors and heat through.
Step 4: Prepare Pitas
While the filling cools slightly, preheat a griddle or grill pan over medium heat. Cut the whole grain pitas in half to create pockets for your filling. Stuff each pita half generously but avoid overstuffing to prevent ripping. Brush the outside of the pitas lightly with olive oil for that perfect crispy finish as they grill.
Step 5: Grill Pitas
Place the stuffed pitas on the griddle, cut side down. Grill for 3-4 minutes, or until the outside is golden brown and crispy. Carefully flip each pita and grill the other side for an additional 3 minutes. Watch for that nice golden color; this is how you’ll ensure your Grilled Chickpea Veggie Pita has an irresistible crunch.
Step 6: Make Yogurt Sauce
In a small bowl, whisk together vegan Greek-style yogurt with a pinch of salt and a squeeze of lemon juice for brightness. You can also stir in chopped fresh parsley or cilantro for an extra flavor kick. Adjust seasoning to taste to create a creamy sauce that perfectly complements your grilled pitas.
Step 7: Serve
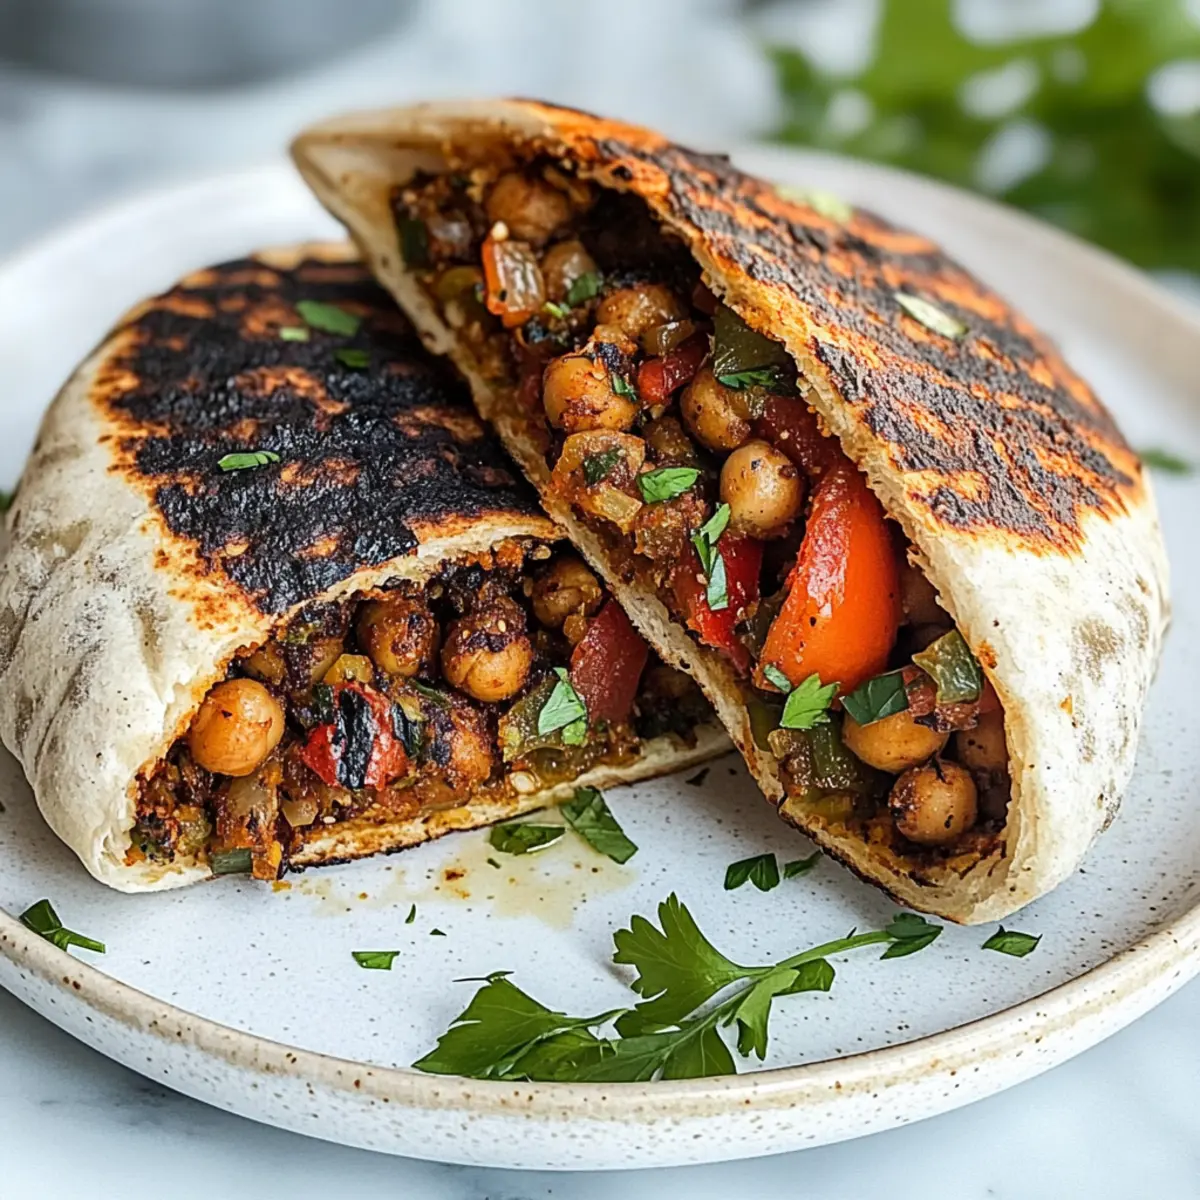
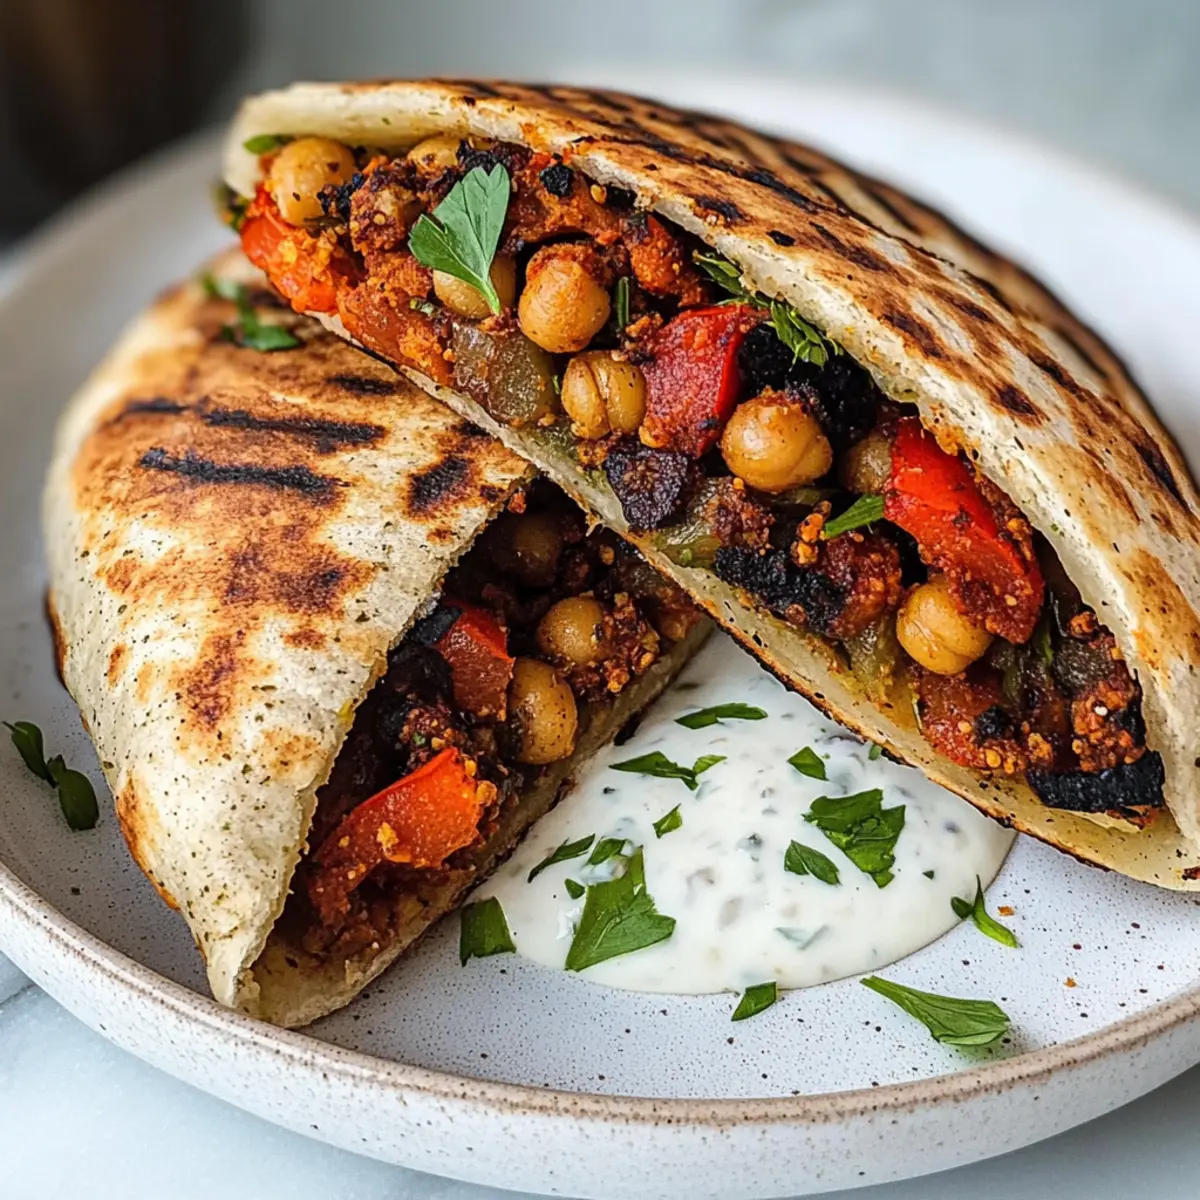
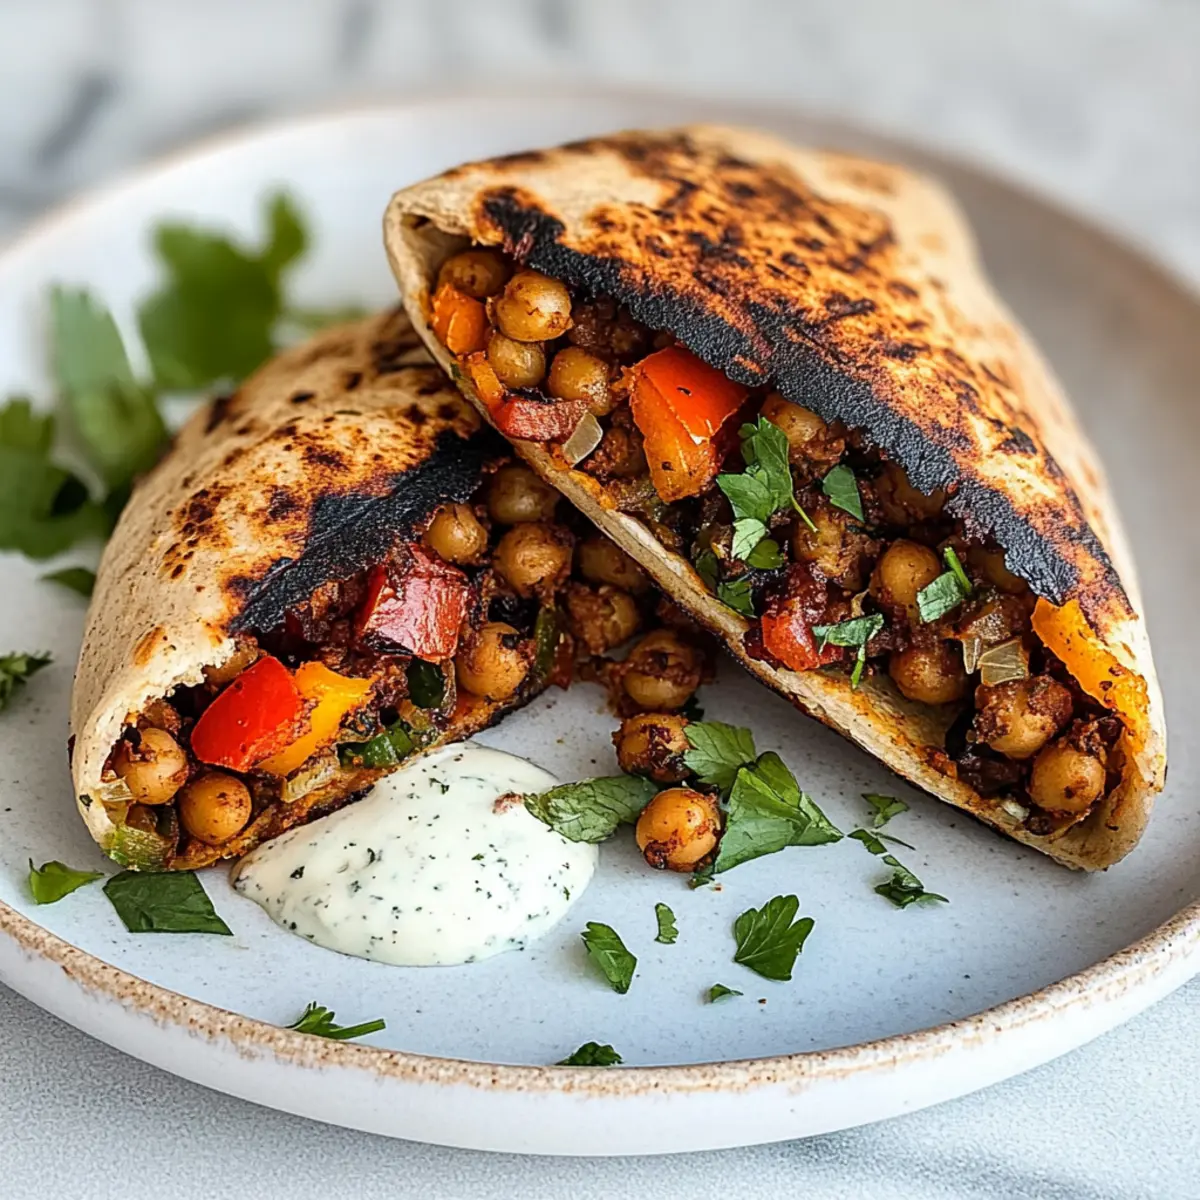
Once the pitas are grilled to perfection, remove them from the heat and let them cool slightly. Serve warm with a generous dollop of yogurt sauce and any additional toppings you like. Enjoy the delightful combination of crispy pitas filled with the za’atar-spiced chickpea veggie filling, making it a fantastic meal for lunch or dinner!
How to Store and Freeze Grilled Chickpea Veggie Pita
Fridge: Store the chickpea filling in an airtight container for up to 5 days. Keep the pitas separately to maintain their crispy texture.
Freezer: Freeze the chickpea filling for up to 3 months in a vacuum-sealed bag or airtight container. Thaw in the fridge overnight before using.
Reheating: Reheat the filling in a pan over medium heat until warmed through. For the pitas, grill or toast them briefly to restore their crispiness before serving.
Meal Prep Tip: Prepare the filling in advance for a quick and satisfying meal. Assemble your Grilled Chickpea Veggie Pita fresh to ensure the best flavor and texture.
Make Ahead Options
These Grilled Chickpea Veggie Pitas are perfect for meal prep enthusiasts looking to save time during busy weeknights! You can prepare the chickpea filling up to 5 days in advance; simply store it in an airtight container in the refrigerator. When you’re ready to serve, stuff the filling into pitas and grill them as instructed. To maintain the quality and ensure your pitas stay crispy, store the pitas separately and only grill them just before serving. This way, you’ll have a delicious, quick meal on hand that tastes just as vibrant and satisfying as if you made it fresh!
Expert Tips for Grilled Chickpea Veggie Pita
-
Don’t Overstuff: Avoid filling pitas too much to prevent ripping while grilling. A moderate amount allows for better handling and grilling.
-
Prep Ahead: Prepare the chickpea filling in advance and store it separately from the pitas for easy meal prep throughout the week.
-
Grilling Technique: Preheat the grill or griddle properly to achieve that golden, crispy exterior on your Grilled Chickpea Veggie Pita. Watch closely to avoid burning.
-
Ingredient Swaps: Feel free to substitute chickpeas with lentils or crumbled tofu if you’re looking for a different protein option; just adjust the seasonings accordingly.
-
Fresh Herbs: Always try to add fresh herbs like parsley or cilantro for a burst of flavor; they can really elevate your dish!
-
Sauce Variations: Experiment with different sauces, like tahini or avocado crema, for a unique twist on the traditional yogurt sauce while keeping it vegan.
Grilled Chickpea Veggie Pita Variations
Feel free to embrace your inner chef and customize your pitas with these exciting options!
-
Dairy-Free: Substitute yogurt sauce with tahini for a creamy vegan twist that adds a nutty flavor.
-
Extra Protein: Swap chickpeas for ground tempeh or lentils for a delightful protein boost while maintaining that hearty texture.
-
Hearty Greens: Add baby spinach or kale to increase the nutritional value and flavor. A clever way to sneak in more veggies!
-
Seasonal Veggies: Replace bell peppers with seasonal favorites, like zucchini or roasted eggplant, for a delicious fresh spin.
-
Spice it Up: Sprinkle in red pepper flakes or paprika to turn up the heat and give your filling a nice kick.
-
Flavor Boost: Incorporate olives or sun-dried tomatoes into the filling for bursts of salty richness in every bite.
-
Gluten-Free: Opt for gluten-free wraps instead of traditional pitas, ensuring everyone gets to enjoy your scrumptious creation.
-
Herb Variations: Experiment with different herbs like dill or mint for a refreshing kick that alters the flavor profile beautifully.
For an extra indulgent side, you might want to try these delightful Cheesy Baked Veggie rolls to really complete your meal!
What to Serve with Za’atar Spiced Grilled Chickpea Veggie Pita
Warm, inviting flavors are just a few bites away, perfect for elevating your homemade meal.
-
Crispy Potato Wedges: These golden wedges provide a satisfying crunch, complementing the soft textures of the pitas. Drizzle with your favorite sauce for a delightful twist.
-
Fresh Tabbouleh Salad: Bursting with parsley, mint, and vibrant tomatoes, this refreshing salad adds a burst of freshness that balances the rich chickpea filling.
-
Roasted Eggplant Dip: Known as baba ganoush, this smoky dip serves as a creamy side that enhances the Middle Eastern flavors of your dish.
-
Mediterranean Couscous: Fluffy couscous tossed with fresh vegetables and a hint of lemon creates a light and flavorful side dish that pairs wonderfully with the pitas.
-
Chickpea Salad: A simple mix of chickpeas, diced cucumber, tomatoes, and a zesty vinaigrette brings a refreshing crunch to the table, echoing the filling’s savory notes.
-
Minted Yogurt Sauce: A cool and tangy yogurt dip with fresh mint ties in beautifully with the za’atar spices, offering a perfect topping for your Grilled Chickpea Veggie Pita.
-
Rosewater Lemonade: This fragrant drink offers a sweet and refreshing contrast to the savory flavors of your meal, making it the perfect beverage choice.
Elevate your dining experience by pairing these sides with your Za’atar Spiced Grilled Chickpea Veggie Pita!
Grilled Chickpea Veggie Pita Recipe FAQs
What type of chickpeas should I use for the filling?
I recommend using canned chickpeas for convenience, as they are already cooked and ready to use. Just be sure to rinse and drain them well before mashing. If you prefer a homemade touch, you can cook dried chickpeas, but it does take longer!
Advertisement
How should I store leftovers?
The chickpea filling can be stored in an airtight container in the fridge for up to 5 days. It’s best to keep the pitas stored separately to maintain their crispy texture. When you’re ready to eat, simply reheat the filling and enjoy fresh with the crispy pitas!
Can I freeze the chickpea filling?
Absolutely! For freezing, allow the chickpea filling to cool completely, then transfer it to a vacuum-sealed bag or an airtight container. It will keep well in the freezer for up to 3 months. When you’re ready to use it, thaw it in the fridge overnight and then reheat it before stuffing into the pitas.
What if my pitas rip while grilling?
To prevent ripping, be cautious not to overstuff the pitas. A little filling goes a long way! If you find your pitas do tear, don’t worry! You can turn it into a deconstructed meal by serving the filling alongside the pita instead, making for a delightful dish nonetheless.
Are there any allergy considerations for this recipe?
Yes, for those with gluten allergies, be sure to use gluten-free wraps instead of traditional pitas. Additionally, check all sauces and seasonings, such as soy sauce, for gluten if you’re gluten-sensitive. With a few swaps, this dish can easily cater to various dietary needs!
What fresh toppings can I add to enhance the flavor?
I often love to top my Grilled Chickpea Veggie Pita with sliced avocado, additional herbs like mint or dill, or a sprinkle of sumac for an extra zing. For those who enjoy a kick, add a drizzle of sriracha or a few pickled jalapeños for a flavor boost!

Flavor-Packed Grilled Chickpea Veggie Pita to Delight You
Ingredients
Equipment
Method
- In a large mixing bowl, rinse and drain one can of chickpeas. Using a fork, roughly mash them until you have a chunky texture—don’t overdo it! This should take about 2 minutes.
- Heat a tablespoon of olive oil in a sauté pan over medium heat. Add diced yellow onion, bell pepper, and mushrooms. Sauté for about 2-3 minutes until they soften and release moisture.
- Stir in minced garlic and sauté for an additional minute until fragrant. Mix in the mashed chickpeas, a tablespoon of tomato paste, soy sauce, and za’atar. Cook together for another 2-3 minutes.
- While the filling cools, preheat a griddle or grill pan over medium heat. Cut the whole grain pitas in half to create pockets. Stuff each half generously and brush the outside with olive oil.
- Place the stuffed pitas on the griddle, cut side down. Grill for 3-4 minutes until golden brown and crispy. Flip and grill the other side for an additional 3 minutes.
- In a small bowl, whisk together vegan Greek-style yogurt, a pinch of salt, and lemon juice. Adjust seasoning to taste.
- Once the pitas are grilled to perfection, remove them from the heat and serve warm with yogurt sauce and toppings.