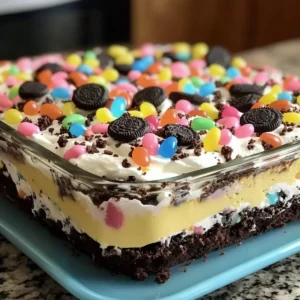
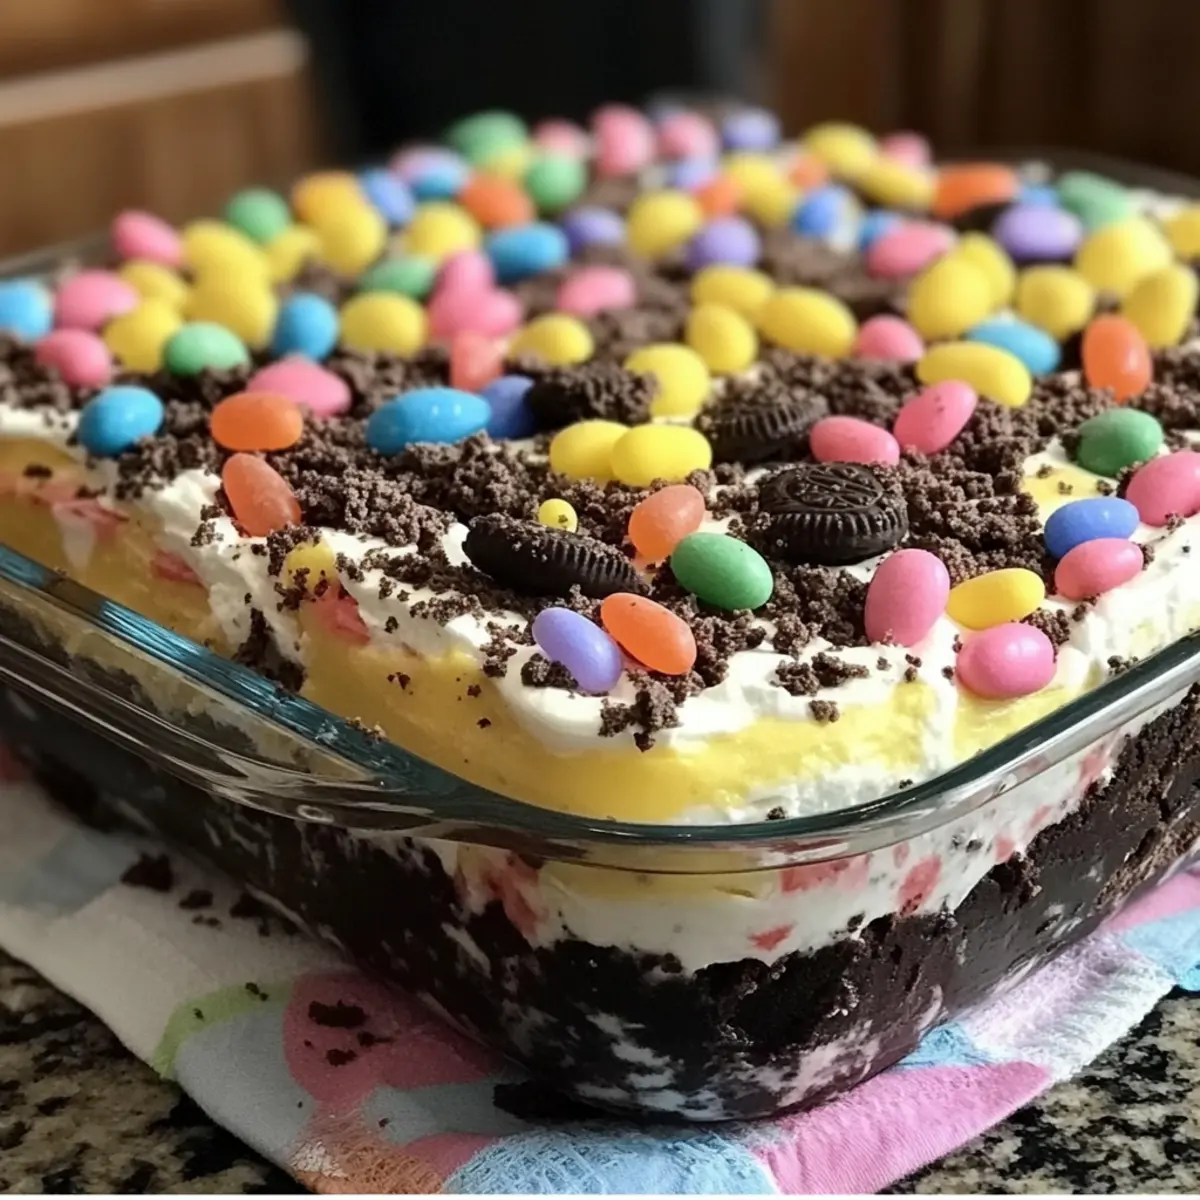
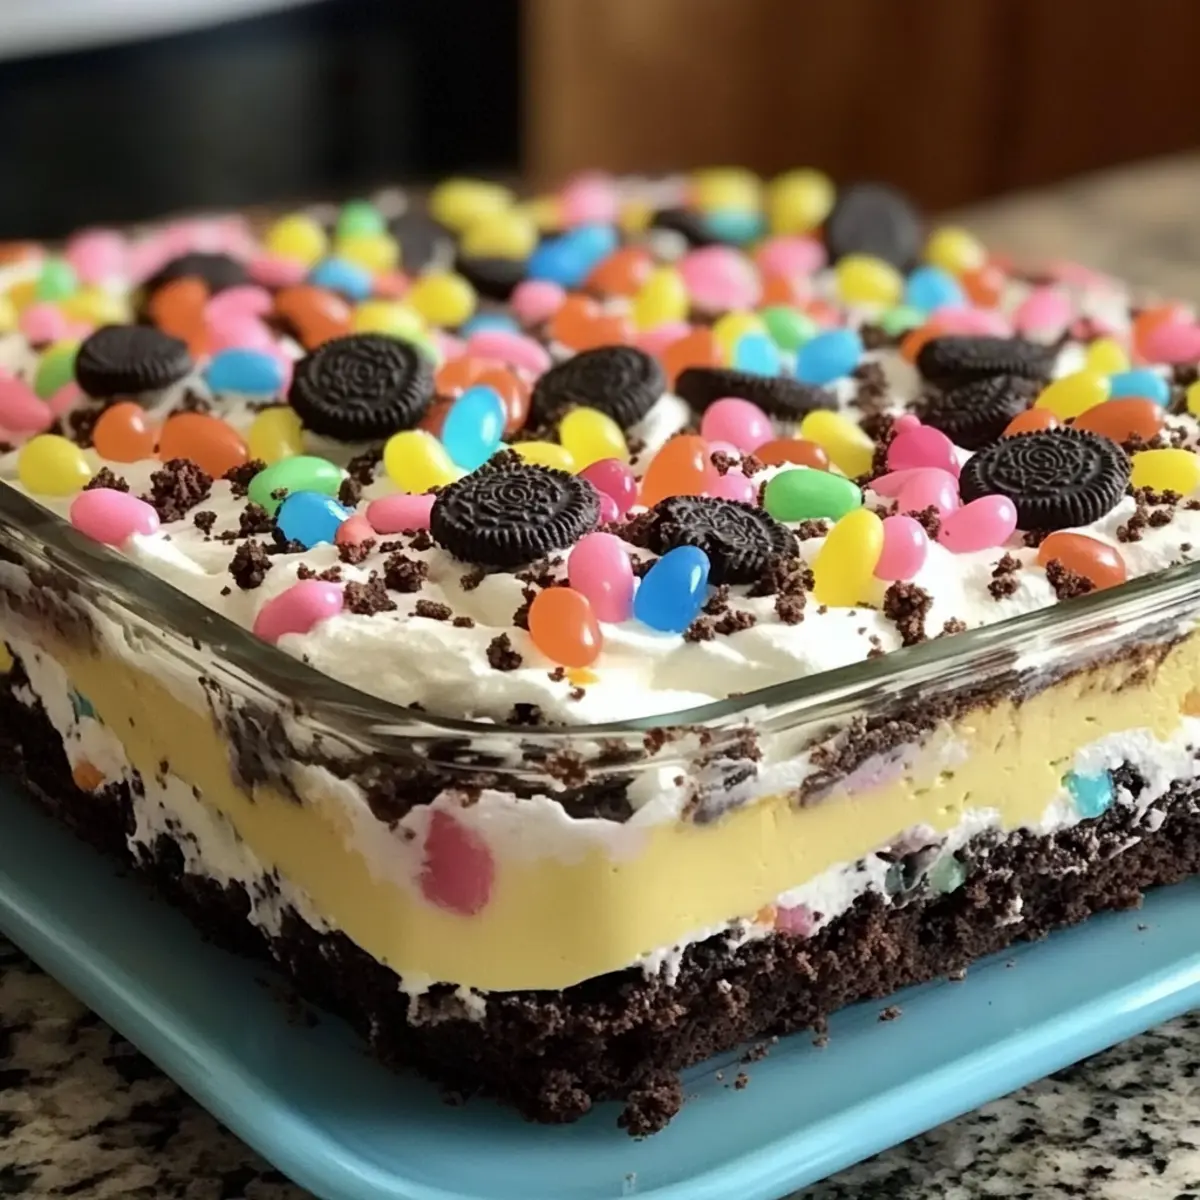
The aroma of chocolate cake fills the kitchen as I prepare to create one of my favorite Easter desserts: the Easter Dirt Cake Casserole. This whimsical treat is a delightful blend of rich, creamy layers topped with a crunchy Oreo “dirt” finish and playful gummy worms that never fail to bring smiles, especially to the little ones. What I love most about this no-bake creation is how effortlessly it comes together, allowing me to focus on enjoying time with family during the bustling holiday. Not only is this dessert a surefire crowd-pleaser, but it’s also perfect for those last-minute sweet cravings that need a cheerful touch. Are you ready to dive into a fun and easy dessert adventure?
Why Is This Dessert a Must-Try?
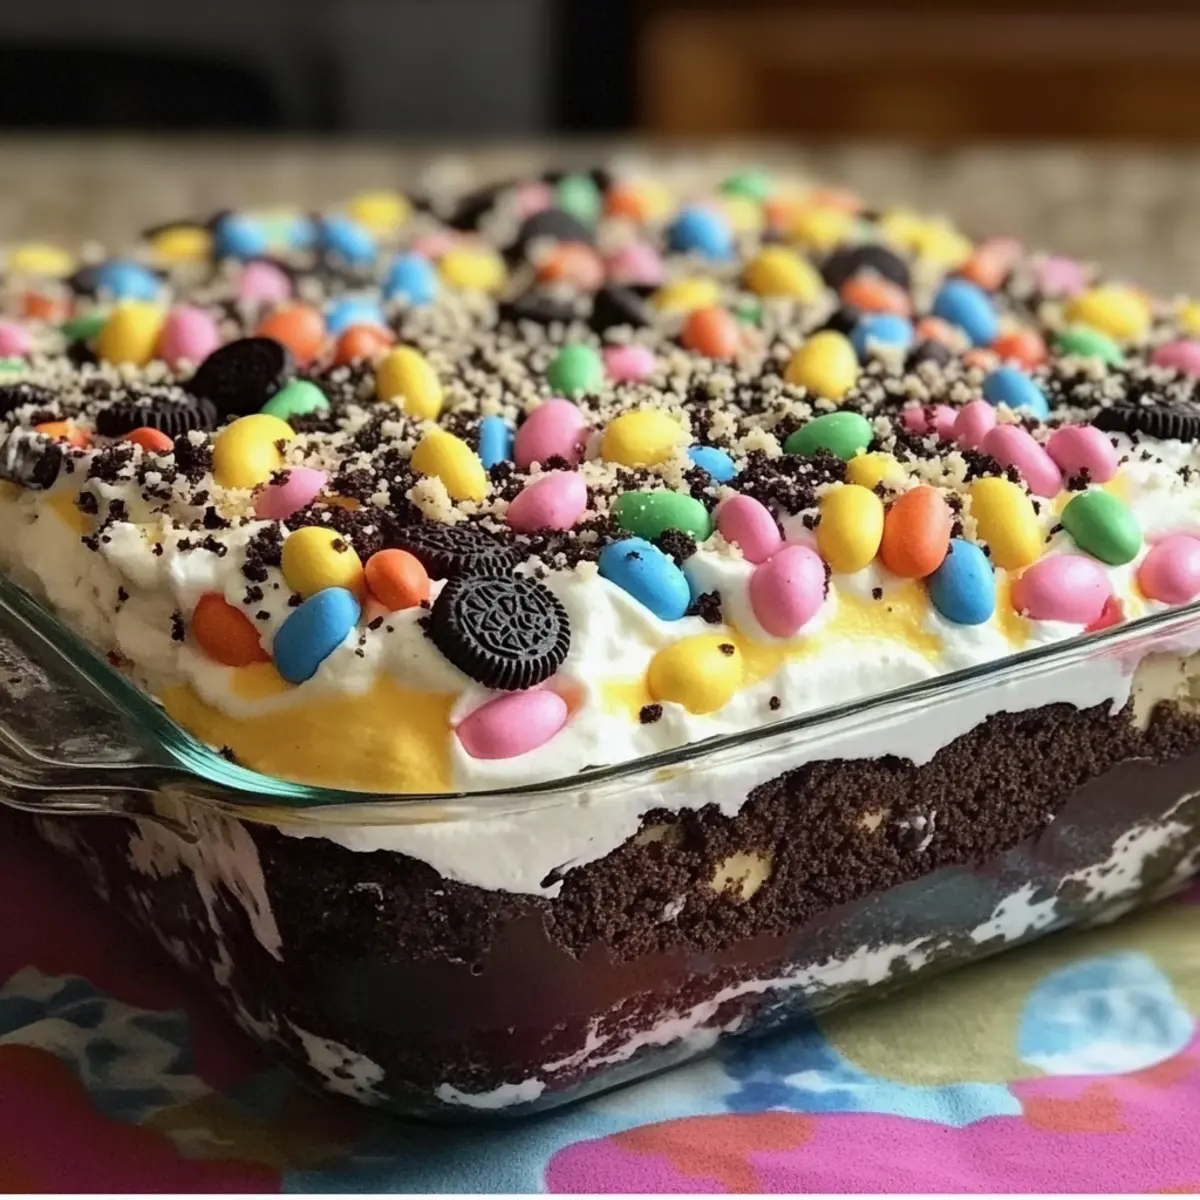
Irresistible Appeal: The Easter Dirt Cake Casserole is a playful twist on a beloved classic, guaranteed to capture smiles with its unique presentation and fun toppings.
No-Bake Convenience: This easy, no-bake recipe means less time in the kitchen and more time creating memories with loved ones.
Kid-Friendly Fun: Gummy worms and a “dirt” appearance make it an exciting treat for children, offering a creative way to indulge in dessert.
Rich, Creamy Layers: The combination of chocolate cake and creamy filling offers a delightful contrast of flavors that everyone will adore, including fans of our popular Crack Breakfast Casserole!
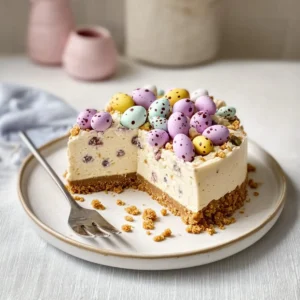
Versatile Variations: Feel free to swap toppings or customize ingredients, just like those found in the Easter Egg Cheesecake for an extra special touch.
Effortless Treat: With minimal preparation needed, this dessert is perfect for last-minute gatherings or to satisfy unexpected sweet cravings.
Easter Dirt Cake Casserole Ingredients
For the Cake Base
• Chocolate Cake Mix – Provides the foundation for this delightful Easter Dirt Cake Casserole; any brand will do!
• Large Eggs (3) – Adds moisture and structure; room temperature eggs ensure easier mixing.
• Water (1 cup) – Hydrates the cake mix according to the package instructions for perfect texture.
• Vegetable Oil (1/3 cup) – Keeps the cake moist; melted butter can be used for a richer taste.
For the Creamy Filling
• Cream Cheese (8 oz, softened) – Creates a deliciously rich filling; make sure it’s at room temperature for smooth mixing.
• Whipped Topping (12 oz) – Lightens the cream cheese for that fluffy texture we love; try using Cool Whip for best results.
• Powdered Sugar (1 cup) – Sweetens the filling; adjust to your taste for just the right amount of sweetness.
For the Crunchy Topping
• Oreos (about 24 cookies, crushed) – Adds that “dirt” look and crunch; crush them finely for a better appearance.
• Gummy Worms – The playful decorative element that brings smiles to all ages, add them as desired for extra fun!
Step‑by‑Step Instructions for Easter Dirt Cake Casserole
Step 1: Preheat Oven
Begin by preheating your oven to 350°F (175°C). While the oven heats up, grease a 9×13 inch casserole dish thoroughly with non-stick cooking spray. This will ensure your beautiful Easter Dirt Cake Casserole releases easily once baked, leaving you with a perfect foundation for layers of creamy goodness.
Step 2: Mix Cake Batter
In a large mixing bowl, combine the chocolate cake mix, three large eggs, one cup of water, and one-third cup of vegetable oil. Use a hand mixer to blend the ingredients until smooth, about 2-3 minutes. Keep an eye out for any lumps, ensuring a creamy batter that will yield a moist cake.
Step 3: Bake
Carefully pour the cake batter into your greased casserole dish, spreading it evenly. Place it in the preheated oven and bake for 30-35 minutes, or until a toothpick inserted in the center comes out clean. Once baked, remove the dish from the oven and let the cake cool completely on a wire rack, about 30-45 minutes.
Step 4: Prepare Filling
While the cake cools, take out a separate mixing bowl to prepare the filling for your Easter Dirt Cake Casserole. Beat the softened cream cheese with a mixer on medium speed until creamy, about 2 minutes. Gradually add the powdered sugar, mixing until combined, then gently fold in the whipped topping until you achieve a light, fluffy consistency.
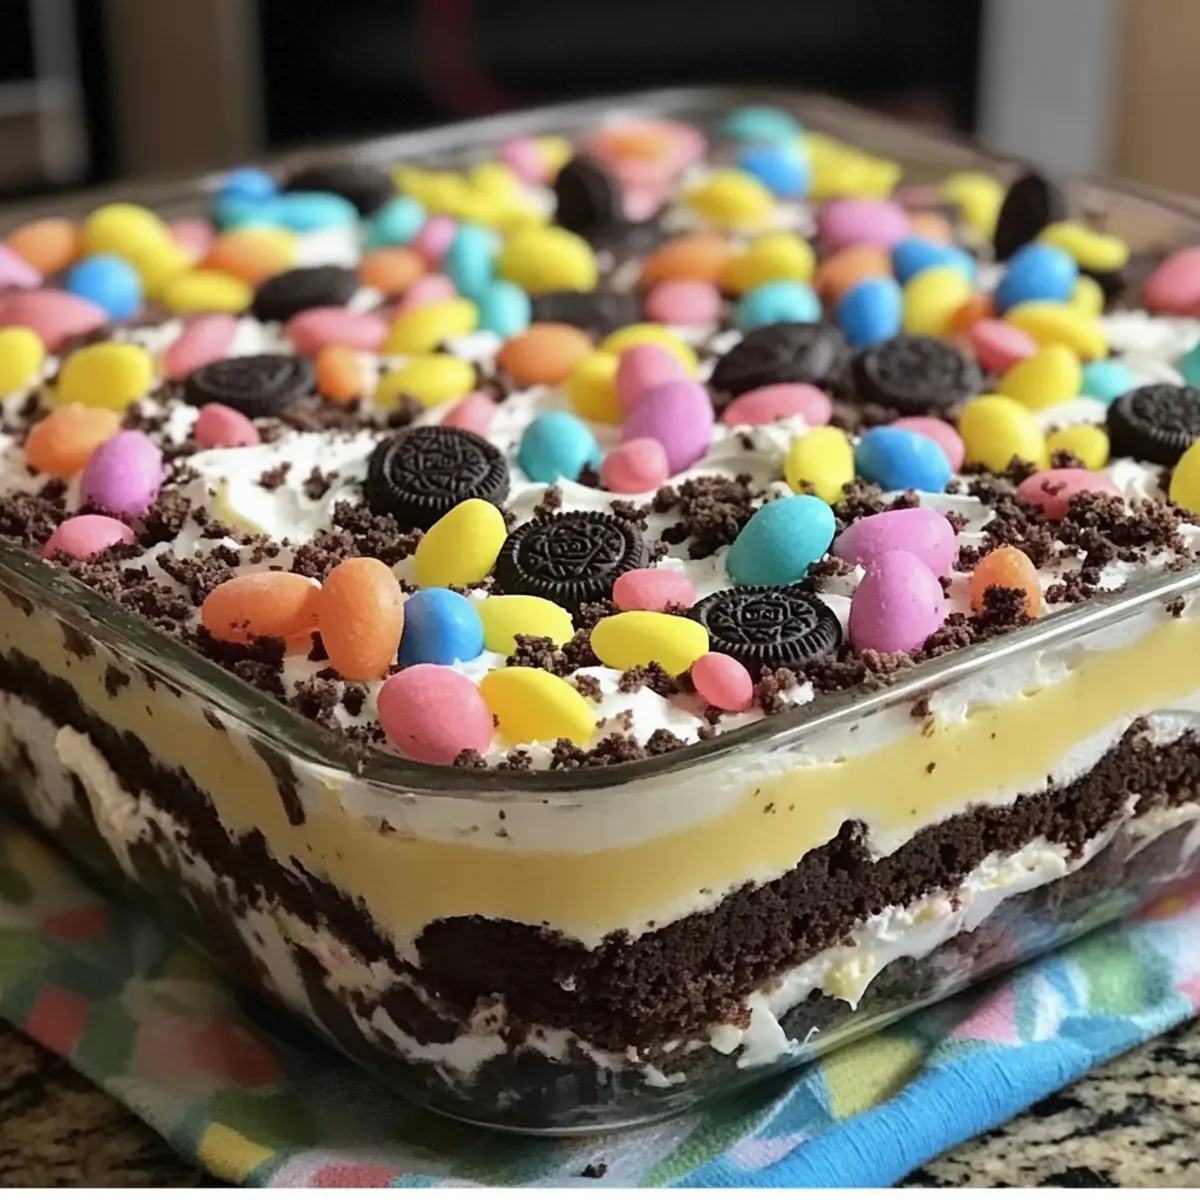
Step 5: Layering
Once your chocolate cake is completely cooled, spread the creamy filling evenly over the top of the cake using a spatula. This layer will be the luscious base for your “dirt.” Next, generously sprinkle the crushed Oreos over the cream cheese layer, pressing lightly to help it adhere. For the final touch, artfully arrange gummy worms on top to complete your festive look.
Step 6: Chill
To let the layers set properly, cover your casserole with plastic wrap and refrigerate it for at least one hour before serving. This chilling time allows the flavors to meld beautifully, making your Easter Dirt Cake Casserole even more delightful. When ready to serve, slice and enjoy the playful surprise!
Easter Dirt Cake Casserole Variations & Substitutions
Feel free to let your creativity shine and customize this festive dessert to suit your taste buds!
-
Gluten-Free Option: Substitute chocolate cake mix with a gluten-free version, ensuring everyone can enjoy this sweet treat.
-
Dairy-Free Delight: Use a dairy-free cream cheese and swap whipped topping for coconut cream for a luscious, dairy-free alternative. It’s creamy and flavorful!
-
Flavor Twist: Add a splash of vanilla extract or almond extract to the cream cheese mixture for an extra layer of flavor that pairs beautifully with the chocolate.
-
Crunchy Texture: Instead of Oreos, try crushed graham crackers or even snickerdoodle cookies for a unique twist on the classic “dirt” topping.
-
Fruit-Filled Variation: Replace gummy worms with fresh fruit—like sliced strawberries or blueberries—for a fun, fruity touch that brightens this dessert.
-
Extra Chocolatey: For chocolate lovers, add mini chocolate chips into the cream cheese filling or sprinkle them along with the Oreos on top for a delightful surprise!
-
Spiced Up Version: Mix in a pinch of cinnamon or pumpkin spice to the cake batter for a warm, autumnal twist that can be enjoyed year-round.
-
More Seasonal Fun: Embrace the Easter spirit further by adding decorative chocolate eggs or seasonal sprinkles among the layers for extra color and charm.
Each twist brings a new vibe to this delightful dessert, ensuring there’s something for everyone to savor as you gather around the table. For more creative variations, consider checking out our delicious Churro Cheesecake Donut or Hawaiian Roll Casserole recipes!
What to Serve with Easter Dirt Cake Casserole
Bring harmony to your festive feast by pairing delightful sides and drinks with this playful dessert!
-
Fresh Fruit Salad: A vibrant mix of seasonal fruits offers a refreshing contrast to the rich chocolate layers, cleansing the palate beautifully.
-
Vanilla Ice Cream: Creamy, smooth ice cream complements the rich texture of the casserole while adding a soothing, cold element every family loves.
-
Whipped Cream: Lightly sweetened whipped cream provides an airy companion to the dessert, making every bite a light and delicious experience.
-
Chocolate-Covered Strawberries: These decadent treats elevate the cocoa flavor beautifully, making them an enticing option for a chocolate lover’s delight.
-
Mini Carrot Cupcakes: Embrace the Easter theme with these delightful bites, featuring a hint of spice that balances the sweetness of the dirt cake.
-
Mint Lemonade: A refreshing drink option, its zesty flavor cuts through the sweetness, keeping your taste buds engaged during the celebration.
With these tasty ideas, your Easter Dirt Cake Casserole will shine even brighter at your holiday gathering!
Storage Tips for Easter Dirt Cake Casserole
Fridge: Store any leftovers in an airtight container in the refrigerator for up to 3 days to maintain its delightful flavor and texture.
Freezer: For longer storage, layers can be frozen separately for up to a month. Be sure to wrap each layer tightly in plastic wrap before freezing.
Reheating: If you prefer enjoying the casserole chilled, simply thaw overnight in the refrigerator before serving. There’s no need to heat this fun dessert!
Assembly Note: It’s best to assemble the Easter Dirt Cake Casserole just before serving to maintain the crunchy topping and freshness of the ingredients.
Expert Tips for Easter Dirt Cake Casserole
-
Cream Cheese Care: Ensure your cream cheese is at room temperature for easier mixing and a smooth filling—this avoids lumpy textures in your Easter Dirt Cake Casserole.
-
Cooling Time: Allow the cake to cool completely before adding the filling. This prevents the creamy layer from melting and maintains the dessert’s beautiful appearance.
-
Crush Oreos Well: For an appealing look and better texture, crush the Oreos finely. This creates a more realistic “dirt” topping that enhances the visual fun of the dish.
-
Layering Technique: Spread the cream cheese mixture evenly to avoid any lumps, then gently press the crushed Oreos into the filling for a secure hold—this keeps the layers intact when serving.
-
Chill Before Serving: Refrigerate the casserole for at least an hour to set the layers properly. This chilling time allows the flavors to meld, making each bite of the Easter Dirt Cake Casserole truly delightful.
-
Customize Your Toppings: Don’t hesitate to get creative! Swap gummy worms for other delightful decorations like chocolate eggs or seasonal sprinkles for added flair.
Make Ahead Options
These Easter Dirt Cake Casserole are a lifesaver for busy home cooks looking to save time! You can prepare the chocolate cake base and the creamy filling up to 24 hours in advance. Simply bake and cool the cake, then store it (wrapped tightly) in the refrigerator to maintain moisture. Mix the cream cheese filling and keep it separate, also refrigerated. On the day you plan to serve, spread the filling on the cake, add the crushed Oreos, and top with gummy worms just before serving. This way, your dessert stays fresh and fabulous, allowing you more quality time with your loved ones during the holiday festivities!
Advertisement
Easter Dirt Cake Casserole Recipe FAQs
What type of chocolate cake mix should I use?
You can use any brand of chocolate cake mix to create your Easter Dirt Cake Casserole. My personal favorite is a classic chocolate mix, which provides a rich base. If you’re feeling adventurous, try a devil’s food cake mix for an extra chocolaty experience!
How do I store leftovers of the Easter Dirt Cake Casserole?
Store any leftovers in an airtight container in the refrigerator for up to 3 days. This helps maintain the delightful flavors and textures. If you notice it starting to dry out, consider adding a dollop of whipped topping as a refresh!
Can I freeze the Easter Dirt Cake Casserole?
Absolutely! You can freeze the layers separately for up to a month. To do this, wrap the chocolate cake tightly in plastic wrap and place it in a freezer-safe container. Similarly, store the cream cheese filling in a separate airtight container. When you’re ready to enjoy it again, simply thaw the layers overnight in the refrigerator and reassemble!
What can I do if the cake doesn’t bake evenly?
If you find that your cake baked unevenly, it may be due to an incorrect oven temperature. Always use an oven thermometer to verify. You can also try rotating the cake midway through baking for more even results. If the cake rises too much in the middle, use a serrated knife to level it off once it’s completely cooled.
Are there any dietary considerations for the Easter Dirt Cake Casserole?
Great question! This dessert contains dairy and gluten from the cake mix and cream cheese. If you have any allergies, consider using gluten-free cake mix and dairy-free cream cheese alternatives. For extra fun, check with your guests about any other dietary needs before finalizing your ingredients.
Easter Dirt Cake Casserole
Ingredients
Equipment
Method
- Preheat your oven to 350°F (175°C) and grease a 9x13 inch casserole dish with non-stick cooking spray.
- In a large mixing bowl, combine the chocolate cake mix, three large eggs, one cup of water, and one-third cup of vegetable oil. Blend until smooth.
- Pour the cake batter into the greased casserole dish and bake for 30-35 minutes or until a toothpick inserted in the center comes out clean. Let it cool on a wire rack.
- Beat the softened cream cheese until creamy, then add powdered sugar and fold in whipped topping until light and fluffy.
- Spread the creamy filling evenly over the cooled cake, press crushed Oreos on top, and arrange gummy worms creatively.
- Cover with plastic wrap and refrigerate for at least one hour before serving.