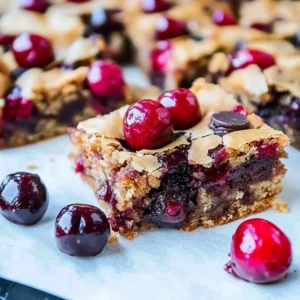
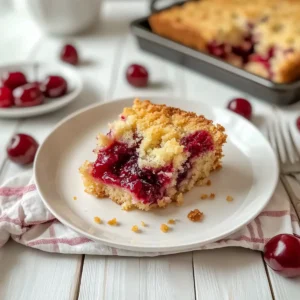
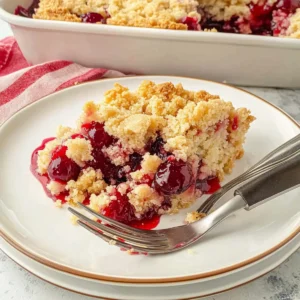
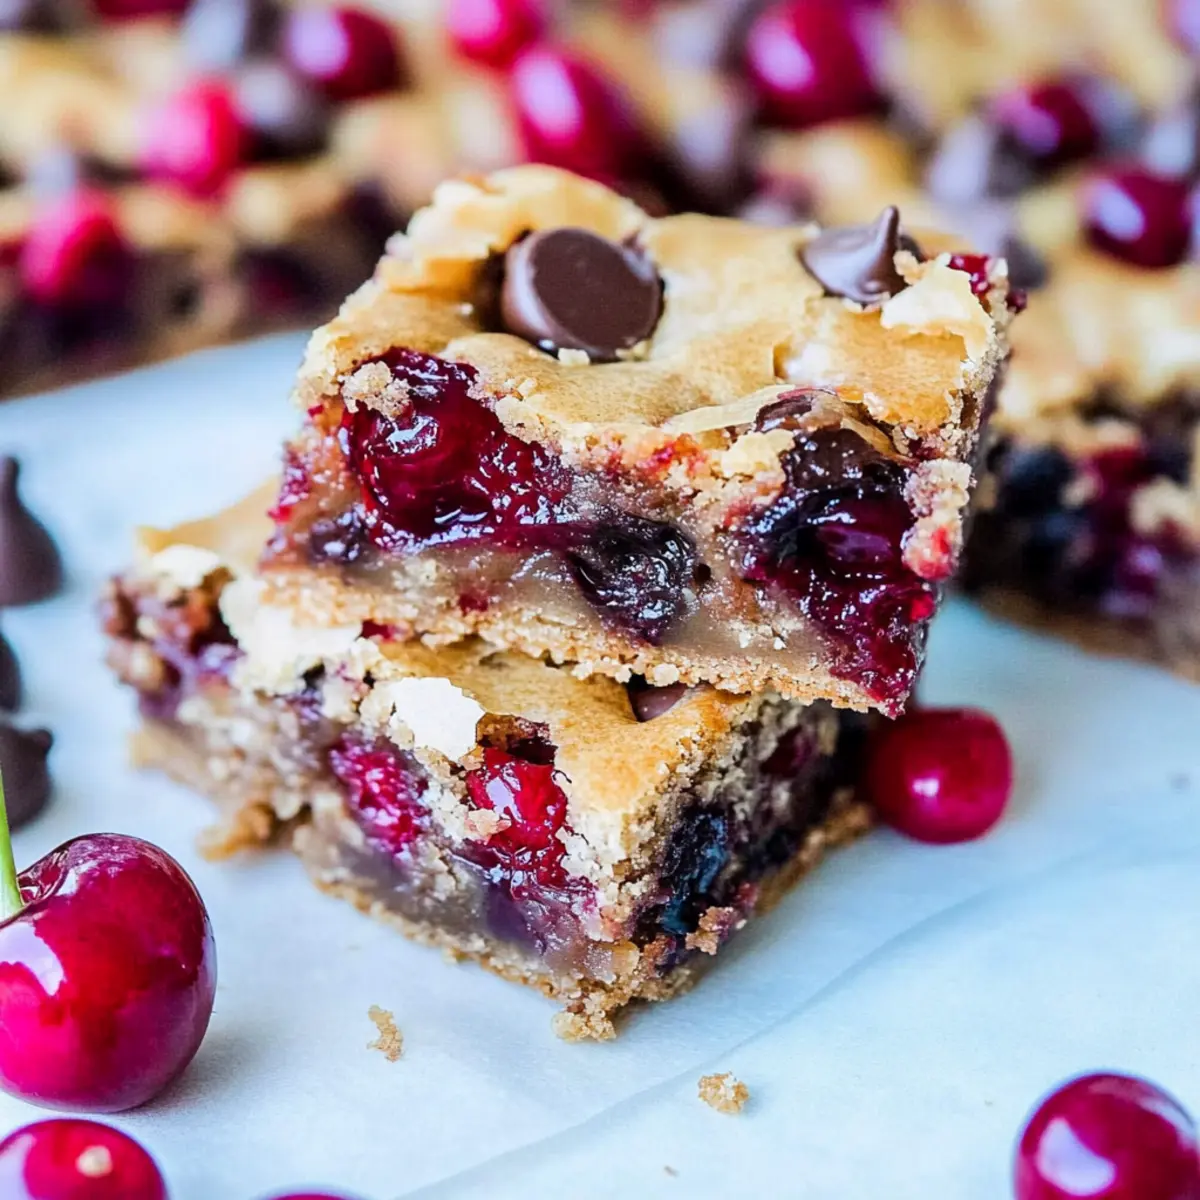
As the sun begins to set and the scent of summer drift through the kitchen, I find myself reaching for the freshest cherries, ready to transform them into something truly special. Enter my Chocolate Chip Cherry Bars, a simple yet delightful dessert that marries the lusciousness of juicy cherries with the comforting appeal of a blondie base. This easy one-bowl recipe requires no mixer and is perfect for those busy afternoons when you crave something sweet without a lot of fuss. Not only do these bars come together in a snap, but they also make for a fabulous crowd-pleaser at summer gatherings. And the best part? You can easily customize them to suit your tastes, whether you prefer rich chocolate or a nutty twist. So, are you ready to dive into these scrumptious bars that encapsulate the essence of summer?
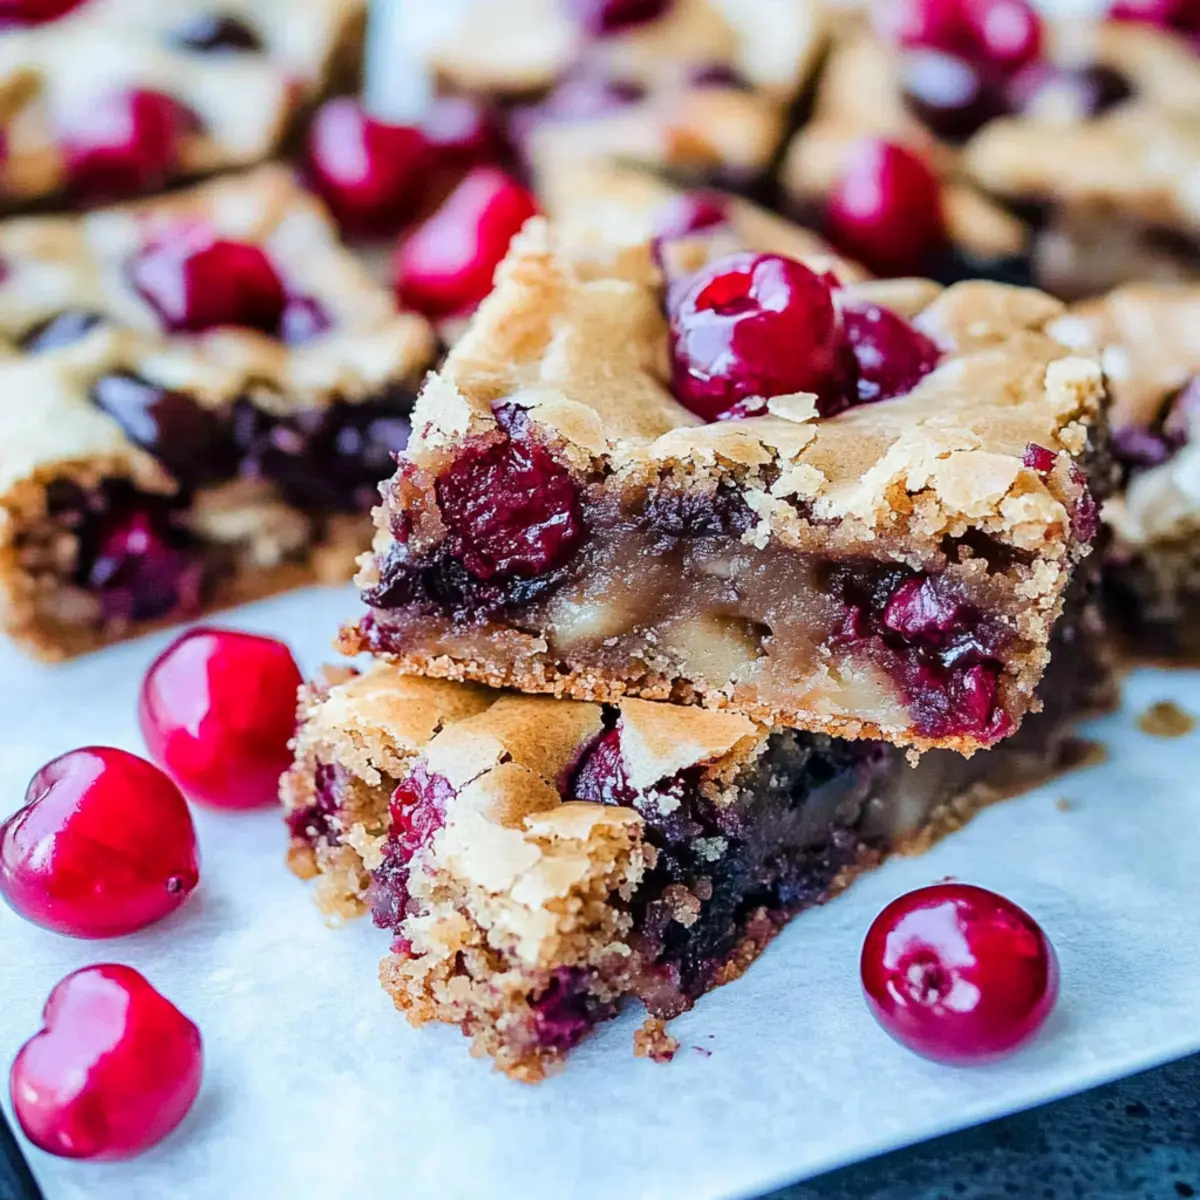
Why are Chocolate Chip Cherry Bars amazing?
Easy One-Bowl Wonder: This recipe requires no mixer and minimal cleanup, making it perfect for busy bakers.
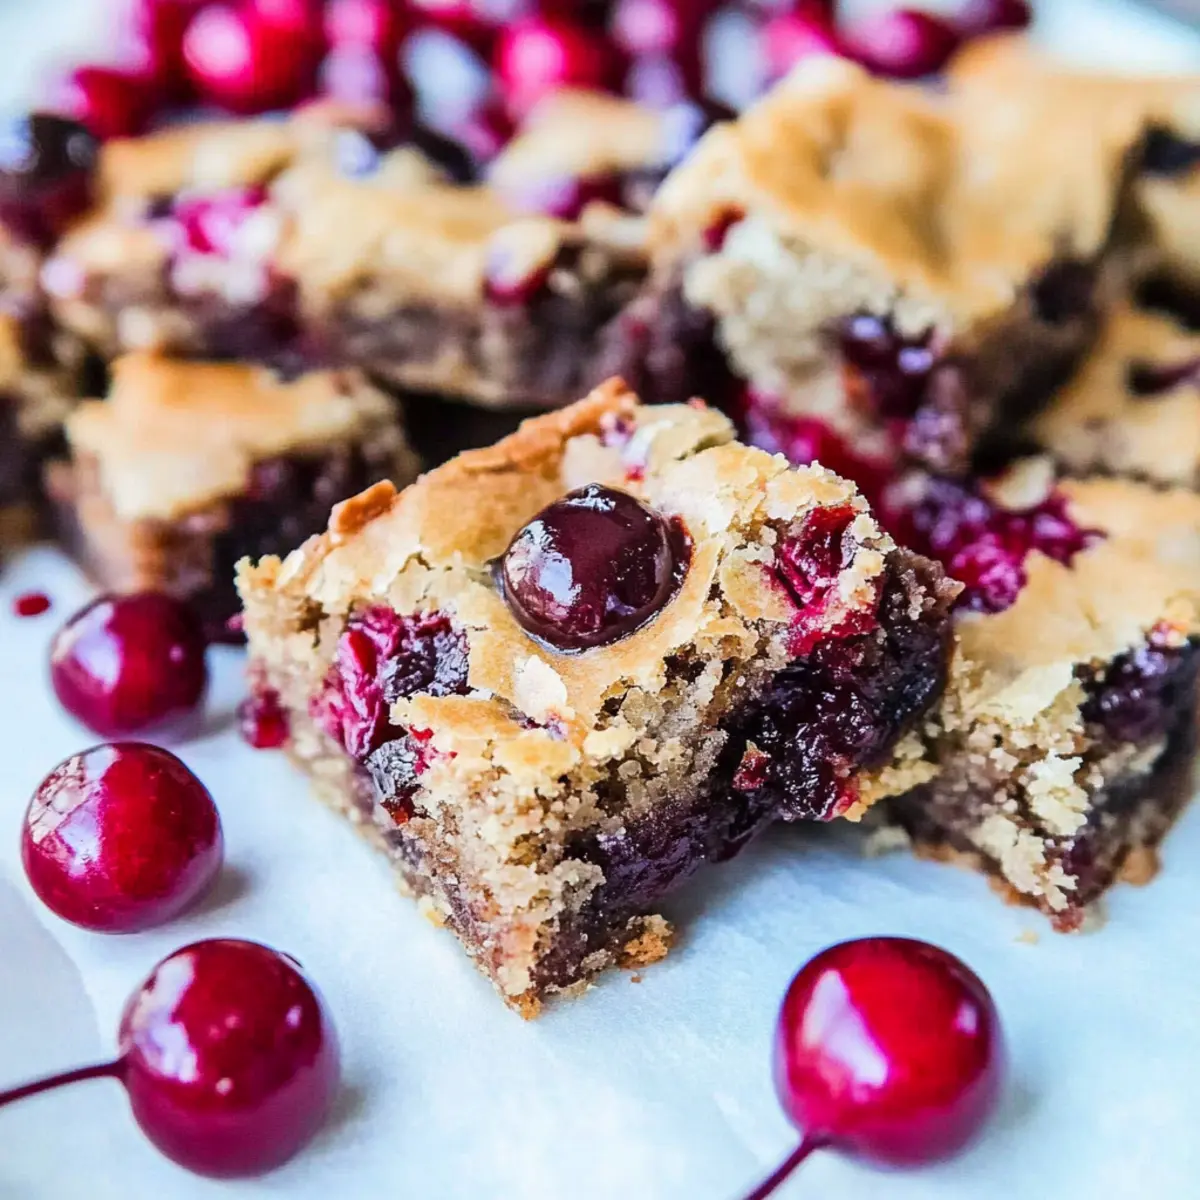
Luscious Cherry Flavor: Fresh cherries burst with flavor and keep these bars moist and delicious, epitomizing summer’s taste.
Endless Customization: Feel free to swap in different chocolate chips or nuts to match your cravings, so everyone gets their preferred treat.
Perfect for Sharing: Ideal for potlucks or family gatherings, these bars are sure to be the star of the dessert table!
Guilt-Free Indulgence: With gluten-free options available through substitutions, everyone can enjoy a slice without compromise.
Indulge in these delectable Chocolate Chip Cherry Bars that promise to satisfy your sweet tooth while celebrating the best of fresh summer fruit!
Chocolate Chip Cherry Bars Ingredients
• Get ready to create a delicious summer treat!
For the Blondie Base
- Unsalted Butter – Provides richness and moisture to the bars; melt for easier mixing.
- Light Brown Sugar – Adds sweetness and contributes to the chewy texture; can swap for dark brown sugar for a deeper flavor.
- Egg – Acts as a binder, holding everything together.
- Vanilla Extract – Enhances the flavor profile; opt for pure vanilla for the best taste.
- All-Purpose Flour – Essential for structure; mix gently to maintain softness.
- Salt – Optional, but enhances flavors if added.
For the Add-Ins
- Semi-Sweet Chocolate Chips – Adds rich chocolate flavor; substitute with white chocolate for a different twist.
- Cherries – Fresh is best for juiciness and texture; if using frozen, ensure they are drained to prevent excess moisture.
Dive into making these delightful Chocolate Chip Cherry Bars and savor the taste of summer in every bite!
Step‑by‑Step Instructions for Chocolate Chip Cherry Bars
Step 1: Preheat and Prepare the Pan
Begin by preheating your oven to 350°F (175°C). While the oven warms up, take an 8×8 inch baking pan and line it with aluminum foil, leaving some overhang to easily lift the bars out later. Lightly grease the foil with cooking spray or butter to ensure your chocolate chip cherry bars release easily once baked.
Step 2: Melt the Butter
In a microwave-safe bowl, melt ½ cup of unsalted butter in the microwave for about 30 to 40 seconds, watching closely to prevent overheating. Once melted, let it cool slightly so it’s warm but not hot, which will help maintain the airy texture of your chocolate chip cherry bars as you mix in the other ingredients.
Step 3: Combine the Brown Sugar
Add 1 cup of light brown sugar directly into the melted butter, stirring with a spatula until the mixture is well combined and smooth. You should see a shiny, slightly thick mixture; this is key to achieving the chewy texture in your bars. It’s a sweet infusion of flavor that complements the chocolate and cherries beautifully.
Step 4: Mix in Egg and Vanilla
Crack one large egg into the butter and sugar mixture, followed by 1 teaspoon of pure vanilla extract. Stir vigorously until the egg is fully integrated into the mix, producing a luscious, creamy base. The warmth from the butter and the rich vanilla will add a delightful aroma to your chocolate chip cherry bars.
Step 5: Add Flour and Salt
Gradually add 1 cup of all-purpose flour to the mixture, along with a pinch of salt if desired. Use a rubber spatula to fold the flour in gently until just combined, being careful not to overmix. This is crucial for keeping your bars soft and chewy, so stop mixing once no dry flour is visible for your scrumptious treat.
Step 6: Fold in the Add-Ins
Carefully fold in 1 cup of semi-sweet chocolate chips and 1 cup of chopped fresh cherries. The chocolate and fruit should be evenly distributed throughout the batter, creating bursts of flavor in every bite of your chocolate chip cherry bars. The batter will be thick and deliciously enticing at this point!
Step 7: Bake to Perfection
Spoon the thick batter into your prepared pan, smoothing the top gently with a spatula for even baking. Place the pan in the preheated oven and bake for 27 to 32 minutes. Your bars are ready when the edges are set and a toothpick inserted in the center comes out with moist crumbs—not completely clean, thanks to the chocolate.
Step 8: Cool and Slice
Once baked, remove the pan from the oven and let it cool on a wire rack for at least 1 hour. This cooling time ensures that your chocolate chip cherry bars set nicely before slicing. Once cooled, lift the bars out using the foil overhang, cut them into squares, and serve them for a delightful summer treat!
What to Serve with Chocolate Chip Cherry Bars?
As you prepare to savor these delightful bars, consider crafting a full meal that complements their sweet and fruity flavor.
-
Vanilla Ice Cream: A scoop of creamy vanilla ice cream adds a rich and comforting element that perfectly balances the cherry flavors in these bars.
-
Fresh Berry Salad: A refreshing salad made with mixed berries brightens up the plate, enhancing the summer vibe and providing a burst of freshness in every bite.
-
Whipped Cream: A dollop of lightly sweetened whipped cream elevates the dessert experience, adding a luxurious touch that pairs fabulously with the chewy texture of the bars.
-
Chocolate Sauce Drizzle: Drizzling warm chocolate sauce over the bars creates an indulgent treat that’s hard to resist, perfect for chocolate lovers looking to intensify the experience.
-
Chilled Lemonade: A glass of refreshing lemonade offers a zesty contrast to the sweetness of the chocolate chip cherry bars, balancing flavors and quenching your thirst.
-
Sparkling Wine: For a celebratory touch, serve with a chilled glass of sparkling wine; the bubbles and acidity complement the sweet and fruity notes beautifully.
-
Nuts or Candied Pecans: A side of crunchy nuts or candied pecans adds texture and a sweet nutty flavor, enhancing the overall dessert experience while providing a delightful crunch.
Make Ahead Options
These Chocolate Chip Cherry Bars are perfect for meal prep, allowing you to enjoy sweet indulgence with minimal effort! You can prepare the batter and refrigerate it up to 24 hours in advance, ensuring the flavors meld beautifully. Simply fold in the chocolate chips and cherries before transferring the batter to the prepared pan. Alternatively, you can bake the bars ahead of time; once cooled, wrap them tightly and store in an airtight container for up to 3 days at room temperature or refrigerate for longer freshness. Just remember to allow them to come to room temperature before serving, as they’ll be just as delicious fresh from the fridge!
Chocolate Chip Cherry Bars Variations
Feel free to let your creativity shine by customizing these bars to match your taste!
- Stone Fruit Swap: Replace cherries with peaches or plums for a sweet and juicy twist. Summer flavors come alive with whichever fruit you choose!
- Nutty Addition: Stir in ½ cup of chopped walnuts or pecans for a delightful crunch that adds texture and flavor to every bite.
- Different Chocolate Chips: Use white chocolate or a mix of dark and milk chocolate chips to add variety and a new flavor profile. The combinations are endless!
- Almond Flavor: Boost the flavor by adding a teaspoon of almond extract, making every bite even more luscious. It truly elevates the experience!
- Gluten-Free Options: Substitute all-purpose flour with a gluten-free blend, ensuring everyone can indulge without worry. It’s just as delicious!
- Coconut Flakes: Fold in ½ cup of shredded coconut for a tropical flair that pairs beautifully with cherries and chocolate. A true vacation for your taste buds!
- Spiced Up: Add a pinch of cinnamon or nutmeg for a warm, cozy element that complements the sweetness of the cherries. It’s like a hug in dessert form!
- Chewy Protein Punch: For an extra boost, try incorporating a scoop of protein powder into the batter. This version maintains the rich flavor while adding nutritional benefits.
Feel inspired? You might also enjoy trying these delectable Chocolate Chip Bars or experiment with our Fudgy Chocolate Chip dessert options!
How to Store and Freeze Chocolate Chip Cherry Bars
Room Temperature: Store in an airtight container at room temperature for up to 5 days to keep them soft and delicious.
Fridge: If you prefer a longer freshness, refrigerate them in an airtight container for up to 1 week, which helps preserve the flavor and texture.
Freezer: For extended storage, chocolate chip cherry bars can be frozen for up to 3 months. Wrap each piece tightly in plastic wrap and place them in a freezer-safe bag.
Reheating: To enjoy your bars warm, simply thaw them in the fridge overnight and then reheat in the microwave for about 10–15 seconds before serving.
Expert Tips for Chocolate Chip Cherry Bars
-
No Over-Mixing: To avoid tough bars, mix the flour just until incorporated. Less mixing ensures a soft, chewy texture for your chocolate chip cherry bars.
-
Cool Before Cutting: Allow the bars to cool completely for at least an hour before slicing. This helps them set properly and retain their shape.
-
Test for Doneness: Use a toothpick to check doneness, but remember that a few moist crumbs are perfect due to the chocolate and cherries.
-
Fresh is Best: Opt for fresh cherries for the best flavor and texture; if using frozen, drain and pat dry to prevent excess moisture.
-
Flour Substitutions: For gluten-free chocolate chip cherry bars, substitute all-purpose flour with a gluten-free blend for delicious results.
Advertisement
Chocolate Chip Cherry Bars Recipe FAQs
How do I choose the best cherries for this recipe?
Absolutely! To select the perfect cherries for your Chocolate Chip Cherry Bars, look for those that are firm, plump, and have a deep red color. They should be free of dark spots or blemishes. Fresh cherries will provide the best texture and flavor, while slightly soft ones may not hold up well in baking. If you’re using frozen cherries, ensure they are allowed to drain thoroughly to minimize excess moisture in your batter.
What’s the best way to store Chocolate Chip Cherry Bars?
Great question! For optimal freshness, store your Chocolate Chip Cherry Bars in an airtight container at room temperature for up to 5 days. If you’re looking to extend their shelf life, refrigerate them in an airtight container for up to a week. This keeps them wonderfully moist and delicious. Just make sure to allow them to come to room temperature before enjoying!
Can I freeze Chocolate Chip Cherry Bars?
Yes, you can! To freeze your delicious Chocolate Chip Cherry Bars, first, let them cool completely. Cut them into squares, then wrap each piece tightly in plastic wrap. Place the wrapped bars in a freezer-safe bag or container, and you can freeze them for up to 3 months. When you’re ready to enjoy, allow them to thaw in the fridge overnight before reheating them for a few seconds in the microwave—trust me, they’ll taste just as wonderful!
What should I do if my blondies turn out too dry?
If your Chocolate Chip Cherry Bars come out dry, it may be due to overmixing the batter or baking them for too long. To prevent this, remember to mix the flour just until incorporated—less is more! When checking for doneness, keep in mind that a toothpick should come out with a few moist crumbs rather than being entirely clean. If they do turn out dry, you can serve them warm topped with ice cream or whipped cream to add back some moisture and richness!
Are there any dietary alternatives I should consider?
Very much so! If you’re making this recipe for someone with dietary restrictions, you can easily make gluten-free Chocolate Chip Cherry Bars by substituting all-purpose flour with a gluten-free blend. Additionally, if someone has a dairy allergy, consider using coconut oil or a dairy-free buttery substitute in place of unsalted butter. Enjoying these bars can be inclusive for everyone!
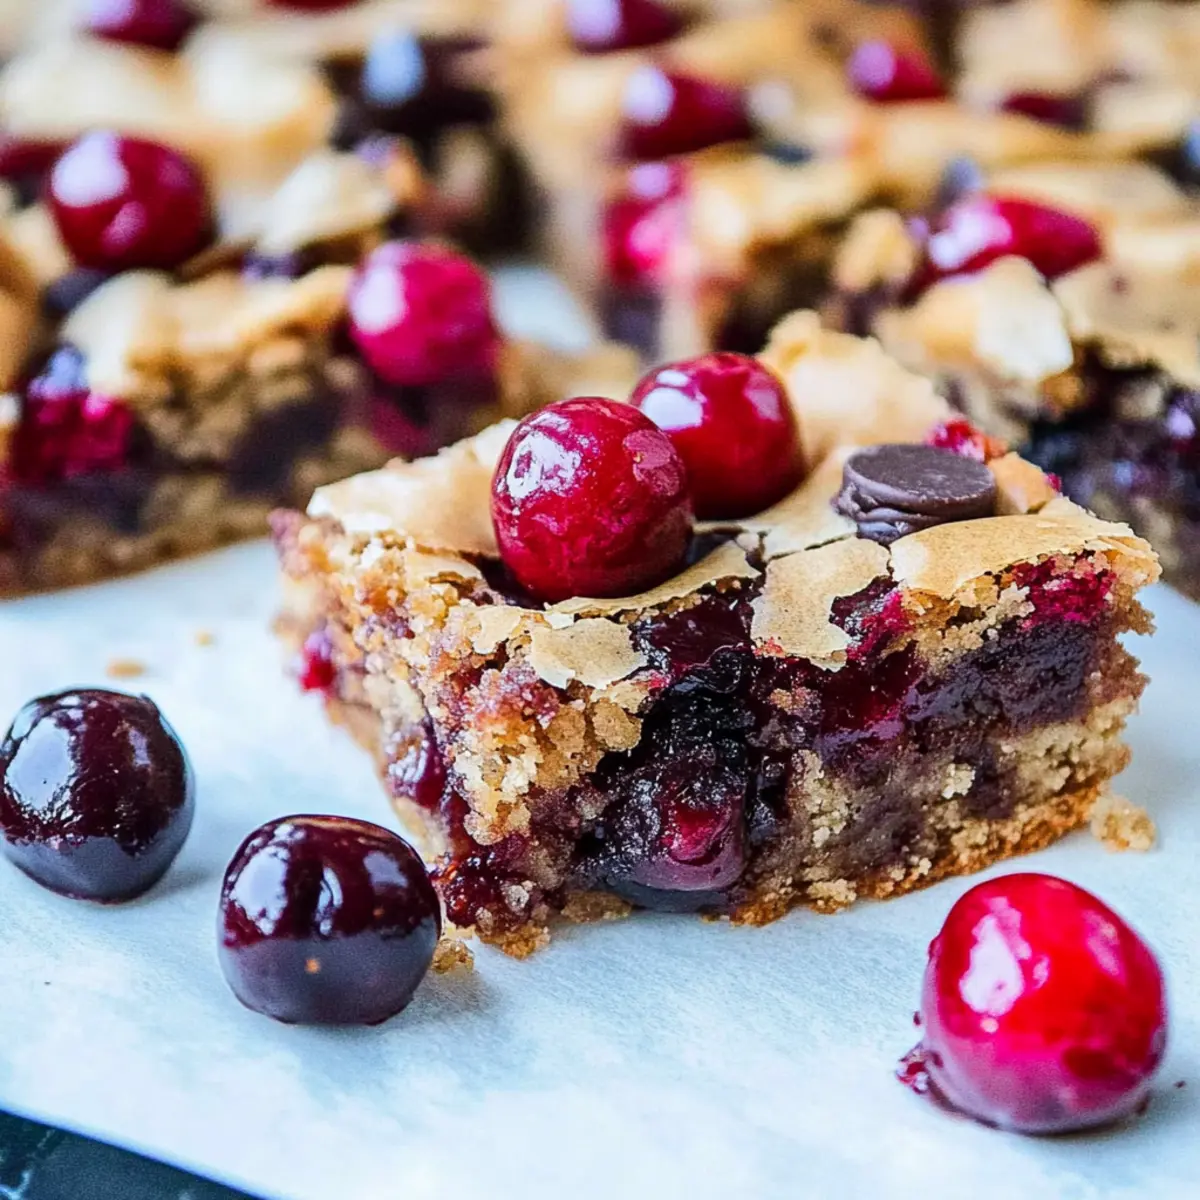
Chocolate Chip Cherry Bars – A Summer Dream Come True
Ingredients
Equipment
Method
- Preheat your oven to 350°F (175°C) and prepare an 8x8 inch baking pan lined with aluminum foil.
- Melt the unsalted butter in a microwave-safe bowl for about 30 to 40 seconds and let it cool slightly.
- Combine the light brown sugar with the melted butter, stirring until well combined and smooth.
- Mix in the egg and vanilla extract until fully integrated.
- Gradually add the all-purpose flour and a pinch of salt, folding gently until just incorporated.
- Carefully fold in the chocolate chips and chopped cherries until evenly distributed.
- Spoon the thick batter into the prepared pan and smooth the top. Bake for 27 to 32 minutes.
- Cool the bars on a wire rack for at least 1 hour before slicing into squares.