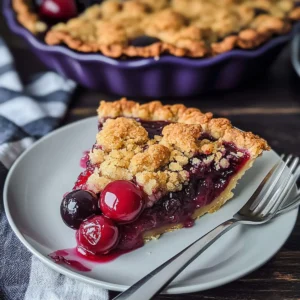
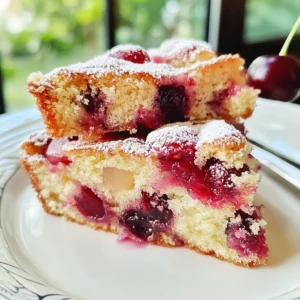
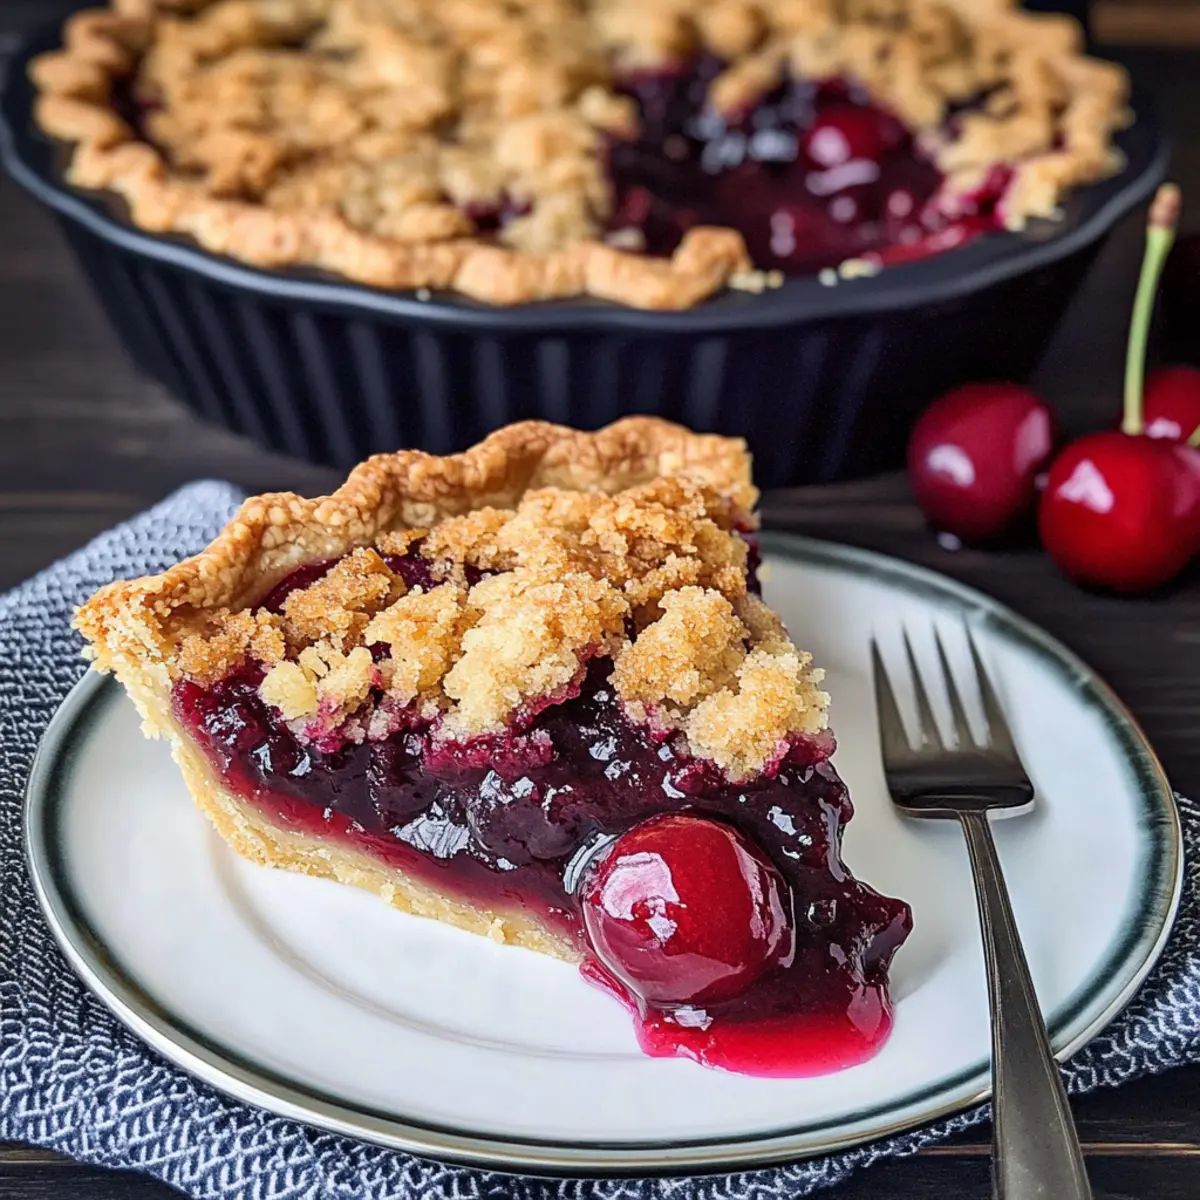
As I pulled that warm Cherry Crumb Pie from the oven, the fragrant aroma of sweet, tart cherries mingled with buttery streusel filled the air, making my heart race with excitement. This delightful dessert showcases a perfect blend of vibrant cherries encased in a flaky all-butter crust, topped with a golden crumble that’s irresistibly crunchy. What I love most about this Cherry Crumb Pie is how it brings joy to gatherings with its simple ingredients and quick prep time—ideal for those busy summer evenings or any sweet craving that needs satisfying. Plus, it pairs beautifully with a scoop of vanilla ice cream, making it a go-to crowd-pleaser! Curious to dive into the delightful process of making this charming pie that celebrates the sweet essence of summer? Let’s get baking!
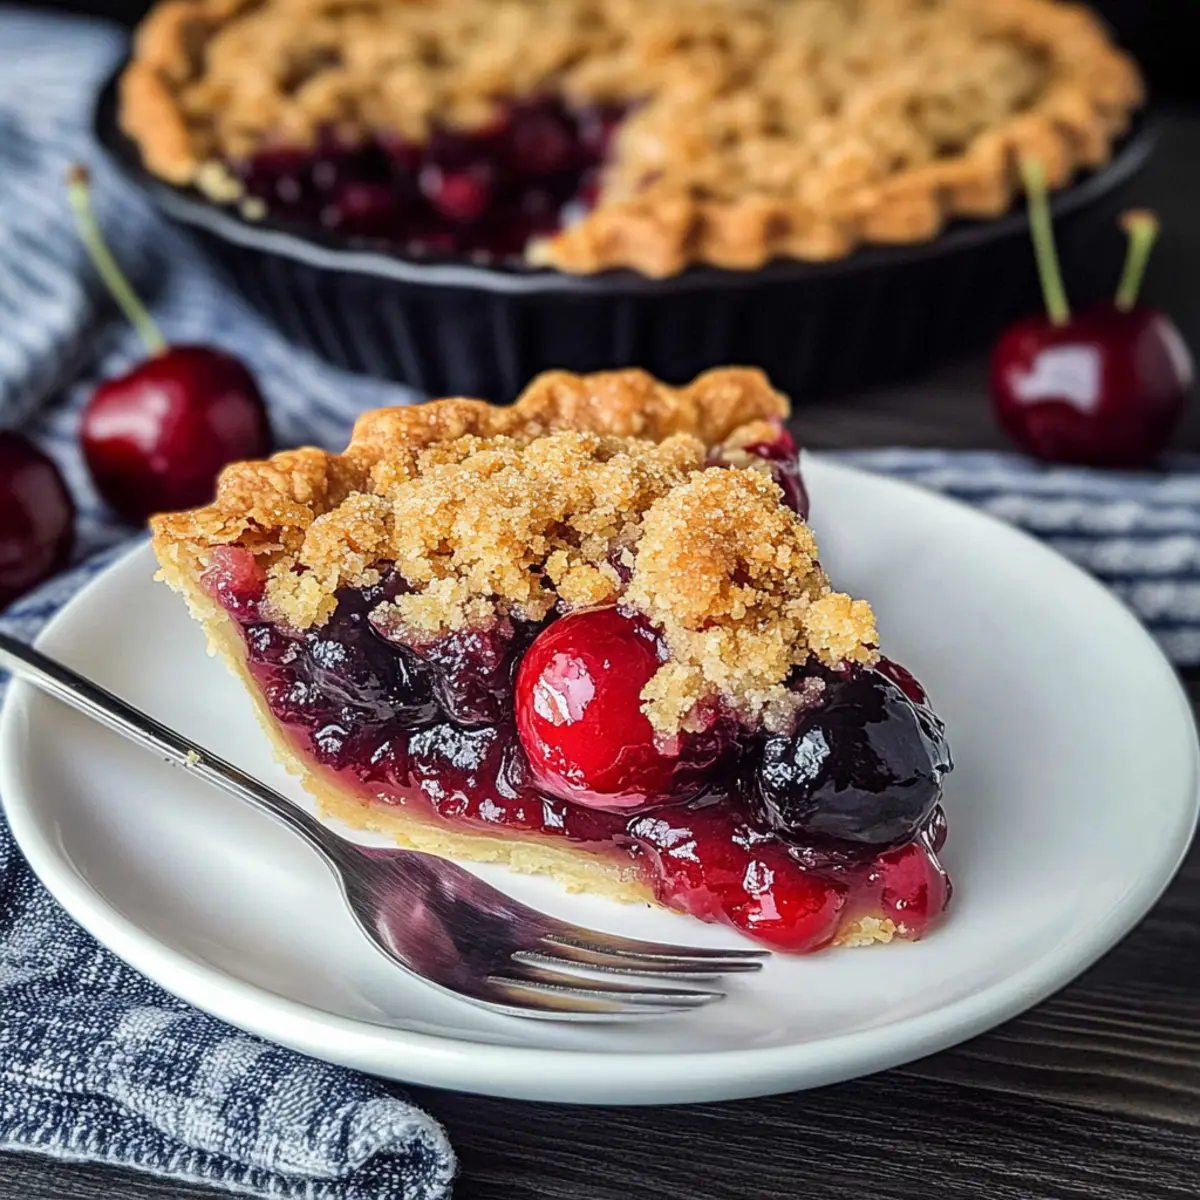
Why is Cherry Crumb Pie a Must-Try?
Irresistible Combination: Sweet, tart cherries blend seamlessly with a buttery crumble topping, creating a dessert that’s bursting with flavor.
Effortless Preparation: Quick and easy to assemble, using basic ingredients you likely already have on hand.
Perfect for Any Occasion: Whether it’s a family dinner or a picnic, this pie is sure to delight everyone at the table.
Versatile Delight: Mix and match with different berries or nuts to create your own signature version. Check out my Healthy Cherry Earl for more cherry inspiration!
An All-Time Favorite: Serve warm with vanilla ice cream for a mouthwatering treat that will leave your guests raving. You might also enjoy my Homemade Crumbl Salted recipe for another sweet twist!
Cherry Crumb Pie Ingredients
For the Pie Filling
• 5 cups of Pitted Cherries – Use a mix of frozen sweet Bing cherries and fresh sour cherries for the best flavor and texture.
• 1 teaspoon Vanilla Extract – Enhances the natural sweetness of the cherries.
• 1 teaspoon Almond Extract – Adds a nutty aroma; substitute more vanilla if preferred.
• ⅔ cup White Granulated Sugar – Balances the tartness of the cherries beautifully.
• ¼ cup Corn Starch – Thickens the filling to prevent excess liquid in your cherry crumb pie.
For the Crumble Topping
• ⅔ cup All-Purpose Flour – Creates the base for a delectable crumble.
• ¼ cup White Granulated Sugar (for topping) – Sweetens the topping and complements the filling.
• ⅓ cup Light Brown Sugar – Gives the crumble a rich depth with its molasses notes.
• 4 tablespoons Unsalted Butter – Key for achieving a buttery, crumbly texture—all should be chilled for best results.
• Pinch of Salt – Enhances the overall flavor profile of the crumble.
For the Pie Crust
• 9-inch Pie Crust – Choose between a store-bought or homemade crust to hold all that deliciousness!
Step‑by‑Step Instructions for Cherry Crumb Pie
Step 1: Preheat the Oven
Begin by preheating your oven to 425°F (220°C). This is essential for achieving a perfectly golden and flaky crust for your Cherry Crumb Pie. While the oven heats up, prepare your pie crust in a 9-inch pie dish, ensuring it’s chilled and ready for the sweet and tart cherry filling.
Step 2: Prepare the Cherry Filling
In a large mixing bowl, combine 5 cups of pitted cherries, 1 teaspoon of vanilla extract, 1 teaspoon of almond extract, ⅔ cup of granulated sugar, and ¼ cup of corn starch. Mix gently until the cherries are well coated. Let this mixture sit for 5-10 minutes to allow the juices to release and create a deliciously juicy filling.
Step 3: Make the Crumble Topping
In a separate bowl, whisk together ⅔ cup of all-purpose flour, ¼ cup of granulated sugar, ⅓ cup of light brown sugar, and a pinch of salt. Add 4 tablespoons of chilled unsalted butter, using your fingers or a pastry cutter to mix until the texture resembles sandy crumbs. This crumbly mixture will create a delightful topping for the Cherry Crumb Pie.
Step 4: Assemble the Pie
Using a slotted spoon, carefully transfer the cherry mixture into the prepared pie crust, leaving behind any excess liquid. This prevents your pie from becoming too soggy. Once the cherries are evenly dispersed, sprinkle the crumble topping generously over the cherries, ensuring it covers the filling completely for a delightful crunch.
Step 5: Bake to Perfection
Place the pie in the preheated oven and bake at 425°F for 20 minutes. After this, reduce the oven temperature to 375°F (190°C) and continue baking for an additional 35-40 minutes. You’ll know your Cherry Crumb Pie is ready when the filling is bubbling and the topping turns a lovely golden brown.
Step 6: Cool and Serve
Once baked, remove the pie from the oven and let it cool for 20-30 minutes. This cooling time allows the filling to thicken slightly, making it easier to cut clean slices. Serve warm, perhaps with a scoop of vanilla ice cream, and delight in the comforting flavors of your homemade Cherry Crumb Pie!
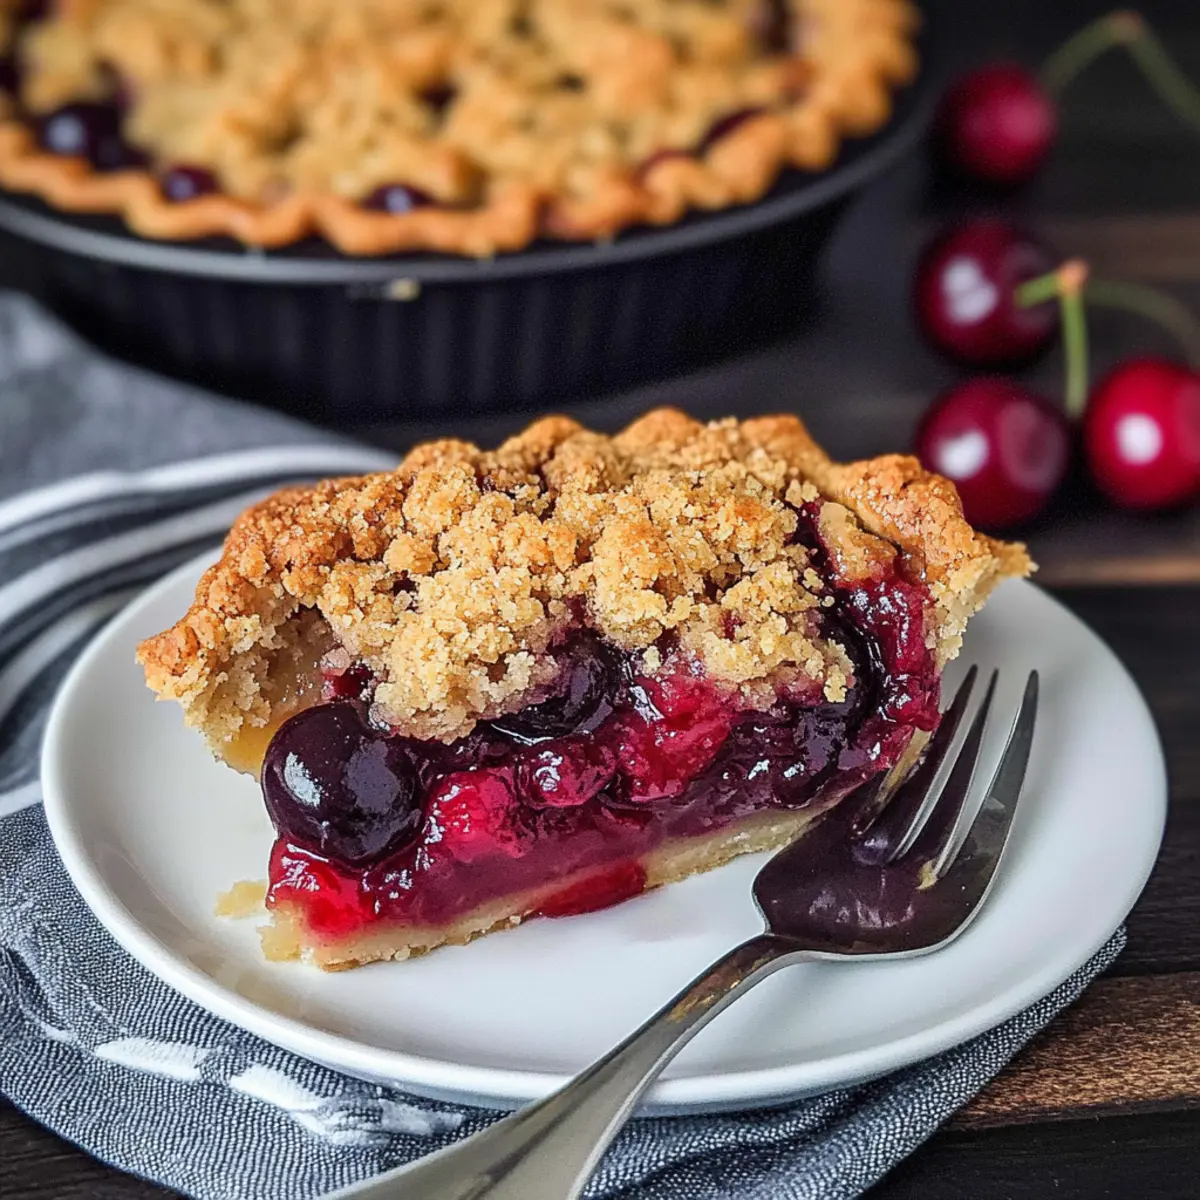
What to Serve with Cherry Crumb Pie
Serve this delightful dessert with complementary flavors and textures for a truly memorable meal experience.
-
Velvety Vanilla Ice Cream: The creaminess of vanilla ice cream enhances the warm, fruity notes of the pie. It creates a perfect balance of temperatures.
-
Whipped Cream: Light and fluffy, whipped cream adds a touch of sweetness that pairs beautifully with the tart cherry filling. A sprinkle of cinnamon can elevate this pairing.
-
Fresh Mint Leaves: A handful of fragrant mint leaves provides a refreshing contrast to the rich flavors of the pie, awakening the palate with every bite.
-
Flaky Biscuit: Enhance the enjoyment by serving some warm, buttery biscuits on the side. The subtle sweetness complements the pie’s tartness deliciously.
-
Cherry Glaze: Drizzling a homemade cherry glaze over each slice adds an extra layer of cherry flavor and sweetness, intensifying the dessert experience.
-
Chai Tea: A warm cup of chai with its aromatic spices works wonderfully with the pie’s comforting notes, creating an inviting, cozy dessert spread.
Make Ahead Options
These Cherry Crumb Pie preparations are perfect for busy home cooks looking to save time! You can prep the pie filling up to 3 days in advance by mixing the pitted cherries, vanilla, almond extract, sugar, and corn starch, then storing it in an airtight container in the refrigerator. Additionally, you can prepare the crumble topping up to 24 hours ahead by mixing the dry ingredients and butter, and keeping it chilled until you’re ready to assemble. To maintain the quality, ensure that the filling is completely cooled before refrigerating. When ready to bake, simply fill the pie crust with the cherry mixture, sprinkle the crumble on top, and bake as directed. You’ll have a delicious Cherry Crumb Pie with minimal effort!
Cherry Crumb Pie Variations & Substitutions
Feel free to explore your creativity and personalize this delicious cherry crumb pie to make it uniquely yours!
- Almond-Free: Substitute the almond extract with an additional teaspoon of vanilla extract for a pure, classic flavor.
- Berry Bliss: Mix in an assortment of berries, like blueberries or raspberries, with the cherries for a colorful and fruity twist. This burst of various flavors will make every bite tangy and delightful!
- Nutty Topping: Add a handful of chopped pecans or walnuts to the crumble for an extra crunch and nutty flavor that beautifully complements the sweet cherries.
- Gluten-Free: Use a gluten-free flour blend in the crumb topping and pie crust to cater to gluten sensitivities without sacrificing texture or taste.
- Coconut Twist: Incorporate shredded coconut into the crumble for a tropical flavor and a chewy texture that adds a surprising twist to this classic dessert.
- Spice it Up: Sprinkle a pinch of cinnamon or nutmeg into the cherry filling for a warm spice note that enhances the overall flavor profile, especially nice during fall gatherings.
- Sweetened with Honey: Replace granulated sugar with honey or maple syrup to create a more natural sweetness; just reduce the corn starch slightly for balance.
- Vegan Version: Utilize coconut oil in place of butter and a flax egg to make this pie suitable for vegan diets while enjoying the same delicious flavors.
For more cherry inspiration, you might love to check out my Healthy Cherry Earl. And if you’re in the mood for something sweet but different, try my Homemade Crumbl Salted cookies for a delightful treat!
Expert Tips for Cherry Crumb Pie
-
Crust Protection: If the edges of your crust are browning too quickly, shield them with a pie crust shield or some aluminum foil to prevent burning.
-
Thawing Cherries: Always ensure frozen cherries are completely thawed and drained to avoid excess moisture that may make the cherry crumb pie soggy.
-
Crumble Consistency: For a perfect crumble topping, use cold butter and mix until the texture resembles coarse crumbs; over-mixing can result in a dense topping.
-
Sweetness Balance: Adjust the sugar in the filling based on the sweetness of your cherries. Taste the cherry mixture before adding more sugar to ensure the perfect balance.
-
Serving Suggestions: For even more wow-factor, serve your cherry crumb pie with a drizzle of chocolate sauce or a sprinkle of chopped nuts on top of vanilla ice cream!
How to Store and Freeze Cherry Crumb Pie
Room Temperature: Keep the pie covered with foil or a cake dome for up to 2 days if you plan to enjoy it quickly.
Fridge: Store your Cherry Crumb Pie in the refrigerator for up to 5 days, covered with plastic wrap or in an airtight container to maintain freshness.
Freezer: To freeze, wrap the cooled pie tightly in plastic wrap and aluminum foil. It can be stored in the freezer for up to 3 months.
Reheating: For the best texture, reheat slices in the oven at 350°F (175°C) for about 10-15 minutes, or warm individual pieces in the microwave, ensuring they don’t become soggy.
Cherry Crumb Pie Recipe FAQs
What type of cherries should I use for my Cherry Crumb Pie?
Absolutely! For the best flavor and texture, I recommend using a mix of frozen sweet Bing cherries and fresh sour cherries. If you’re using frozen cherries, be sure to thaw and drain them for at least an hour before mixing them into your pie filling. This helps to avoid excess moisture that could make your pie soggy.
Advertisement
How should I store my Cherry Crumb Pie?
I often keep my Cherry Crumb Pie covered with foil or a cake dome at room temperature for up to 2 days if I plan to eat it quickly. For a longer shelf life, store it in the refrigerator, covered with plastic wrap or in an airtight container, where it will stay fresh for up to 5 days.
Can I freeze Cherry Crumb Pie?
Very much! To freeze your Cherry Crumb Pie, wrap it tightly in plastic wrap first, then in aluminum foil to prevent freezer burn. You can keep it in the freezer for up to 3 months. When you’re ready to enjoy it, simply thaw it in the fridge overnight. To reheat, pop it in the oven at 350°F (175°C) for about 10-15 minutes until warmed through.
What if my pie filling is too watery?
If you notice excess liquid in your cherry filling, it might be because the cherries were not drained properly after thawing. Always ensure your cherries are well-thawed and drained before mixing them with the sugar and corn starch. If you run into watery filling, you can add a little extra corn starch to thicken it, but do so sparingly to maintain the flavor balance.
Are there any dietary considerations I should keep in mind?
Absolutely! This Cherry Crumb Pie recipe is generally safe for most people, but if you have allergies to nuts, be cautious with the almond extract. You can easily substitute it with additional vanilla extract. As with all desserts, be mindful of sugar content for those watching their intake. Additionally, if you’re sharing with pets, keep the pie away from them, as ingredients like cherries (especially the pits) can be harmful.
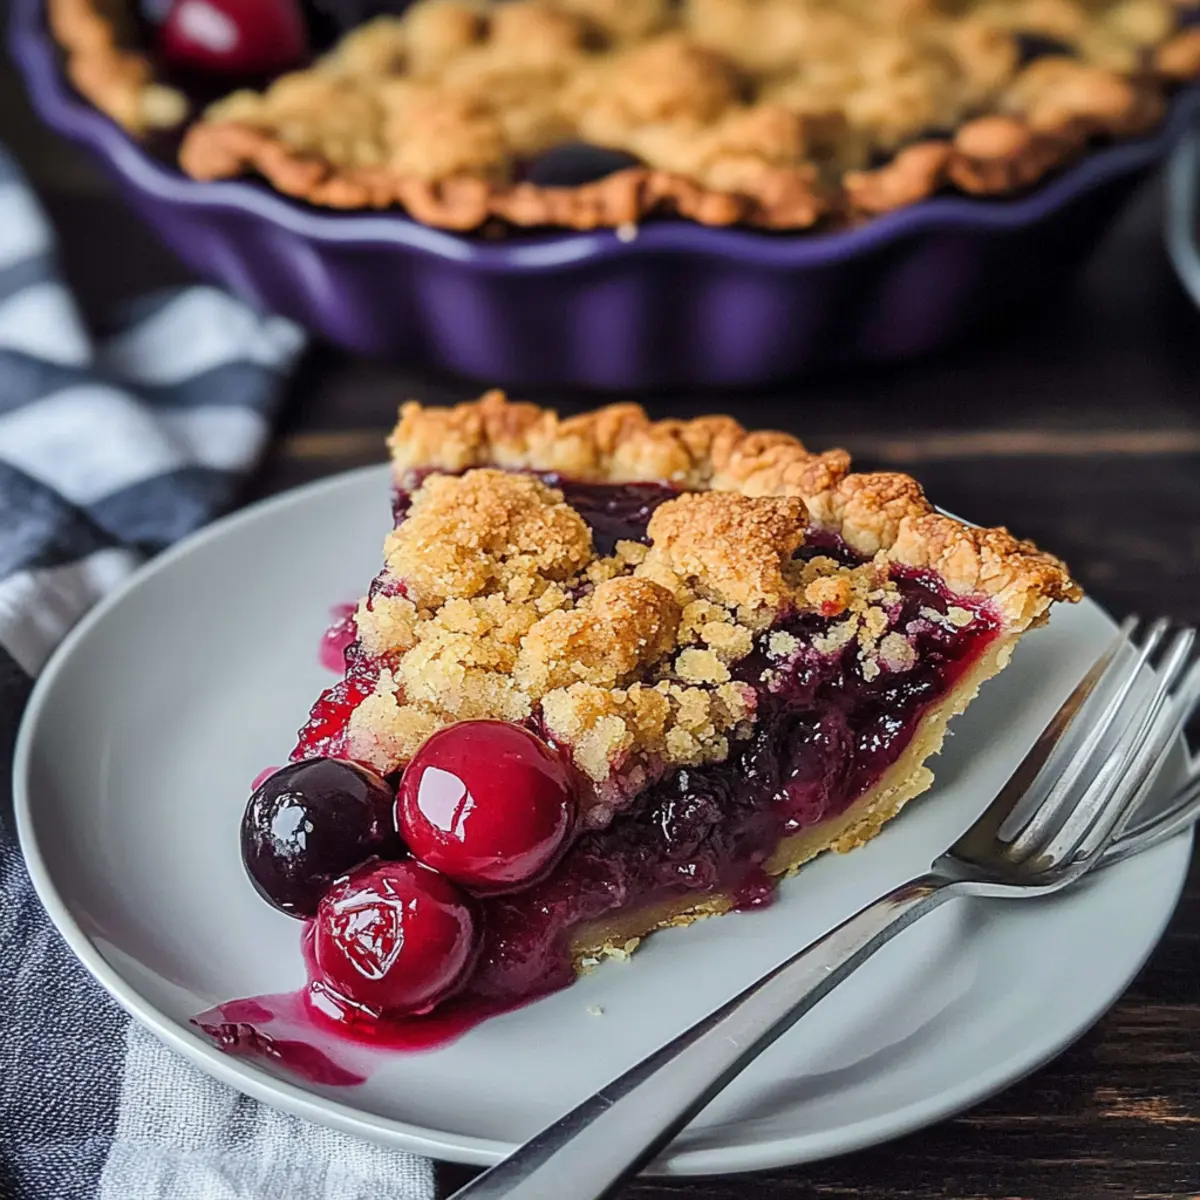
Delicious Cherry Crumb Pie That Will Brighten Your Summer
Ingredients
Equipment
Method
- Preheat your oven to 425°F (220°C). Prepare your pie crust in a 9-inch pie dish.
- In a large mixing bowl, combine the filling ingredients and let sit for 5-10 minutes.
- In a separate bowl, whisk together the crumble topping ingredients and mix in the butter.
- Transfer the cherry mixture into the pie crust and sprinkle the crumble topping over it.
- Bake at 425°F for 20 minutes, then reduce to 375°F (190°C) and bake for an additional 35-40 minutes.
- Cool for 20-30 minutes before serving.