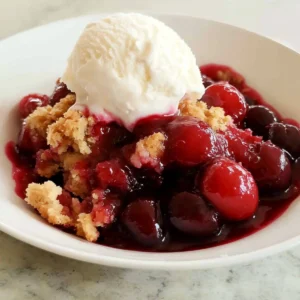
As I pulled a warm, golden cobbler from the oven, the sweet scent of cherries wafted through my kitchen, making it impossible to resist. This Quick and Easy Cherry Cobbler is my go-to dessert when I want something effortlessly delicious and crowd-pleasing. With just ten minutes of prep time and the versatility to swap in any fruit pie filling, it’s a blessing for those busy evenings that still call for a homemade touch. Imagine gathering around the table, everyone eagerly diving into a slice topped with a generous scoop of vanilla ice cream—the perfect finale to any meal. Curious how to recreate this delightful treat in your own kitchen? Let’s dive into the simple steps of crafting a cherry cobbler that you’ll want to share with friends and family!
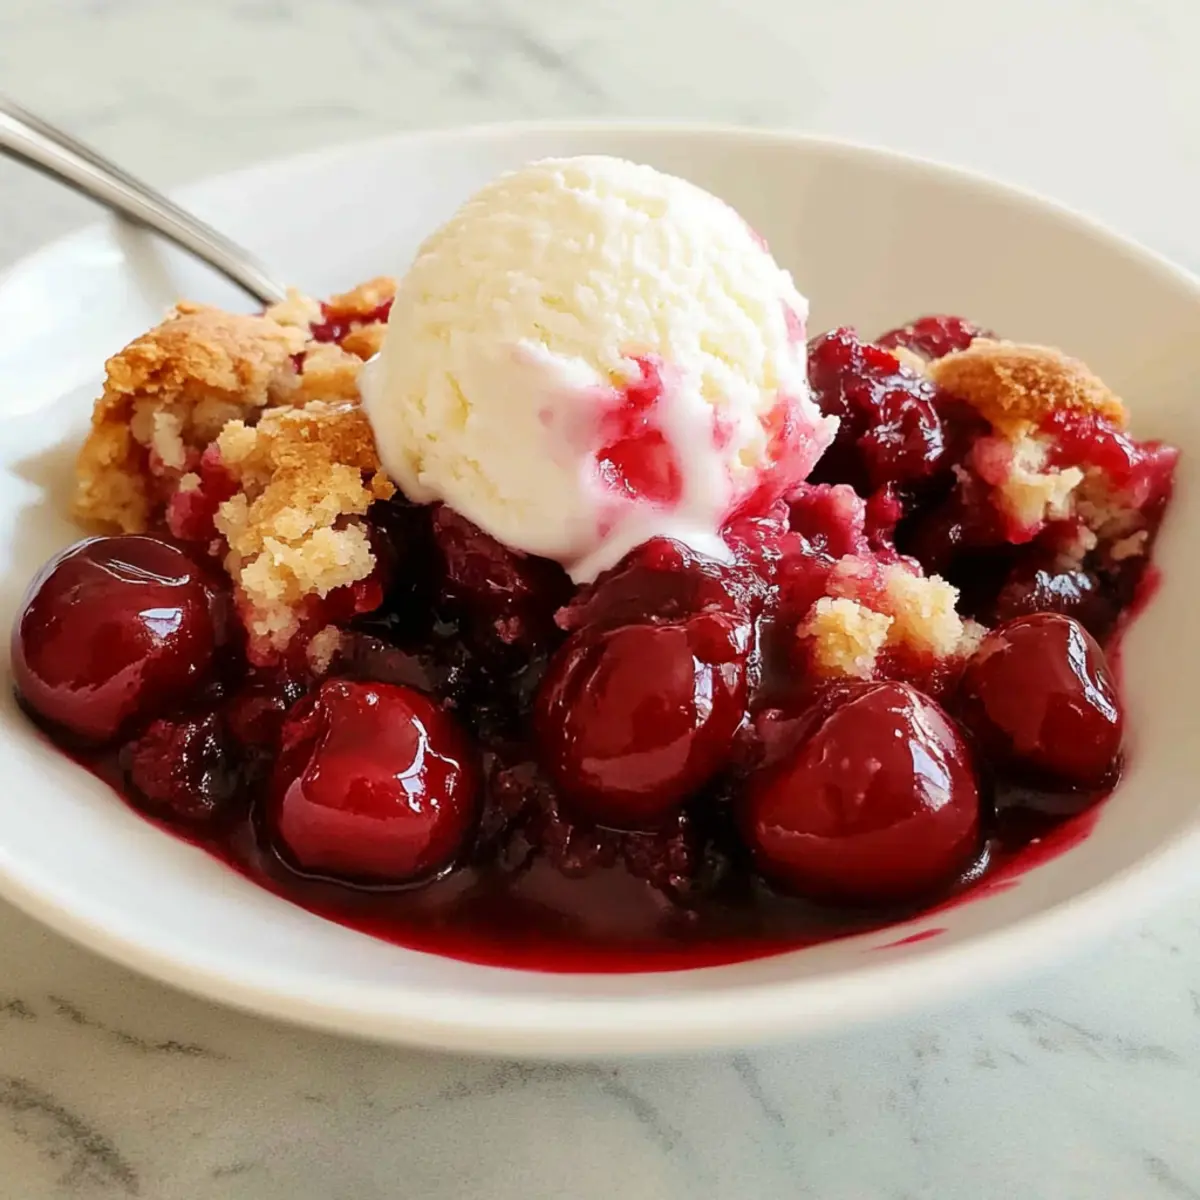
Why is This Cherry Cobbler Irresistible?
Simplicity at Its Best: You’ll whip this up in just ten minutes, making it a stress-free addition to your meal plans.
Flavor Explosion: The sweet, juicy cherries pair perfectly with the warm, buttery topping—every bite is pure bliss!
Versatile Options: While the classic cherry filling shines, you can easily switch to apple, peach, or even blueberry, tailoring it to your taste.
Crowd-Pleaser: This dessert is guaranteed to impress your guests; pair it with ice cream for an unforgettable experience.
Make-Ahead Friendly: Prepare this ahead of time—leftovers can be stored easily, so you can enjoy it later or take it to gatherings.
Guilt-Free Indulgence: With moderate calories per serving, you can indulge without the worry! Whether served warm or cold, you’ll be tempted to keep coming back for more.
Cherry Cobbler Ingredients
For the Batter
• Unsalted Butter – Provides richness and moisture; use salted butter if unsalted is unavailable.
• All Purpose Flour – Forms the base; gives structure; substitute with gluten-free flour for a gluten-free option.
• Granulated Sugar – Adds sweetness to the batter; reduce sugar slightly if using sweet cherry pie filling.
• Baking Powder – Enables the batter to rise, creating a fluffy texture; do not substitute with baking soda.
• Salt – Enhances flavor; omit if using salted butter.
• Cinnamon – Adds warmth and depth; can substitute with nutmeg for a different spice profile.
For the Wet Mix
• Milk – Hydrates the dry ingredients and contributes to texture; non-dairy milk works for lactose-free options.
• Vanilla Extract – Enhances overall flavor; use real vanilla for the best results, though imitation can be a substitute.
For the Filling
• Premium Cherry Pie Filling – The star ingredient, providing sweetness and juiciness; fresh or homemade pie filling can be used for optimal flavor.
Step‑by‑Step Instructions for Cherry Cobbler
Step 1: Preheat the Oven
Begin by preheating your oven to 350°F (175°C). While it’s warming up, place ½ cup of unsalted butter in a 9×9-inch baking dish and place it in the oven. Keep an eye on it until the butter is completely melted and bubbly, but not browned, which should take about 5 minutes.
Step 2: Prepare the Dry Mixture
In a mixing bowl, whisk together 1 cup of all-purpose flour, 1 cup of granulated sugar, 1 tablespoon of baking powder, ¼ teaspoon of salt, and 1 teaspoon of cinnamon until well combined. This dry mixture will form the base of your Cherry Cobbler, giving it structure and flavor, so take a moment to ensure everything is evenly mixed.
Step 3: Combine Wet Ingredients
In another bowl, measure out 1 cup of milk and add 1 teaspoon of vanilla extract. Stir gently to combine. Once mixed, pour this wet mixture into the bowl with your prepared dry ingredients. Mix until just combined, creating a batter that is slightly lumpy; this texture is key for a light and fluffy cobbler.
Step 4: Layer in Baking Dish
Once your batter is ready, carefully remove the baking dish with the melted butter from the oven. Pour the batter evenly over the melted butter—do not stir! Next, spoon your 1 can of premium cherry pie filling over the top, ensuring an even distribution, as this will create the classic layer of cherry goodness to crown your cobbler.
Step 5: Bake the Cobbler
Place your assembled Cherry Cobbler into the preheated oven and bake for 50 to 60 minutes. Keep an eye on it, looking for a golden-brown top and raised edges. A toothpick inserted into the center should come out clean or with a few moist crumbs to indicate it’s fully baked and ready to be enjoyed.
Step 6: Serve the Cobbler
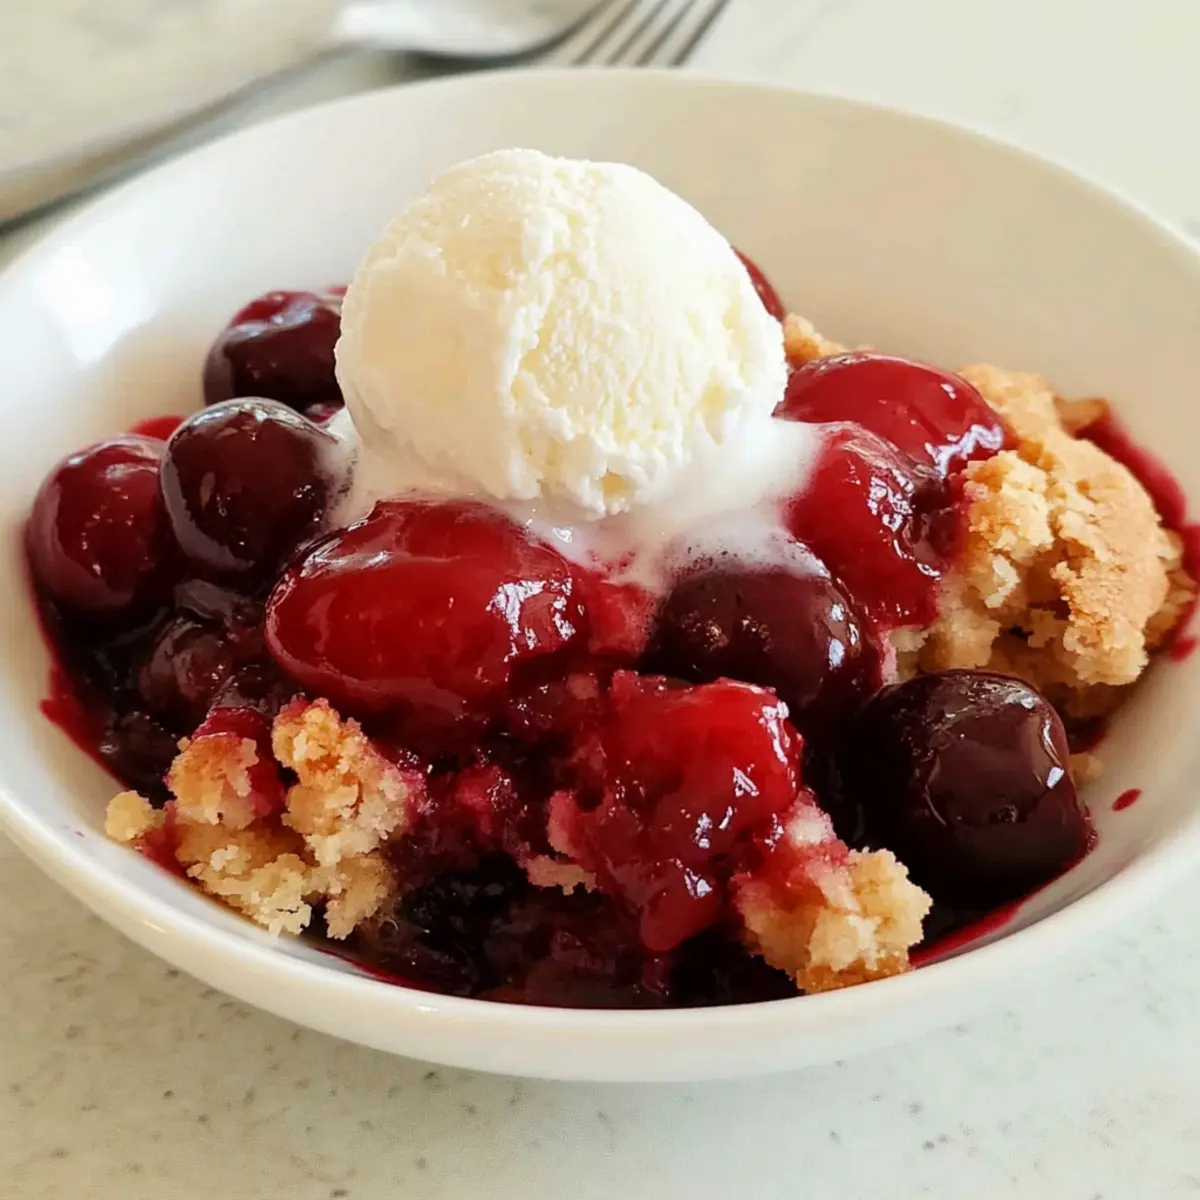
Once baked, carefully remove your Cherry Cobbler from the oven and allow it to cool for about 10 minutes. This will help the layers set. Serve warm, ideally topped with a generous scoop of vanilla ice cream or a dollop of whipped cream for an utterly irresistible treat that brings warmth and comfort to any gathering.
Make Ahead Options
These delightful Cherry Cobbler treats are perfect for busy weeknights when you want something homemade without the hassle! You can prepare the batter up to 24 hours in advance by mixing the dry ingredients and keeping them in an airtight container. The wet ingredients (milk and vanilla) should be stored separately in the fridge. If you want to prep the fruit component, you can spoon the cherry pie filling into the baking dish ahead of time, covering it with plastic wrap and refrigerating for up to 3 days. When you’re ready to bake, simply combine the wet and dry ingredients, layer them in your prepared pan with the cherry filling, and pop it in the oven for that fresh-from-the-oven taste! This way, you’ll savor the deliciousness of homemade Cherry Cobbler without spending the whole evening in the kitchen.
What to Serve with Cherry Cobbler
Elevate your Cherry Cobbler experience with delightful pairings that complement its sweet and tangy flavors, making each bite unforgettable.
-
Vanilla Ice Cream: The creamy, cool scoop melts into the warm cobbler, adding richness and a contrasting temperature that feels indulgent.
-
Whipped Cream: A dollop of freshly whipped cream brings lightness and airiness, enhancing the fruity sweetness without overpowering it.
-
Fresh Berries: Serve alongside mixed berries for a fresh burst of flavor and a pop of color on the plate, adding a refreshing balance.
-
Caramel Sauce: A drizzle of warm caramel adds a decadent layer of sweetness and an extra touch of luxury, perfect for special occasions.
-
Chocolate Sauce: For chocolate lovers, a light drizzle provides a delightful richness that pairs surprisingly well with the cherries.
-
Crispy Granola: A sprinkle of lightly sweetened granola on top offers a delightful crunch, contrasting beautifully with the soft cobbler texture.
-
Nutty Biscotti: For a fun crunch, serve with nutty biscotti, which provides a satisfying bite and a coffee pairing option for brunch settings.
-
Sparkling Wine: A glass of bubbly complements the dessert’s sweetness, making it an elegant choice for celebrations or a casual afternoon treat.
These pairings not only enhance the Cherry Cobbler but also create a delightful experience, leaving everyone smiling at the table.
How to Store and Freeze Cherry Cobbler
Room Temperature: Store leftover cherry cobbler at room temperature for up to 2 days, covered loosely with foil to prevent drying out.
Fridge: If you need to keep it longer, refrigerate covered for an additional 2 days; reheat gently in the microwave or oven for the best texture.
Freezer: To freeze, let the cobbler cool completely, then wrap it tightly in plastic wrap and aluminum foil. It can be kept in the freezer for up to 3 months.
Reheating: When ready to enjoy your cherry cobbler, reheat in the oven at 350°F (175°C) until warmed through, usually about 15-20 minutes. This will revive its delicious, fresh-from-the-oven taste.
Cherry Cobbler Variations & Substitutions
Feel free to get creative with this delightful Cherry Cobbler, as its versatility allows for countless delicious tweaks!
-
Apple Filling: Swap cherry for apple pie filling for a comforting autumn-inspired twist that reminds you of warm apple pie.
-
Peach Filling: Use peach pie filling in place of cherry to enjoy a sweet, juicy burst of summer in every bite.
-
Blueberry Filling: Craving something different? Blueberry pie filling offers a tart touch that pairs surprisingly well with the buttery cobbler.
-
Strawberry Filling: For a fruity romance, switch to strawberry filling—its bright color and flavor will uplift your dessert table!
-
Spice It Up: Experiment by adding a pinch of ginger or allspice along with the cinnamon for a more complex flavor profile that will warm your heart.
-
Nuts Addition: Sprinkle some chopped pecans or walnuts over the filling before baking for a delightful crunch that contrasts beautifully with the soft filling.
-
Gluten-Free Option: Replace all-purpose flour with a gluten-free blend to accommodate dietary preferences without sacrificing taste.
-
Homemade Cherry Pie Filling: Create a fresh cherry pie filling using ripe cherries for an indulgence that truly elevates your cobbler; you can find a lovely recipe for it here if you’re up for a little extra effort!
Whichever variation you choose, each twist on this Cherry Cobbler is sure to bring smiles and warm memories around the table!
Expert Tips for Cherry Cobbler
-
Butter Monitoring: Keep an eye on the butter; it should be melted but not browned. Overheating can lead to a less desirable flavor in your cherry cobbler.
-
Fruit Flexibility: Don’t hesitate to swap cherry filling with other fruits like peach or blueberry. Just remember, the sweetness might vary, so adjust sugar for best results.
-
Mixing Caution: When combining the wet and dry ingredients, mix until just combined. Overmixing can make your cobbler dense; we want that light, fluffy texture!
-
Baking Time Vigilance: Check for doneness at around 50 minutes. A golden-brown top and a toothpick that comes out clean signal that your cherry cobbler is ready.
-
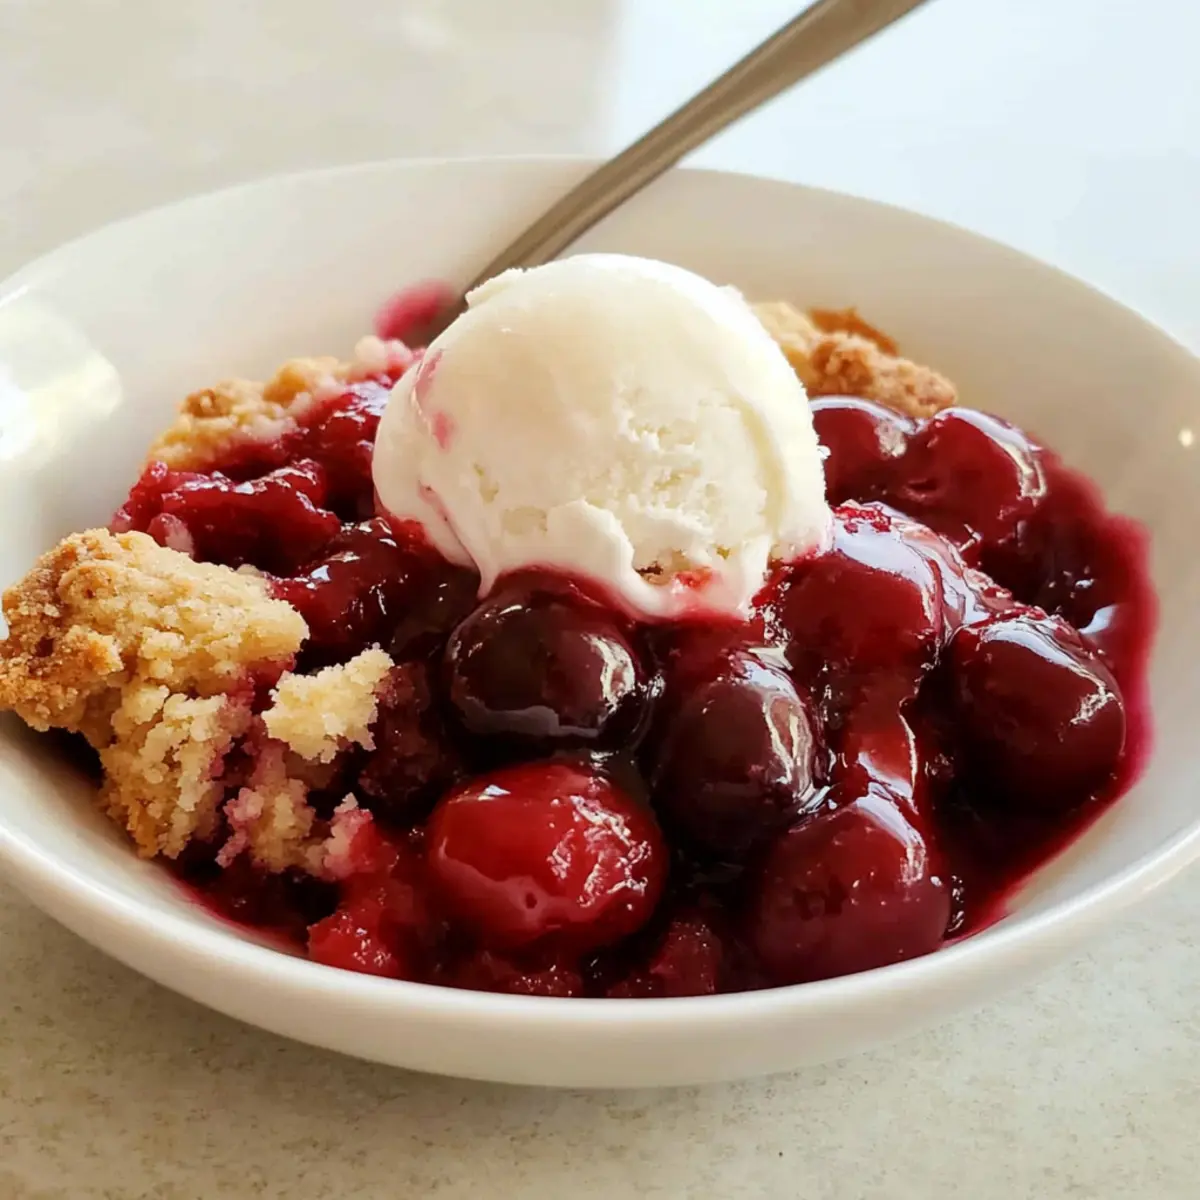
Serving Fresh: For the best experience, serve your cobbler warm right out of the oven. A scoop of vanilla ice cream on top elevates this sweet treat to heavenly!
Cherry Cobbler Recipe FAQs
What type of cherries should I use for the filling?
Absolutely! For the best flavor, use ripe, sweet cherries whether fresh (pitted), canned, or frozen. If using canned, opt for a premium cherry pie filling for convenience and rich flavor. If you feel adventurous, mixing sweet and tart cherries can give a delightful complexity to your cobbler!
Advertisement
How should I store leftover cherry cobbler?
Store any leftover cherry cobbler at room temperature for up to 2 days, covered loosely with foil to keep it from drying out. If you need to keep it longer, refrigerate it in an airtight container for an additional 2 days. Just remember, the longer it sits, the more the texture can change!
Can I freeze cherry cobbler? How?
Yes, you can freeze cherry cobbler! For best results, allow it to cool completely after baking. Wrap it tightly in plastic wrap followed by aluminum foil to prevent freezer burn. Your cobbler can stay fresh in the freezer for up to 3 months. When you’re ready to enjoy it again, simply reheat it in the oven at 350°F (175°C) for about 15 to 20 minutes until warmed through.
What if my cobbler doesn’t rise enough?
If your cherry cobbler doesn’t rise well, it could be due to expired baking powder or overmixing the batter. Always check the expiration date on your baking powder and remember to mix your batter until just combined to ensure a light, fluffy texture!
Is this cherry cobbler suitable for people with dietary restrictions?
Very! This cherry cobbler can easily accommodate various dietary needs. For gluten-free options, substitute all-purpose flour with a gluten-free alternative. You can also use lactose-free milk or non-dairy milk for those avoiding dairy. Always check your cherry filling for allergens, especially if using canned or pre-made versions.
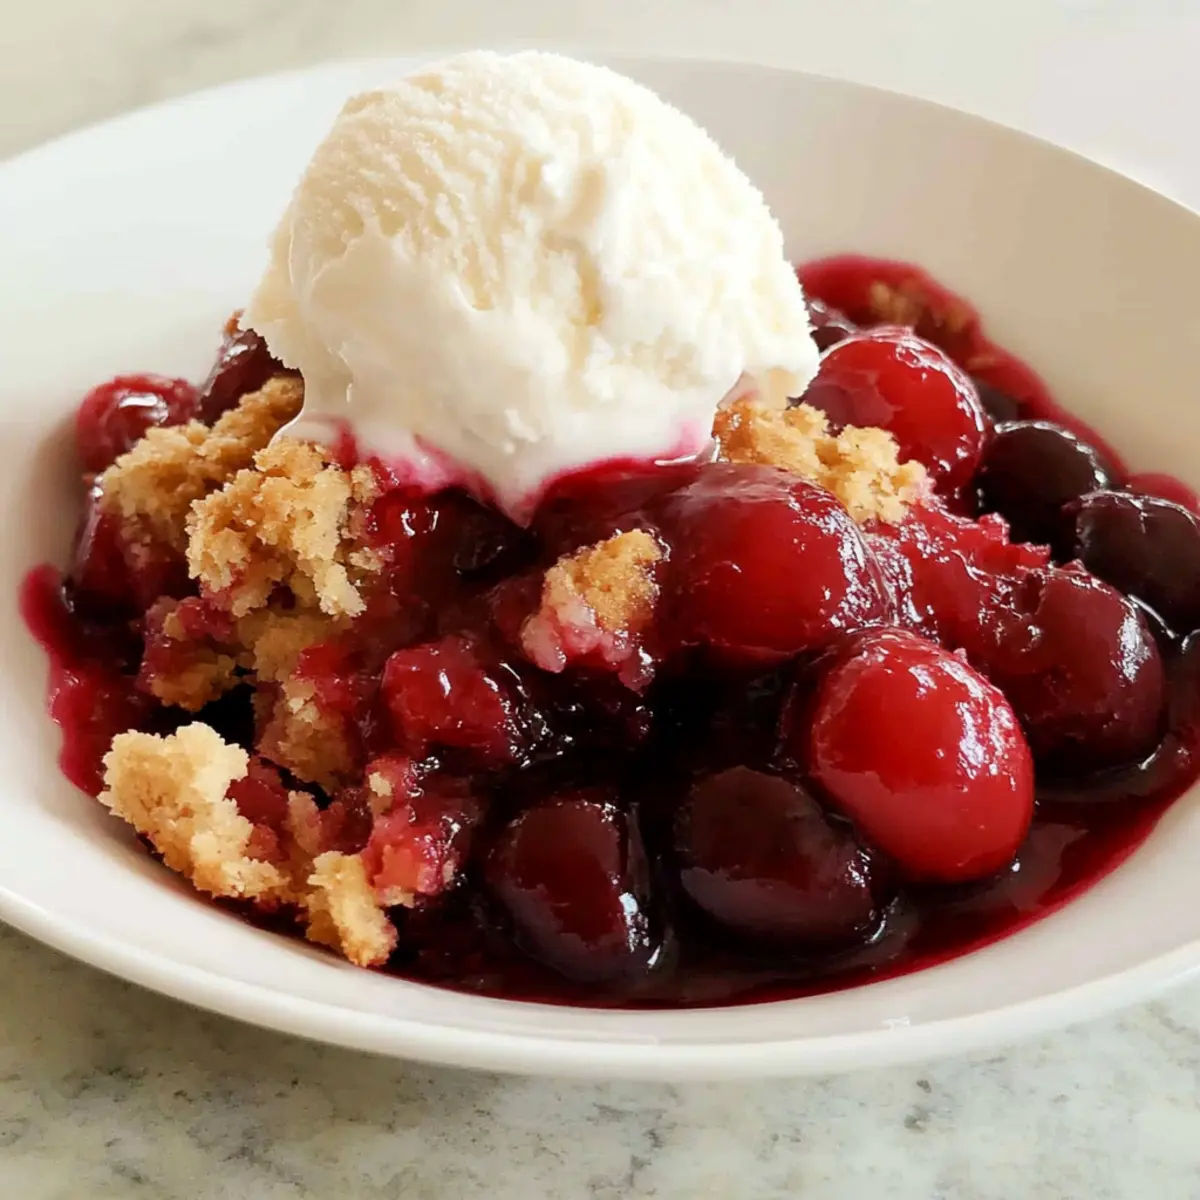
Mouthwatering Cherry Cobbler That'll Steal Your Heart
Ingredients
Equipment
Method
- Preheat your oven to 350°F (175°C) and place ½ cup of unsalted butter in a 9x9-inch baking dish in the oven until melted and bubbly, about 5 minutes.
- Whisk together 1 cup of all-purpose flour, 1 cup of granulated sugar, 1 tablespoon of baking powder, ¼ teaspoon of salt, and 1 teaspoon of cinnamon until well combined.
- In another bowl, combine 1 cup of milk and 1 teaspoon of vanilla extract, then pour into the dry mixture and stir gently until just combined.
- Remove the baking dish with melted butter from the oven, pour the batter over the melted butter, then spoon the cherry pie filling evenly over the top.
- Bake in the preheated oven for 50 to 60 minutes until golden brown and a toothpick comes out clean.
- Allow to cool for about 10 minutes before serving warm, ideally topped with vanilla ice cream or whipped cream.