Introduction to Baked Thai Garlic Chicken
There’s something magical about the aroma of garlic wafting through the kitchen, isn’t there?
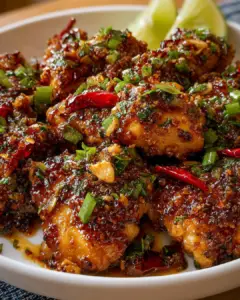
Baked Thai Garlic Chicken is not just a meal; it’s an experience that brings warmth and comfort to any dinner table.
Whether you’re juggling a busy schedule or looking to impress your loved ones, this dish is your go-to solution.
With its perfect blend of savory and sweet flavors, it’s a crowd-pleaser that requires minimal effort.
Trust me, once you try this recipe, it will become a staple in your home cooking repertoire.
Why You’ll Love This Baked Thai Garlic Chicken
This Baked Thai Garlic Chicken is a game-changer for your weeknight dinners.
It’s incredibly easy to prepare, making it perfect for those hectic evenings when time is tight.
The combination of garlic, soy sauce, and honey creates a flavor explosion that will have everyone asking for seconds.
Plus, it’s baked, not fried, so you can enjoy a delicious meal without the guilt.
What’s not to love?
Ingredients for Baked Thai Garlic Chicken
Gathering the right ingredients is the first step to culinary success.
For this Baked Thai Garlic Chicken, you’ll need a few key players that work together to create a symphony of flavors.
- Bone-in, skin-on chicken thighs: These are juicy and flavorful, perfect for absorbing the marinade.
- Soy sauce: This adds a savory umami kick, enhancing the overall taste of the dish.
- Fish sauce: A staple in Thai cuisine, it brings depth and a hint of saltiness.
- Honey: This natural sweetener balances the saltiness of the sauces, creating a delightful glaze.
- Vegetable oil: Helps the chicken crisp up beautifully in the oven.
- Garlic: Freshly minced, it infuses the chicken with a robust flavor that’s hard to resist.
- Ground black pepper: A simple spice that adds a touch of heat and complexity.
- Red pepper flakes (optional): For those who like a little extra kick, these can elevate the dish.
- Fresh lime juice: A splash of acidity brightens the flavors and adds freshness.
- Green onions and cilantro (for garnish): These fresh herbs not only add color but also a burst of flavor when served.
You can find these ingredients at your local grocery store, and if you’re feeling adventurous, consider sourcing them from an Asian market for authentic options.
Exact quantities are listed at the bottom of the article for your convenience, making it easy to print and take to the store.
How to Make Baked Thai Garlic Chicken
Creating this Baked Thai Garlic Chicken is a straightforward process that anyone can master.
Let’s break it down step by step, ensuring you get the most flavor out of every bite.
Step 1: Preheat the Oven
Start by preheating your oven to 400°F (200°C).
This step is crucial because it ensures the chicken cooks evenly and the skin crisps up beautifully.
A hot oven helps lock in moisture while giving you that perfect golden-brown finish.
Step 2: Prepare the Marinade
In a large bowl, whisk together the soy sauce, fish sauce, honey, vegetable oil, minced garlic, black pepper, red pepper flakes (if you’re feeling adventurous), and fresh lime juice.
Each ingredient plays a role: the soy and fish sauces provide umami, while honey adds sweetness.
Garlic infuses the chicken with flavor, and lime juice brightens everything up.
Mix until well combined, and you’re ready for the next step.
Step 3: Marinate the Chicken
Add the bone-in, skin-on chicken thighs to the marinade, tossing them to coat evenly.
Let the chicken marinate for at least 30 minutes at room temperature.
For deeper flavor, consider refrigerating it for up to 2 hours.
This marinating time allows the chicken to soak up all those delicious flavors.
Step 4: Arrange the Chicken for Baking
Once marinated, place the chicken thighs skin-side up on a baking sheet lined with parchment paper.
This setup not only makes cleanup easier but also allows the heat to circulate around the chicken.
Pour any remaining marinade over the chicken for an extra flavor boost.
Step 5: Bake the Chicken
Slide the baking sheet into your preheated oven and bake for 35-40 minutes.
To check for doneness, use a meat thermometer; the internal temperature should reach 165°F (75°C).
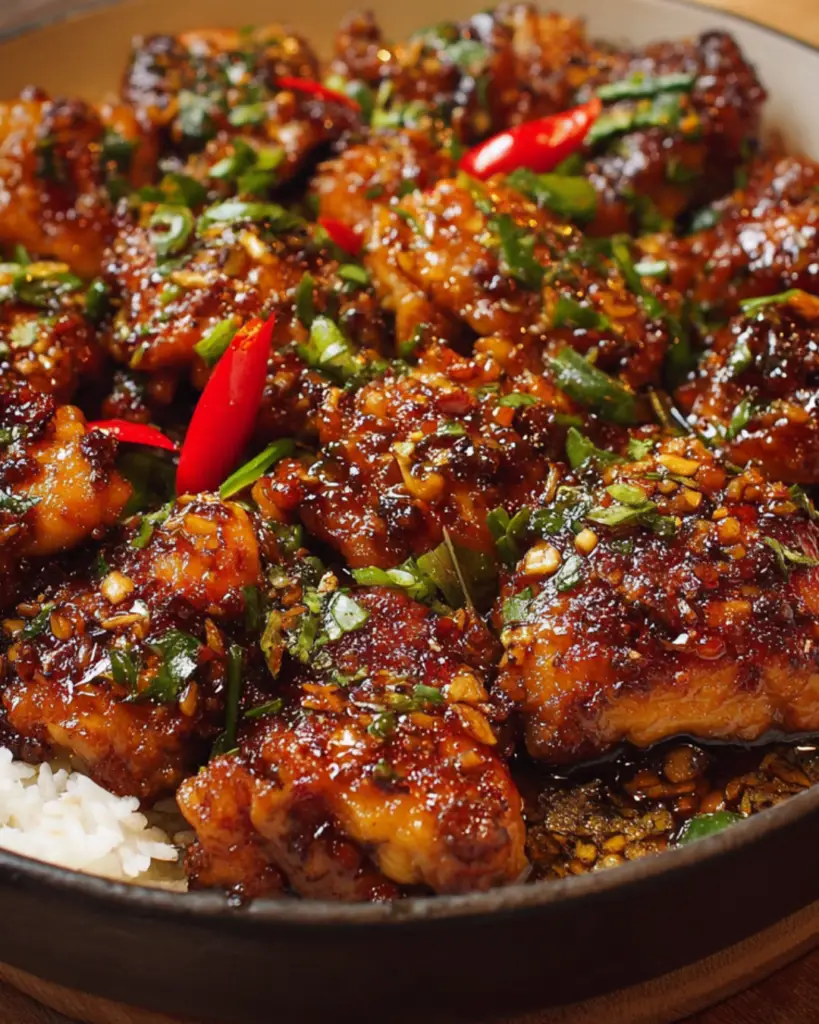
The skin should be crispy and golden, making it hard to resist.
Step 6: Garnish and Serve
Once out of the oven, let the chicken rest for about 5 minutes.
This resting period allows the juices to redistribute, keeping the meat tender.
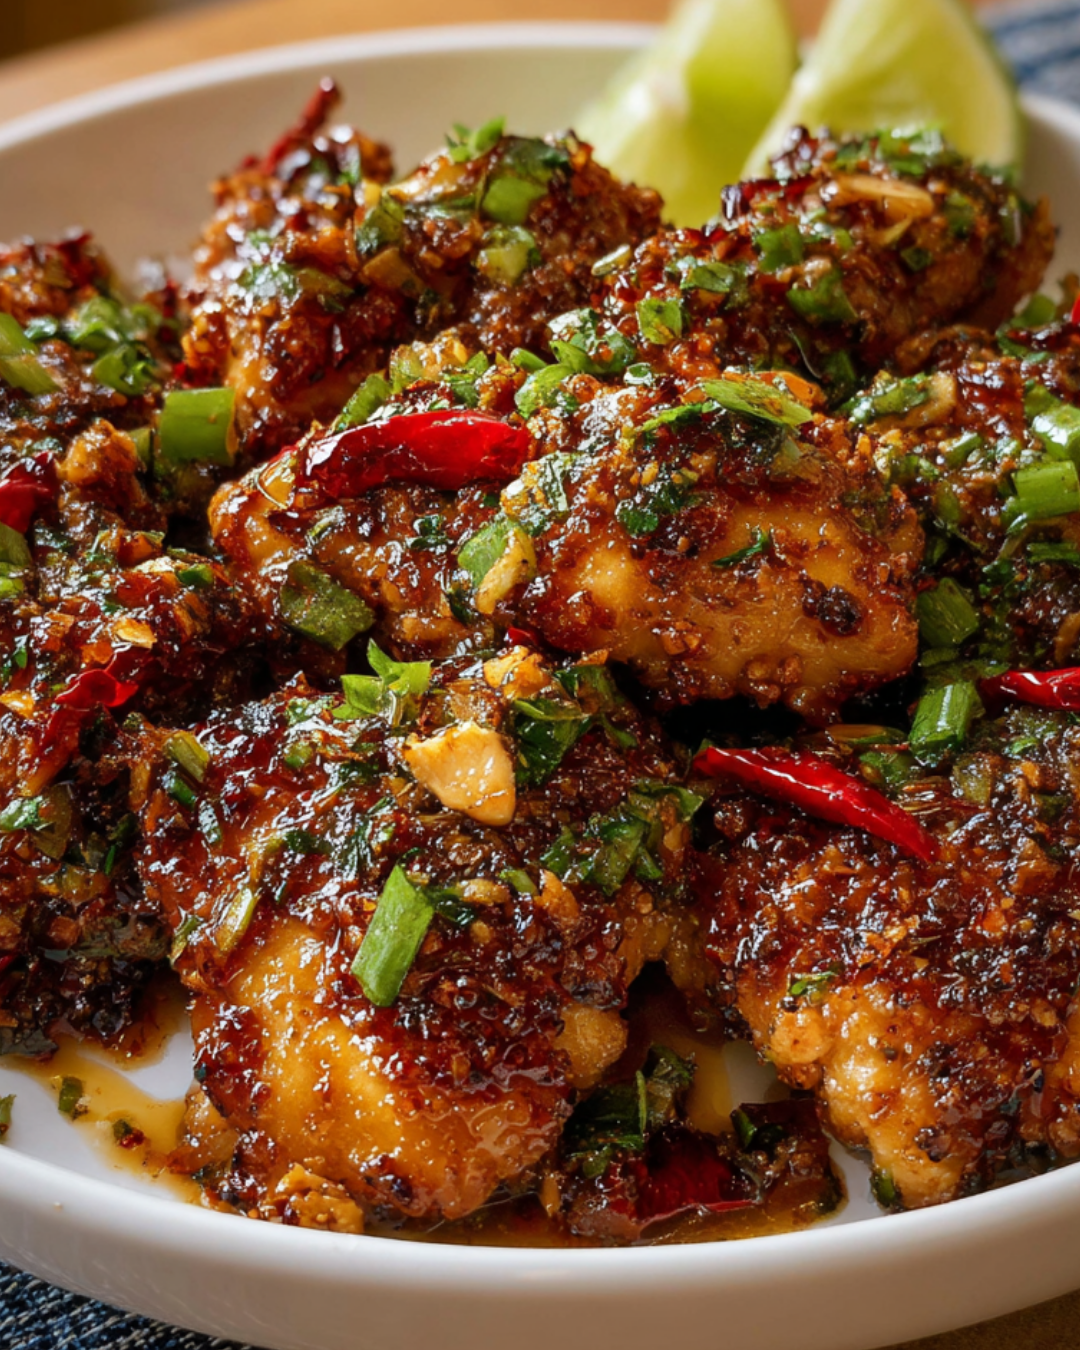
Garnish with sliced green onions and fresh cilantro for a pop of color and flavor.
Serve it up with steamed jasmine rice and enjoy the delightful taste of your Baked Thai Garlic Chicken!
Tips for Success
- Always marinate the chicken for at least 30 minutes, but longer is better for flavor.
- Use a meat thermometer to ensure the chicken is cooked perfectly.
- For extra crispy skin, broil the chicken for the last 2-3 minutes of baking.
- Don’t skip the garnishes; they add freshness and elevate the dish.
- Pair with jasmine rice for a complete meal that’s sure to impress.
Equipment Needed
- Baking sheet: A standard sheet works, but a rimmed one prevents spills.
- Parchment paper: This makes cleanup a breeze; aluminum foil is a good alternative.
- Mixing bowl: Any large bowl will do for mixing the marinade.
- Meat thermometer: Essential for checking doneness; a simple knife can also help.
Variations
- Spicy Thai Garlic Chicken: Add more red pepper flakes or a splash of sriracha to the marinade for an extra kick.
- Herb-Infused Chicken: Incorporate fresh herbs like basil or mint into the marinade for a fragrant twist.
- Low-Carb Option: Substitute honey with a low-carb sweetener to reduce sugar content while keeping the flavor.
- Vegetarian Version: Use tofu or tempeh instead of chicken, marinating and baking them the same way.
- Grilled Variation: Instead of baking, grill the marinated chicken for a smoky flavor and charred texture.
Serving Suggestions
- Serve with fluffy jasmine rice to soak up the delicious sauce.
- Pair with a crisp cucumber salad for a refreshing contrast.
- A cold Thai iced tea complements the flavors beautifully.
- Garnish with lime wedges for an extra zing.
- Present on a colorful platter for an eye-catching display.
FAQs about Baked Thai Garlic Chicken
Can I use chicken breasts instead of thighs for this recipe?
Absolutely! While I love the juiciness of bone-in, skin-on chicken thighs, you can use chicken breasts for a leaner option. Just keep an eye on the cooking time, as breasts may cook faster.
How can I make this dish spicier?
If you crave heat, simply add more red pepper flakes to the marinade. You can also serve it with a side of chili sauce for an extra kick that will tantalize your taste buds.
Can I prepare the marinade in advance?
Yes! You can whip up the marinade a day ahead and store it in the fridge. Just remember to marinate the chicken for at least 30 minutes before baking for the best flavor.
What sides pair well with Baked Thai Garlic Chicken?
This dish shines when served with fluffy jasmine rice and stir-fried vegetables. A crisp cucumber salad also adds a refreshing contrast to the rich flavors of the chicken.
Is this recipe gluten-free?
Yes, as long as you use gluten-free soy sauce, this Baked Thai Garlic Chicken is a delicious gluten-free option that everyone can enjoy!
Final Thoughts
Cooking Baked Thai Garlic Chicken is more than just preparing a meal; it’s about creating memories around the dinner table.
Advertisement
The rich flavors and enticing aroma will transport you to a bustling Thai market, where every bite tells a story.
This dish is perfect for busy weeknights or special gatherings, bringing everyone together in a delightful culinary experience.
With its ease and deliciousness, it’s bound to become a favorite in your home.
So, roll up your sleeves, embrace the joy of cooking, and let this recipe add a touch of Thai magic to your dinner routine!
PrintBaked Thai Garlic Chicken: Discover a Flavorful Recipe!
A flavorful and easy recipe for Baked Thai Garlic Chicken, perfect for a delicious dinner.
- Prep Time: 30 minutes
- Cook Time: 40 minutes
- Total Time: 1 hour 10 minutes
- Yield: 4 servings 1x
- Category: Main Course
- Method: Baking
- Cuisine: Thai
- Diet: Gluten Free
Ingredients
- 2 pounds bone-in, skin-on chicken thighs
- 1/4 cup soy sauce
- 1/4 cup fish sauce
- 1/4 cup honey
- 1 tablespoon vegetable oil
- 6 cloves garlic, minced
- 1 teaspoon ground black pepper
- 1 teaspoon red pepper flakes (optional)
- 1 tablespoon fresh lime juice
- 2 green onions, sliced (for garnish)
- Fresh cilantro (for garnish)
Instructions
- Preheat your oven to 400°F (200°C).
- In a large bowl, whisk together the soy sauce, fish sauce, honey, vegetable oil, minced garlic, black pepper, red pepper flakes (if using), and lime juice until well combined.
- Add the chicken thighs to the bowl and toss to coat them evenly in the marinade. Let the chicken marinate for at least 30 minutes at room temperature, or up to 2 hours in the refrigerator for more flavor.
- Place the marinated chicken thighs skin-side up on a baking sheet lined with parchment paper. Pour any remaining marinade over the chicken.
- Bake in the preheated oven for 35-40 minutes, or until the chicken is cooked through and the skin is crispy. The internal temperature should reach 165°F (75°C).
- Remove from the oven and let the chicken rest for 5 minutes. Garnish with sliced green onions and fresh cilantro before serving.
Notes
- For a spicier kick, add more red pepper flakes or serve with a side of chili sauce.
- You can substitute chicken thighs with chicken breasts for a leaner option, adjusting the cooking time as needed.
- For a complete meal, serve with steamed jasmine rice and stir-fried vegetables.
Nutrition
- Serving Size: 1 piece
- Calories: 350
- Sugar: 8g
- Fat: 24g
- Carbohydrates: 8g
- Protein: 24g