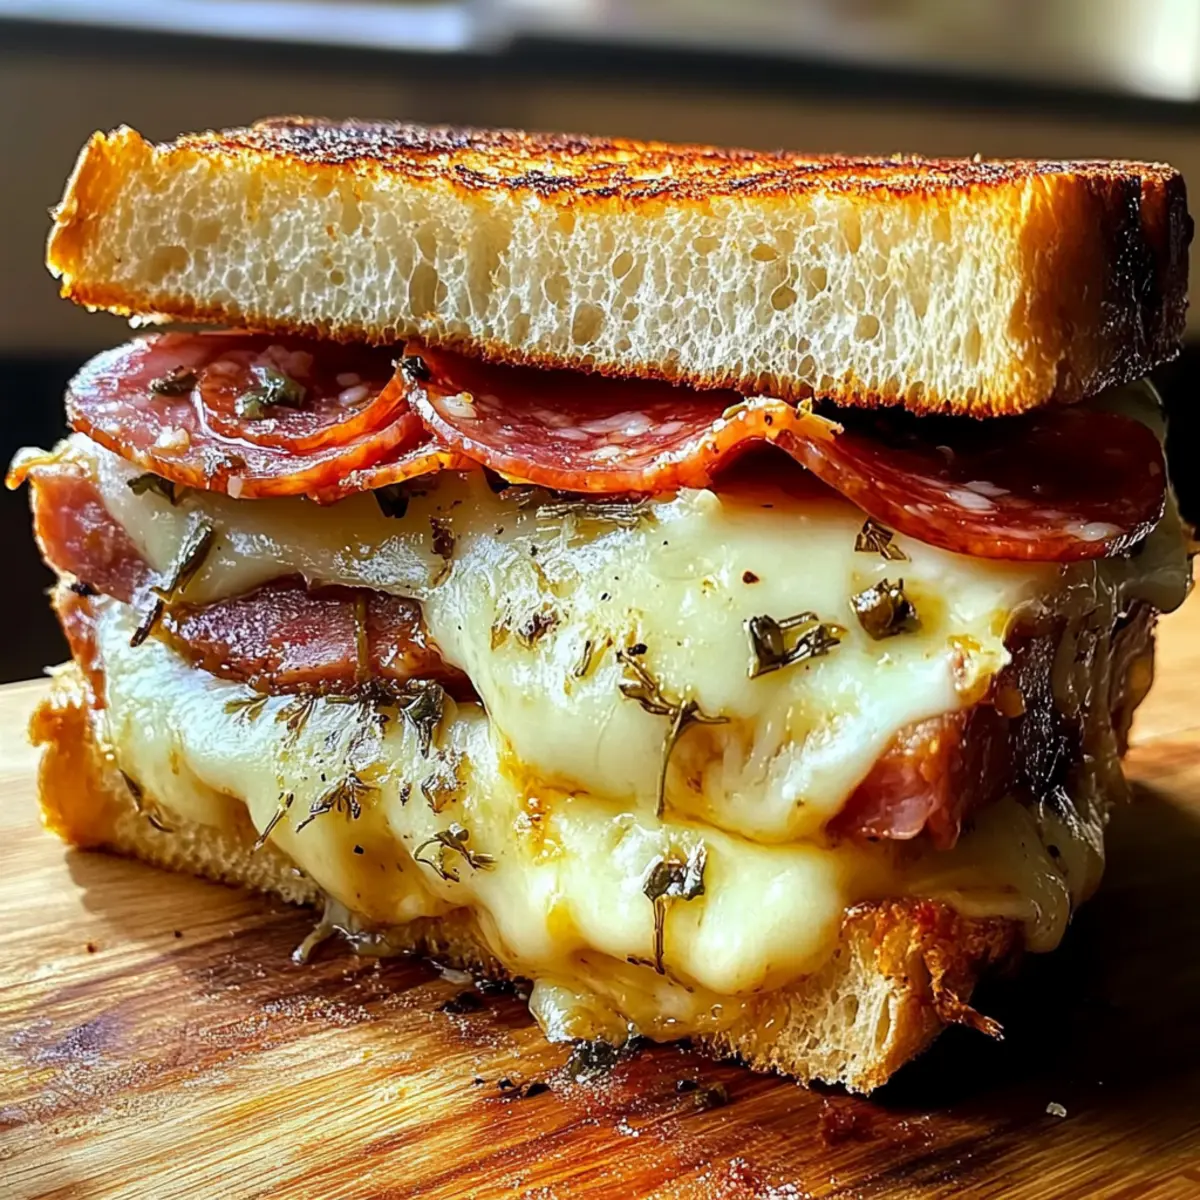
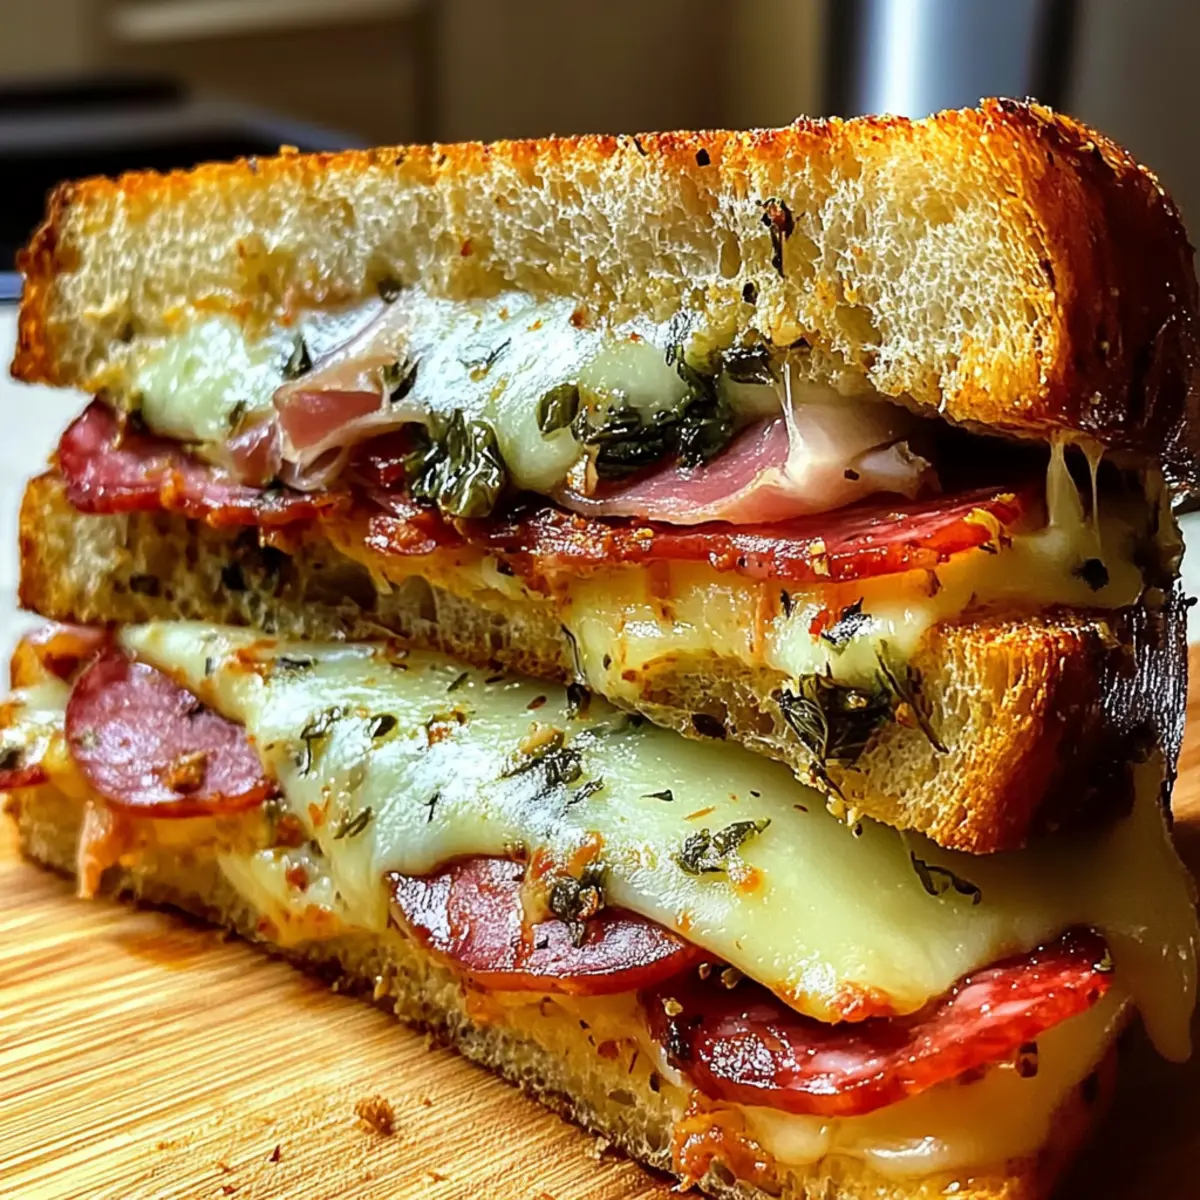
As I pulled the warm, cheesy Baked Italian Sub Sandwiches from the oven, the aroma of savory meats and melted provolone enveloped my kitchen like a comforting hug. Perfect for those hectic weeknights, this 30-minute delight offers a customizable flavor profile that allows you to swap in your favorite meats, cheeses, or even bread types. What I love most about these sandwiches is how they bring the family together for a fun cooking experience while serving up hearty satisfaction. Whether you’re craving something quick and easy for a busy lunch or an inviting dinner that hits the spot, these sandwiches are sure to please even the pickiest eaters. Ready to dive into a dish that transforms simple ingredients into a crowd-pleaser?
Why Are These Subs So Irresistible?
Customization at its finest: You can easily swap meats, cheeses, and even the type of bread to suit your taste. Quick preparation time of just 30 minutes makes this recipe ideal for busy families looking for easy weeknight meals. Crowd-pleaser status guaranteed—everyone loves a cheesy, meaty sandwich! Endless options mean you can spin this recipe in countless ways; add fresh veggies or change up the seasonings for your family’s favorites. Plus, these Baked Italian Sub Sandwiches are a great way to get kids involved in cooking—turn mealtime into a fun family activity! For something equally delightful, check out my Homemade Tiramisu Italian or Healthy Cheesy Baked Veggie Rolls!
Baked Italian Sub Sandwiches Ingredients
• Get ready to create your new favorite!
For the Sandwich
• Italian Bread – The perfect base for these delicious sandwiches. Substitution: Try using hoagie rolls or ciabatta for a different texture.
• Sliced Salami – Offers rich, savory flavor that takes your sandwich up a notch. Substitution: Consider turkey or roast beef for a lighter option.
• Sliced Ham – Adds another layer of meaty goodness and texture. Substitution: You can use sliced chicken if that’s your preference.
• Sliced Provolone Cheese – Melts beautifully to create a gooey, cheesy experience. Substitution: Mozzarella or cheddar work well too.
• Sliced Pepperoncini – Provides a tangy kick that brightens up the flavors. Note: Feel free to add more if you’re a fan of heat.
For the Oil Mixture
• Olive Oil – Keeps the bread moist and helps achieve that golden crisp. For a richer flavor, you can use melted butter instead.
• Italian Seasoning – A blend of herbs that enhances the overall flavor profile. No direct substitute, but you can use an Italian herb mix if needed.
• Garlic Powder – Boosts the depth of flavor in your delicious subs. Fresh minced garlic serves as a fantastic substitute.
• Salt and Pepper – Essential for balancing all the flavors beautifully.
Dive into the joy of crafting these Baked Italian Sub Sandwiches!
Step‑by‑Step Instructions for Baked Italian Sub Sandwiches
Step 1: Preheat the Oven
Begin by preheating your oven to 350°F (175°C), ensuring it’s hot enough to achieve that perfect baking temperature. This step is crucial for creating the crispy, golden crust that makes your Baked Italian Sub Sandwiches truly irresistible. The aroma of warming bread will soon fill your kitchen, setting the stage for a delightful meal.
Step 2: Prepare the Bread
Carefully slice the Italian bread in half lengthwise, creating a sturdy base for your sandwiches. Use a serrated knife for clean cuts, which will help maintain the bread’s structure and prevent sogginess from fillings. Lay the bottom half cut-side up on a large baking sheet, ready to be filled with deliciousness.
Step 3: Layer the Meats and Cheese
Start building your Baked Italian Sub Sandwiches by layering the sliced salami evenly over the bottom half of the bread. Follow this with a generous layer of sliced ham, ensuring each bite will be meaty and satisfying. Top it all with slices of provolone cheese, allowing its gooey meltiness to be a focus of your sandwich creation.
Step 4: Add the Pepperoncini
Sprinkle the sliced pepperoncini over the provolone cheese to introduce a zesty kick into your sandwich. This addition not only brightens the flavors but also contributes a delightful tang that balances the richness of the meats and cheese. Feel free to add more pepperoncini if you enjoy a spicier sandwich experience.
Step 5: Mix the Oil Mixture
In a small bowl, whisk together olive oil, Italian seasoning, garlic powder, salt, and pepper to create a flavorful oil mixture. This step is essential for adding moisture and a burst of flavor to the top half of your sandwiches. The fragrant herbs in the mixture elevate the overall taste, making every bite a savory delight.
Step 6: Brush the Bread
Using a pastry brush, evenly spread the oil mixture over the cut side of the top half of the bread. Make sure it’s generously applied, as this will help to crisp the bread during baking while enhancing its flavor. This simple step is key to ensuring that your Baked Italian Sub Sandwiches are both delicious and satisfying.
Step 7: Assemble the Sandwich
Carefully press the top half of the sandwich onto the filled bottom half, ensuring the layers are secure and tightly compressed. This step is important for keeping the sandwich intact while baking, allowing all those wonderful flavors to meld together perfectly under the heat.
Step 8: Wrap for Baking
Wrap your assembled Baked Italian Sub Sandwiches tightly in aluminum foil, ensuring it’s well-sealed. This method traps heat and moisture, helping the cheese melt beautifully and the bread to bake evenly. Place the wrapped sandwiches on a baking sheet, ready to transform into a gooey, cheesy masterpiece.
Step 9: Bake to Perfection
Place the baking sheet in your preheated oven and bake for 15-20 minutes. Keep an eye on the sandwiches; you want the cheese to be melted and bubbly while the bread achieves a golden brown hue. For a final crispy finish, unwrap the sandwiches in the last 5 minutes of baking.
Step 10: Serve Warm
Once done, remove the Baked Italian Sub Sandwiches from the oven and let them cool for a minute. Slice into portions with a sharp knife and serve warm. The combination of the crispy crust and gooey, flavorful filling will make them a family favorite that everyone will love!

How to Store and Freeze Baked Italian Sub Sandwiches
Room Temperature: Let your sandwiches cool completely before storing them at room temperature for up to 2 hours, wrapped in foil or parchment paper to maintain freshness.
Fridge: Store any leftover Baked Italian Sub Sandwiches in an airtight container in the refrigerator for up to 3 days. This keeps the bread from drying out and maintains flavor.
Freezer: For longer storage, freeze your unbaked or baked sandwiches wrapped tightly in plastic wrap and aluminum foil for up to 3 months. Thaw in the fridge before baking or reheating.
Reheating: To enjoy the flavors again, reheat in a preheated oven at 350°F (175°C) for about 10-15 minutes until warmed through and the cheese is melty.
Baked Italian Sub Sandwiches Variations
Feel free to customize these delightful sandwiches to match your taste preferences and dietary needs! The possibilities are as endless as your cravings.
-
Dairy-Free: Use dairy-free cheese alternatives to keep it cheesy without the lactose, ensuring everyone can enjoy a bite.
-
Whole Wheat Bread: For a healthier twist, opt for whole wheat bread. It adds a nutty flavor while boosting the nutritional value.
-
Spicy Kick: Add sliced jalapeños to kick up the heat level, giving your Baked Italian Sub Sandwiches an exciting spiciness that’ll awaken the taste buds.
-
Veggie Delight: Layer in fresh spinach or roasted red peppers for added texture and sweetness, transforming it into a wholesome veggie sub.
-
Savory Twist: Swap out Italian seasoning for a zesty ranch or taco seasoning mix for an entirely different flavor profile that’s fun and delicious.
-
Pulled Chicken: Replace the sliced meats with pulled chicken coated in BBQ sauce for a sweet and tangy version that takes your sandwich to a new level.
-
Italian Herbs: Enhance the flavors with fresh basil or oregano sprinkled on top before baking. A little fresh herb magic can elevate your sandwich experience.
-
Crunchy Topping: Add crushed potato chips or breadcrumbs on top for a fun texture twist that’ll bring a satisfying crunch to each bite.
These variations invite you to explore and make this recipe your own! And if you’re looking for more comforting recipes, try out my Baked Chicken Cordon or indulge in a sweet treat with my Homemade Tiramisu Italian. Happy cooking!
Make Ahead Options
These Baked Italian Sub Sandwiches are a perfect choice for meal prep, saving you valuable time during busy evenings! You can assemble the sandwiches and wrap them tightly in aluminum foil up to 24 hours in advance, storing them in the refrigerator. This ensures that the ingredients stay fresh and the flavors meld beautifully overnight. To maintain quality, avoid adding the oil mixture until just before baking, as it helps keep the bread crispy. When you’re ready to enjoy your homemade subs, pop them in a preheated oven at 350°F (175°C) for 15-20 minutes; unwrapping them for the last few minutes ensures a delightful golden finish. Now, you can savor a delicious meal with minimal effort!
Expert Tips for Baked Italian Sub Sandwiches
-
Bread Choice: Use fresh Italian bread for the best texture. Avoid stale bread as it can lead to sogginess after baking.
-
Layering Technique: Layer proteins evenly to avoid gaps and ensure each bite is packed with flavor. Uneven layers can lead to a dry sandwich.
-
Crispy Finish: For an extra crispy top, unwrap the sandwiches during the last 5 minutes of baking. This will enhance the crust and bring out the flavors in the Baked Italian Sub Sandwiches.
-
Taste Adjustment: Feel free to adjust the pepperoncini according to your heat preference. Too few can make the sandwich bland.
-
Pastry Brush: Invest in a good pastry brush for applying the oil mixture evenly. This ensures every part of the bread gets flavor and crispiness.
What to Serve with Baked Italian Sub Sandwiches
Elevate your dining experience by pairing these cheesy, savory sandwiches with delightful sides and drinks that complement their rich flavors.
-
Crispy French Fries: Their golden crunch offers a classic contrast to the gooey texture of the subs, making every bite absolutely satisfying. Dip them in your favorite sauce for an extra layer of indulgence.
-
Fresh Garden Salad: A light, refreshing salad with mixed greens, cherry tomatoes, and a vinaigrette balances the richness of the sandwich, adding a vibrant, crisp element to the meal.
-
Garlic Breadsticks: These buttery breadsticks enhance the Italian theme and create a heavenly pairing with the sandwich’s savory flavors. Plus, who can resist tearing into warm, cheesy bread?
-
Vegetable Platter: Include a colorful array of fresh veggies like bell peppers, carrots, and cucumbers with a zesty dip. The crunch and freshness provide a wonderful textural contrast!
-
Chips and Salsa: The salty crunch of tortilla chips with a zesty salsa brings a fun element to the meal, offering a burst of flavor that mingles beautifully with the sandwich.
-
Iced Tea or Lemonade: A refreshing glass helps cleanse the palate between bites, and the slight sweetness contrasts perfectly with the savory subs, making each mouthful even more enjoyable.
-
Chocolate Chip Cookies: Balance the meal with a sweet treat! These warm, gooey cookies provide a comforting finish and are always a family favorite.
Serve these alongside your Baked Italian Sub Sandwiches for a well-rounded, delicious meal that everyone will love!
Baked Italian Sub Sandwiches Recipe FAQs
What type of Italian bread should I use?
I recommend using fresh Italian bread for the best texture and flavor. You can substitute with hoagie rolls or ciabatta if you prefer a different texture. Just ensure whatever bread you choose is fresh to prevent the sandwich from turning soggy.
Advertisement
How should I store leftover Baked Italian Sub Sandwiches?
Once they’ve cooled completely, store your leftover sandwiches in an airtight container in the refrigerator for up to 3 days. This helps to keep the bread from drying out. You can also wrap them individually in foil or parchment paper if you prefer!
Can I freeze Baked Italian Sub Sandwiches?
Absolutely! You can freeze unbaked or baked sandwiches. Wrap them tightly in plastic wrap and then in aluminum foil to prevent freezer burn. They can last up to 3 months in the freezer. For the best results, thaw in the refrigerator before baking or reheating them.
What can I do if my sandwich turns out soggy?
To avoid a soggy sandwich, make sure to evenly layer your fillings and avoid overloading on moist ingredients. Using fresh bread is key, and letting the finished sandwiches bake uncovered for the last few minutes can help achieve that crispy finish.
Are Baked Italian Sub Sandwiches suitable for kids?
Yes! These sandwiches often become a favorite for kids because of their cheesy and savory filling. You can also involve them in the preparation process, allowing them to choose their favorite meats and veggies, making it a fun family activity in the kitchen.
What substitutions can I make for dietary restrictions?
If you’re looking for lighter options, you can swap out salami and ham for turkey or chicken. For cheese, mozzarella or cheddar work well. Additionally, feel free to leave out the pepperoncini if spice isn’t your thing. Just tailor the ingredients to fit your family’s tastes or dietary needs!

Heavenly Baked Italian Sub Sandwiches for Cozy Family Nights
Ingredients
Equipment
Method
- Preheat your oven to 350°F (175°C) to achieve the perfect baking temperature.
- Slice the Italian bread in half lengthwise to create a base for your sandwiches.
- Layer sliced salami evenly over the bottom half of the bread, followed by sliced ham and provolone cheese.
- Sprinkle the sliced pepperoncini over the provolone cheese.
- Whisk together olive oil, Italian seasoning, garlic powder, salt, and pepper in a small bowl.
- Brush the oil mixture over the cut side of the top half of the bread.
- Press the top half onto the filled bottom half, ensuring the layers are secure.
- Wrap the assembled sandwiches tightly in aluminum foil and place on a baking sheet.
- Bake for 15-20 minutes and unwrap in the last 5 minutes for a crispy finish.
- Slice the sandwiches into portions and serve warm.