Introduction to Classic Cherry Cheesecake
There’s something magical about a Classic Cherry Cheesecake that brings back memories of family gatherings and celebrations. The rich, creamy texture paired with the sweet cherry topping makes it a dessert that never fails to impress. Whether you’re looking to whip up a quick treat for a busy weeknight or want to wow your friends at a weekend barbecue, this cheesecake is your go-to solution. It’s simple enough for a novice cook yet elegant enough to make you feel like a pro. Trust me, once you try this recipe, it will become a staple in your dessert repertoire!
Why You’ll Love This Classic Cherry Cheesecake
This Classic Cherry Cheesecake is a dessert that checks all the boxes. It’s incredibly easy to make, requiring minimal effort for maximum flavor. The creamy filling melts in your mouth, while the cherry topping adds a burst of sweetness that’s simply irresistible. Plus, it’s perfect for any occasion, whether it’s a family dinner or a casual get-together. You’ll love how quickly it disappears, leaving everyone asking for seconds!
Ingredients for Classic Cherry Cheesecake
Gathering the right ingredients is the first step to creating your Classic Cherry Cheesecake. Each component plays a vital role in achieving that perfect balance of flavors and textures. Here’s what you’ll need:
- Graham cracker crumbs: These form the base of your cheesecake crust, providing a sweet and crunchy texture.
- Unsalted butter: Melted butter binds the crumbs together, adding richness to the crust.
- Granulated sugar: A touch of sugar sweetens both the crust and the filling, enhancing the overall flavor.
- Cream cheese: The star of the show! Softened cream cheese gives the cheesecake its creamy, rich texture.
- Vanilla extract: This adds a warm, aromatic flavor that complements the cream cheese beautifully.
- Eggs: Eggs help set the filling, giving it structure while keeping it smooth and creamy.
- Sour cream: This ingredient adds a tangy flavor and creaminess, balancing the sweetness of the cheesecake.
- Cherry pie filling: The crowning glory! This sweet topping adds a burst of fruity flavor and a pop of color.
For those looking to mix things up, consider these optional ingredients:
- Cocoa powder: For a chocolate twist, add some cocoa powder to the cream cheese mixture.
- Greek yogurt: Swap out sour cream for Greek yogurt for a lighter version without sacrificing creaminess.
Exact measurements for these ingredients can be found at the bottom of the article, ready for you to print and take to the kitchen!
How to Make Classic Cherry Cheesecake
Creating a Classic Cherry Cheesecake is a delightful journey that combines simple steps with delicious results. Follow these easy instructions, and you’ll have a show-stopping dessert that will impress everyone!
Step 1: Preheat the Oven
Start by preheating your oven to 325°F. This step is crucial because it ensures even baking. A properly preheated oven helps the cheesecake set correctly, giving it that perfect creamy texture. Trust me, you don’t want to skip this part!
Step 2: Prepare the Crust
In a medium bowl, combine your graham cracker crumbs, melted butter, and sugar. Mix them until everything is well blended. The key here is to press the mixture firmly into the bottom of your 9-inch springform pan. This creates a solid base that holds the cheesecake together. A good crust is the foundation of a great cheesecake!
Step 3: Bake the Crust
Pop the crust into your preheated oven and bake for about 10 minutes. This step helps to set the crust, making it nice and crispy. Once done, remove it from the oven and let it cool completely. A cool crust is essential before adding the creamy filling.
Step 4: Mix the Cream Cheese Filling
In a large mixing bowl, beat the softened cream cheese with an electric mixer until it’s smooth and creamy. Gradually add in the sugar and vanilla extract, mixing until everything is well combined. This is where the magic begins! The cream cheese should be fluffy and free of lumps for the best texture.
Step 5: Add Eggs and Sour Cream
Now, it’s time to add the eggs. Do this one at a time, mixing on low speed until just incorporated. Overmixing can lead to cracks in your cheesecake, so be gentle! After the eggs, fold in the sour cream until the mixture is smooth. This adds a lovely tanginess that balances the sweetness.
Step 6: Pour and Bake
Carefully pour the cream cheese mixture over your cooled crust. Spread it evenly with a spatula. Bake in the oven for 55-60 minutes. The center should be set but still slightly jiggly. This is the sweet spot for a creamy cheesecake!
Step 7: Cool the Cheesecake
Once baked, turn off the oven and crack the door open. Let the cheesecake cool in the oven for about an hour. This gradual cooling helps prevent cracks. After that, refrigerate it for at least 4 hours, or preferably overnight. Patience is key here!
Step 8: Top with Cherry Filling
Before serving, top your cheesecake with the cherry pie filling. Spread it evenly over the surface, allowing those vibrant cherries to shine. This final touch not only adds flavor but also makes your cheesecake look irresistible!
Tips for Success
- Use room temperature cream cheese for a smoother filling.
- Don’t overmix the batter; mix just until combined to avoid cracks.
- Let the cheesecake cool gradually in the oven to prevent sudden temperature changes.
- For a cleaner slice, use a hot knife to cut through the cheesecake.
- Chill the cheesecake overnight for the best flavor and texture.
Equipment Needed
- 9-inch springform pan: Essential for easy removal; a regular cake pan works too, but it may be harder to serve.
- Electric mixer: For smooth cream cheese; a whisk can work, but it requires more effort.
- Mixing bowls: Use at least two; any size will do, but larger bowls make mixing easier.
- Spatula: Perfect for spreading the filling; a wooden spoon can also do the job.
Variations of Classic Cherry Cheesecake
- Chocolate Cherry Cheesecake: Add 1/4 cup of cocoa powder to the cream cheese mixture for a rich chocolate flavor that pairs beautifully with cherries.
- Mini Cherry Cheesecakes: Use a muffin tin to create individual servings. Just adjust the baking time to about 20-25 minutes.
- Gluten-Free Version: Substitute graham cracker crumbs with gluten-free cookies or almond flour for a delicious gluten-free crust.
- Fruit Variations: Swap out cherry pie filling for other fruits like blueberries, strawberries, or even a mixed berry topping for a different twist.
- Vegan Cherry Cheesecake: Use cashew cream or silken tofu in place of cream cheese and coconut cream for a dairy-free delight.
Serving Suggestions for Classic Cherry Cheesecake
- Whipped Cream: A dollop of freshly whipped cream adds a light, airy touch to each slice.
- Chocolate Shavings: Sprinkle some chocolate shavings on top for an elegant presentation.
- Coffee: Pair with a rich cup of coffee to balance the sweetness.
- Fresh Berries: Serve with a side of fresh berries for a pop of color and flavor.
- Mint Leaves: Garnish with mint leaves for a refreshing finish.
FAQs about Classic Cherry Cheesecake
As you embark on your journey to create the perfect Classic Cherry Cheesecake, you might have a few questions. Here are some common queries that can help you along the way:
Can I use fresh cherries instead of cherry pie filling?
Absolutely! Fresh cherries can be a delightful alternative. Just make sure to pit and slice them, then toss them with a bit of sugar to enhance their sweetness before topping your cheesecake.
How do I store leftover cheesecake?
Store any leftover cheesecake in an airtight container in the refrigerator. It should stay fresh for about 3-5 days. Just remember to add the cherry topping right before serving for the best flavor!
Can I freeze Classic Cherry Cheesecake?
Yes, you can freeze it! Wrap the cheesecake tightly in plastic wrap and then in aluminum foil. It can last up to 2 months in the freezer. Thaw it in the fridge overnight before serving.
What can I substitute for cream cheese?
If you’re looking for a lighter option, you can use Greek yogurt or a vegan cream cheese alternative. Just keep in mind that the texture and flavor may vary slightly.
Why did my cheesecake crack?
Cracks can happen for a few reasons, like overmixing the batter or sudden temperature changes. To avoid this, mix just until combined and let the cheesecake cool gradually in the oven.
Final Thoughts
Making a Classic Cherry Cheesecake is more than just baking; it’s about creating memories. The joy of sharing this creamy, dreamy dessert with family and friends is unmatched. Each slice brings smiles and compliments, turning any gathering into a celebration. Plus, the satisfaction of mastering this recipe is a win for any home cook. Whether it’s a special occasion or a simple weeknight treat, this cheesecake is sure to impress. So roll up your sleeves, gather your ingredients, and let the magic unfold in your kitchen. You won’t regret it!
Advertisement
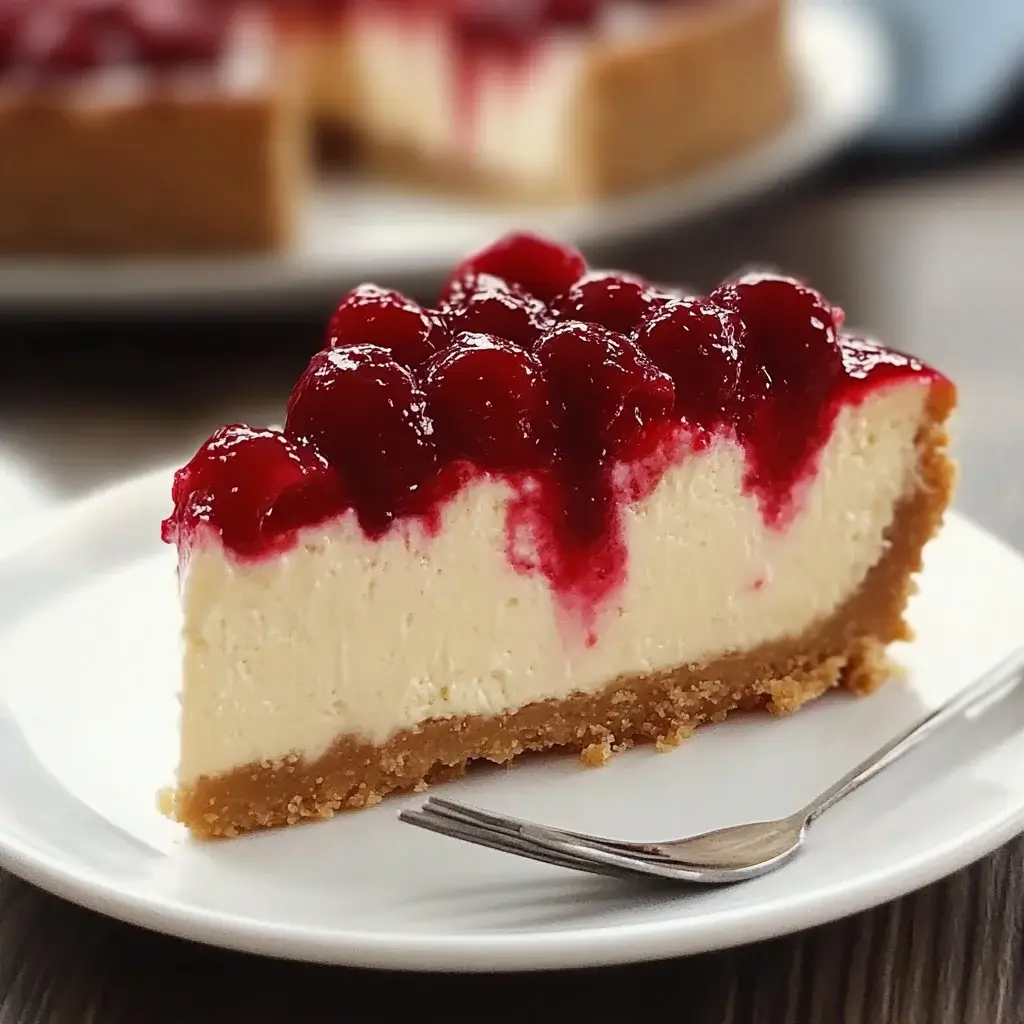
Classic Cherry Cheesecake is a Must-Try Delight!
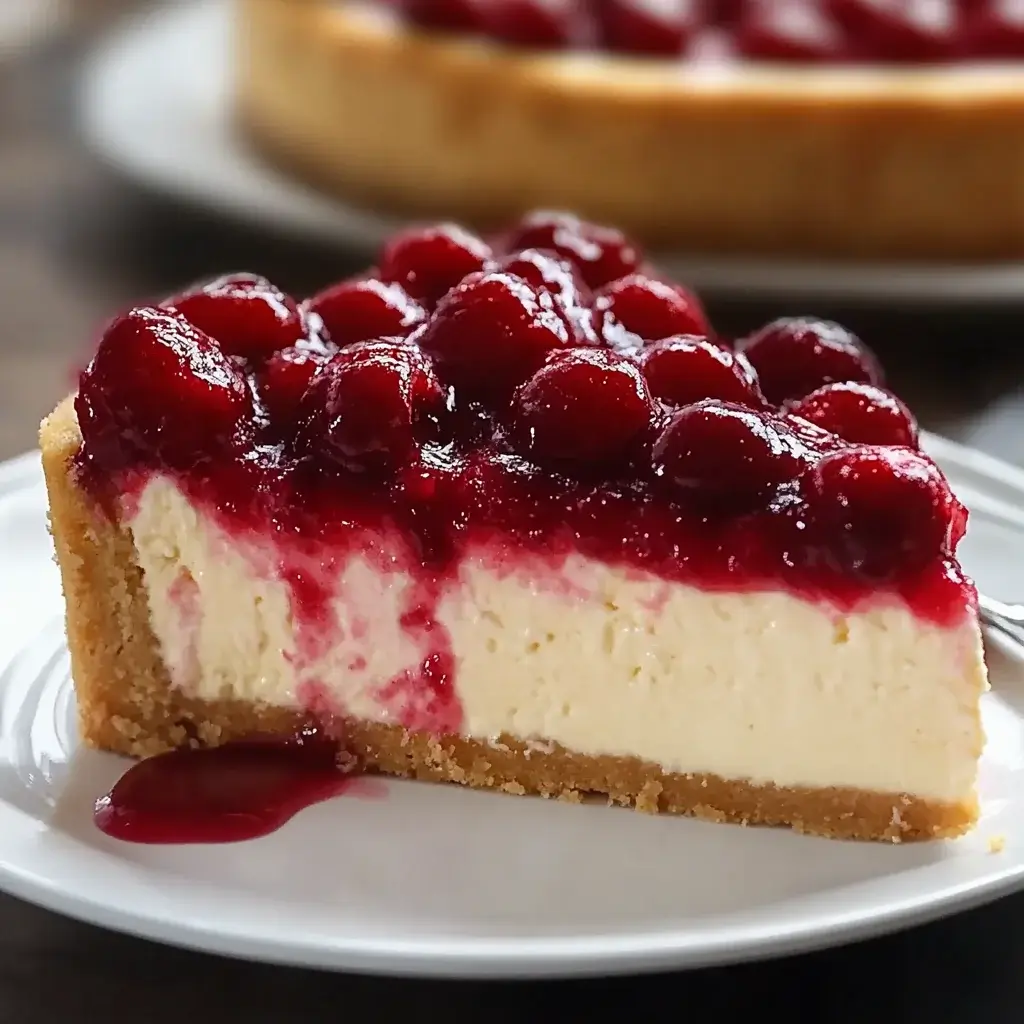
Classic Cherry Cheesecake is a rich and creamy dessert topped with sweet cherry pie filling, perfect for any occasion.
- Prep Time: 20 minutes
- Cook Time: 1 hour
- Total Time: 5 hours 20 minutes
- Yield: 8 servings 1x
- Category: Dessert
- Method: Baking
- Cuisine: American
- Diet: Vegetarian
Ingredients
- 2 cups graham cracker crumbs
- 1/2 cup unsalted butter, melted
- 1/4 cup granulated sugar
- 2 (8-ounce) packages cream cheese, softened
- 1 cup granulated sugar
- 1 teaspoon vanilla extract
- 3 large eggs
- 1 cup sour cream
- 1 can (21 ounces) cherry pie filling
Instructions
- Preheat the oven to 325°F.
- In a medium bowl, combine graham cracker crumbs, melted butter, and 1/4 cup sugar. Mix until well combined.
- Press the mixture firmly into the bottom of a 9-inch springform pan to form the crust. Bake for 10 minutes, then remove from the oven and let cool.
- In a large mixing bowl, beat the softened cream cheese with an electric mixer until smooth and creamy.
- Gradually add 1 cup sugar and vanilla extract, mixing until well combined.
- Add the eggs one at a time, mixing on low speed until just incorporated. Do not overmix.
- Fold in the sour cream until smooth.
- Pour the cream cheese mixture over the cooled crust in the springform pan.
- Bake in the preheated oven for 55-60 minutes, or until the center is set but slightly jiggly.
- Turn off the oven, crack the door open, and let the cheesecake cool in the oven for 1 hour.
- Remove the cheesecake from the oven and refrigerate for at least 4 hours, preferably overnight.
- Before serving, top with cherry pie filling.
Notes
- For a chocolate twist, add 1/4 cup of cocoa powder to the cream cheese mixture.
- For a lighter version, substitute Greek yogurt for sour cream and use a low-fat cream cheese.
Nutrition
- Serving Size: 1 slice
- Calories: 350
- Sugar: 25g
- Fat: 24g
- Carbohydrates: 25g
- Protein: 6g