Introduction to White Russian Poke Cake
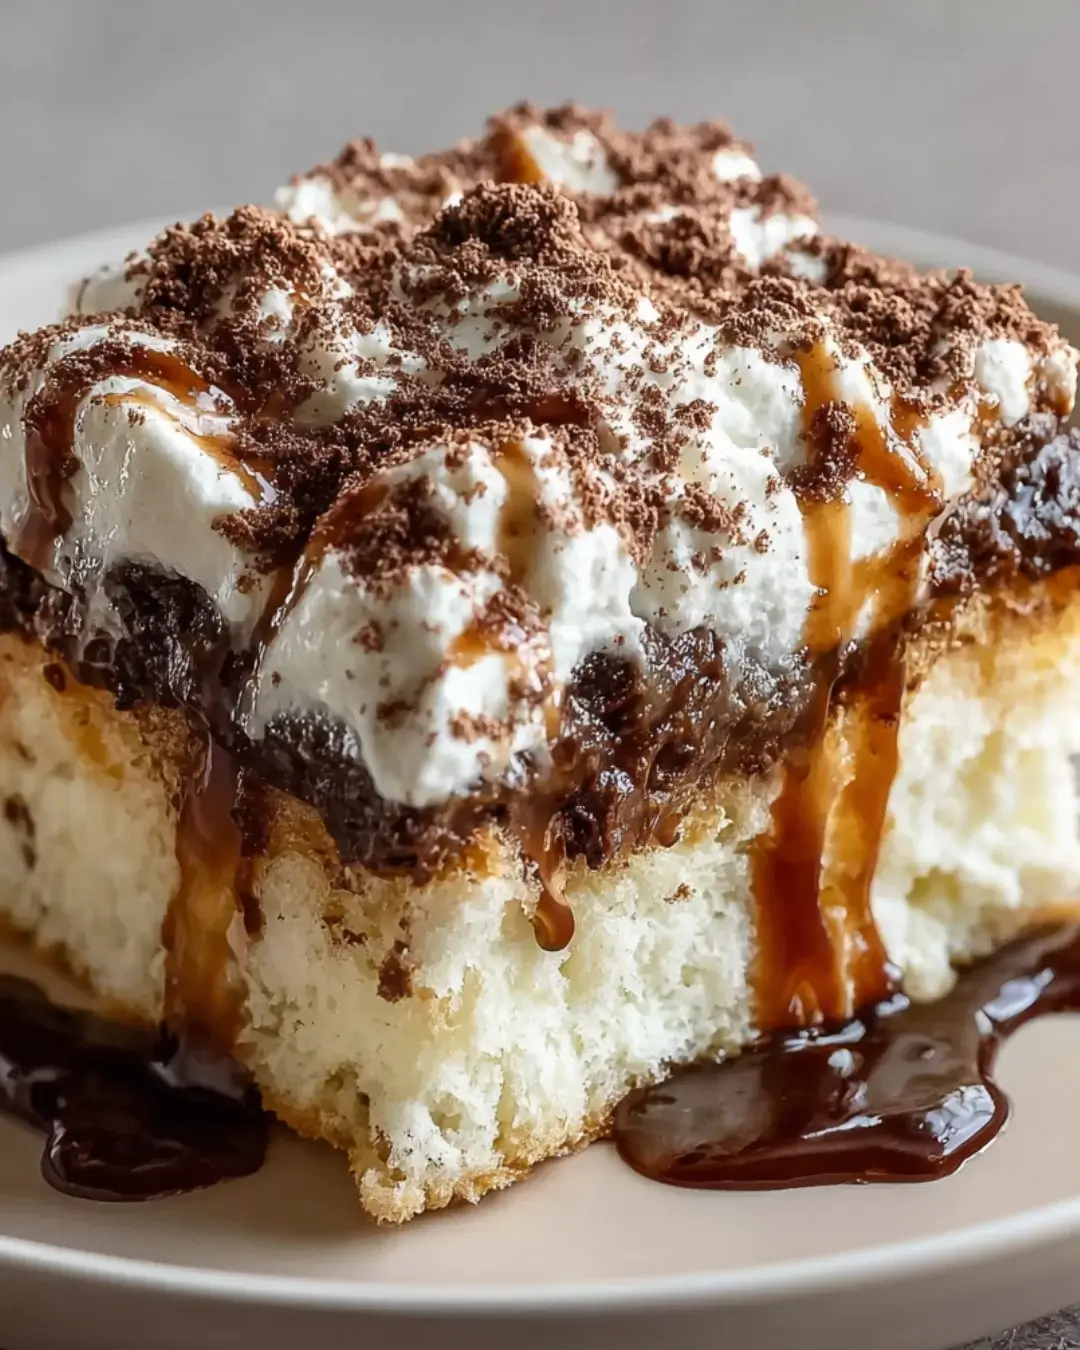
There’s something magical about a poke cake, especially when it’s a White Russian Poke Cake. This dessert combines the rich flavors of coffee and liqueur, making it a delightful treat for any occasion. I remember the first time I made a poke cake; it was a hit at a family gathering. Everyone loved how the flavors melded together, and I felt like a kitchen rock star! This recipe is perfect for those busy days when you want to impress your loved ones without spending hours in the kitchen. Trust me, they’ll be asking for seconds!
Why You’ll Love This White Russian Poke Cake
This White Russian Poke Cake is a game-changer for dessert lovers. It’s incredibly easy to make, requiring minimal effort while delivering maximum flavor. The combination of coffee and liqueur creates a rich, indulgent taste that will have your friends and family raving. Plus, it’s a make-ahead treat, perfect for those busy weeknights or last-minute gatherings. You’ll love how it transforms simple ingredients into a show-stopping dessert!
Ingredients for White Russian Poke Cake
Gathering the right ingredients is the first step to creating your White Russian Poke Cake. Here’s what you’ll need:
- All-purpose flour: The backbone of your cake, providing structure and texture.
- Granulated sugar: Sweetens the cake and helps it rise, giving it that perfect fluffiness.
- Unsweetened cocoa powder: Adds a rich chocolate flavor, balancing the coffee notes beautifully.
- Baking powder: This leavening agent ensures your cake rises to perfection.
- Salt: Enhances the flavors, making everything taste more vibrant.
- Whole milk: Keeps the cake moist and adds creaminess to the batter.
- Vegetable oil: Contributes to a tender crumb and keeps the cake from drying out.
- Large eggs: Bind the ingredients together and add richness.
- Vanilla extract: A classic flavor enhancer that rounds out the cake’s taste.
- Brewed coffee: The star of the show, infusing the cake with deep coffee flavor.
- Coffee liqueur (like Kahlúa): Adds a delightful kick and enhances the coffee notes.
- Heavy cream: For whipping into a luscious topping that complements the cake.
- Powdered sugar: Sweetens the whipped cream and helps it hold its shape.
- Chocolate shavings or cocoa powder: Optional garnishes that add a touch of elegance.
For those looking for alternatives, you can swap the coffee liqueur with more brewed coffee or a coffee-flavored syrup for a non-alcoholic version. If you want to elevate your dessert, consider adding a layer of chocolate ganache on top of the whipped cream. The exact quantities for each ingredient are listed at the bottom of the article for easy printing!
How to Make White Russian Poke Cake
Creating your White Russian Poke Cake is a straightforward process that will have your kitchen smelling divine. Follow these simple steps, and you’ll be on your way to a dessert that’s sure to impress!
Step 1: Preheat and Prepare
Start by preheating your oven to 350°F (175°C). While that’s heating up, grab a 9×13-inch baking pan and grease it with butter or cooking spray. A light dusting of flour will help the cake release easily later.
Step 2: Mix Dry Ingredients
In a large mixing bowl, whisk together the all-purpose flour, granulated sugar, cocoa powder, baking powder, and salt. This step is crucial; it ensures that all the dry ingredients are evenly distributed, which leads to a perfectly textured cake.
Step 3: Combine Wet Ingredients
In another bowl, mix the whole milk, vegetable oil, eggs, and vanilla extract. Whisk them together until they’re well combined. The oil adds moisture, while the eggs provide richness, making your cake tender and delicious.
Step 4: Combine Mixtures
Now, gradually add the wet ingredients to the dry ingredients. Stir gently until just combined. Be careful not to overmix; a few lumps are perfectly fine. This will keep your cake light and fluffy!
Step 5: Bake the Cake
Pour the batter into your prepared baking pan, spreading it evenly. Bake for 30-35 minutes, or until a toothpick inserted in the center comes out clean. The aroma of chocolate and coffee will fill your kitchen, making it hard to wait!
Step 6: Poke Holes
Once the cake is baked, remove it from the oven and let it cool for about 10 minutes. While it’s still warm, use a fork or skewer to poke holes all over the top. This step is essential for allowing the coffee mixture to soak in, creating that signature poke cake texture.
Step 7: Soak with Coffee Mixture
In a small bowl, mix together the brewed coffee and coffee liqueur. Pour this mixture evenly over the top of the cake, ensuring it seeps into those holes. This is where the magic happens, infusing the cake with rich coffee flavor.
Step 8: Cool and Refrigerate
Let the cake cool completely at room temperature. Once cooled, refrigerate it for at least 2 hours. This chilling time allows the flavors to meld beautifully, making each bite a delightful experience.
Step 9: Prepare Whipped Cream
Before serving, whip the heavy cream with powdered sugar and vanilla extract until soft peaks form. This fluffy topping is the perfect complement to the rich cake, adding a lightness that balances the flavors.
Step 10: Garnish and Serve
Spread the whipped cream over the top of the chilled cake. For an extra touch, garnish with chocolate shavings or a dusting of cocoa powder. Cut into squares and serve. Get ready for the compliments to roll in!
Tips for Success
- Use room temperature ingredients for better mixing and a fluffier cake.
- Don’t skip the chilling step; it enhances the flavor and texture.
- For a richer taste, use freshly brewed coffee instead of instant.
- Experiment with different coffee liqueurs for unique flavor profiles.
- Make it a day ahead; the flavors deepen overnight!
Equipment Needed
- 9×13-inch baking pan: Essential for baking the cake; a similar-sized dish works too.
- Mixing bowls: Use any size; just ensure they’re large enough for your ingredients.
- Whisk: A hand whisk is perfect, but an electric mixer speeds things up.
- Fork or skewer: For poking holes; a toothpick can work in a pinch.
- Measuring cups and spoons: Accurate measurements are key for baking success.
Variations
- Non-Alcoholic Version: Substitute the coffee liqueur with additional brewed coffee or a coffee-flavored syrup for a family-friendly treat.
- Chocolate Ganache: Add a layer of rich chocolate ganache on top of the whipped cream for an indulgent twist.
- Nutty Addition: Fold in chopped nuts like walnuts or pecans into the batter for added texture and flavor.
- Flavored Whipped Cream: Infuse the whipped cream with a splash of flavored extract, like hazelnut or almond, for a unique touch.
- Gluten-Free Option: Use a gluten-free all-purpose flour blend to make this cake suitable for gluten-sensitive friends.
Serving Suggestions
- Pair with a scoop of vanilla ice cream for a delightful contrast in temperature and texture.
- Serve alongside a strong cup of coffee to enhance the cake’s rich flavors.
- For a festive touch, add fresh berries on the side for a pop of color.
- Present on a decorative platter, garnished with mint leaves for an elegant look.
FAQs about White Russian Poke Cake
Can I make this White Russian Poke Cake ahead of time?
Absolutely! In fact, making it a day ahead enhances the flavors. Just keep it covered in the refrigerator until you’re ready to serve.
What can I substitute for coffee liqueur?
If you prefer a non-alcoholic version, simply replace the coffee liqueur with more brewed coffee or a coffee-flavored syrup. It will still taste fantastic!
How should I store leftover cake?
Store any leftovers in an airtight container in the refrigerator. It should stay fresh for about 3-4 days, but trust me, it won’t last that long!
Can I freeze the White Russian Poke Cake?
Yes, you can freeze it! Just make sure to wrap it tightly in plastic wrap and then in aluminum foil. It can be frozen for up to 2 months. Thaw it in the fridge before serving.
What’s the best way to serve this cake?
Serve it chilled, topped with whipped cream and garnished with chocolate shavings or cocoa powder. Pair it with a strong cup of coffee for the ultimate experience!
Final Thoughts
Creating a White Russian Poke Cake is more than just baking; it’s about crafting a memorable experience. The rich flavors of coffee and liqueur blend seamlessly, making each bite a delightful journey. I love how this cake brings people together, whether it’s a casual weeknight dessert or a centerpiece for a special occasion. The joy of watching friends and family savor each slice is truly rewarding. Plus, the ease of preparation means you can focus on what really matters—enjoying good company and great conversations. Trust me, this cake will become a cherished favorite in your home!
Advertisement
White Russian Poke Cake: A Delicious Twist Awaits You!
A delicious twist on the classic poke cake, infused with coffee and coffee liqueur for a rich flavor.
- Prep Time: 20 minutes
- Cook Time: 35 minutes
- Total Time: 2 hours 55 minutes
- Yield: 12 servings 1x
- Category: Dessert
- Method: Baking
- Cuisine: American
- Diet: Vegetarian
Ingredients
- 2 cups all-purpose flour
- 1 ½ cups granulated sugar
- ½ cup unsweetened cocoa powder
- 1 tablespoon baking powder
- ½ teaspoon salt
- 1 cup whole milk
- ½ cup vegetable oil
- 2 large eggs
- 2 teaspoons vanilla extract
- 1 cup brewed coffee, cooled
- ½ cup coffee liqueur (like Kahlúa)
- 1 cup heavy cream
- 2 tablespoons powdered sugar
- 1 teaspoon vanilla extract
- Chocolate shavings or cocoa powder for garnish (optional)
Instructions
- Preheat your oven to 350°F (175°C). Grease and flour a 9×13-inch baking pan.
- In a large mixing bowl, whisk together the flour, sugar, cocoa powder, baking powder, and salt until well combined.
- In another bowl, mix the milk, vegetable oil, eggs, and vanilla extract. Gradually add the wet ingredients to the dry ingredients, stirring until just combined.
- Pour the batter into the prepared baking pan and spread it evenly. Bake for 30-35 minutes, or until a toothpick inserted in the center comes out clean.
- Once the cake is baked, remove it from the oven and let it cool in the pan for about 10 minutes.
- While the cake is still warm, use a fork or skewer to poke holes all over the top of the cake.
- In a small bowl, mix together the brewed coffee and coffee liqueur. Pour this mixture evenly over the top of the cake, allowing it to soak in.
- Let the cake cool completely at room temperature, then refrigerate for at least 2 hours to allow the flavors to meld.
- Before serving, whip the heavy cream with the powdered sugar and vanilla extract until soft peaks form. Spread the whipped cream over the top of the chilled cake.
- Garnish with chocolate shavings or a dusting of cocoa powder, if desired. Cut into squares and serve.
Notes
- For a non-alcoholic version, substitute the coffee liqueur with additional brewed coffee or a coffee-flavored syrup.
- Add a layer of chocolate ganache on top of the whipped cream for an extra indulgent treat.
Nutrition
- Serving Size: 1 slice
- Calories: 320
- Sugar: 20g
- Sodium: 200mg
- Fat: 15g
- Saturated Fat: 7g
- Unsaturated Fat: 8g
- Trans Fat: 0g
- Carbohydrates: 40g
- Fiber: 2g
- Protein: 4g
- Cholesterol: 50mg