Introduction to No-Bake Cherry Cheesecake
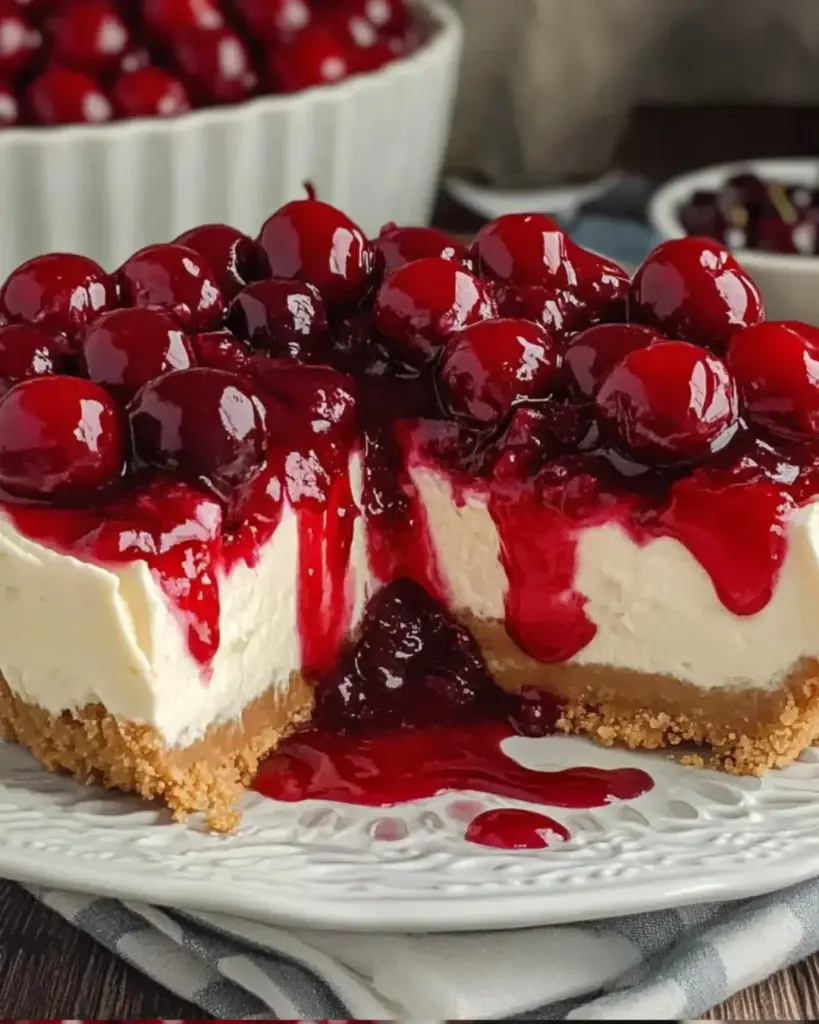
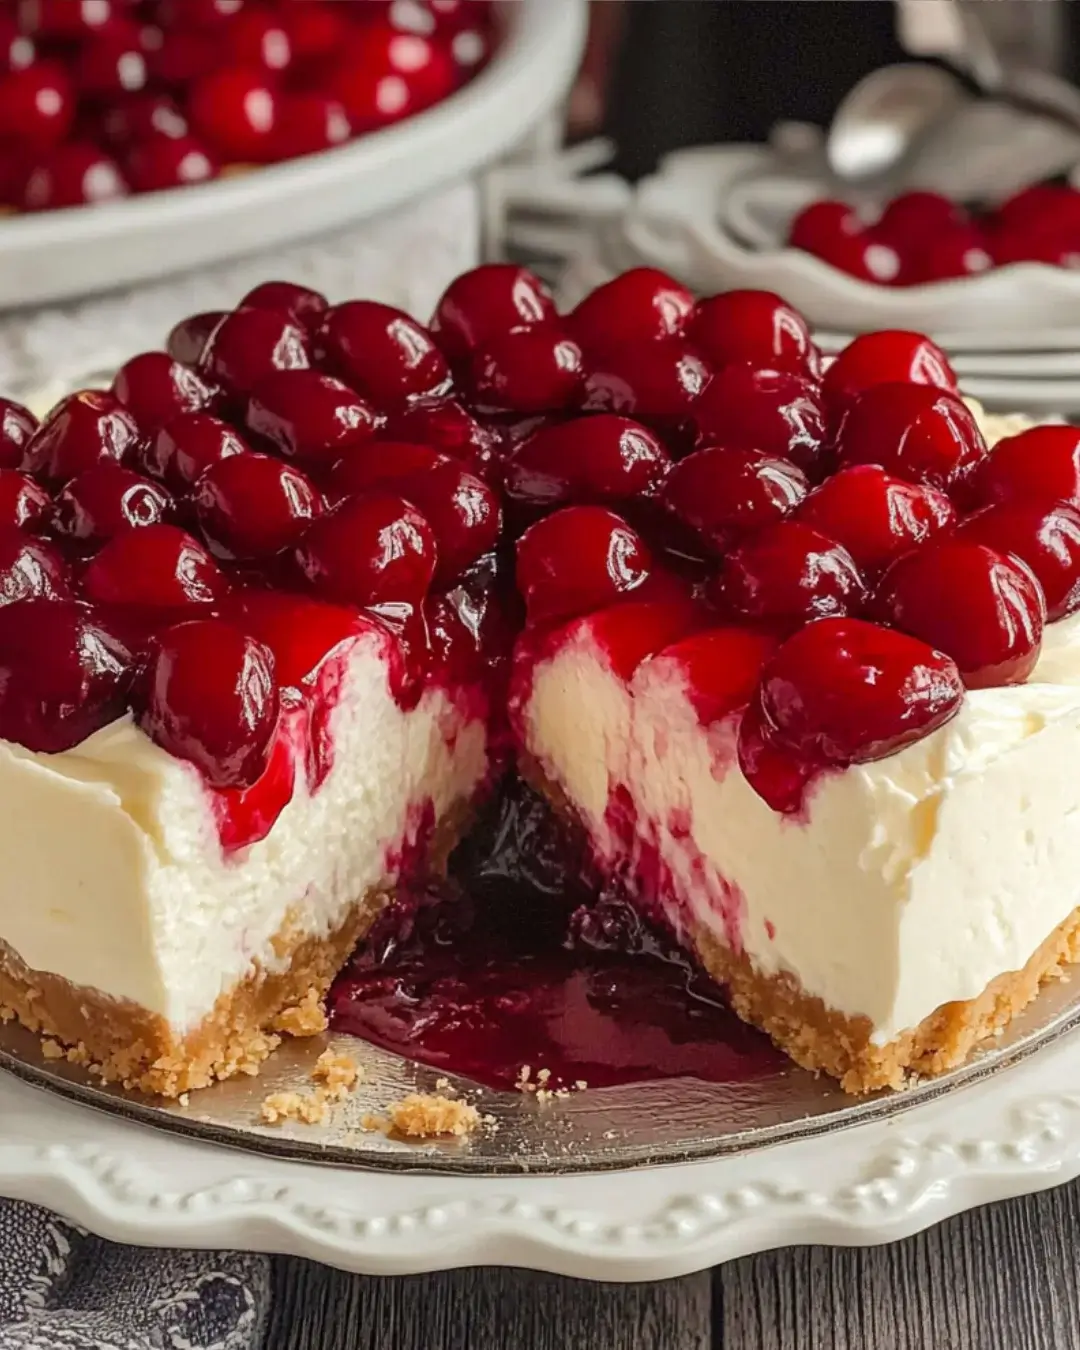
There’s something magical about desserts that require no baking. The *No-Bake Cherry Cheesecake* is one of those delightful treats that can turn an ordinary day into a special occasion. I remember the first time I made this cheesecake; it was a hot summer evening, and I wanted something sweet without heating up the kitchen. This recipe is perfect for busy days or when you want to impress your loved ones without breaking a sweat. With its creamy texture and vibrant cherry topping, it’s a dessert that brings smiles and satisfaction with every bite.
Why You’ll Love This No-Bake Cherry Cheesecake
This *No-Bake Cherry Cheesecake* is a game-changer for dessert lovers. It’s incredibly easy to whip up, taking just 15 minutes of prep time. No oven required means you can enjoy a delicious treat without the heat. The creamy filling paired with the sweet cherry topping creates a flavor explosion that’s hard to resist. Plus, it’s a crowd-pleaser, making it perfect for gatherings or a cozy night in.
Ingredients for No-Bake Cherry Cheesecake
Gathering the right ingredients is the first step to creating your *No-Bake Cherry Cheesecake*. Here’s what you’ll need:
- Graham cracker crumbs: These form the base of your cheesecake crust, providing a sweet and crunchy texture.
- Unsalted butter: Melted butter binds the crumbs together, ensuring a firm crust that holds its shape.
- Cream cheese: The star of the show! Softened cream cheese gives the cheesecake its rich and creamy texture.
- Powdered sugar: This sweetens the filling and helps achieve that smooth consistency we all love.
- Vanilla extract: A splash of vanilla adds depth and enhances the overall flavor of the cheesecake.
- Heavy whipping cream: Whipped to perfection, it lightens the cream cheese mixture, making it airy and delightful.
- Cherry pie filling: The crowning glory! This sweet and tangy topping adds a burst of flavor and color.
For those looking to mix things up, consider these options:
- Chocolate twist: Add cocoa powder to the cream cheese mixture for a chocolatey delight.
- Fruit substitutions: Swap the cherry pie filling for blueberry or strawberry for a different fruity experience.
Exact measurements for each ingredient can be found at the bottom of the article, ready for printing!
How to Make No-Bake Cherry Cheesecake
Creating your *No-Bake Cherry Cheesecake* is a breeze! Follow these simple steps, and you’ll have a delicious dessert ready to impress. Let’s dive in!
Step 1: Prepare the Crust
Start by mixing graham cracker crumbs with melted butter in a medium bowl. The mixture should be crumbly yet hold together when pressed. Firmly press this mixture into the bottom of a 9-inch springform pan. This forms the base of your cheesecake. Refrigerate it for about 15 minutes to set. This step is crucial for a sturdy crust!
Step 2: Make the Cream Cheese Mixture
In a large mixing bowl, beat the softened cream cheese with an electric mixer until it’s smooth and creamy. Gradually add in the powdered sugar and vanilla extract. Mix until everything is fully incorporated. This creamy filling is what makes your cheesecake so delightful!
Step 3: Whip the Cream
In a separate bowl, whip the heavy cream until stiff peaks form. This means when you lift the whisk, the cream holds its shape. Gently fold the whipped cream into the cream cheese mixture. Be careful not to deflate the whipped cream; you want that light, airy texture!
Step 4: Combine and Spread
Now, spread the cream cheese mixture evenly over the chilled crust in the springform pan. Use a spatula to smooth the top. This is where the magic happens! The creamy filling will create a beautiful layer over the crust.
Step 5: Chill and Serve
Refrigerate the cheesecake for at least 4 hours, or until it’s set. Once it’s firm, spread the cherry pie filling evenly over the top. Slice it up and serve chilled. Each bite will be a delightful explosion of flavors!

Tips for Success
- Make sure your cream cheese is at room temperature for easy mixing.
- Use a springform pan for easy removal and a beautiful presentation.
- Chill the cheesecake overnight for the best texture and flavor.
- Experiment with different fruit toppings to keep things exciting.
- For a firmer cheesecake, add a bit of gelatin to the cream cheese mixture.
Equipment Needed
- 9-inch springform pan: Ideal for easy removal; a regular pie dish works too.
- Mixing bowls: Use medium and large bowls for mixing ingredients.
- Electric mixer: A hand mixer is perfect; a whisk can work if you’re up for a workout!
- Spatula: Essential for spreading the cream cheese mixture evenly.
- Measuring cups and spoons: For accurate ingredient measurements.
Variations of No-Bake Cherry Cheesecake
- Chocolate Cherry Cheesecake: Add ¼ cup of cocoa powder to the cream cheese mixture for a rich chocolate flavor that pairs beautifully with cherries.
- Berry Medley: Swap the cherry pie filling for a mix of fresh berries like strawberries, blueberries, and raspberries for a refreshing twist.
- Nutty Delight: Incorporate crushed nuts, like pecans or walnuts, into the crust for added crunch and flavor.
- Vegan Option: Use vegan cream cheese and coconut cream instead of heavy whipping cream for a dairy-free version.
- Low-Sugar Version: Substitute powdered sugar with a sugar alternative like erythritol or stevia to reduce the sweetness.
Serving Suggestions for No-Bake Cherry Cheesecake
- Pair with a dollop of whipped cream for an extra creamy touch.
- Serve alongside fresh fruit, like strawberries or blueberries, for a colorful plate.
- Complement with a scoop of vanilla ice cream for a delightful contrast.
- Drizzle chocolate or caramel sauce on top for added indulgence.
- Garnish with mint leaves for a fresh, vibrant presentation.
FAQs about No-Bake Cherry Cheesecake
Curious about the *No-Bake Cherry Cheesecake*? Here are some common questions I often hear, along with helpful answers to guide you through your cheesecake journey!
Can I make this cheesecake ahead of time?
Absolutely! This cheesecake is perfect for making ahead. Just prepare it a day in advance and let it chill overnight. The flavors will meld beautifully, making it even more delicious!
How long does the cheesecake last in the fridge?
Your *No-Bake Cherry Cheesecake* can last up to 5 days in the fridge. Just make sure to cover it well to keep it fresh and tasty.
Can I use fresh cherries instead of pie filling?
Yes, fresh cherries can be a delightful alternative! Just pit and slice them, then toss them with a bit of sugar to enhance their sweetness before topping your cheesecake.
What if I don’t have a springform pan?
No worries! You can use a regular pie dish. Just be careful when serving, as it may be a bit trickier to slice and remove the cheesecake.
Can I freeze the cheesecake?
Yes, you can freeze it! Just wrap it tightly in plastic wrap and foil. When you’re ready to enjoy, let it thaw in the fridge overnight for the best texture.
Final Thoughts
Creating a *No-Bake Cherry Cheesecake* is more than just whipping up a dessert; it’s about sharing joy and deliciousness with those you love. Each slice is a reminder of carefree summer days and sweet gatherings. The ease of preparation means you can focus on what truly matters—making memories. Whether it’s a family dinner or a casual get-together with friends, this cheesecake is sure to impress. So, roll up your sleeves, gather your ingredients, and let the magic unfold. Trust me, the smiles and compliments will be worth every moment spent in the kitchen!
Advertisement
No-Bake Cherry Cheesecake: Delightful & Easy Recipe!
A delightful and easy no-bake cherry cheesecake recipe that is perfect for any occasion.
- Prep Time: 15 minutes
- Cook Time: 0 minutes
- Total Time: 4 hours 15 minutes
- Yield: Serves 8
- Category: Dessert
- Method: No-Bake
- Cuisine: American
- Diet: Vegetarian
Ingredients
- 1 ½ cups graham cracker crumbs
- ½ cup unsalted butter, melted
- 2 cups cream cheese, softened
- 1 cup powdered sugar
- 1 teaspoon vanilla extract
- 1 cup heavy whipping cream
- 1 can (21 ounces) cherry pie filling
Instructions
- In a medium bowl, combine graham cracker crumbs and melted butter. Mix until well combined and crumbly. Press the mixture firmly into the bottom of a 9-inch springform pan to form the crust. Refrigerate for 15 minutes to set.
- In a large mixing bowl, beat the softened cream cheese with an electric mixer until smooth and creamy. Gradually add the powdered sugar and vanilla extract, mixing until fully incorporated.
- In a separate bowl, whip the heavy cream until stiff peaks form. Gently fold the whipped cream into the cream cheese mixture until no streaks remain.
- Spread the cream cheese mixture evenly over the chilled crust in the springform pan. Smooth the top with a spatula.
- Refrigerate the cheesecake for at least 4 hours, or until set.
- Once set, spread the cherry pie filling evenly over the top of the cheesecake. Slice and serve chilled.
Notes
- For a chocolate twist, add ¼ cup of cocoa powder to the cream cheese mixture before folding in the whipped cream.
- Substitute the cherry pie filling with your favorite fruit topping, such as blueberry or strawberry, for a different flavor.
Nutrition
- Serving Size: 1 slice
- Calories: 320
- Sugar: 20g
- Sodium: 200mg
- Fat: 22g
- Saturated Fat: 12g
- Unsaturated Fat: 10g
- Trans Fat: 0g
- Carbohydrates: 30g
- Fiber: 1g
- Protein: 4g
- Cholesterol: 70mg


