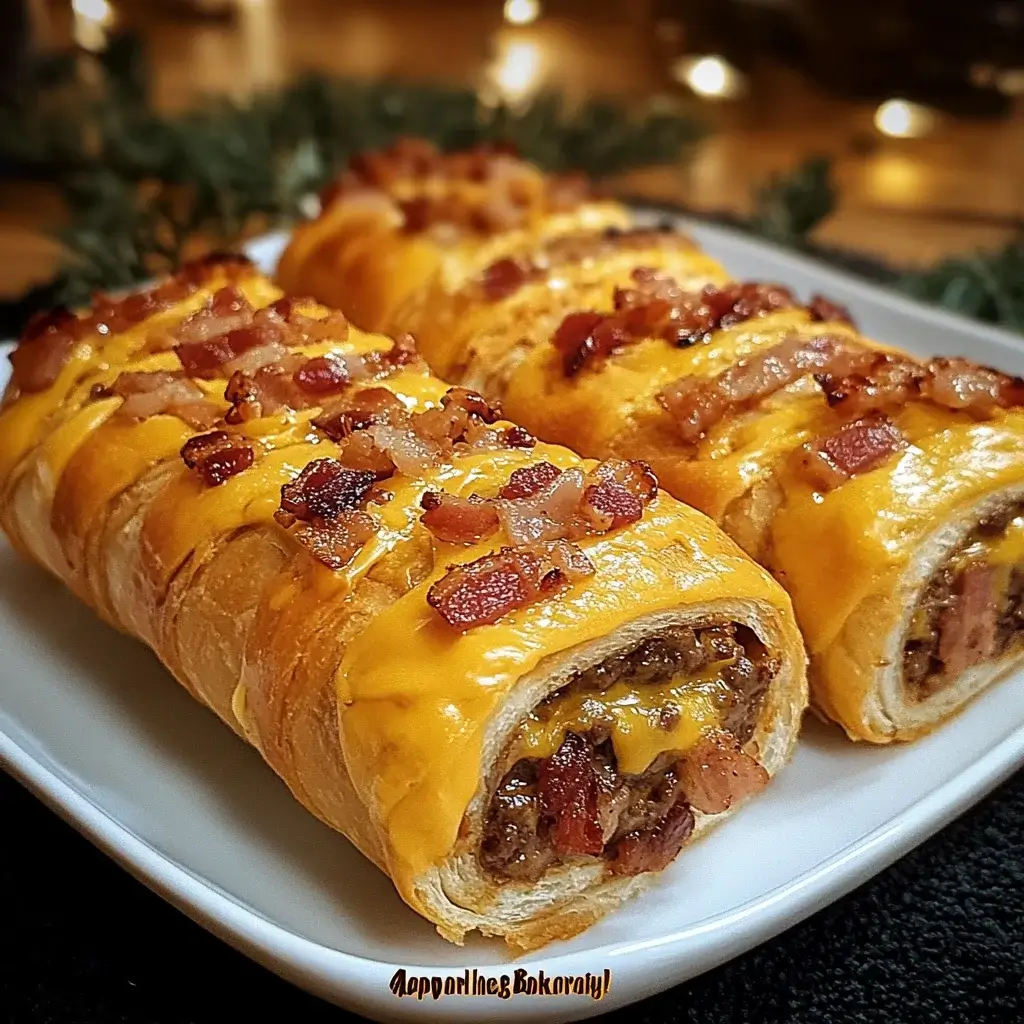
Introduction to Garlic Butter Bacon Cheeseburger Roll-Ups
There’s something magical about the combination of garlic, butter, and bacon that can turn an ordinary meal into a feast. When I first stumbled upon the idea of Garlic Butter Bacon Cheeseburger Roll-Ups, I knew I had found a winner. This recipe is not just a quick solution for a busy day; it’s a delightful way to impress your loved ones. Whether you’re hosting a game night or just craving a comforting snack, these roll-ups are sure to satisfy. Trust me, once you try them, you’ll be hooked!
Why You’ll Love This Garlic Butter Bacon Cheeseburger Roll-Ups
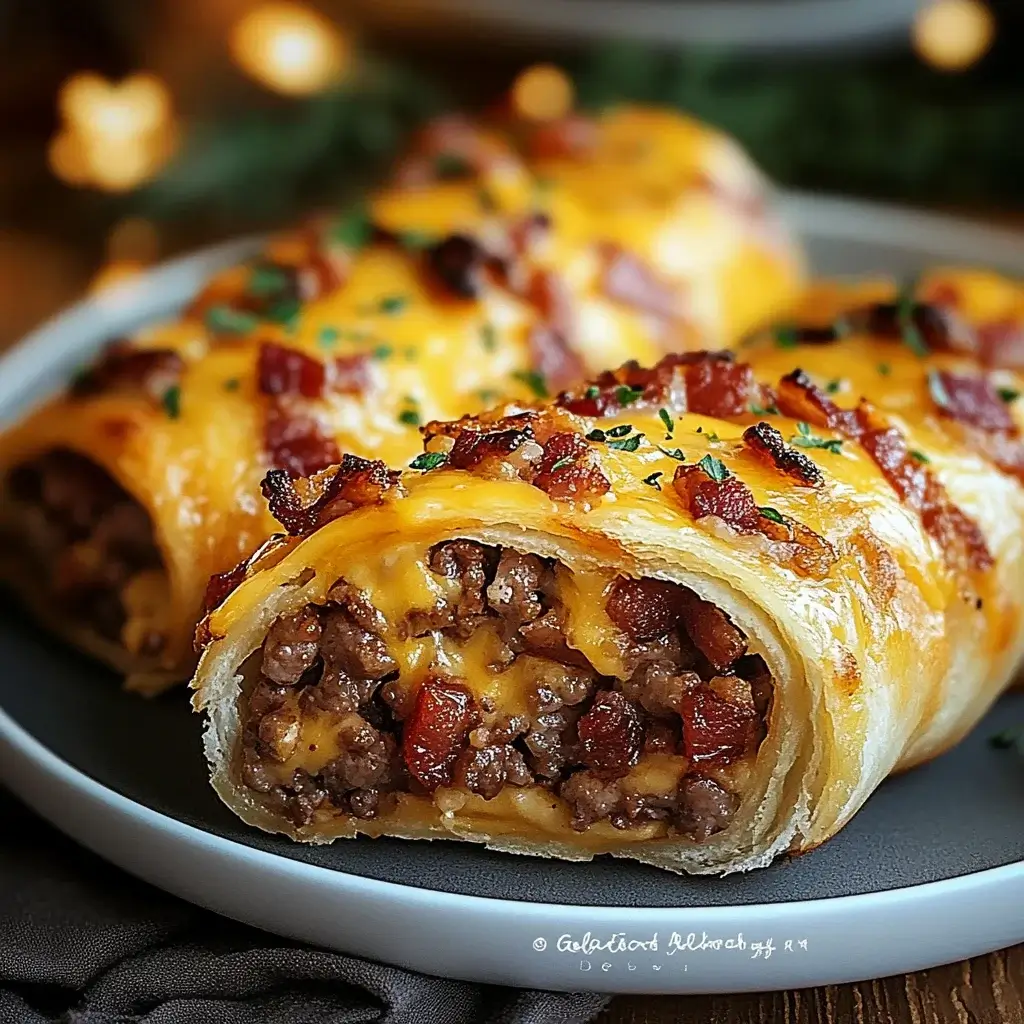
These Garlic Butter Bacon Cheeseburger Roll-Ups are a game changer in the kitchen. They come together in just 35 minutes, making them perfect for busy weeknights or last-minute gatherings. The crispy bacon and gooey cheese create a flavor explosion that’s hard to resist. Plus, they’re easy to customize, so you can make them your own. Who wouldn’t love a dish that’s quick, delicious, and sure to impress?
Ingredients for Garlic Butter Bacon Cheeseburger Roll-Ups
Gathering the right ingredients is the first step to culinary success. For these Garlic Butter Bacon Cheeseburger Roll-Ups, you’ll need a few staples that pack a punch of flavor. Here’s what you’ll need:
- Ground beef: The heart of the roll-ups, providing that classic cheeseburger taste.
- Bacon: Cooked and crumbled, it adds a smoky crunch that elevates the dish.
- Shredded cheddar cheese: Melts beautifully, creating a gooey, cheesy goodness.
- Garlic powder: A must-have for that aromatic kick that complements the beef.
- Onion powder: Enhances the savory flavor profile without the hassle of chopping onions.
- Worcestershire sauce: A splash of this sauce brings depth and umami to the mix.
- Crescent roll dough: The perfect vessel for wrapping up all that deliciousness.
- Unsalted butter: Brushed on top for a golden, crispy finish.
- Fresh parsley (optional): A sprinkle for color and a hint of freshness.
- Salt and pepper: Essential for seasoning to taste.
For those looking to spice things up, consider adding diced jalapeños to the beef mixture. If you want to switch up the cheese, pepper jack or mozzarella can offer a delightful twist. You can find the exact quantities for each ingredient at the bottom of the article, ready for printing!
How to Make Garlic Butter Bacon Cheeseburger Roll-Ups
Creating these Garlic Butter Bacon Cheeseburger Roll-Ups is a breeze! Follow these simple steps, and you’ll have a delicious appetizer that will wow your friends and family. Let’s dive in!
Step 1: Preheat the Oven
First things first, preheat your oven to 375°F (190°C). This ensures that your roll-ups bake evenly and come out perfectly golden. While the oven heats up, line a baking sheet with parchment paper. This little trick makes cleanup a snap!
Step 2: Cook the Ground Beef
In a large skillet over medium heat, cook the ground beef until it’s nicely browned. This usually takes about 5-7 minutes. Don’t forget to drain the excess fat; we want the flavor without the grease!
Step 3: Mix in Flavorings
Now, stir in the crumbled bacon, garlic powder, onion powder, Worcestershire sauce, salt, and pepper. Let this mixture cook for an additional 2 minutes. The aroma will be irresistible, and you’ll want to dive right in, but hold on!
Step 4: Prepare the Crescent Roll Dough
Unroll the crescent roll dough on a clean surface. Carefully separate it into triangles. This dough is the perfect canvas for all that cheesy, meaty goodness!
Step 5: Assemble the Roll-Ups
Spoon about 2 tablespoons of the beef mixture onto the wide end of each triangle. Don’t be shy with the filling! Then, sprinkle some shredded cheddar cheese on top. This is where the magic happens!
Step 6: Roll and Place on Baking Sheet
Starting from the wide end, roll up each triangle towards the point. Make sure to place them seam-side down on the prepared baking sheet. This helps keep everything tucked in nicely while they bake.
Step 7: Brush with Butter
Grab that melted butter and brush the tops of the roll-ups. This will give them a beautiful, golden finish and add a rich flavor. Trust me, it’s worth it!
Step 8: Bake
Pop the baking sheet into the oven and bake for 12-15 minutes or until they’re golden brown. Keep an eye on them; you want that perfect crispy exterior!
Step 9: Cool and Garnish
Once they’re out of the oven, let the roll-ups cool for a few minutes. This will help them set. If you’re feeling fancy, garnish with chopped parsley for a pop of color and freshness. Now, dig in!
Tips for Success
- Use a meat thermometer to ensure your ground beef reaches 160°F for safety.
- Don’t overfill the roll-ups; too much filling can make them hard to roll.
- Experiment with different cheeses for unique flavors—pepper jack adds a nice kick!
- Let the roll-ups cool slightly before serving to avoid burning your mouth.
- Pair with your favorite dipping sauce for an extra flavor boost!
Equipment Needed
- Large skillet: A non-stick skillet works wonders for browning the beef.
- Baking sheet: Any rimmed baking sheet will do; just line it with parchment paper.
- Spatula: Perfect for mixing and transferring the beef mixture.
- Pastry brush: Use it to apply melted butter; a spoon can work in a pinch!
Variations
- Spicy Kick: Add diced jalapeños or crushed red pepper flakes to the beef mixture for a fiery twist.
- Cheese Swap: Try using pepper jack, mozzarella, or even blue cheese for a different flavor profile.
- Veggie Delight: Incorporate finely chopped bell peppers or mushrooms into the beef mixture for added texture and flavor.
- Low-Carb Option: Use lettuce wraps instead of crescent roll dough for a lighter, low-carb version.
- Herb Infusion: Mix in fresh herbs like thyme or oregano to elevate the flavor even more.
Serving Suggestions
- Pair these roll-ups with a side of crispy sweet potato fries for a satisfying crunch.
- A fresh garden salad adds a refreshing contrast to the rich flavors.
- Serve with your favorite dipping sauces like ranch or barbecue for extra flavor.
- For drinks, a cold beer or a classic soda complements the meal perfectly.
FAQs about Garlic Butter Bacon Cheeseburger Roll-Ups
Can I make Garlic Butter Bacon Cheeseburger Roll-Ups ahead of time?
Absolutely! You can prepare the filling and assemble the roll-ups a few hours in advance. Just cover them and refrigerate until you’re ready to bake. This makes them a fantastic option for parties!
What can I serve with these roll-ups?
These roll-ups pair wonderfully with a side of crispy fries, a fresh salad, or even some tangy pickles. Dipping sauces like ranch or barbecue also elevate the experience!
Can I freeze the roll-ups?
Yes, you can freeze them! Just assemble the roll-ups, place them on a baking sheet, and freeze until solid. Then transfer them to a freezer bag. Bake from frozen, adding a few extra minutes to the cooking time.
What if I don’t have crescent roll dough?
No worries! You can use puff pastry or even homemade dough if you’re feeling adventurous. Just ensure it’s rolled out thin enough to wrap around the filling.
How can I make these roll-ups healthier?
To lighten them up, consider using lean ground turkey or chicken instead of beef. You can also swap out the cheese for a lower-fat option and use whole wheat crescent rolls for added fiber.
Final Thoughts
Making Garlic Butter Bacon Cheeseburger Roll-Ups is more than just cooking; it’s about creating moments. The joy of pulling these golden, cheesy delights from the oven is unmatched. Each bite is a burst of flavor, a reminder of cozy gatherings and laughter shared around the table. Whether you’re whipping them up for a casual weeknight dinner or a fun get-together, these roll-ups are sure to impress. They’re not just a meal; they’re an experience that brings people together. So, roll up your sleeves and dive into this delicious adventure—you won’t regret it!
Advertisement
Garlic Butter Bacon Cheeseburger Roll-Ups are irresistible!
Garlic Butter Bacon Cheeseburger Roll-Ups are irresistible!
- Prep Time: 15 minutes
- Cook Time: 20 minutes
- Total Time: 35 minutes
- Yield: 4 servings 1x
- Category: Appetizer
- Method: Baking
- Cuisine: American
- Diet: Low Carb
Ingredients
- 1 pound ground beef
- 6 slices bacon, cooked and crumbled
- 1 cup shredded cheddar cheese
- 1 teaspoon garlic powder
- 1 teaspoon onion powder
- 1 teaspoon Worcestershire sauce
- 1 can (8 oz) refrigerated crescent roll dough
- 2 tablespoons unsalted butter, melted
- 1 tablespoon fresh parsley, chopped (optional for garnish)
- Salt and pepper to taste
Instructions
- Preheat the oven to 375°F (190°C) and line a baking sheet with parchment paper.
- In a large skillet over medium heat, cook the ground beef until browned. Drain excess fat.
- Stir in the crumbled bacon, garlic powder, onion powder, Worcestershire sauce, salt, and pepper. Cook for an additional 2 minutes, then remove from heat.
- Unroll the crescent roll dough on a clean surface and separate it into triangles.
- Spoon about 2 tablespoons of the beef mixture onto the wide end of each triangle. Sprinkle with shredded cheddar cheese.
- Roll up each triangle, starting from the wide end and rolling towards the point. Place seam-side down on the prepared baking sheet.
- Brush the tops of the roll-ups with melted butter.
- Bake for 12-15 minutes or until golden brown.
- Remove from the oven and let cool for a few minutes. Garnish with chopped parsley if desired.
Notes
- For a spicy kick, add diced jalapeños to the beef mixture.
- Substitute the cheddar cheese with pepper jack or mozzarella for different flavor profiles.
Nutrition
- Serving Size: 1 roll-up
- Calories: 350
- Sugar: 1g
- Sodium: 800mg
- Fat: 28g
- Saturated Fat: 10g
- Unsaturated Fat: 18g
- Trans Fat: 0g
- Carbohydrates: 6g
- Fiber: 0g
- Protein: 20g
- Cholesterol: 70mg