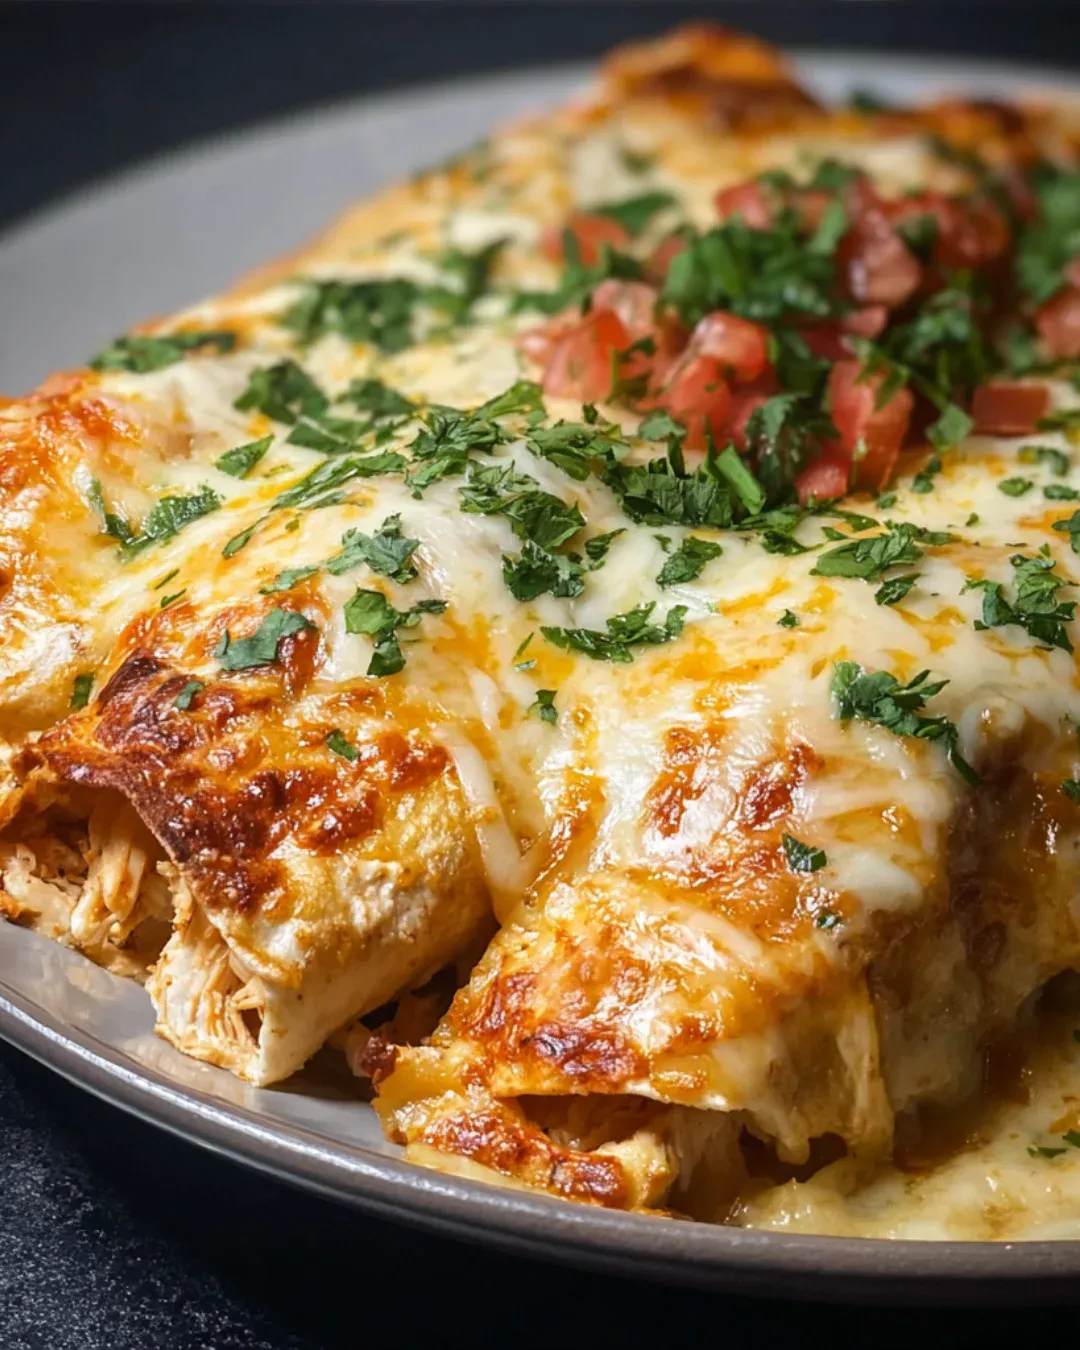
Introduction to Cheesy Queso Chicken Enchiladas
There’s something magical about the aroma of Cheesy Queso Chicken Enchiladas wafting through the kitchen.
It takes me back to family gatherings where laughter and good food filled the air.
This dish is not just a meal; it’s a warm hug on a plate.
Whether you’re looking for a quick solution after a long day or a way to impress your friends at game night, these enchiladas are your go-to.
With gooey cheese and savory chicken wrapped in soft tortillas, they’re bound to become a favorite in your home, just like they are in mine.
Why You’ll Love This Cheesy Queso Chicken Enchiladas
These Cheesy Queso Chicken Enchiladas are a game-changer for busy weeknights.
They come together in just 45 minutes, making them perfect for those evenings when time is tight.
The combination of creamy queso and tender chicken creates a flavor explosion that will have everyone asking for seconds.
Plus, they’re versatile enough to please picky eaters and adventurous palates alike.
Trust me, once you try them, they’ll be on your regular rotation!
Ingredients for Cheesy Queso Chicken Enchiladas
Creating these Cheesy Queso Chicken Enchiladas is a breeze with just a handful of ingredients.
Here’s what you’ll need:
- Cooked, shredded chicken: This is the star of the show. Use rotisserie chicken for convenience or cook your own for a fresher taste.
- Queso dip: Whether you grab a jar from the store or whip up a homemade version, this creamy goodness adds a rich flavor.
- Shredded cheddar cheese: A must for that melty, gooey topping. Feel free to mix in other cheeses like Monterey Jack for extra flavor.
- Enchilada sauce: This adds a zesty kick. You can choose mild or spicy, depending on your preference.
- Flour tortillas: Soft and pliable, they hold all the delicious fillings. Corn tortillas work too if you prefer a gluten-free option.
- Diced onion: Adds a nice crunch and sweetness when sautéed. You can swap it for shallots if you want a milder flavor.
- Diced bell pepper: This brings color and a slight sweetness. Use any color you like—red, green, or yellow.
- Olive oil: For sautéing the veggies. You can use any cooking oil you have on hand.
- Garlic powder: A quick way to infuse that garlicky goodness without the fuss of fresh garlic.
- Cumin: This spice adds warmth and depth. It’s a staple in Mexican cuisine.
- Salt and pepper: Essential for seasoning. Adjust to your taste.
- Fresh cilantro (optional): A bright garnish that adds freshness. If you’re not a fan, feel free to skip it.
For exact measurements, check the bottom of the article where you can find everything listed for easy printing.
With these ingredients, you’re well on your way to creating a dish that will wow your family and friends!
How to Make Cheesy Queso Chicken Enchiladas
Making Cheesy Queso Chicken Enchiladas is a straightforward process that anyone can master.
Follow these simple steps, and you’ll have a delicious meal ready in no time!
Step 1: Preheat the Oven
First things first, preheat your oven to 350°F (175°C).
This ensures even cooking and helps the cheese melt perfectly.
Step 2: Sauté the Vegetables
In a skillet, heat a splash of olive oil over medium heat.
Add the diced onion and bell pepper, cooking until they soften, about 5 minutes.
This step adds a lovely flavor base to your enchiladas.
Step 3: Prepare the Chicken Mixture
In a large bowl, combine the shredded chicken, sautéed onion and bell pepper, queso dip, garlic powder, cumin, salt, and pepper.
Mix everything well until it’s nicely blended.
This mixture is the heart of your enchiladas, so make sure it’s flavorful!
Step 4: Assemble the Enchiladas
Spread 1/4 cup of enchilada sauce evenly on the bottom of a 9×13 inch baking dish.
Take a tortilla, fill it with about 1/3 cup of the chicken mixture, and roll it up tightly.
Place it seam-side down in the baking dish.
Repeat this process with the remaining tortillas until the dish is full.
Step 5: Add Sauce and Cheese
Pour the remaining enchilada sauce over the rolled tortillas.
Then, sprinkle a generous amount of shredded cheddar cheese on top.
This will create that gooey, cheesy goodness we all love.
Step 6: Bake the Enchiladas
Cover the dish with aluminum foil and bake for 20 minutes.
After that, remove the foil and bake for an additional 10 minutes, or until the cheese is bubbly and golden.
Your kitchen will smell amazing!
Step 7: Serve and Enjoy
Let the enchiladas cool for a few minutes before serving.
Garnish with fresh cilantro if desired.
Now, dig in and enjoy the cheesy, savory goodness of your homemade enchiladas!

Tips for Success
- Use rotisserie chicken for a quick and easy option.
- Don’t overfill the tortillas; it makes rolling them tricky.
- Let the enchiladas cool slightly before serving to avoid burns.
- Experiment with different cheeses for unique flavors.
- For a spicier kick, add diced jalapeños to the chicken mixture.
Equipment Needed
- 9×13 inch baking dish: Essential for baking your enchiladas. A similar-sized casserole dish works too.
- Skillet: For sautéing vegetables. Any frying pan will do the job.
- Mixing bowl: To combine your chicken mixture. A large bowl or even a pot can work.
- Aluminum foil: To cover the dish while baking. Parchment paper is a good alternative.
Variations
- Vegetarian Option: Swap the chicken for black beans or sautéed vegetables like zucchini and mushrooms for a hearty, meatless meal.
- Spicy Twist: Add diced jalapeños or use a spicy queso dip to kick up the heat. Your taste buds will thank you!
- Cheese Lovers: Mix in different cheeses like pepper jack or gouda for a unique flavor profile that’s sure to impress.
- Low-Carb Version: Use lettuce wraps instead of tortillas for a lighter, low-carb alternative that still delivers on flavor.
- Southwestern Flair: Incorporate corn and black olives into the chicken mixture for a burst of color and flavor.
Serving Suggestions
- Side Salad: Pair your enchiladas with a fresh garden salad for a refreshing crunch.
- Rice and Beans: Serve with Mexican rice and black beans for a hearty meal.
- Drinks: Enjoy with a cold cerveza or a zesty margarita to complement the flavors.
- Presentation: Garnish with extra cilantro and lime wedges for a vibrant touch.
FAQs about Cheesy Queso Chicken Enchiladas
Can I make Cheesy Queso Chicken Enchiladas ahead of time?
Absolutely! You can assemble the enchiladas a day in advance and store them in the fridge. Just cover them tightly with foil. When you’re ready to bake, add a few extra minutes to the cooking time.
What can I substitute for chicken in this recipe?
If you’re looking for a vegetarian option, black beans or sautéed vegetables work great. You can also use shredded beef or pork for a different twist on the classic enchilada.
How do I store leftovers?
Store any leftover Cheesy Queso Chicken Enchiladas in an airtight container in the fridge for up to three days. Reheat in the oven or microwave until warmed through.
Can I freeze these enchiladas?
Yes! These enchiladas freeze well. Just wrap them tightly in plastic wrap and then foil. When you’re ready to enjoy, thaw in the fridge overnight and bake as directed.
What sides pair well with Cheesy Queso Chicken Enchiladas?
These enchiladas are delicious with a side of Mexican rice, refried beans, or a fresh salad. A zesty margarita or cold beer also makes for a perfect pairing!
Final Thoughts
Cooking these Cheesy Queso Chicken Enchiladas is more than just preparing a meal; it’s about creating memories.
Advertisement
The joy of pulling a bubbling dish from the oven, the aroma filling your home, and the smiles around the table are priceless.
Each bite is a delightful blend of flavors that brings everyone together, making it perfect for family dinners or casual gatherings with friends.
So, whether you’re a seasoned chef or a kitchen novice, this recipe is sure to impress.
Dive in, savor the cheesy goodness, and enjoy the warmth it brings to your home!
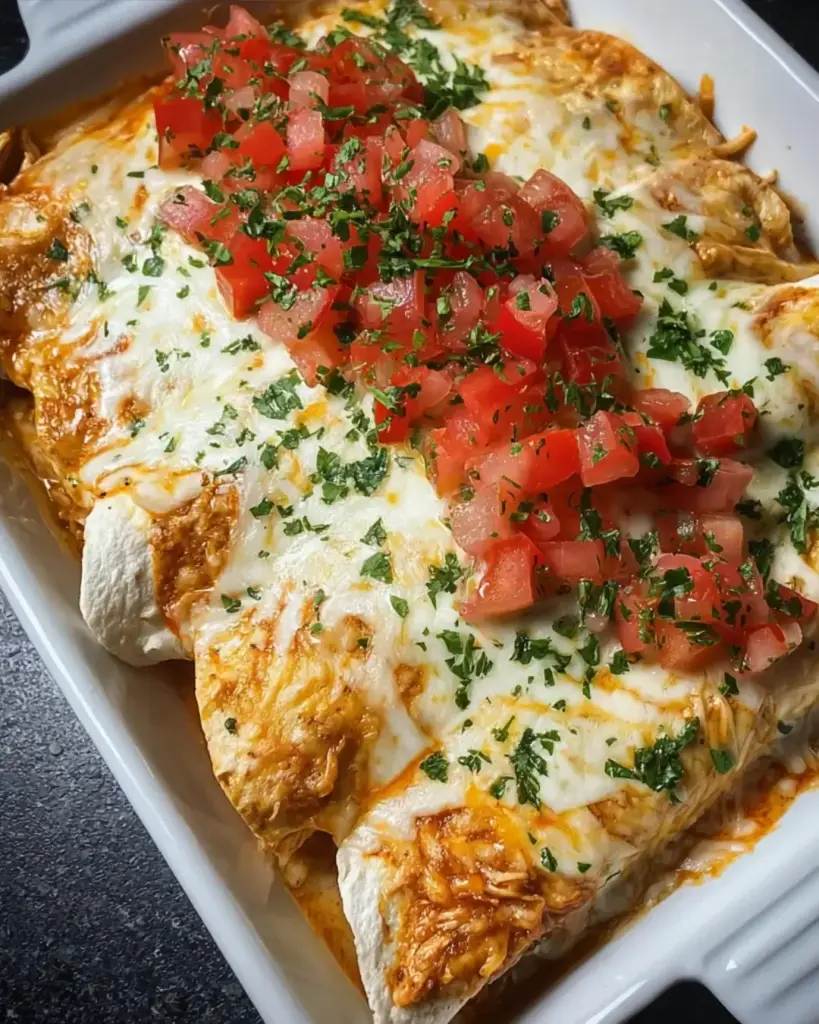
PrintCheesy Queso Chicken Enchiladas That Wow Every Time!
Delicious and cheesy chicken enchiladas topped with queso and cheddar cheese, perfect for any occasion.
- Prep Time: 15 minutes
- Cook Time: 30 minutes
- Total Time: 45 minutes
- Yield: 4 servings 1x
- Category: Main Course
- Method: Baking
- Cuisine: Mexican
- Diet: Gluten Free
Ingredients
- 2 cups cooked, shredded chicken
- 1 cup queso dip (store-bought or homemade)
- 1 cup shredded cheddar cheese
- 1 can (10 oz) enchilada sauce
- 8 small flour tortillas
- 1/2 cup diced onion
- 1/2 cup diced bell pepper
- 1 tablespoon olive oil
- 1 teaspoon garlic powder
- 1 teaspoon cumin
- Salt and pepper to taste
- Fresh cilantro for garnish (optional)
Instructions
- Preheat your oven to 350°F (175°C).
- In a skillet, heat olive oil over medium heat. Add diced onion and bell pepper, cooking until softened, about 5 minutes.
- In a large bowl, combine the shredded chicken, cooked onion and bell pepper, queso dip, garlic powder, cumin, salt, and pepper. Mix well.
- Spread 1/4 cup of enchilada sauce evenly on the bottom of a 9×13 inch baking dish.
- Take a tortilla, fill it with about 1/3 cup of the chicken mixture, and roll it up tightly. Place it seam-side down in the baking dish. Repeat with remaining tortillas.
- Pour the remaining enchilada sauce over the rolled tortillas, then sprinkle with shredded cheddar cheese.
- Cover the dish with aluminum foil and bake for 20 minutes. Remove the foil and bake for an additional 10 minutes, or until the cheese is bubbly and golden.
- Let cool for a few minutes before serving. Garnish with fresh cilantro if desired.
Notes
- For a spicier kick, add diced jalapeños to the chicken mixture or use a spicy queso dip.
- Substitute the chicken with black beans or sautéed vegetables for a vegetarian option.
Nutrition
- Serving Size: 1 enchilada
- Calories: 450
- Sugar: 2g
- Sodium: 800mg
- Fat: 24g
- Saturated Fat: 10g
- Unsaturated Fat: 14g
- Trans Fat: 0g
- Carbohydrates: 30g
- Fiber: 2g
- Protein: 28g
- Cholesterol: 75mg