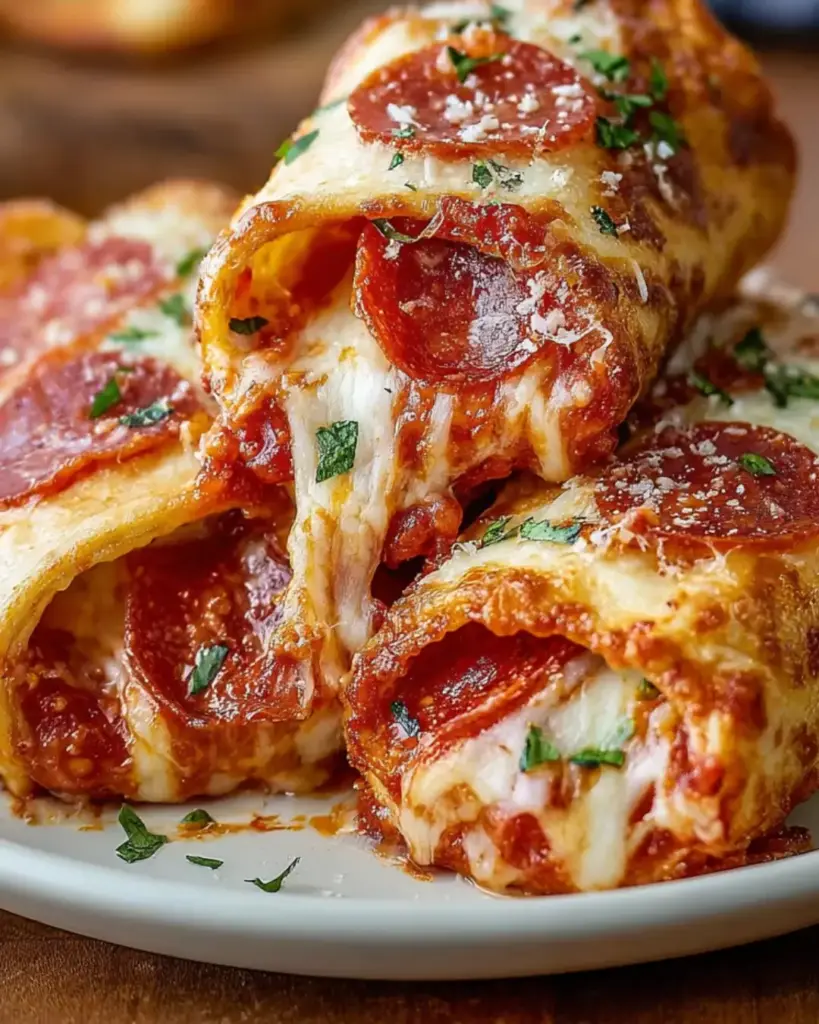
Introduction to Cheesy Pepperoni Pizza Roll-Ups
There’s something magical about the aroma of melting cheese and savory pepperoni wafting through the kitchen. Cheesy Pepperoni Pizza Roll-Ups are not just a snack; they’re a delightful escape from the everyday hustle. Whether you’re hosting a game night or just need a quick meal after a long day, these roll-ups are your go-to solution. They’re easy to whip up, and trust me, your taste buds will thank you. Plus, they’re perfect for sharing—or not! Who can resist a cheesy, crispy bite? Let’s dive into this delicious adventure together!
Why You’ll Love This Cheesy Pepperoni Pizza Roll-Ups
These Cheesy Pepperoni Pizza Roll-Ups are a game changer for busy days. They come together in just 25 minutes, making them perfect for a quick snack or a last-minute party treat. The combination of gooey cheese and zesty pepperoni wrapped in a crispy tortilla is simply irresistible. Plus, they’re customizable, so you can easily adapt them to suit your cravings or dietary needs. What’s not to love?
Ingredients for Cheesy Pepperoni Pizza Roll-Ups
Gathering the right ingredients is the first step to creating these mouthwatering Cheesy Pepperoni Pizza Roll-Ups. Here’s what you’ll need:
- Flour tortillas: The base of your roll-ups. They provide a soft, chewy texture that holds everything together.
- Shredded mozzarella cheese: This melty cheese is the star of the show, adding that gooey goodness we all crave.
- Sliced pepperoni: These savory slices bring a burst of flavor and a hint of spice to each bite.
- Pizza sauce: A classic addition that ties all the flavors together. You can use store-bought or homemade for a personal touch.
- Italian seasoning: A blend of herbs that enhances the pizza flavor profile. It’s like a sprinkle of Italy in your kitchen!
- Olive oil: Brushing this on the outside helps achieve that golden, crispy finish. Plus, it adds a touch of richness.
- Garlic powder: A dash of this adds depth and a savory kick that complements the other ingredients.
- Crushed red pepper flakes (optional): For those who like a little heat, these flakes can elevate your roll-ups to a whole new level.
For those looking to make healthier choices, consider using whole wheat tortillas and low-fat cheese. You can also sneak in some veggies like bell peppers or mushrooms for added nutrition. Exact measurements for these ingredients can be found at the bottom of the article, ready for printing!
How to Make Cheesy Pepperoni Pizza Roll-Ups
Creating these Cheesy Pepperoni Pizza Roll-Ups is a breeze! Follow these simple steps, and you’ll have a delicious snack ready in no time. Let’s get rolling!
Step 1: Preheat the Oven
First things first, preheat your oven to 400°F (200°C). This ensures your roll-ups will bake evenly and get that perfect crispy texture. While the oven heats up, line a baking sheet with parchment paper. This little trick makes cleanup a snap!
Step 2: Prepare the Tortillas
Next, lay the flour tortillas flat on a clean surface. Make sure they’re nice and smooth. This is where all the cheesy goodness will come together, so take your time to get it right!
Step 3: Add Pizza Sauce
Now, spread about 2 tablespoons of pizza sauce evenly over each tortilla. Leave a small border around the edges. This prevents the sauce from spilling out when you roll them up. Trust me, a little mess can lead to a big flavor explosion!
Step 4: Layer the Cheese
Sprinkle half of the shredded mozzarella cheese over each tortilla. The more cheese, the better! This melty layer is what makes these roll-ups so irresistible. Don’t be shy—go for it!
Step 5: Add Pepperoni and Seasoning
Evenly distribute the sliced pepperoni on top of the cheese. Then, sprinkle with Italian seasoning, garlic powder, and crushed red pepper flakes if you’re feeling adventurous. This combination will elevate your roll-ups to a whole new level of deliciousness!
Step 6: Roll the Tortillas
Time to roll! Tightly roll each tortilla from one end to the other, creating a log shape. Make sure it’s snug but not too tight. You want all that cheesy goodness to stay inside!
Step 7: Brush with Olive Oil
Brush the outside of each roll with olive oil. This step is crucial for achieving that golden, crispy finish. Plus, it adds a touch of richness that complements the flavors beautifully.
Step 8: Bake the Roll-Ups
Place the roll-ups seam side down on the prepared baking sheet. Bake in the preheated oven for 12-15 minutes, or until they’re golden brown and crispy. Keep an eye on them; you want that perfect crunch!
Step 9: Cool and Serve
Once they’re out of the oven, let the roll-ups cool for a few minutes. This helps the cheese set a bit. Then, slice them into bite-sized pieces. Serve with extra pizza sauce for dipping, and watch them disappear!
Tips for Success
- Use fresh ingredients for the best flavor. Fresh mozzarella and quality pepperoni make a difference!
- Don’t overfill the tortillas; it can make rolling tricky and lead to spills.
- Experiment with different cheeses like cheddar or provolone for a unique twist.
- Let the roll-ups cool slightly before slicing to keep the cheese from oozing out.
- Serve immediately for the crispiest texture; they’re best fresh out of the oven!
Equipment Needed
- Baking sheet: A standard one works great, but a pizza stone can enhance crispiness.
- Parchment paper: This makes cleanup easy; aluminum foil is a good alternative.
- Sharp knife: For slicing the roll-ups; a pizza cutter can also do the job.
- Brush: A pastry brush for olive oil; your fingers work in a pinch!
Variations of Cheesy Pepperoni Pizza Roll-Ups
- Veggie Delight: Add bell peppers, mushrooms, or spinach for a burst of color and nutrition.
- Spicy Kick: Incorporate jalapeños or a drizzle of hot sauce for those who crave heat.
- Cheesy Trio: Mix mozzarella with cheddar and provolone for a rich, cheesy experience.
- Meat Lovers: Layer in cooked sausage or ham along with the pepperoni for a heartier option.
- Gluten-Free: Use gluten-free tortillas to make this snack accessible for everyone.
- Breakfast Roll-Ups: Swap pepperoni for scrambled eggs and add some cooked bacon for a breakfast twist.
Serving Suggestions for Cheesy Pepperoni Pizza Roll-Ups
- Dip it: Serve with extra pizza sauce, ranch, or marinara for a flavorful dip.
- Pair it: Complement with a fresh garden salad or crispy garlic bread.
- Drink up: Enjoy with a cold beer, soda, or a refreshing iced tea.
- Presentation: Arrange on a platter with toothpicks for easy snacking at parties.
FAQs about Cheesy Pepperoni Pizza Roll-Ups
Can I make Cheesy Pepperoni Pizza Roll-Ups ahead of time?
Absolutely! You can prepare the roll-ups, roll them tightly, and store them in the fridge for a few hours before baking. Just brush with olive oil right before baking for that crispy finish.
What can I substitute for pepperoni?
If pepperoni isn’t your thing, try using turkey pepperoni, salami, or even cooked bacon. You can also go meatless and load up on veggies for a delicious vegetarian option!
How do I store leftovers?
Store any leftover roll-ups in an airtight container in the fridge for up to three days. Reheat them in the oven for a few minutes to regain that crispy texture.
Can I freeze Cheesy Pepperoni Pizza Roll-Ups?
Yes! Freeze them before baking. Just wrap each roll tightly in plastic wrap and place them in a freezer bag. When you’re ready to enjoy, bake them straight from the freezer, adding a few extra minutes to the cooking time.
What dipping sauces pair well with these roll-ups?
These roll-ups are fantastic with pizza sauce, but you can also try ranch dressing, marinara, or even a spicy aioli for a fun twist!
Final Thoughts
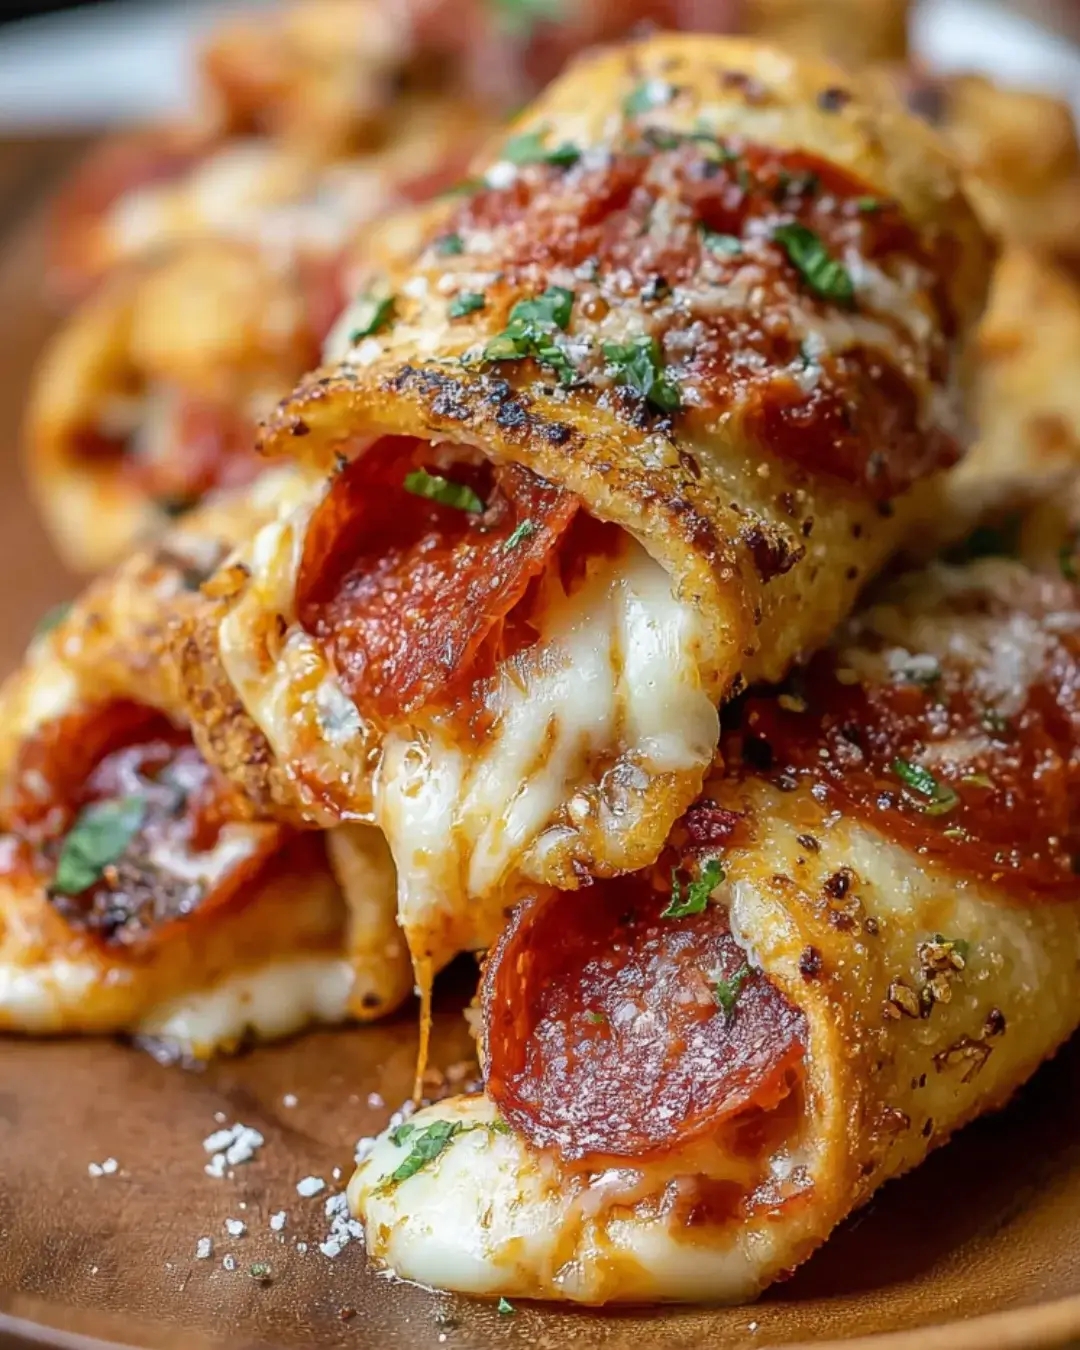
Making Cheesy Pepperoni Pizza Roll-Ups is more than just cooking; it’s about creating moments. Whether you’re enjoying them during a game night with friends or savoring a quiet evening at home, these roll-ups bring joy to the table. The crispy exterior, gooey cheese, and zesty pepperoni create a symphony of flavors that’s hard to resist. Plus, the ease of preparation means you can whip them up anytime the craving strikes. So, roll up your sleeves, gather your ingredients, and dive into this delicious adventure. Trust me, your taste buds will thank you, and so will your loved ones!
Advertisement
Cheesy Pepperoni Pizza Roll-Ups: A Delicious Snack Idea!
Cheesy Pepperoni Pizza Roll-Ups are a delicious and easy snack idea, perfect for parties or a quick meal.
- Prep Time: 10 minutes
- Cook Time: 15 minutes
- Total Time: 25 minutes
- Yield: 4 servings 1x
- Category: Snack
- Method: Baking
- Cuisine: Italian
- Diet: Vegetarian
Ingredients
- 2 large flour tortillas
- 1 cup shredded mozzarella cheese
- 1/2 cup sliced pepperoni
- 1/4 cup pizza sauce
- 1 teaspoon Italian seasoning
- 1 tablespoon olive oil
- 1/4 teaspoon garlic powder
- 1/4 teaspoon crushed red pepper flakes (optional)
Instructions
- Preheat your oven to 400°F (200°C) and line a baking sheet with parchment paper.
- Lay the flour tortillas flat on a clean surface.
- Spread 2 tablespoons of pizza sauce evenly over each tortilla, leaving a small border around the edges.
- Sprinkle half of the shredded mozzarella cheese over each tortilla.
- Evenly distribute the sliced pepperoni on top of the cheese, then sprinkle with Italian seasoning, garlic powder, and crushed red pepper flakes if using.
- Roll each tortilla tightly from one end to the other, creating a log shape.
- Brush the outside of each roll with olive oil to help them crisp up in the oven.
- Place the roll-ups seam side down on the prepared baking sheet.
- Bake in the preheated oven for 12-15 minutes, or until golden brown and crispy.
- Remove from the oven and let cool for a few minutes before slicing into bite-sized pieces. Serve with extra pizza sauce for dipping.
Notes
- For a healthier option, use whole wheat tortillas and low-fat cheese.
- Add vegetables like bell peppers or mushrooms for extra flavor and nutrition.
Nutrition
- Serving Size: 1 roll-up
- Calories: 250
- Sugar: 2g
- Sodium: 600mg
- Fat: 15g
- Saturated Fat: 6g
- Unsaturated Fat: 9g
- Trans Fat: 0g
- Carbohydrates: 20g
- Fiber: 1g
- Protein: 12g
- Cholesterol: 30mg