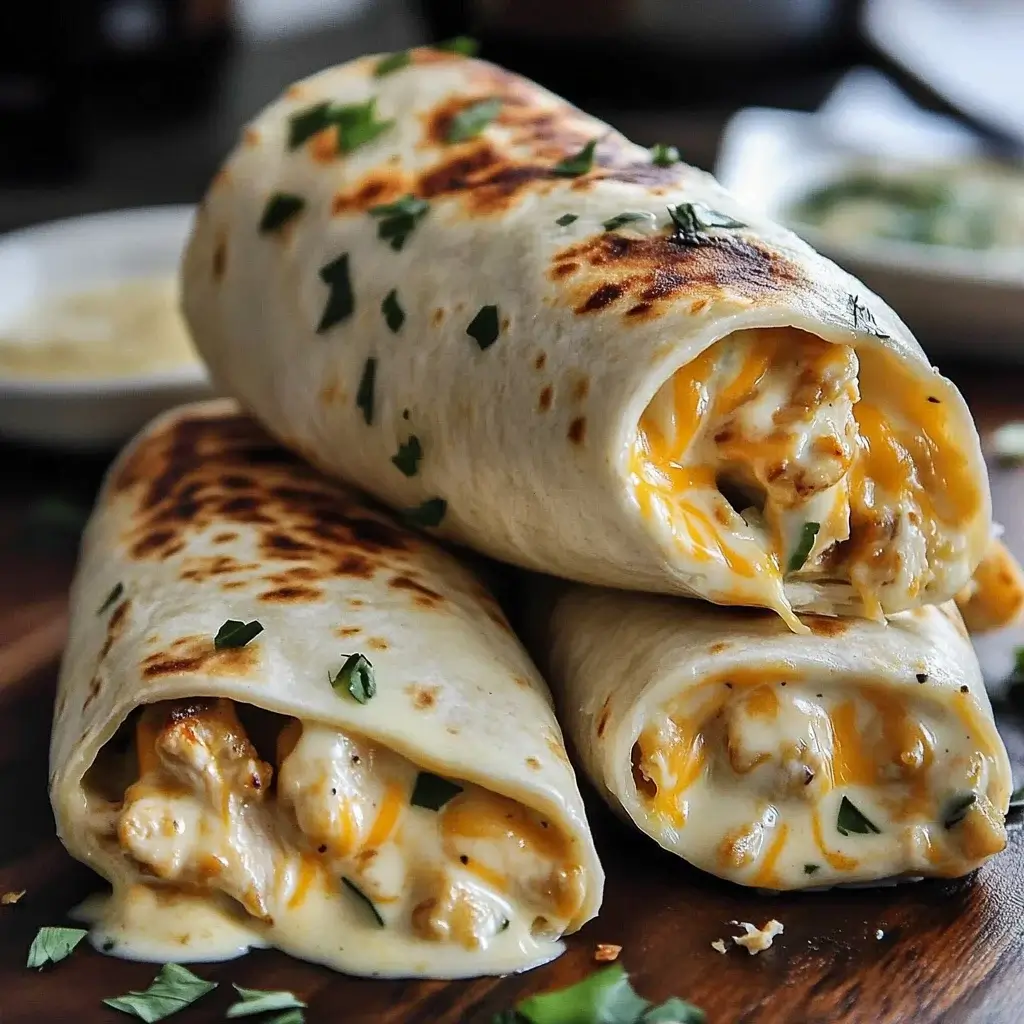
Introduction to Cheesy Chicken Garlic Wraps
There’s something magical about a wrap that brings together comfort and convenience. Cheesy Chicken Garlic Wraps are just that—a delightful blend of flavors that can turn a hectic day into a culinary adventure. I remember the first time I made these wraps; it was a busy weeknight, and I needed something quick yet satisfying. With just a handful of ingredients, I whipped up a meal that had my family asking for seconds. These wraps are perfect for anyone looking to impress loved ones or simply enjoy a tasty, quick meal after a long day.
Why You’ll Love This Cheesy Chicken Garlic Wraps
These Cheesy Chicken Garlic Wraps are a game-changer for busy nights. They come together in just 25 minutes, making them a lifesaver when time is tight. The combination of creamy cheese and savory garlic creates a flavor explosion that’s hard to resist. Plus, they’re versatile! You can customize them with your favorite veggies or spices, ensuring everyone at the table leaves satisfied. Quick, delicious, and adaptable—what’s not to love?
Ingredients for Cheesy Chicken Garlic Wraps
Gathering the right ingredients is the first step to creating these mouthwatering Cheesy Chicken Garlic Wraps. Here’s what you’ll need:
- Cooked chicken: Shredded chicken is the star of the show. It adds protein and heartiness to the wraps. You can use leftover rotisserie chicken or any cooked chicken you have on hand.
- Shredded cheddar cheese: This cheese brings a rich, melty texture that pairs perfectly with the chicken. Feel free to experiment with other cheeses like Monterey Jack or pepper jack for a kick.
- Cream cheese: Softened cream cheese adds creaminess and binds the filling together. It’s a secret weapon for that luscious mouthfeel.
- Garlic: Minced garlic infuses the wraps with a robust flavor. If you’re a garlic lover, don’t hold back!
- Onion powder: This spice enhances the savory notes without the hassle of chopping onions. It’s a time-saver!
- Paprika: A sprinkle of paprika adds a subtle smokiness and a pop of color to the filling.
- Salt and black pepper: Essential seasonings that elevate the overall taste. Adjust to your preference.
- Flour tortillas: Large tortillas are perfect for wrapping up all that delicious filling. Whole wheat or spinach tortillas can be great alternatives.
- Fresh spinach leaves: These add a refreshing crunch and a boost of nutrients. You can swap them for other greens like arugula or kale.
- Diced tomatoes: Fresh tomatoes provide a juicy burst of flavor. You can use canned tomatoes if fresh ones aren’t available.
- Olive oil: A drizzle of olive oil in the skillet helps achieve that golden, crispy exterior. You can use butter for a richer taste.
For those who like a little heat, consider adding diced jalapeños or a dash of hot sauce to the chicken mixture. If you want to switch things up, ground turkey or beef can be used instead of chicken. The exact measurements for these ingredients are available at the bottom of the article for easy printing.
How to Make Cheesy Chicken Garlic Wraps
Creating these Cheesy Chicken Garlic Wraps is a breeze! Follow these simple steps, and you’ll have a delicious meal ready in no time. Let’s dive in!
Step 1: Prepare the Chicken Mixture
Start by grabbing a large mixing bowl. Toss in the shredded chicken, cheddar cheese, and softened cream cheese. Add the minced garlic, onion powder, paprika, salt, and black pepper. Mix everything together until it’s well combined. This filling is where the magic happens! The creamy texture and savory spices will make your taste buds dance.
Step 2: Assemble the Wraps
Now, lay out your flour tortillas on a clean surface. Divide the chicken mixture evenly among the tortillas, placing it right in the center. Don’t be shy with the filling; you want each bite to be packed with flavor! Next, top each wrap with fresh spinach leaves and diced tomatoes. These fresh ingredients add a nice crunch and a burst of color.
Step 3: Roll and Cook the Wraps
It’s time to roll! Fold in the sides of each tortilla, then roll it up tightly from the bottom to the top. This keeps all that delicious filling snug inside. Heat a tablespoon of olive oil in a large skillet over medium heat. Place the wraps seam-side down in the skillet. Cook for about 3-4 minutes on each side, or until they’re golden brown and crispy. The sound of that sizzle is music to my ears!
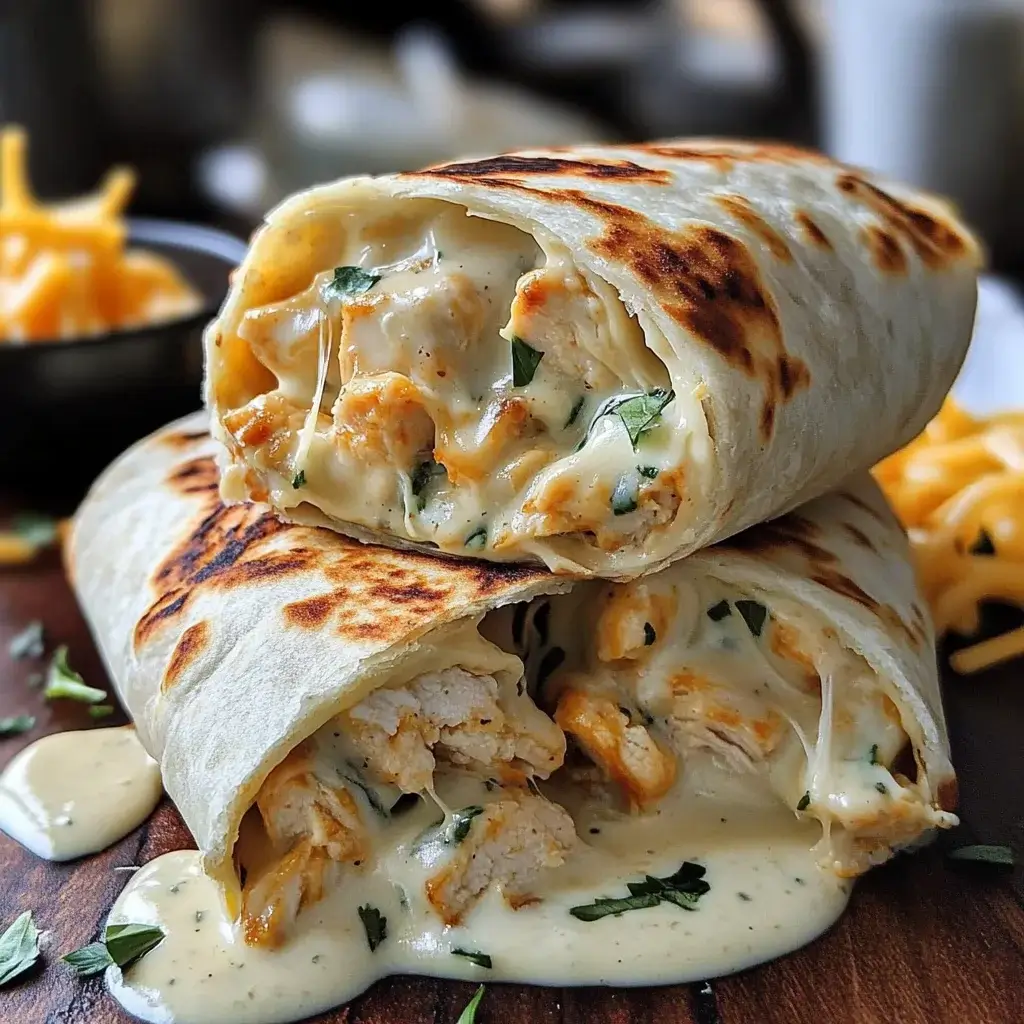
Step 4: Serve and Enjoy
Once they’re perfectly crispy, remove the wraps from the skillet and let them cool for a minute. Then, slice them in half to reveal the cheesy goodness inside. Serve warm for the best experience. Trust me, your family will be asking for more!
Tips for Success
- Prep your ingredients ahead of time to streamline the cooking process.
- Don’t overfill the tortillas; a little goes a long way to prevent spills.
- For extra crispiness, let the wraps rest for a minute before slicing.
- Experiment with different cheeses for unique flavor combinations.
- Keep an eye on the skillet; adjust the heat if they’re browning too quickly.
Equipment Needed
- Large mixing bowl: Essential for combining your filling. A sturdy pot can work in a pinch.
- Skillet: A non-stick skillet is ideal for cooking the wraps. A cast-iron skillet adds a nice sear.
- Spatula: Use this to flip the wraps easily. Tongs can also do the trick.
- Knife: For slicing the wraps before serving. A pizza cutter can make quick work of it!
Variations
- Spicy Kick: Add diced jalapeños or a splash of hot sauce to the chicken mixture for a fiery twist.
- Vegetarian Option: Substitute the chicken with black beans or grilled vegetables for a hearty, meat-free wrap.
- Herb Infusion: Mix in fresh herbs like cilantro or parsley for an aromatic boost.
- Cheese Lovers: Experiment with different cheeses such as feta, gouda, or pepper jack for varied flavors.
- Low-Carb Version: Use lettuce leaves instead of tortillas for a lighter, low-carb alternative.
Serving Suggestions
- Side Salad: Pair your wraps with a fresh garden salad drizzled with vinaigrette for a refreshing contrast.
- Chips and Salsa: Serve with tortilla chips and your favorite salsa for a crunchy sidekick.
- Cold Beverages: Enjoy with iced tea or a cold beer to complement the flavors.
- Presentation: Arrange wraps on a platter, garnished with fresh herbs for a pop of color.
FAQs about Cheesy Chicken Garlic Wraps
Can I use leftover chicken for these wraps?
Absolutely! Leftover rotisserie chicken works perfectly. It saves time and adds great flavor to your Cheesy Chicken Garlic Wraps.
How can I make these wraps healthier?
To lighten them up, consider using whole wheat tortillas and reducing the amount of cheese. You can also add more veggies for extra nutrients!
What can I substitute for cream cheese?
If you’re looking for a lighter option, Greek yogurt can be a great substitute. It adds creaminess while cutting down on calories.
Can I freeze these wraps?
Yes! You can freeze the assembled wraps before cooking. Just wrap them tightly in plastic wrap and store them in an airtight container. When you’re ready, cook them straight from the freezer!
What sides pair well with Cheesy Chicken Garlic Wraps?
These wraps go great with a side salad, chips and salsa, or even some roasted veggies. They’re versatile enough to complement many dishes!
Final Thoughts
Making Cheesy Chicken Garlic Wraps is more than just cooking; it’s about creating moments. The joy of wrapping up a delicious filling and watching your loved ones dig in is truly rewarding. Each bite is a blend of flavors that brings comfort and satisfaction, perfect for any occasion. Whether it’s a busy weeknight or a casual gathering, these wraps are sure to impress. Plus, the ease of preparation means you can spend less time in the kitchen and more time enjoying the company of family and friends. Dive into this recipe, and let the deliciousness unfold!
Advertisement
Cheesy Chicken Garlic Wraps: Tasty Recipe to Enjoy Today!
Delicious and cheesy chicken wraps infused with garlic, perfect for a quick meal.
- Prep Time: 15 minutes
- Cook Time: 10 minutes
- Total Time: 25 minutes
- Yield: 4 servings 1x
- Category: Main Course
- Method: Skillet
- Cuisine: American
- Diet: Low Calorie
Ingredients
- 2 cups cooked chicken, shredded
- 1 cup shredded cheddar cheese
- 1/2 cup cream cheese, softened
- 2 cloves garlic, minced
- 1 teaspoon onion powder
- 1 teaspoon paprika
- 1/2 teaspoon salt
- 1/4 teaspoon black pepper
- 4 large flour tortillas
- 1 cup fresh spinach leaves
- 1/2 cup diced tomatoes
- 1 tablespoon olive oil
Instructions
- In a large mixing bowl, combine the shredded chicken, cheddar cheese, cream cheese, minced garlic, onion powder, paprika, salt, and black pepper. Mix until well combined.
- Lay out the flour tortillas on a clean surface. Divide the chicken mixture evenly among the tortillas, placing it in the center of each.
- Top each chicken mixture with fresh spinach leaves and diced tomatoes.
- Fold in the sides of each tortilla and then roll it up tightly from the bottom to the top.
- Heat olive oil in a large skillet over medium heat. Place the wraps seam-side down in the skillet and cook for 3-4 minutes on each side, or until golden brown and crispy.
- Remove from the skillet and let cool for a minute before slicing in half. Serve warm.
Notes
- For a spicy kick, add diced jalapeños or a dash of hot sauce to the chicken mixture.
- You can substitute the chicken with cooked ground turkey or beef for a different flavor profile.
Nutrition
- Serving Size: 1 wrap
- Calories: 450
- Sugar: 2g
- Sodium: 600mg
- Fat: 25g
- Saturated Fat: 10g
- Unsaturated Fat: 15g
- Trans Fat: 0g
- Carbohydrates: 30g
- Fiber: 2g
- Protein: 35g
- Cholesterol: 90mg