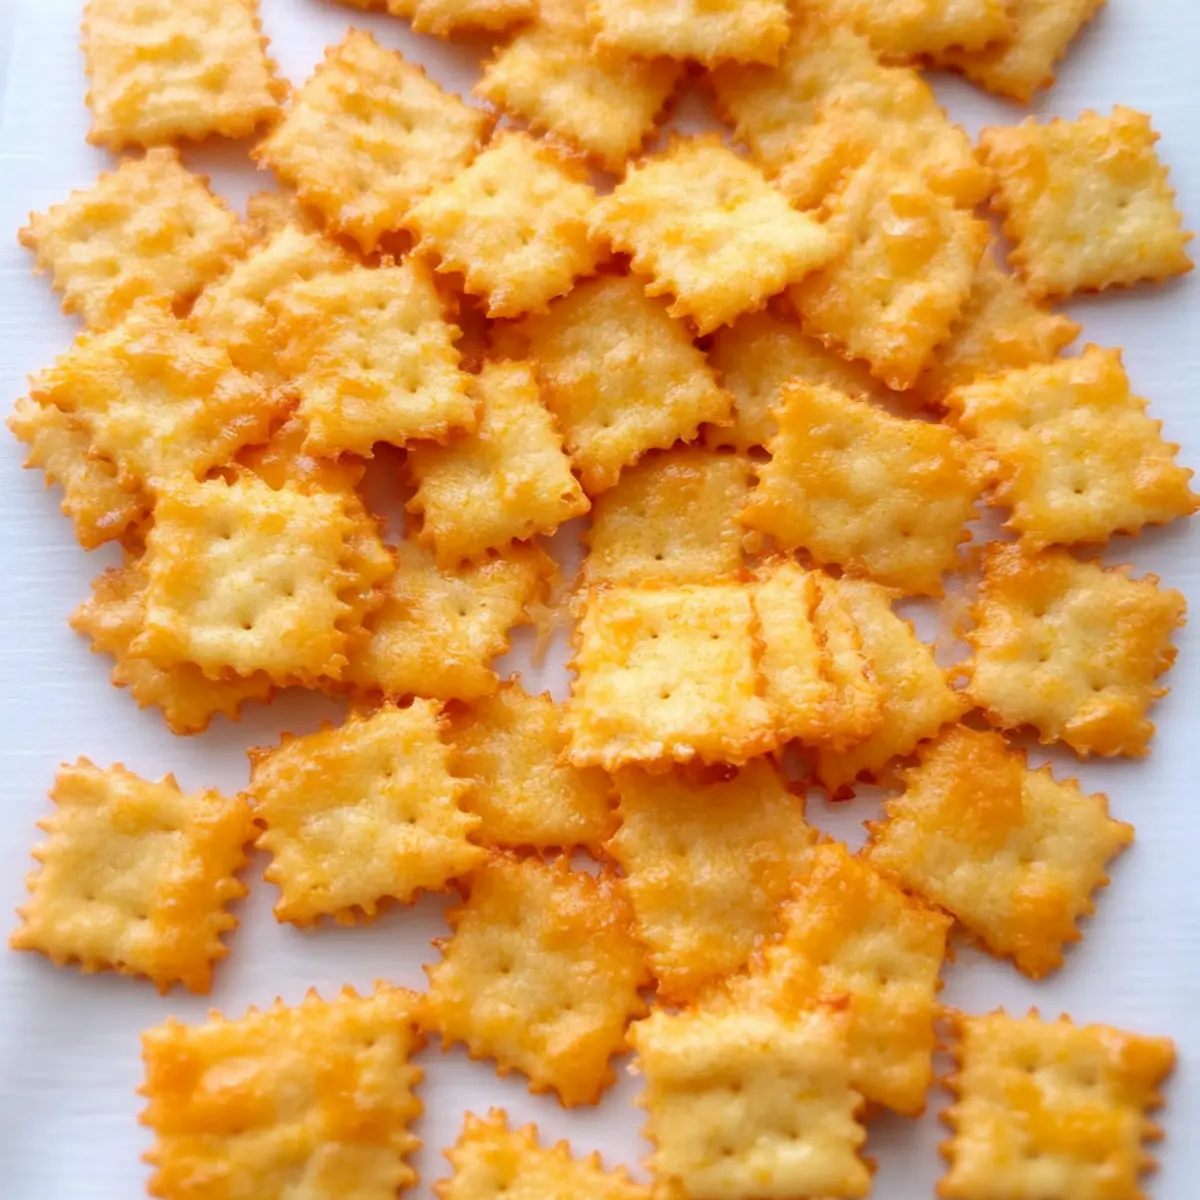
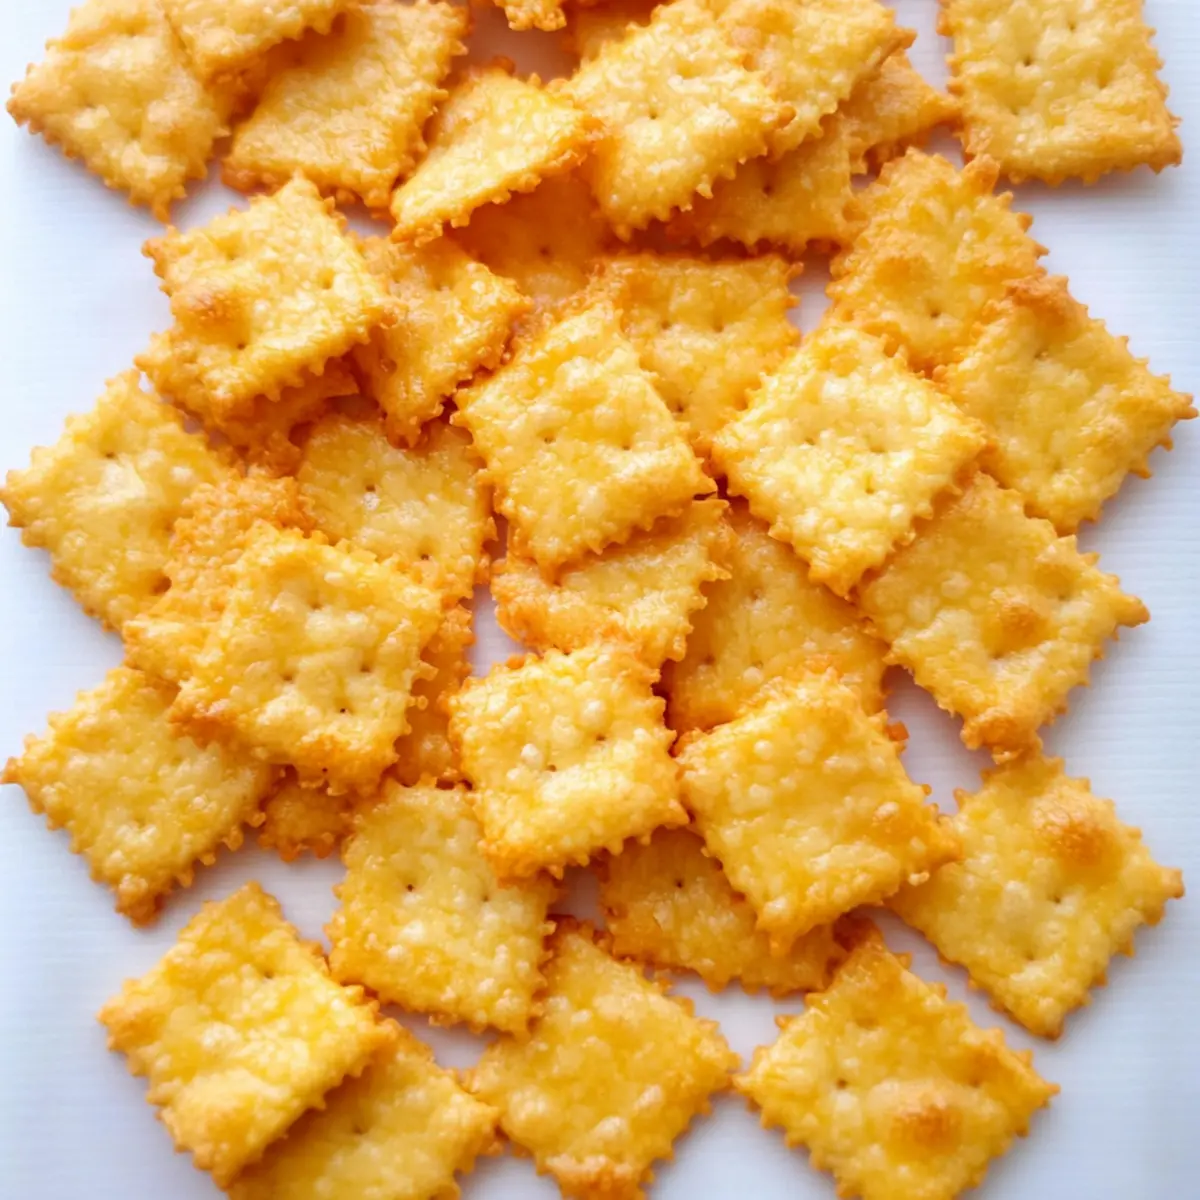
The moment I took my first bite of these homemade cheese crackers, a wave of nostalgia washed over me, reminding me of childhood snacks—but without the preservatives! These tasty morsels are not only a crunchy delight but also incredibly versatile, allowing you to customize them with different cheese types and thicknesses. Perfect as a wholesome alternative to store-bought Cheez-Its, this recipe shines as a kid-friendly, make-ahead snack that can be devoured by adults too. Whether you’re packing them in lunchboxes, serving them at parties, or simply munching during movie night, these cheese crackers pack a flavorful punch without the guilt. Curious to discover how easy it is to whip up a batch? Let’s get started!
Why Make Homemade Cheese Crackers?
Flavor-packed goodness: These cheese crackers bring together the rich flavor of sharp cheddar with a delightful crunch that will make your taste buds dance.
Customizable options: Choose your preferred cheese and thickness for a snack that suits your family’s favorites—imagine mozzarella or even gouda!
Kid-friendly fun: A perfect way to involve your little chefs in the kitchen, watch them beam as they create their own snacks!
Make ahead: Prep these in advance for those busy days when you need quick snacks on hand—store them easily for up to a week.
Guilt-free indulgence: With only simple ingredients and no preservatives, you can enjoy a crunchy treat without the baggage of guilt. For more enticing snack ideas, check out Cottage Cheese Chips or Cottage Cheese Oat Protein Balls.
Cheese Crackers Ingredients
For the Crackers
• Finely Grated Sharp Cheddar Cheese – This delivers a rich flavor; feel free to substitute with different cheeses for exciting variations!
• All-Purpose Flour – Essential for structure; can easily be swapped for gluten-free flour for a gluten-free option.
• Cold Unsalted Butter – Essential for the signature flakiness; try using coconut oil for a dairy-free alternative.
• Plain Yogurt – Binds the dough beautifully and adds moisture; Greek yogurt works well if you prefer a thicker texture.
Optional Flavor Enhancements
• Herbs or Spices – Try garlic powder or paprika for an extra flavor kick that makes your cheese crackers truly unforgettable!
• Different Cheese Types – Experiment with mozzarella, gouda, or parmesan to create unique twists on the classic cheese crackers.
These cheese crackers will surely brighten up your snack time, making it both enjoyable and healthy!
Step‑by‑Step Instructions for Cheese Crackers
Step 1: Dough Preparation
In a food processor, combine finely grated sharp cheddar cheese, all-purpose flour, and cold unsalted butter. Pulse the mixture until it resembles coarse crumbs, which should take about 30 seconds. Next, add plain yogurt gradually, continuing to pulse until the dough holds together. This dough is the foundation for your delightful cheese crackers, promising a rich flavor with each bite.
Step 2: Chill Dough
Once your dough is well-mixed, shape it into a log about 2 inches in diameter. Wrap the log tightly in plastic wrap and refrigerate for a minimum of 30 minutes. This chilling step is crucial as it helps the fat solidify, ensuring your cheese crackers bake up perfectly flaky and crisp.
Step 3: Preheat Oven
While the dough chills, preheat your oven to 350°F (175°C). This temperature is key for achieving evenly baked and golden cheese crackers. A properly preheated oven ensures that these little delights will puff up beautifully as they bake, giving you that irresistible crunch.
Step 4: Roll & Cut
After the dough has chilled, place it on a floured surface. Roll the dough out to a thickness of 1/8 to 1/4 inch, depending on your preference for crispier or softer cheese crackers. Use a pizza cutter to cut the rolled dough into 1-inch squares. Be sure to create enough space between the crackers so they can expand while baking.
Step 5: Poke Holes & Bake
Using a fork, poke holes in the center of each cracker to allow steam to escape while baking. Transfer the squares to a baking sheet lined with parchment paper. Bake in the preheated oven for 17-20 minutes, or until they are golden and puffy. Keep an eye on them as they can burn quickly, ensuring you obtain perfectly baked cheese crackers.
Step 6: Cool Completely
Once baked, remove the cheese crackers from the oven and let them cool on the baking sheet for a few minutes. Then, transfer them to a wire rack to cool completely. This cooling process helps them achieve their crunchy texture. Once cooled, they are ready to be enjoyed as a delightful snack!
What to Serve with Homemade Cheese Crackers
Imagine an afternoon gathering where the aromas of freshly baked cheese crackers mingle with the laughter of family and friends—it’s pure comfort!
-
Creamy Hummus: Paired with these crackers, the smoothness of hummus creates a delightful balance of textures that enhances every bite.
-
Fresh Veggies: Crunchy carrot and celery sticks add a burst of freshness to your snack spread, making it colorful and healthy!
-
Savory Cheese Platter: An array of assorted cheeses like gouda or havarti complements the flavors of the crackers, creating a gourmet experience.
-
Spicy Salsa: The zesty kick from bold salsa elevates these cheese crackers, making them a party favorite that packs a punch!
-
Sliced Cured Meats: Salami or prosciutto adds an element of saltiness, creating a beautiful contrast to the rich, cheesy goodness of the crackers.
-
Homemade Guacamole: The creamy texture of guacamole perfectly marries the crunch of the cheese crackers, making it a fantastic dip option.
-
Chilled White Wine: For adults, a crisp white wine accentuates the cheese flavors and makes for a refreshing pairing.
-
Fruit Chutney: A dollop of sweet and tangy fruit chutney will contrast nicely with your savory treats, adding a gourmet twist.
These combinations will surely make your cheese crackers the star of the show, whether it’s for after-school snacks or elegant gatherings!
Make Ahead Options
These homemade cheese crackers are ideal for meal prep, allowing you to enjoy delicious snacks with minimal effort! You can make the dough up to 24 hours in advance by following the first two steps: prepare the dough and chill it in the refrigerator. When you’re ready to bake, simply roll out, cut, poke holes, and bake as instructed. Additionally, fully cooled cheese crackers can be stored in an airtight container at room temperature for up to 5 days, maintaining their delightful crunch! Just re-crisp any soft crackers by baking them at 300°F for a few minutes before serving. This makes your cheese crackers a perfect, hassle-free option for busy weeknights!
Cheese Crackers Variations & Substitutions
Feel free to unleash your creativity in the kitchen with these delightful variations that will add a personal touch to your cheese crackers!
- Dairy-Free: Substitute cheese with vegan cheese and use coconut oil instead of butter for a plant-based delight.
- Gluten-Free: Swap all-purpose flour with a gluten-free blend to cater to gluten-sensitive friends or family.
- Different Cheeses: Go beyond sharp cheddar! Try mozzarella for a mild flavor or parmesan for an intense cheesy bite that will leave everyone wanting more.
- Herbed Crackers: Mix in dried herbs like rosemary or thyme to infuse your crackers with a wonderfully aromatic twist. This adds a gourmet feel that pairs beautifully with wine!
- Spicy Kick: Add a pinch of cayenne pepper or red pepper flakes to the dough for an unexpected heat that contrasts deliciously with the cheesy base.
- Thick or Thin: Adjust the thickness of your rolled dough for different textures—thin for crispy bites or thick for a soft center, like mini cheese puffs!
- Nutty Flavor: Incorporate ground nuts such as almonds or cashews for added nutrition and a delightful crunch. This twist can elevate your cheese crackers to a savory snack board centerpiece.
- Sweet & Savory: Try a hint of honey or maple syrup in the mix if you fancy a touch of sweetness—perfect for pairing with sharp cheeses or spreads.
With these variations, you can easily customize your cheese crackers to suit any gathering, mood, or palate! And if you’re on the lookout for more uniquely flavorful snacks, don’t miss out on these scrumptious Cottage Cheese Chips or perhaps you’d enjoy the delightful taste of Cottage Cheese Oat Protein Balls. Happy snacking!
How to Store and Freeze Cheese Crackers
Room Temperature: Keep fully cooled cheese crackers in an airtight container at room temperature for up to 5 days to maintain their crunch.
Fridge: If you want them to last longer, store the crackers in the fridge for up to 2 weeks, but they may lose some crispness.
Freezer: For longer storage, freeze cheese crackers in a freezer-safe bag or container for up to 3 months. Thaw at room temperature before enjoying.
Re-crisping: To restore crunch, re-bake any softened crackers at 300°F for 5-10 minutes, bringing back that delightful crunch reminiscent of fresh-baked cheese crackers.
Expert Tips for Cheese Crackers
Thickness Preference: Make sure to roll the dough to your preferred thickness; thinner for more crunch, thicker for soft and tender bites.
Watch Closely: Keep an eye on baking time as these cheese crackers can go from perfect to burnt quickly. Staying near the oven helps prevent mishaps.
Storage Solutions: Store cooled cheese crackers in an airtight container at room temperature for up to 5 days. For longer freshness, consider refrigerating.
Re-crisping: If any crackers lose their crunch, simply re-bake them at 300°F for a few minutes for that fresh-from-the-oven taste.
Flavor Exploration: Don’t be afraid to experiment with cheese types or add spices like garlic powder for a unique twist on your cheese crackers!
Cheese Crackers Recipe FAQs
How do I choose the best cheese for my cheese crackers?
Absolutely! Opt for finely grated sharp cheddar for the richest flavor, but feel free to experiment with alternatives. Mozzarella adds a milder taste, while gouda or parmesan can introduce an exciting twist. Just ensure that the cheese you select is finely grated to achieve the best texture in your crackers.
Advertisement
How should I store my cheese crackers for freshness?
To keep your homemade cheese crackers at their best, store them in an airtight container at room temperature for up to 5 days. For extended freshness, consider placing them in the refrigerator for up to 2 weeks, although they may lose some of their delightful crunch.
Can I freeze cheese crackers for later use?
Yes! To freeze your cheese crackers, let them cool completely, then place them in a freezer-safe bag or container. They can be stored for up to 3 months. When you’re ready to enjoy them, simply thaw at room temperature. If they’re not as crisp, re-bake them at 300°F for 5-10 minutes to restore that delicious crunch.
What can I do if my cheese crackers don’t turn out crispy?
If your crackers end up soft, don’t worry! You can re-crisp them by baking at 300°F for 5-10 minutes. This gentle heating will help bring back that desired crunch, making them just as delightful as when they first came out of the oven. Also, ensure that when rolling the dough, you don’t make them too thick, as that could contribute to a softer texture.
Are these cheese crackers suitable for people with dietary restrictions?
Very! If you’re looking for gluten-free options, simply swap out the all-purpose flour for a gluten-free substitute. Additionally, for those needing dairy-free snacks, you can replace the cold unsalted butter with coconut oil or a plant-based butter, and choose a suitable cheese alternative. These adjustments ensure that everyone can enjoy these delicious crackers!
Can I involve my kids in making these cheese crackers?
Absolutely! Involving little chefs in the kitchen is a fantastic way to create lasting memories. Kids can help with simple steps like measuring ingredients, pulsing in the food processor, and rolling out the dough. They’ll love the hands-on experience and take pride in enjoying a snack they’ve helped create!
Cheese Crackers: Homemade Snack for Happy Taste Buds
Ingredients
Equipment
Method
- In a food processor, combine finely grated sharp cheddar cheese, all-purpose flour, and cold unsalted butter. Pulse until resembling coarse crumbs.
- Shape the dough into a log about 2 inches in diameter, wrap in plastic wrap, and refrigerate for a minimum of 30 minutes.
- Preheat your oven to 350°F (175°C).
- Roll the chilled dough on a floured surface to a thickness of 1/8 to 1/4 inch and cut it into 1-inch squares.
- Poke holes in each cracker using a fork, transfer to a baking sheet lined with parchment paper, and bake for 17-20 minutes until golden.
- Let the crackers cool on the baking sheet for a few minutes before transferring to a wire rack to cool completely.